
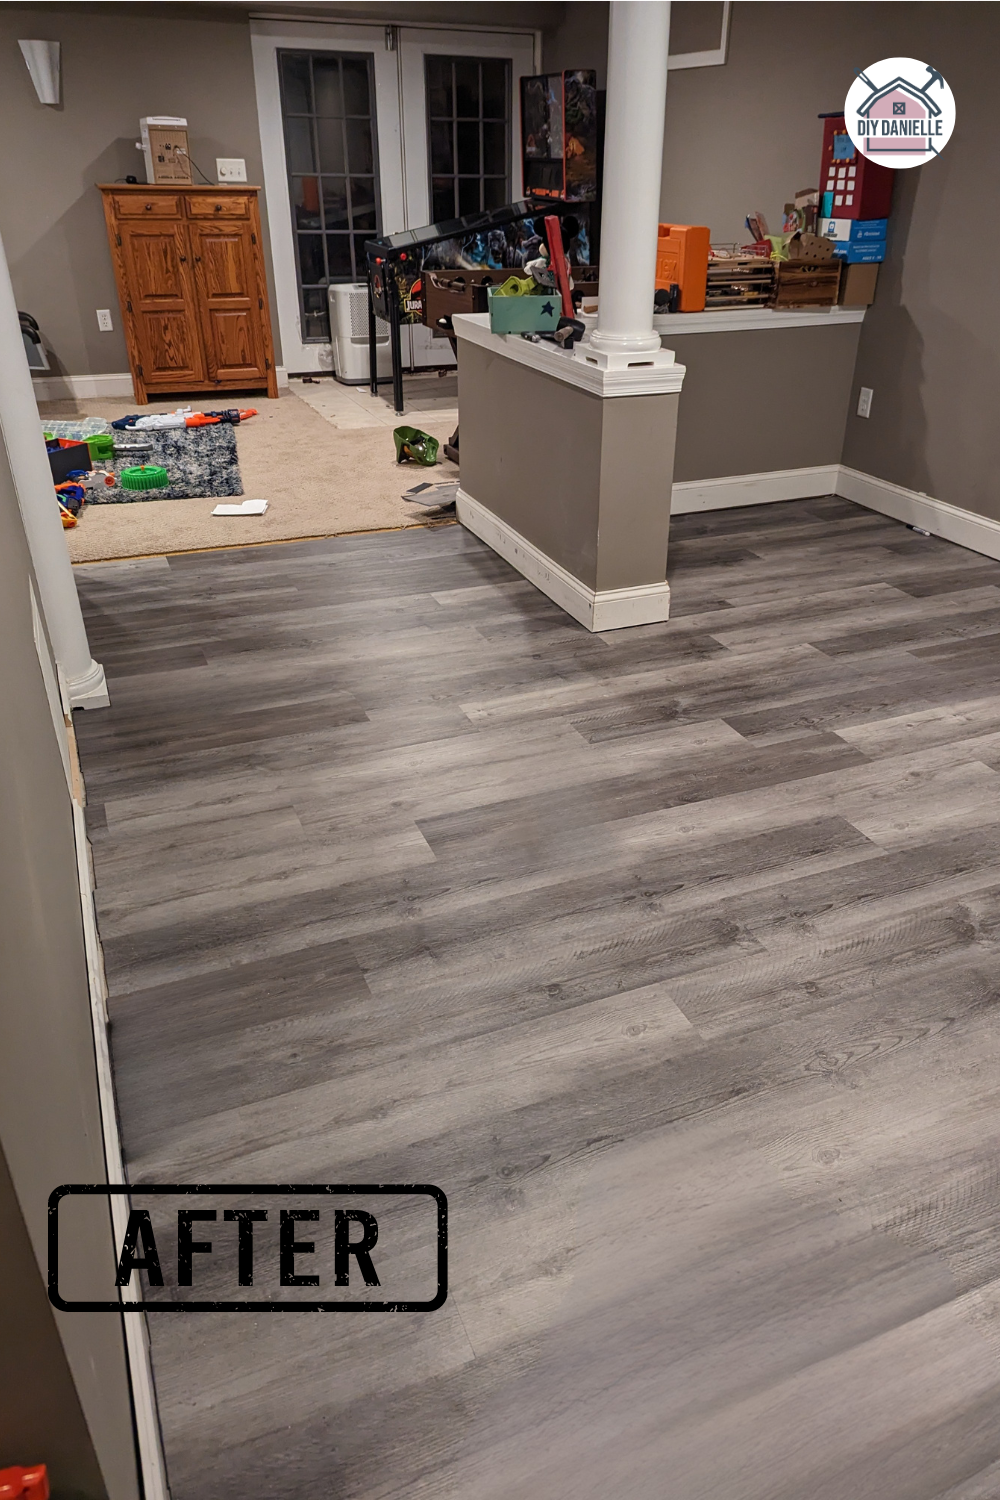
Laminate flooring is easy to install and a GORGEOUS addition to any space. Here’s how I installed it for both my she shed and bathroom!
Four score and seven years ago, I started my she shed project. I mean, not that long, but it feels like it. I’ve written extensively about the project, including How to Choose Lighting for the She Shed, How to Install Windows in Your Shed, How to Add Interior Window Casing, How to Insulate a Shed, and more. But then I got caught up on starting a second business, renovated my barn tack room into a therapy office, and then I felt the urge to finish the rough-in bathroom in our basement. If you can’t tell, I have ADHD.
Needless to say, I intended to write this post a year ago, but didn’t get around to it. I’m finally here to show you the laminate flooring that I installed in my she shed- and because I had some leftover, I used it for our basement bathroom too! And then the sump pump overflowed in the basement so we had to finish part of the basement with it too- after ripping out the carpets on December 26th. Sigh. Here’s how easy this is to install.
This post may contain affiliate links which may earn me commissions should you click through them and take certain actions. As an affiliate for Amazon, Cricut, xTool, Home Depot, and other sites, I earn from qualifying purchases. Please DIY carefully. View my full legal disclosures here.
The majority of my content is generated by me, as are 99% of the photos and videos, but I utilize technology for titles, descriptions, video editing out all of my ums, and occasionally for text overlay on images.
Please read the whole post so you don’t miss any important information!
I chose the Woodland Beaufort Birch Vinyl Plank Flooring because it had underlayment attached and it was safe in moist environments. I knew the flooring might get some moisture because I’d be trekking into the shed from outdoors on rainy and snowy days. It ended up being a good call because the electric conduit underground wasn’t installed well by the contractor and the water overflowed into my she shed at one point. Sigh. The flooring made it out of the incident well.
For our basement bathroom, we added additional underlayment because we had it leftover from our laminate flooring project at our last home. The floor in the bathroom has concrete underneath and the concrete wasn’t as even as I would have liked. The underlayment added an extra layer to compensate for the concrete.
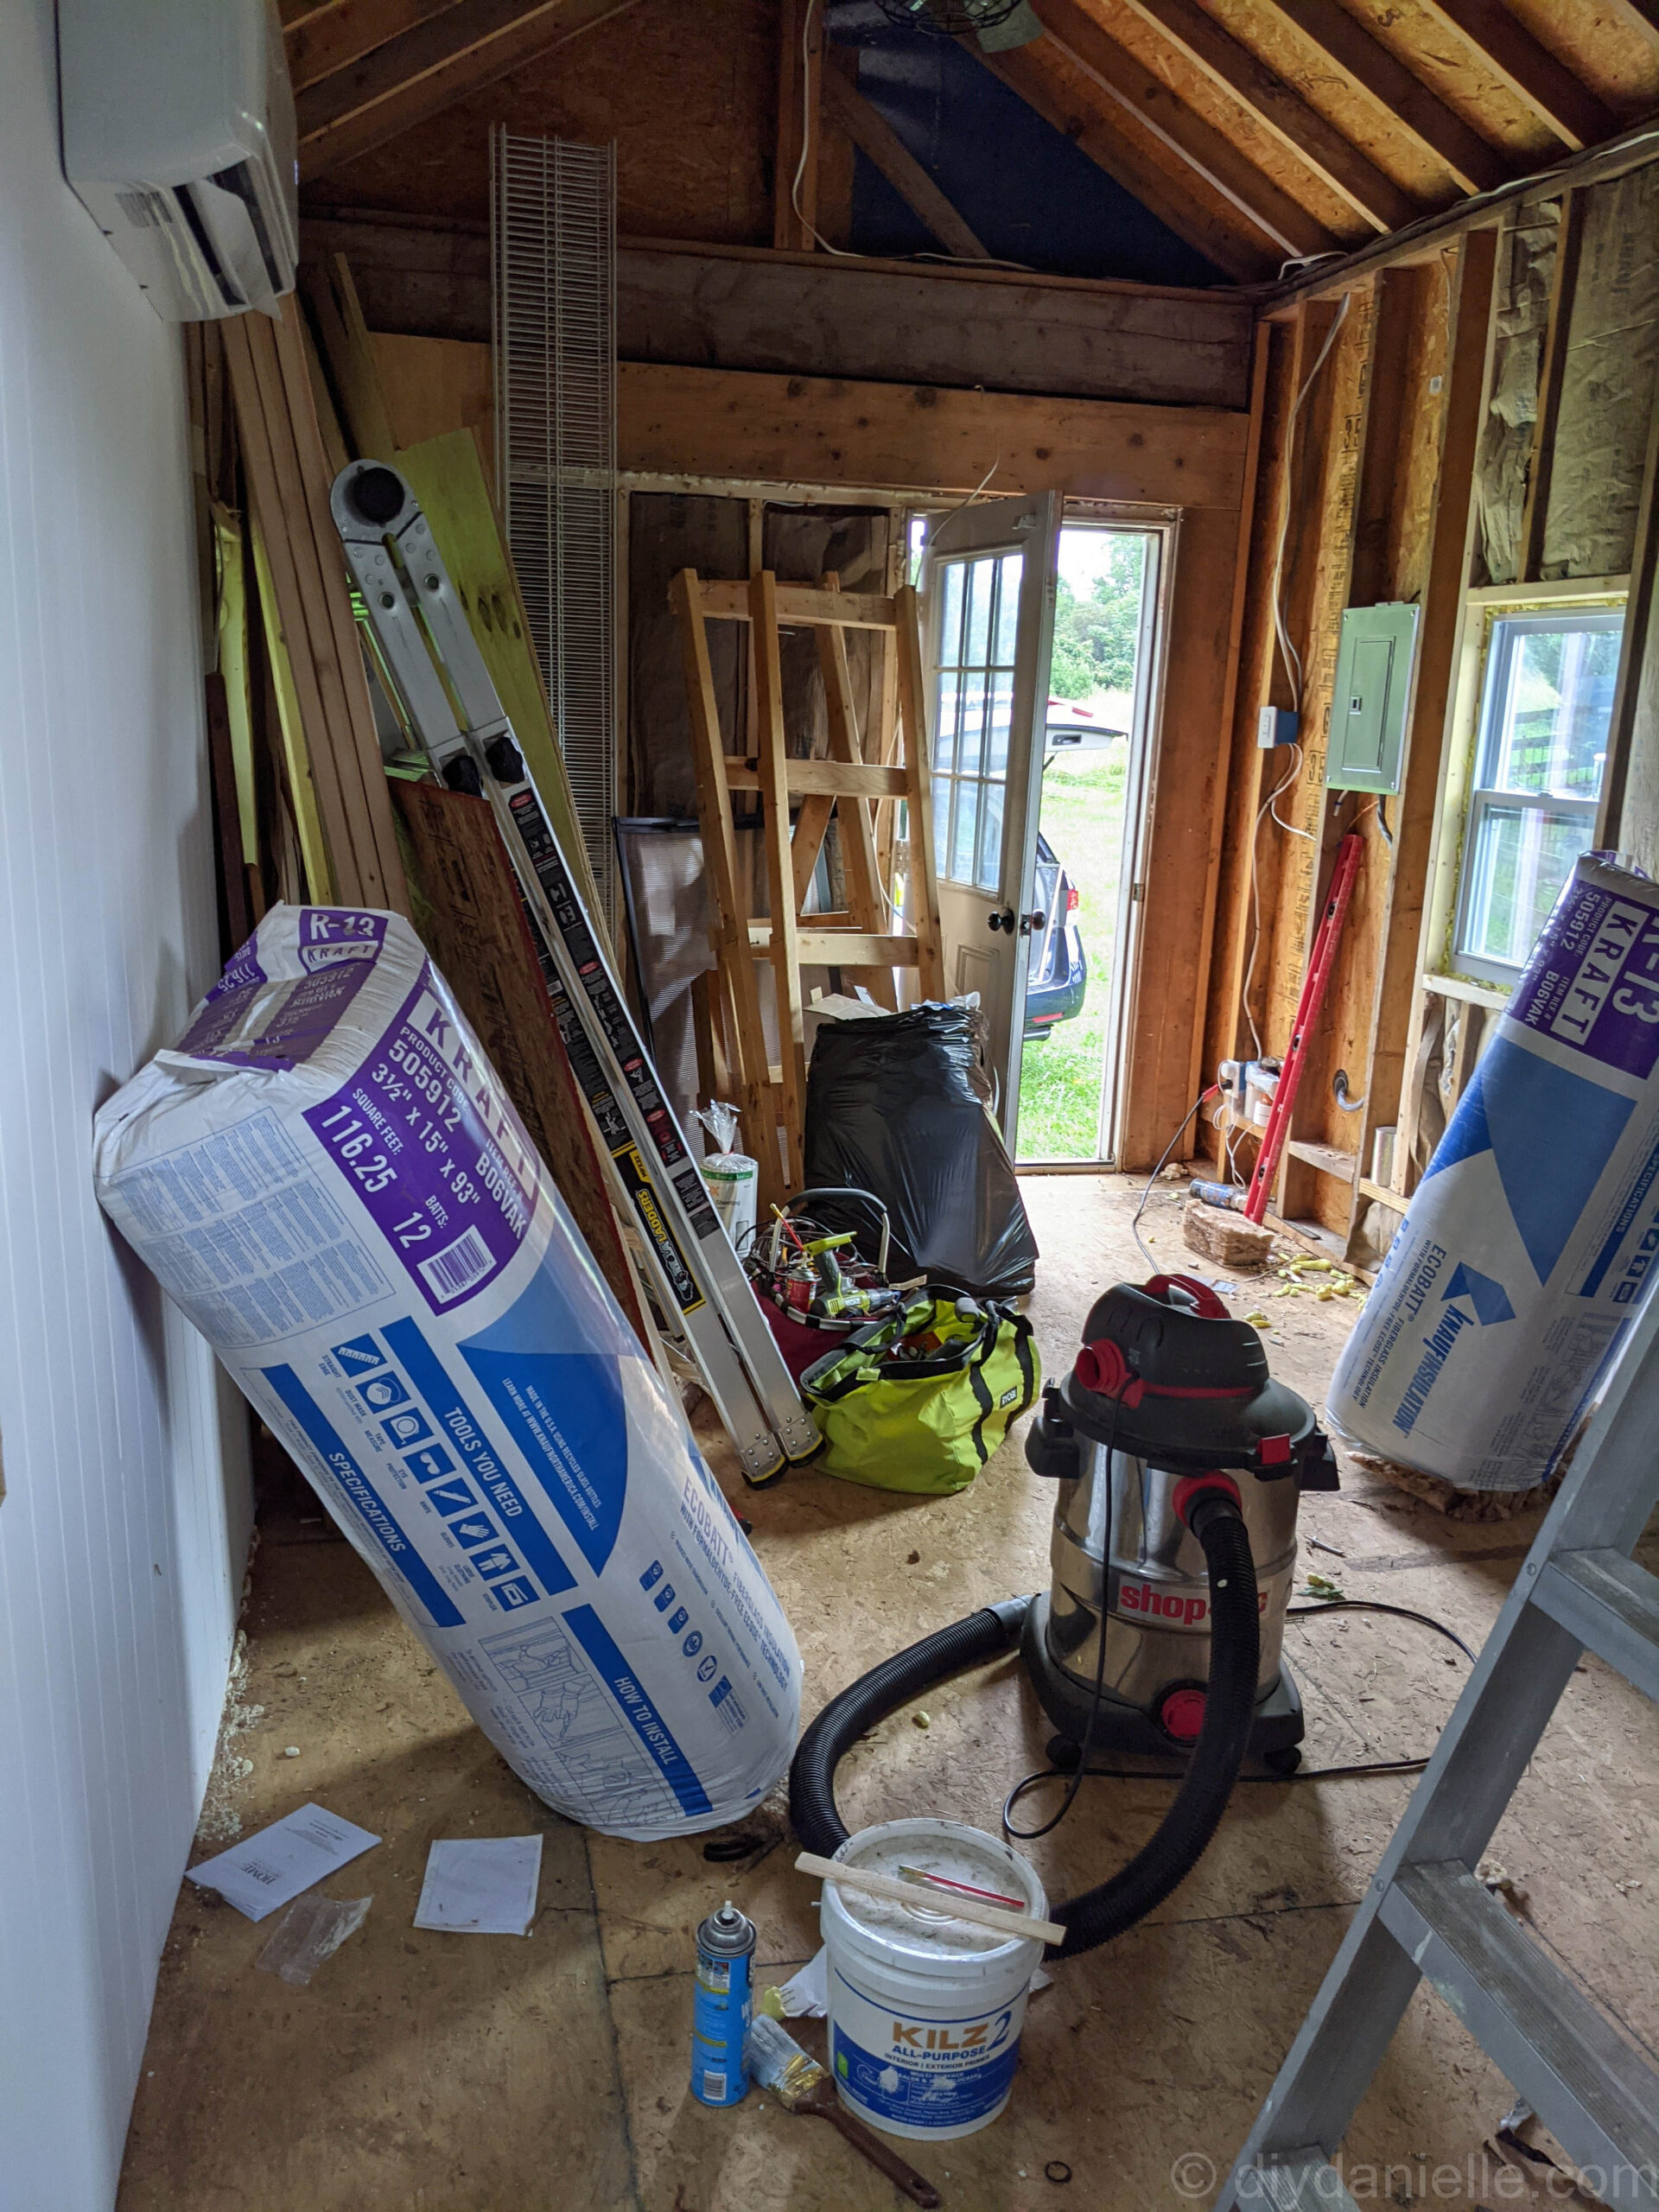
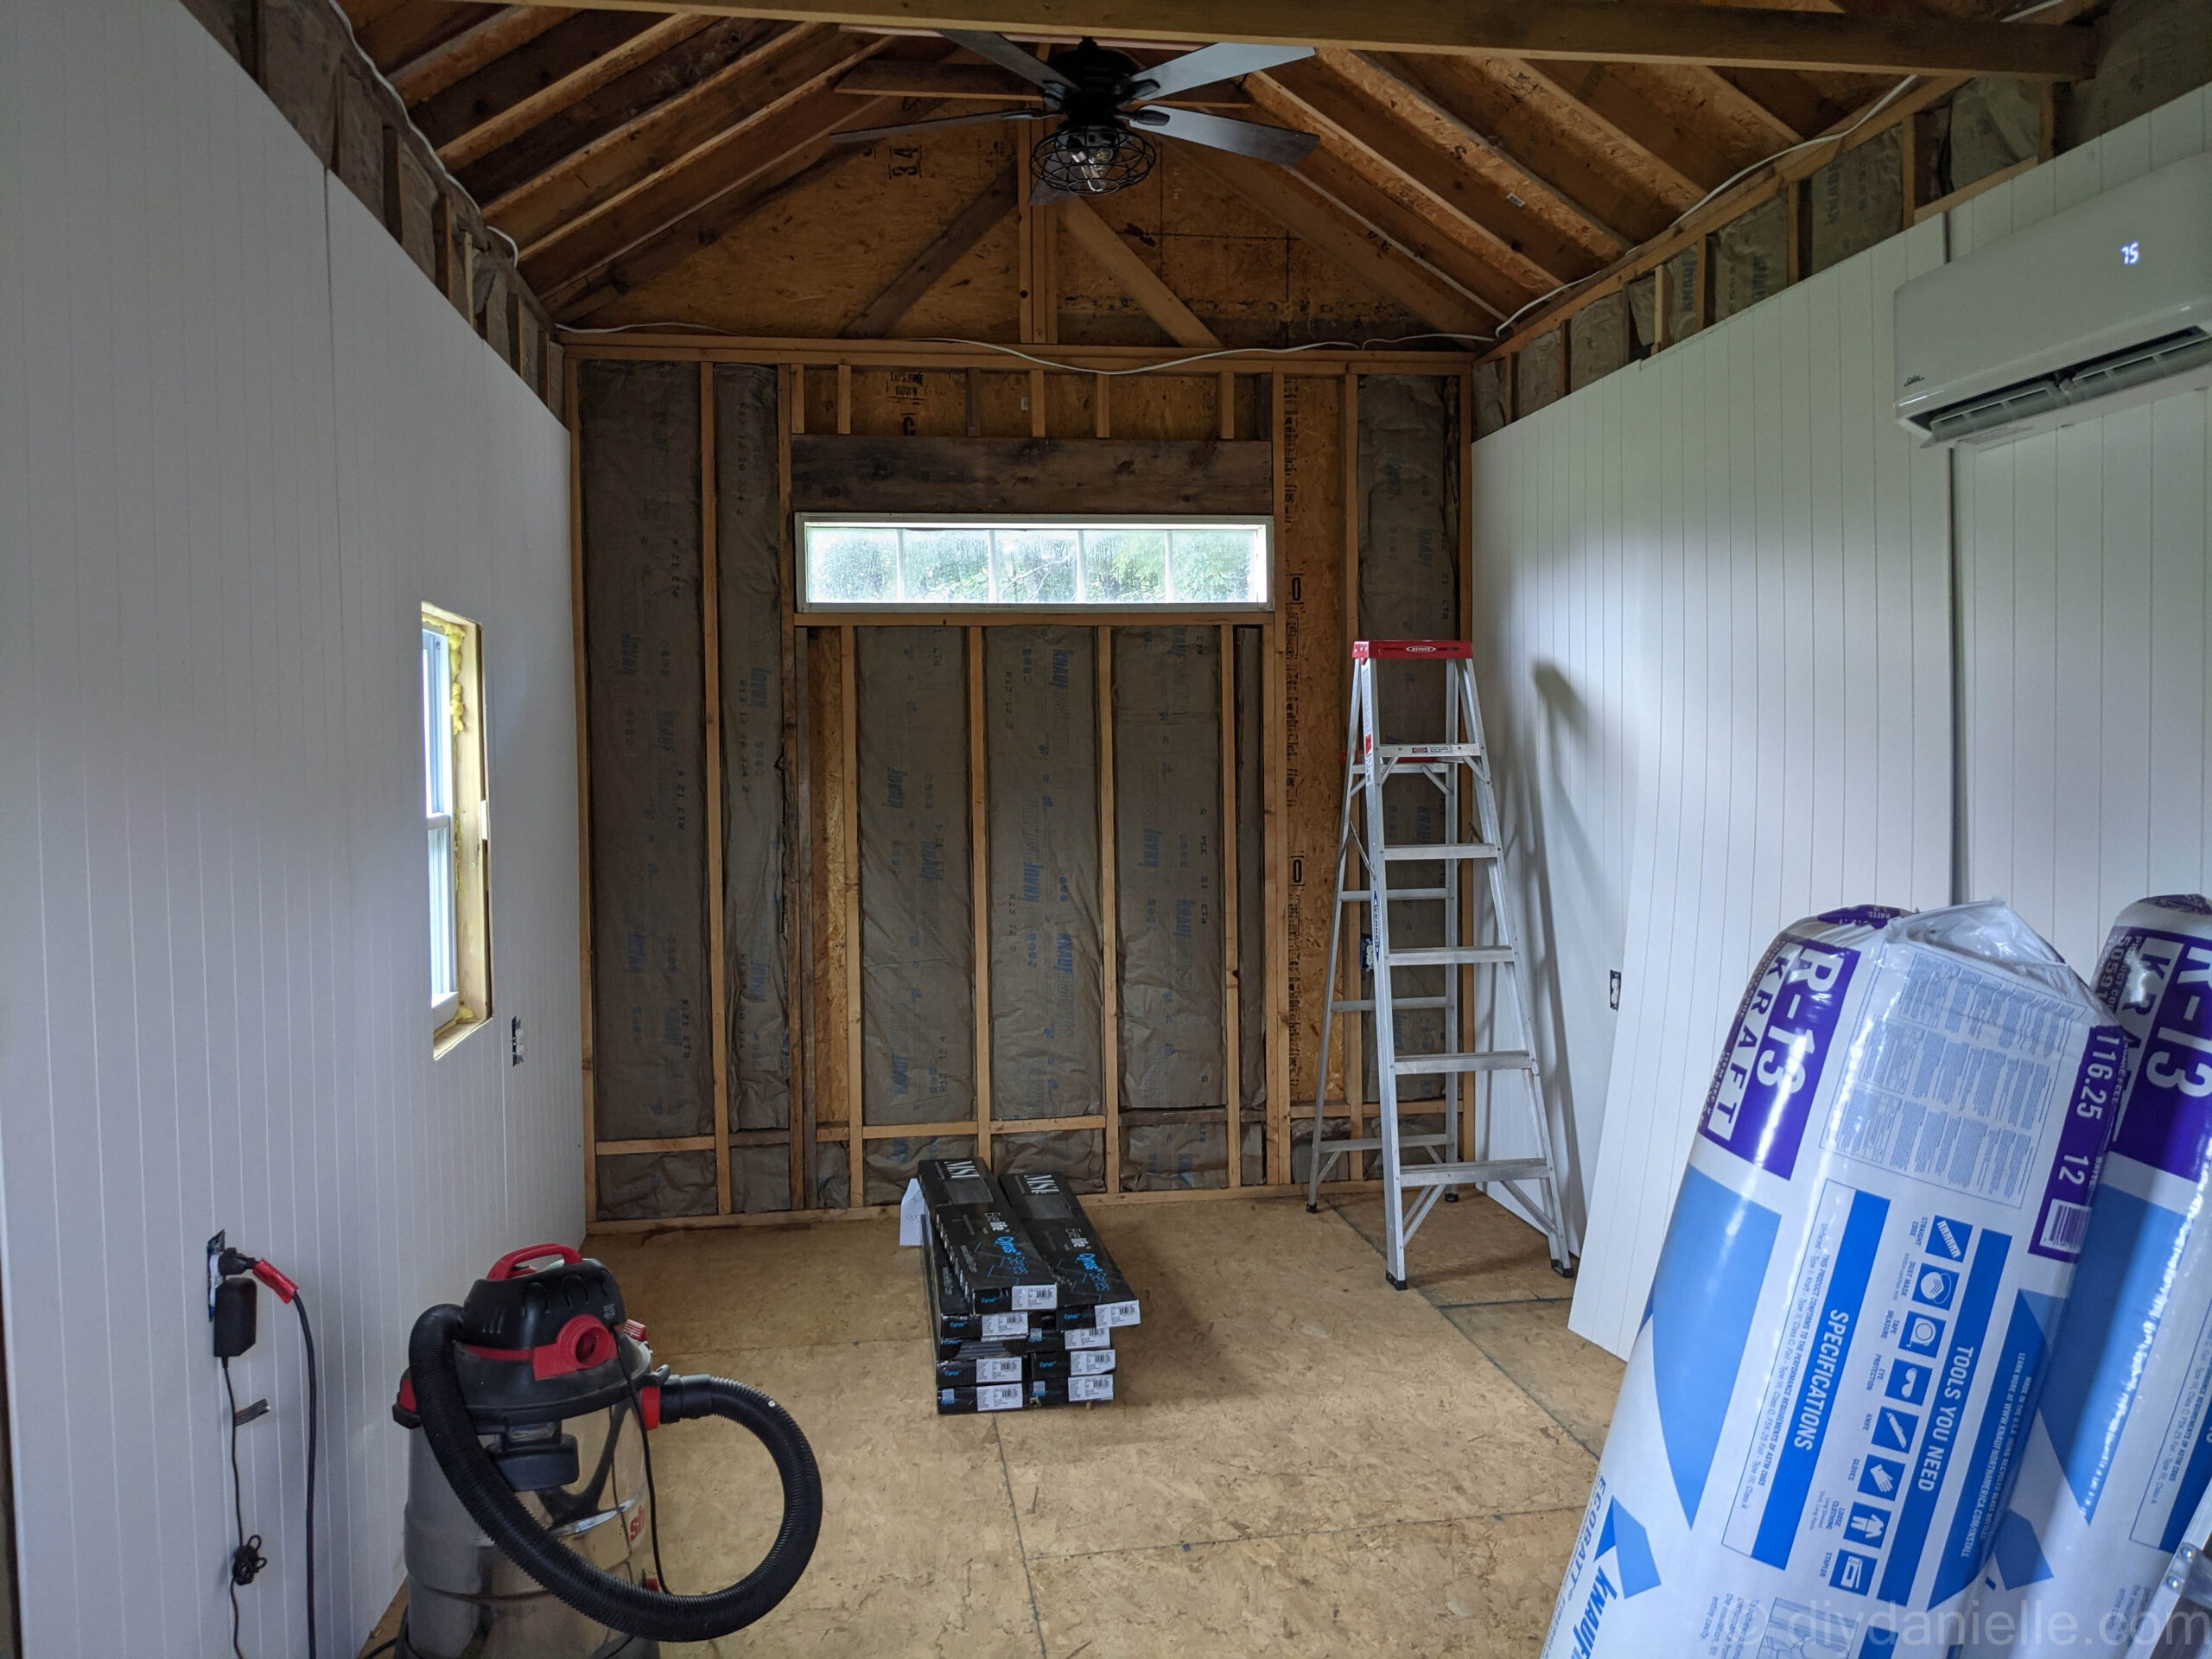
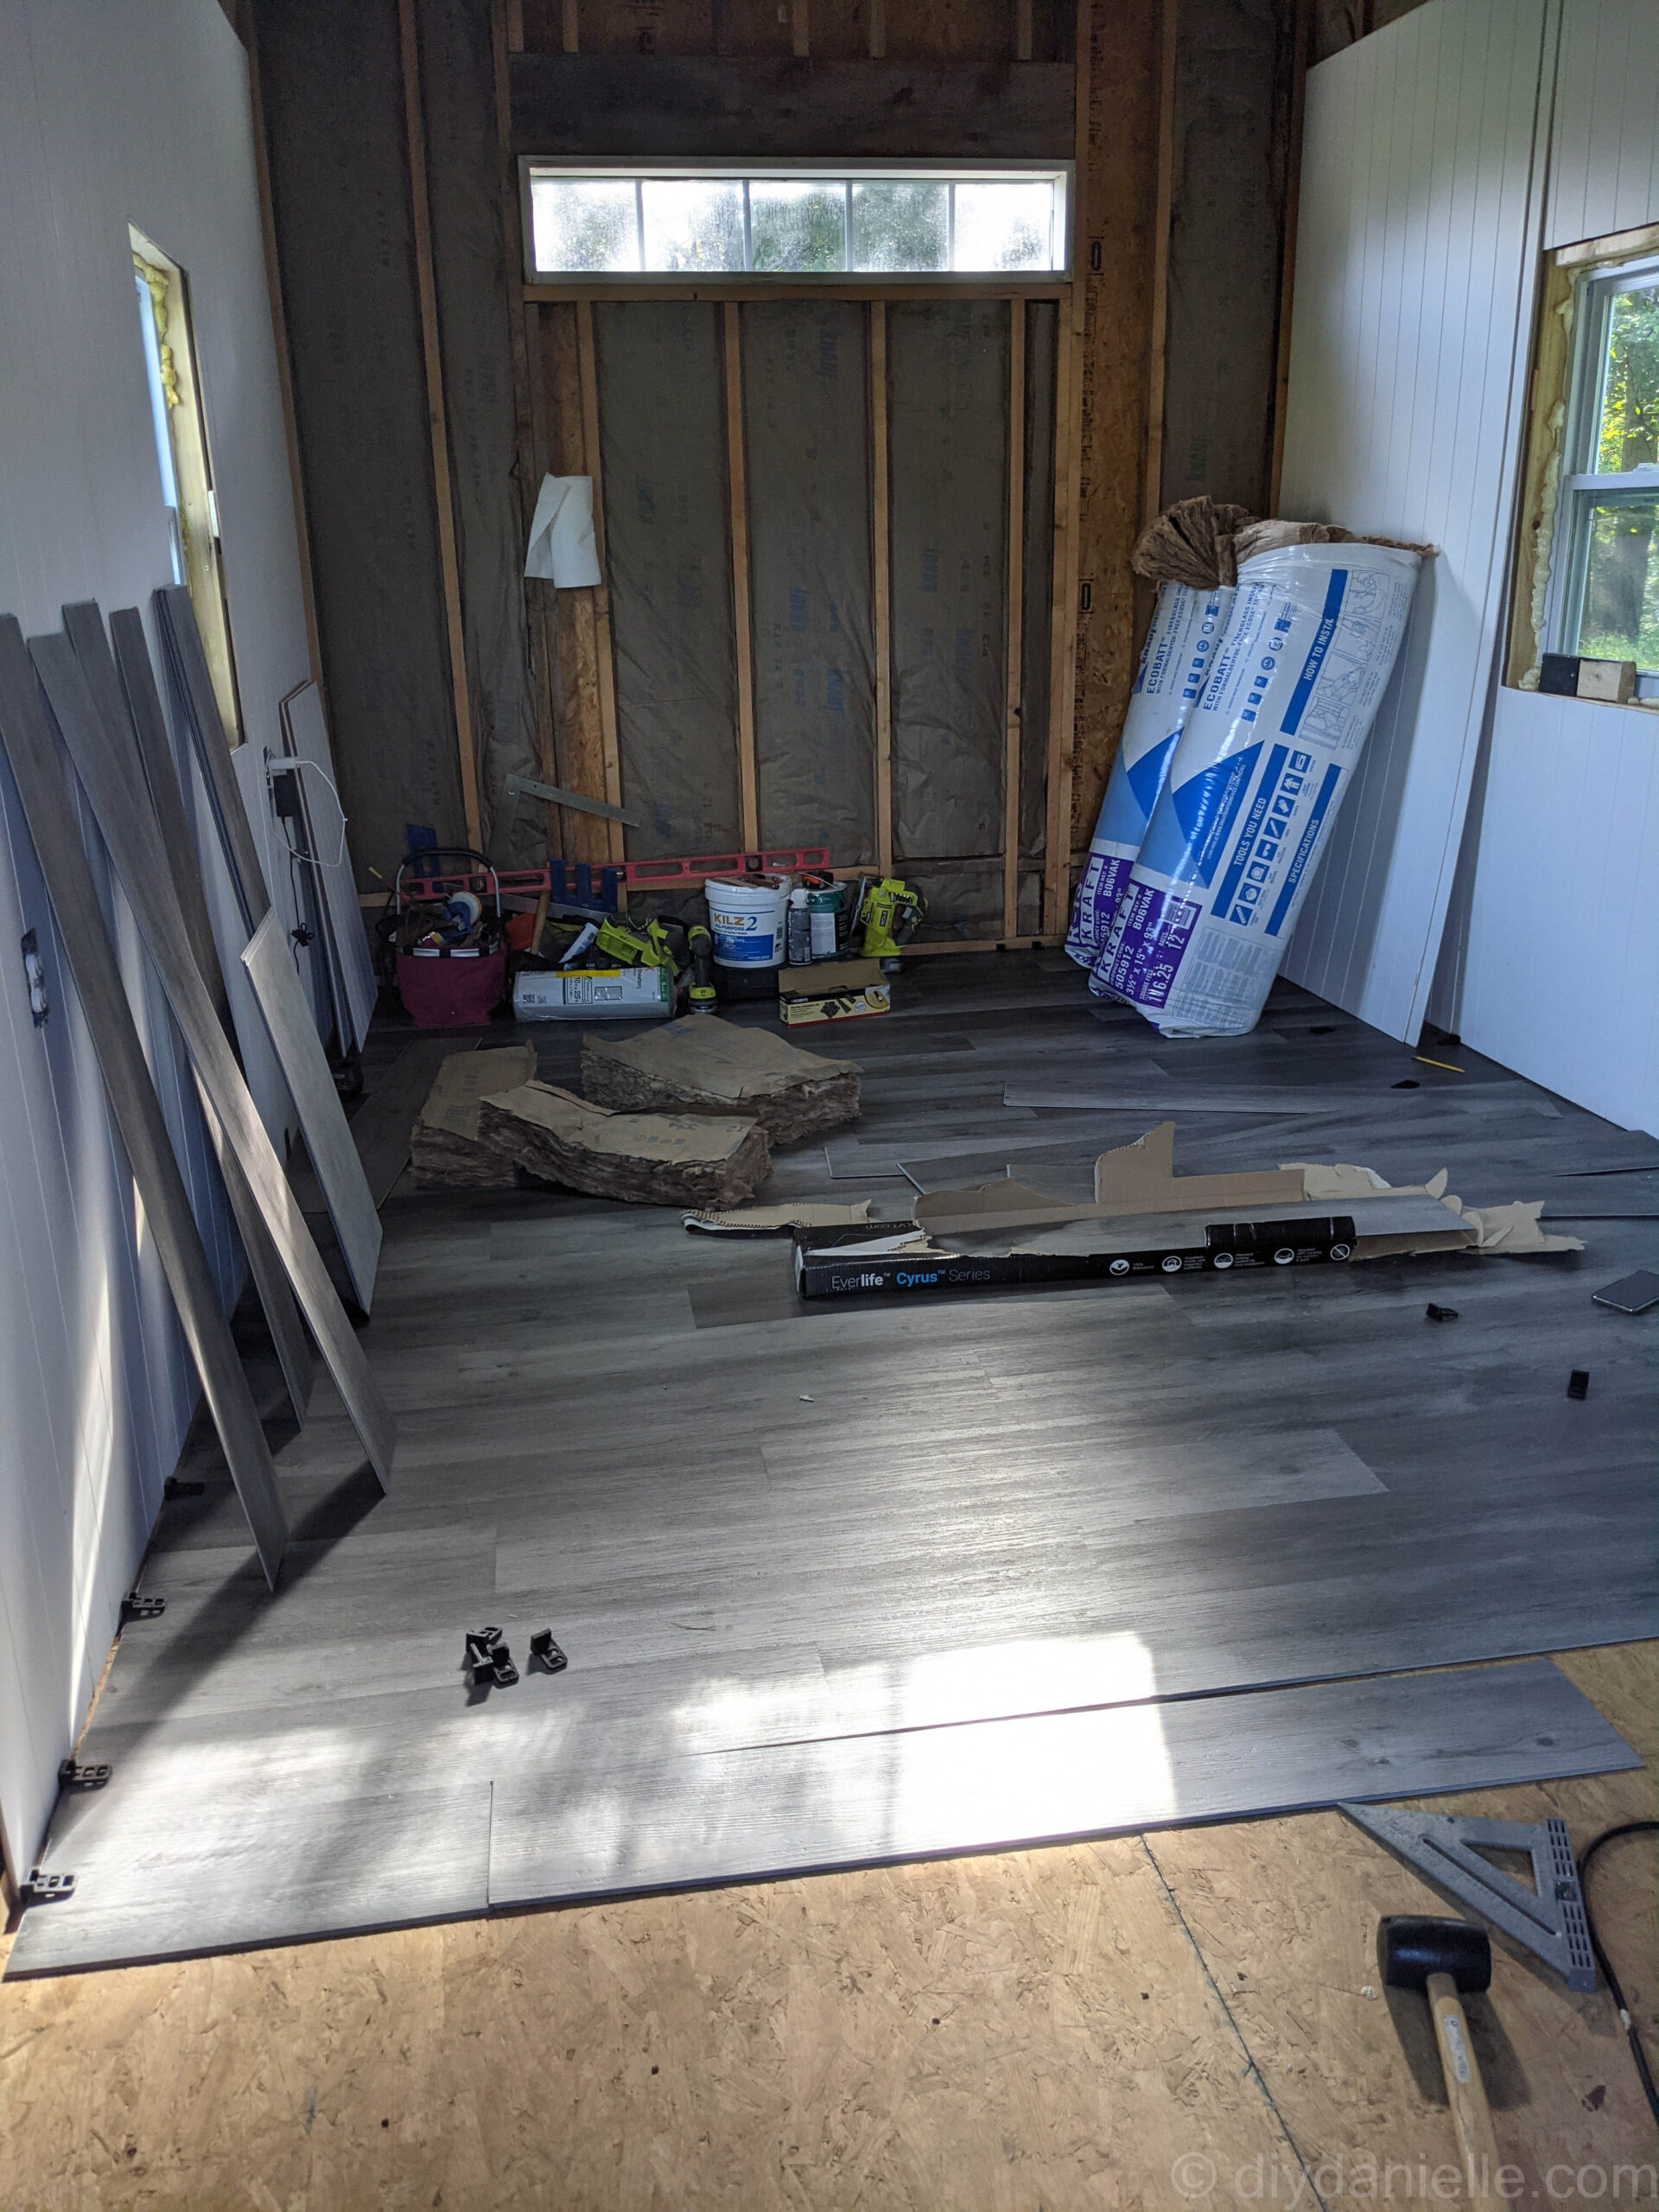
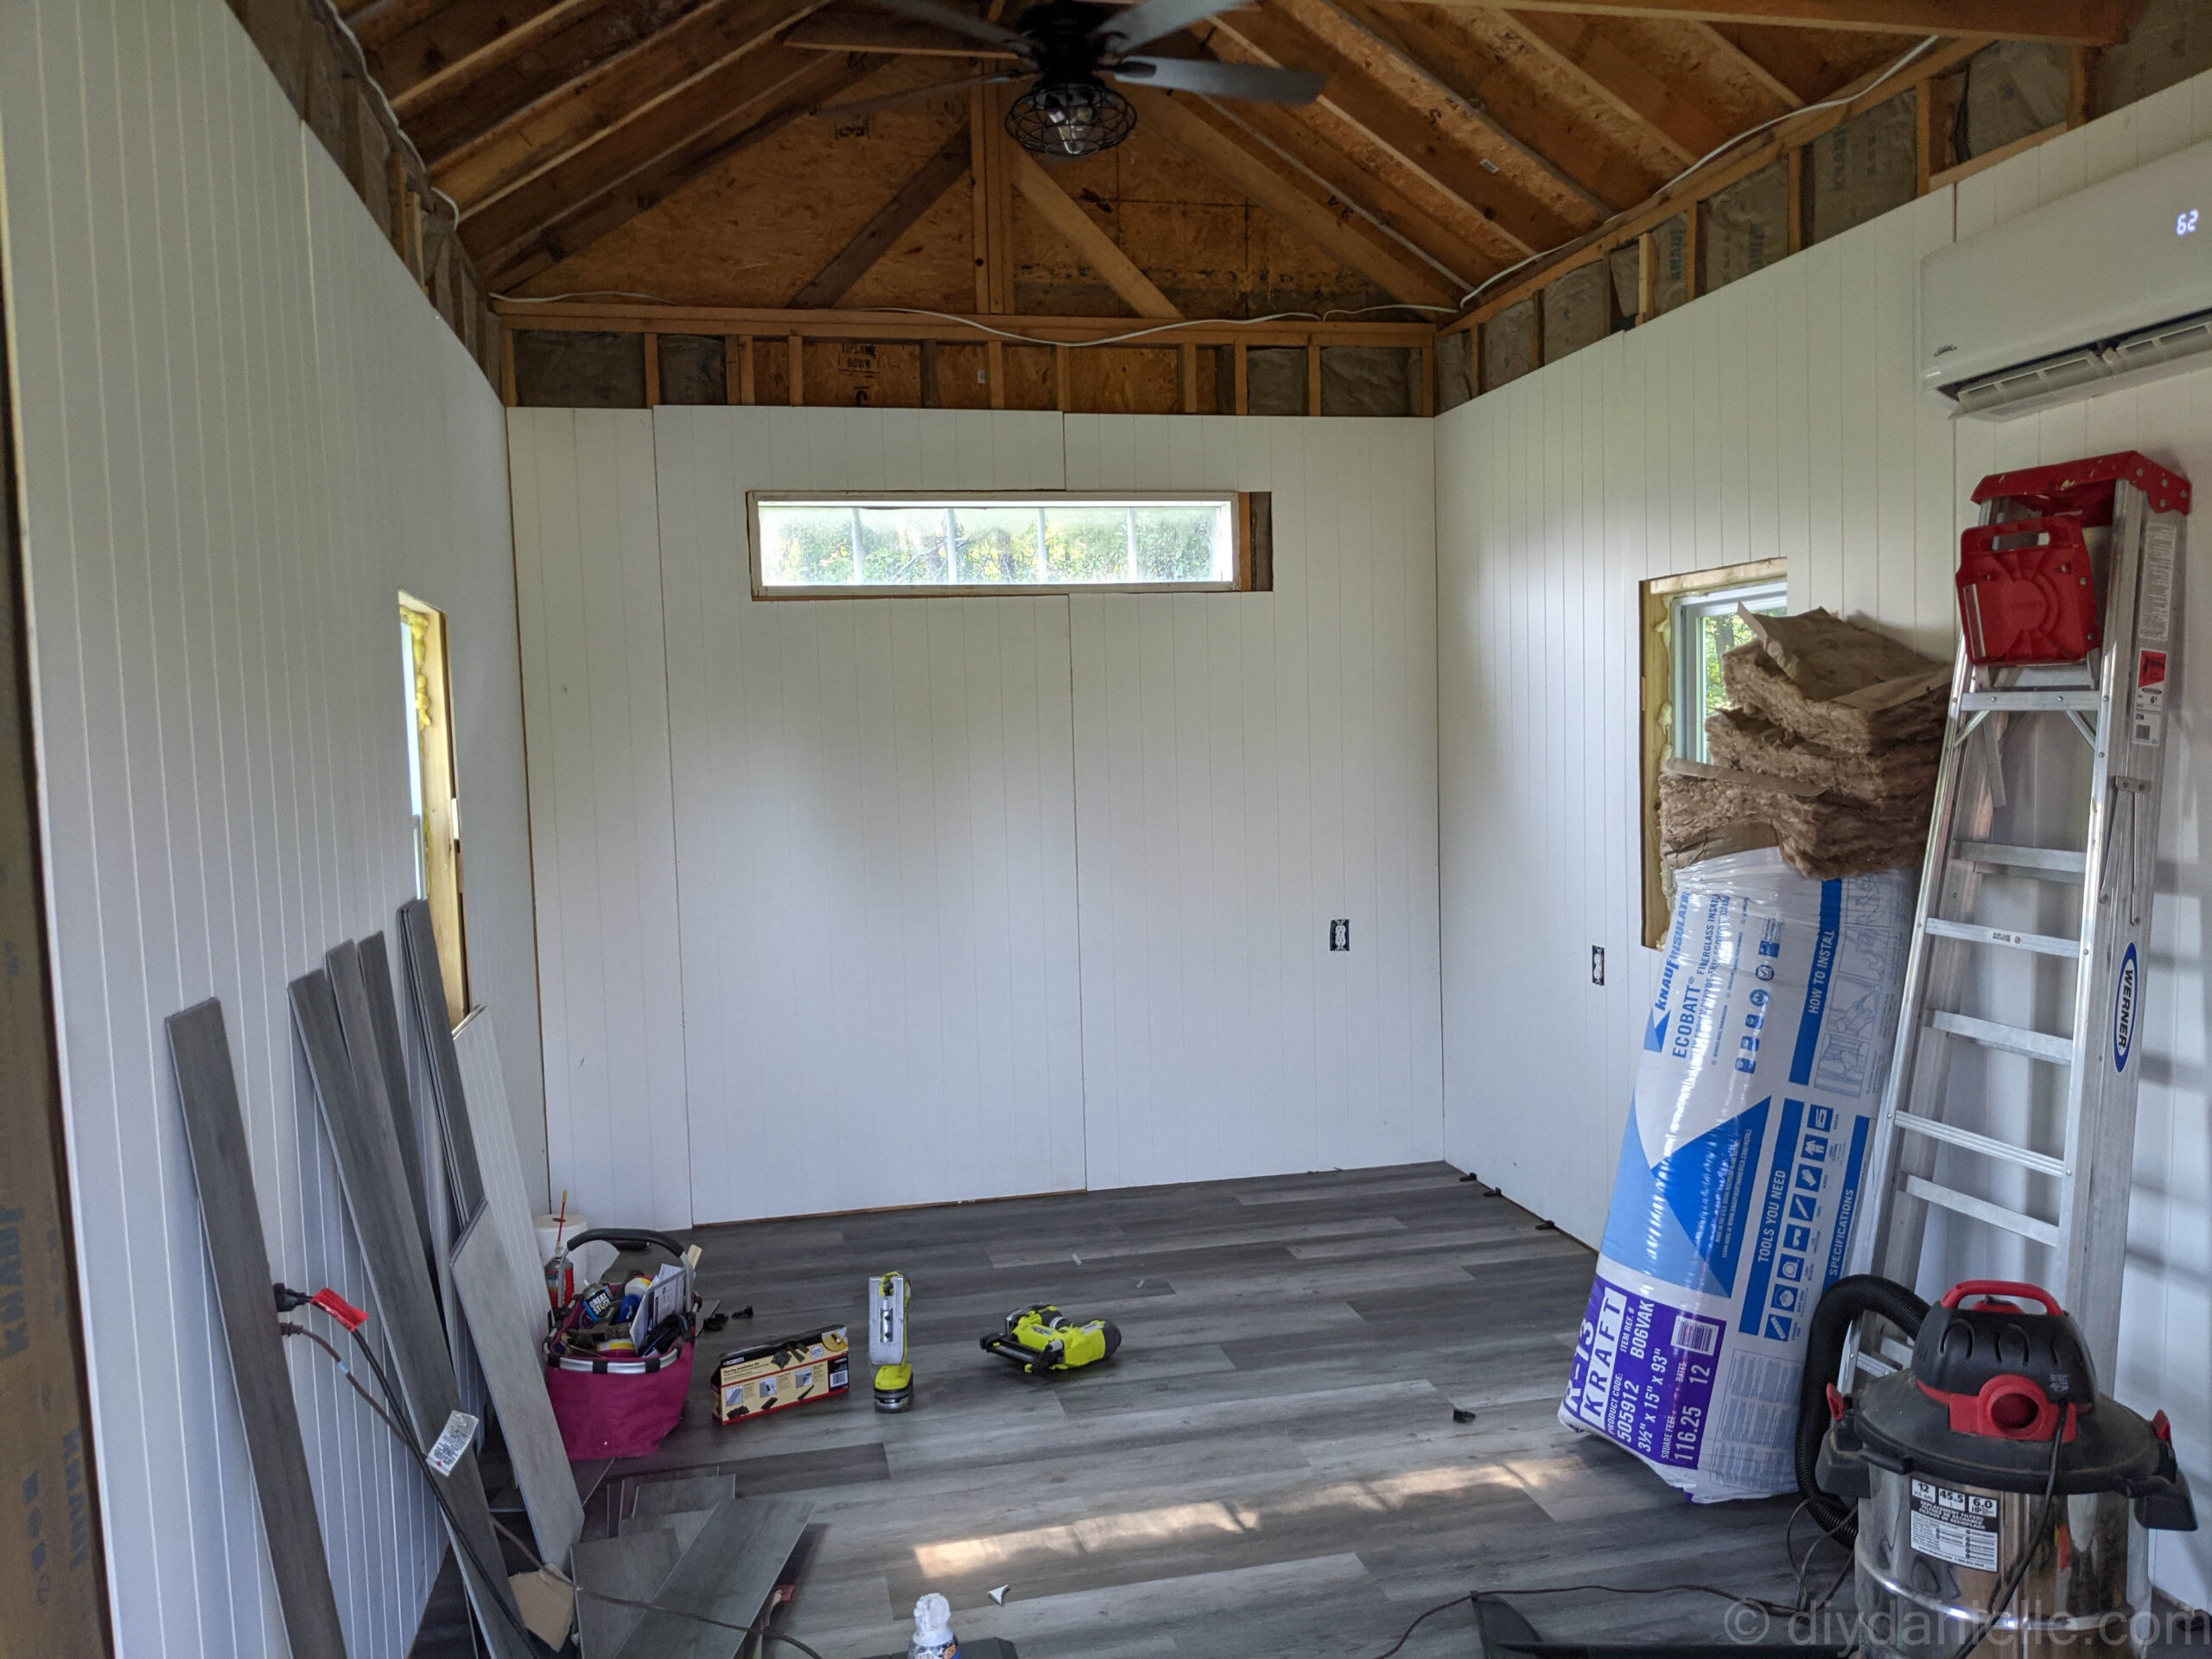
Here’s what we started with:
Supplies
- Woodland Beaufort Birch Vinyl Plank Flooring
- Laminate Floor Installation Kit: this kit comes with a tapping block but it might be useful to have a tapping block like this one as well. It’s easier to use for the first couple of rows.
- Laminate Floor Spacers: These are GLORIOUS. Yes, the kit comes with some, but these ones are better.
- Mallet
- Reducer Molding is used for transitioning between the laminate and carpet (or other flooring type)
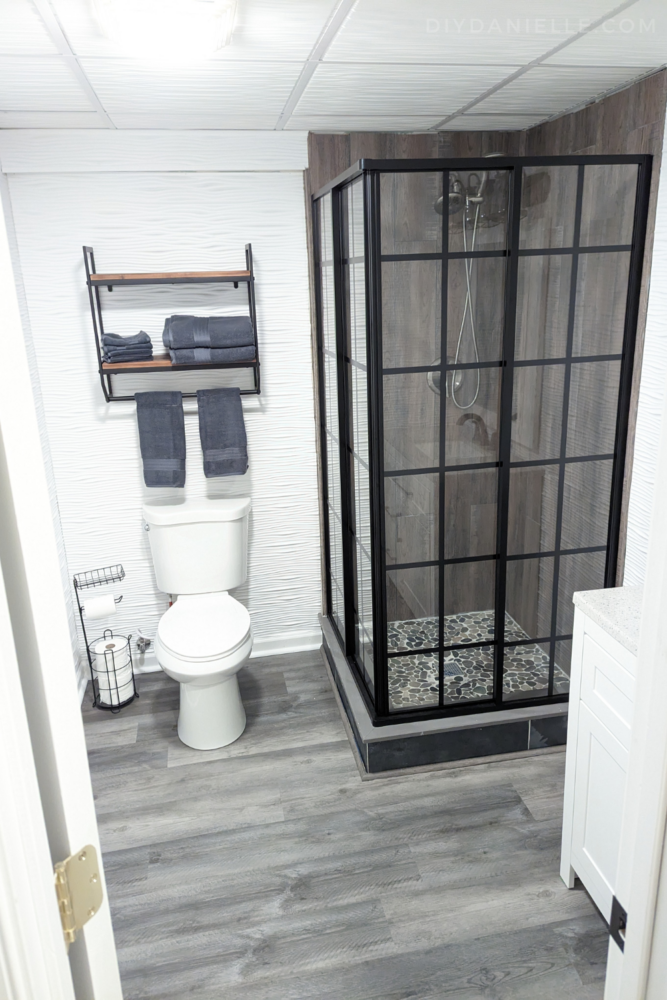
- Quarter Round: This is used to cover any gaps between the flooring and baseboard. For the she shed, we didn’t use this because we were installing the baseboard on top so that covered any gaps. In the basement, we needed quarter round around the base of the shower and also I added it along the baseboard (baseboard is installed first, then quarter round).
- Box Cutter with Extra Blades
- Speed Square
- Optional: Underlayment… you need to read the box on your product carefully to see if this is advised or needed.
Step by Step Flooring Installation Tutorial
Step 1: Plan & Prepare Your Space
Start by measuring your space and seeing how many planks will fit along the length (we installed our flooring so it was perpendicular to the long walls of the shed). If you’ll end up with a tiny piece at the end, you want to cut your first row so that won’t happen. You’re trying to avoid a weird sliver of flooring for the last pieces (the tiny slivers are prone to popping up easily).
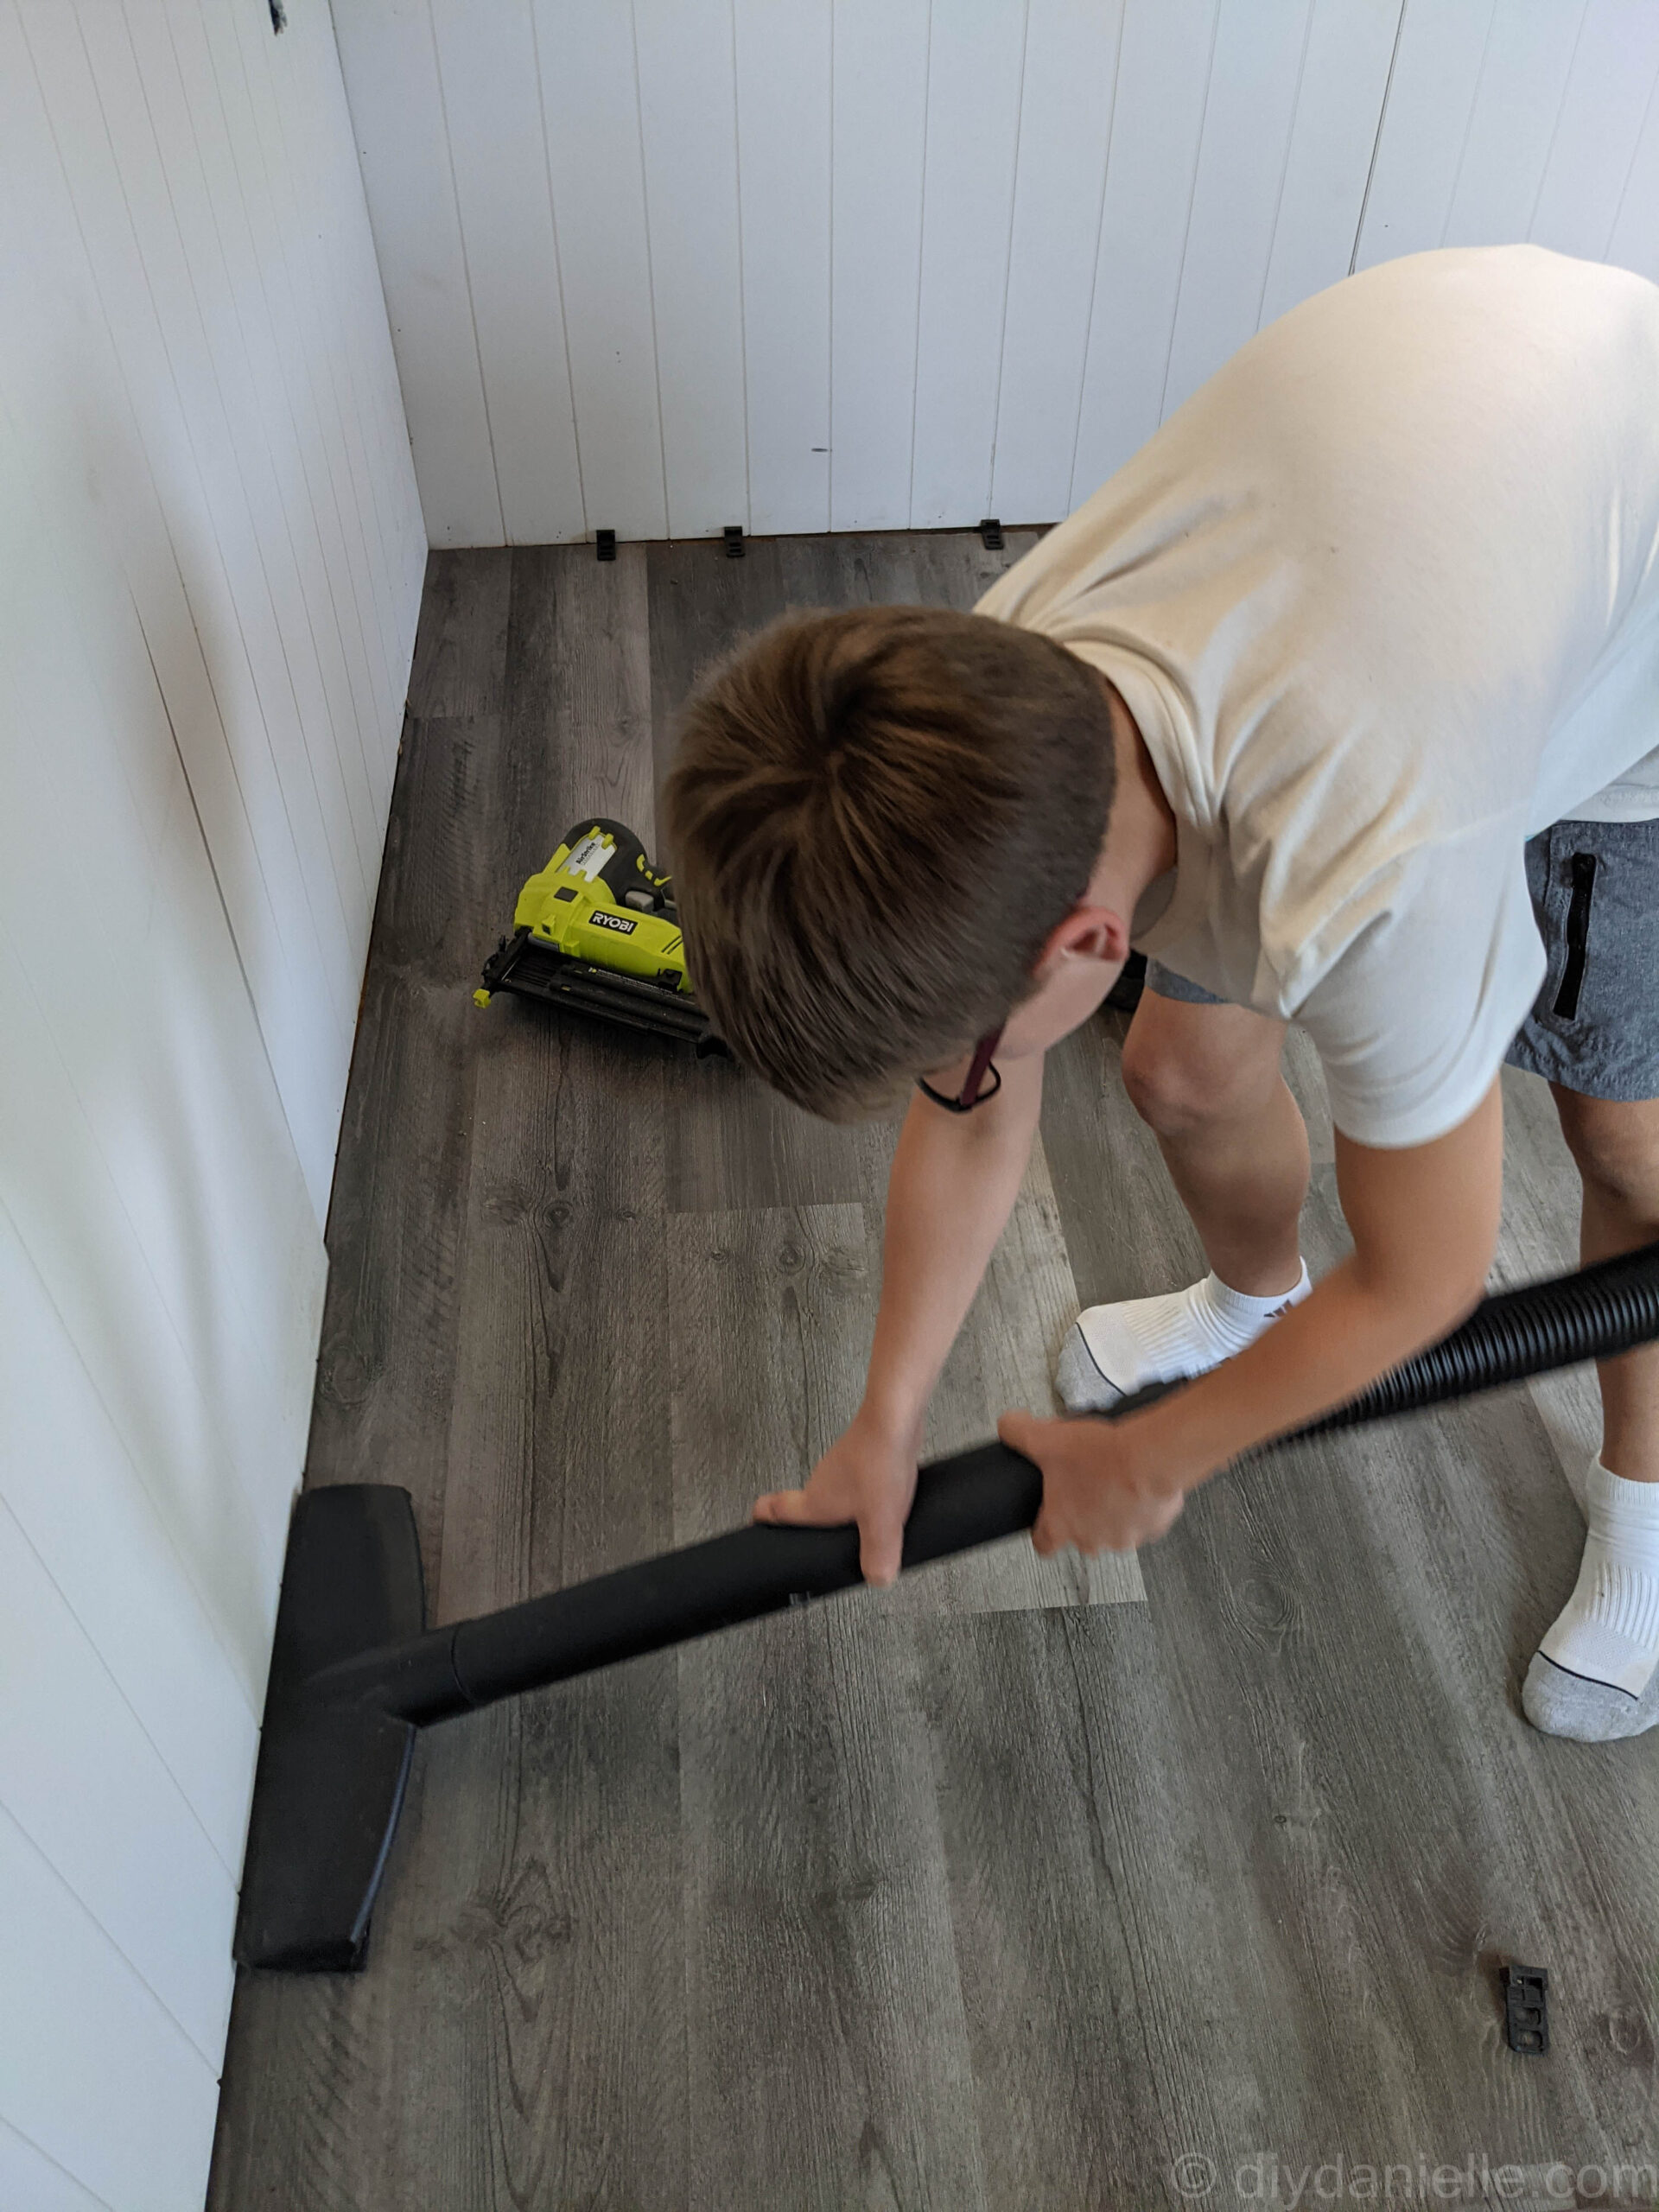
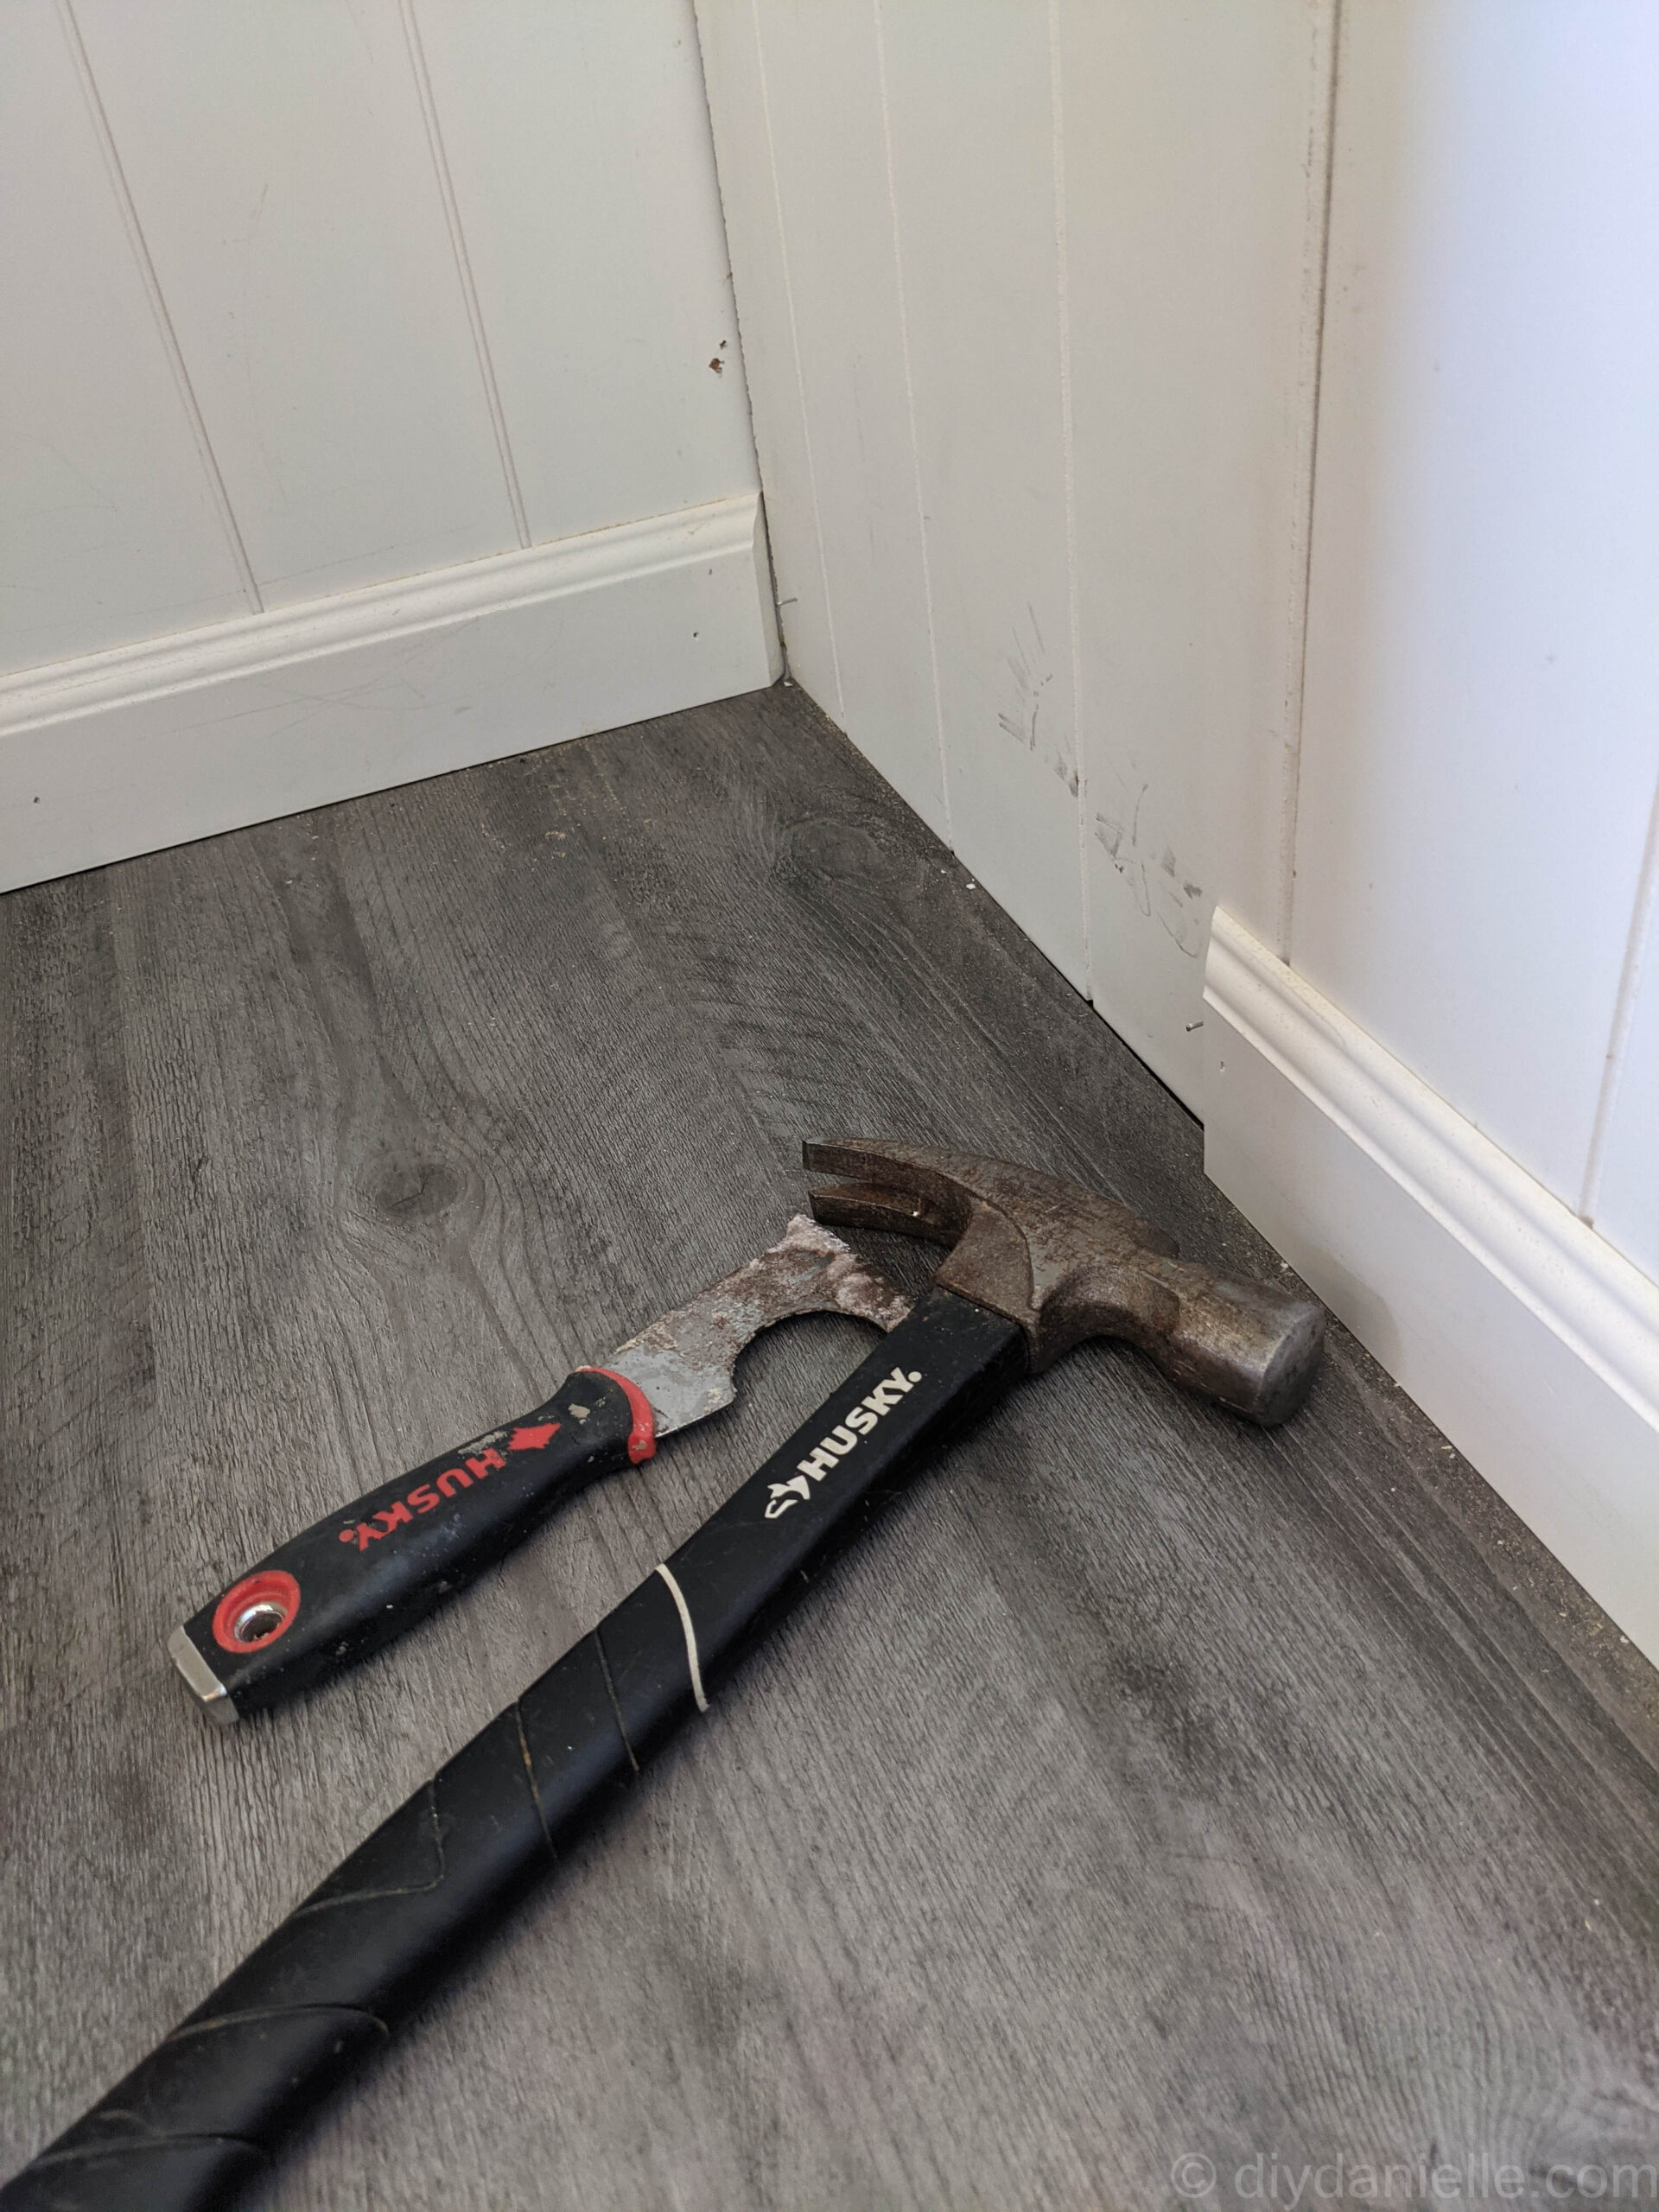
Vacuum everything well. Fill in any gaps in the wood subfloor. It’s amazing how it’s imperfect… I was shocked to see gaps. You’ll want to hammer in any nails that have popped up too. We had to repair a section of the floor that had rotted as well.
Step 2: Laying the Underlayment
This is an optional step, dependent on the flooring instructions and the floor that you’re laying it over (subfloor vs. concrete).
In this case, I did not add underlayment, but I did for my bathroom.
I like using underlayment (we’ve done a few laminate projects since this project) because it helps make up for small issues with the underlying flooring. But some laminate floors come with it attached or don’t require it. It’s important to read the box.
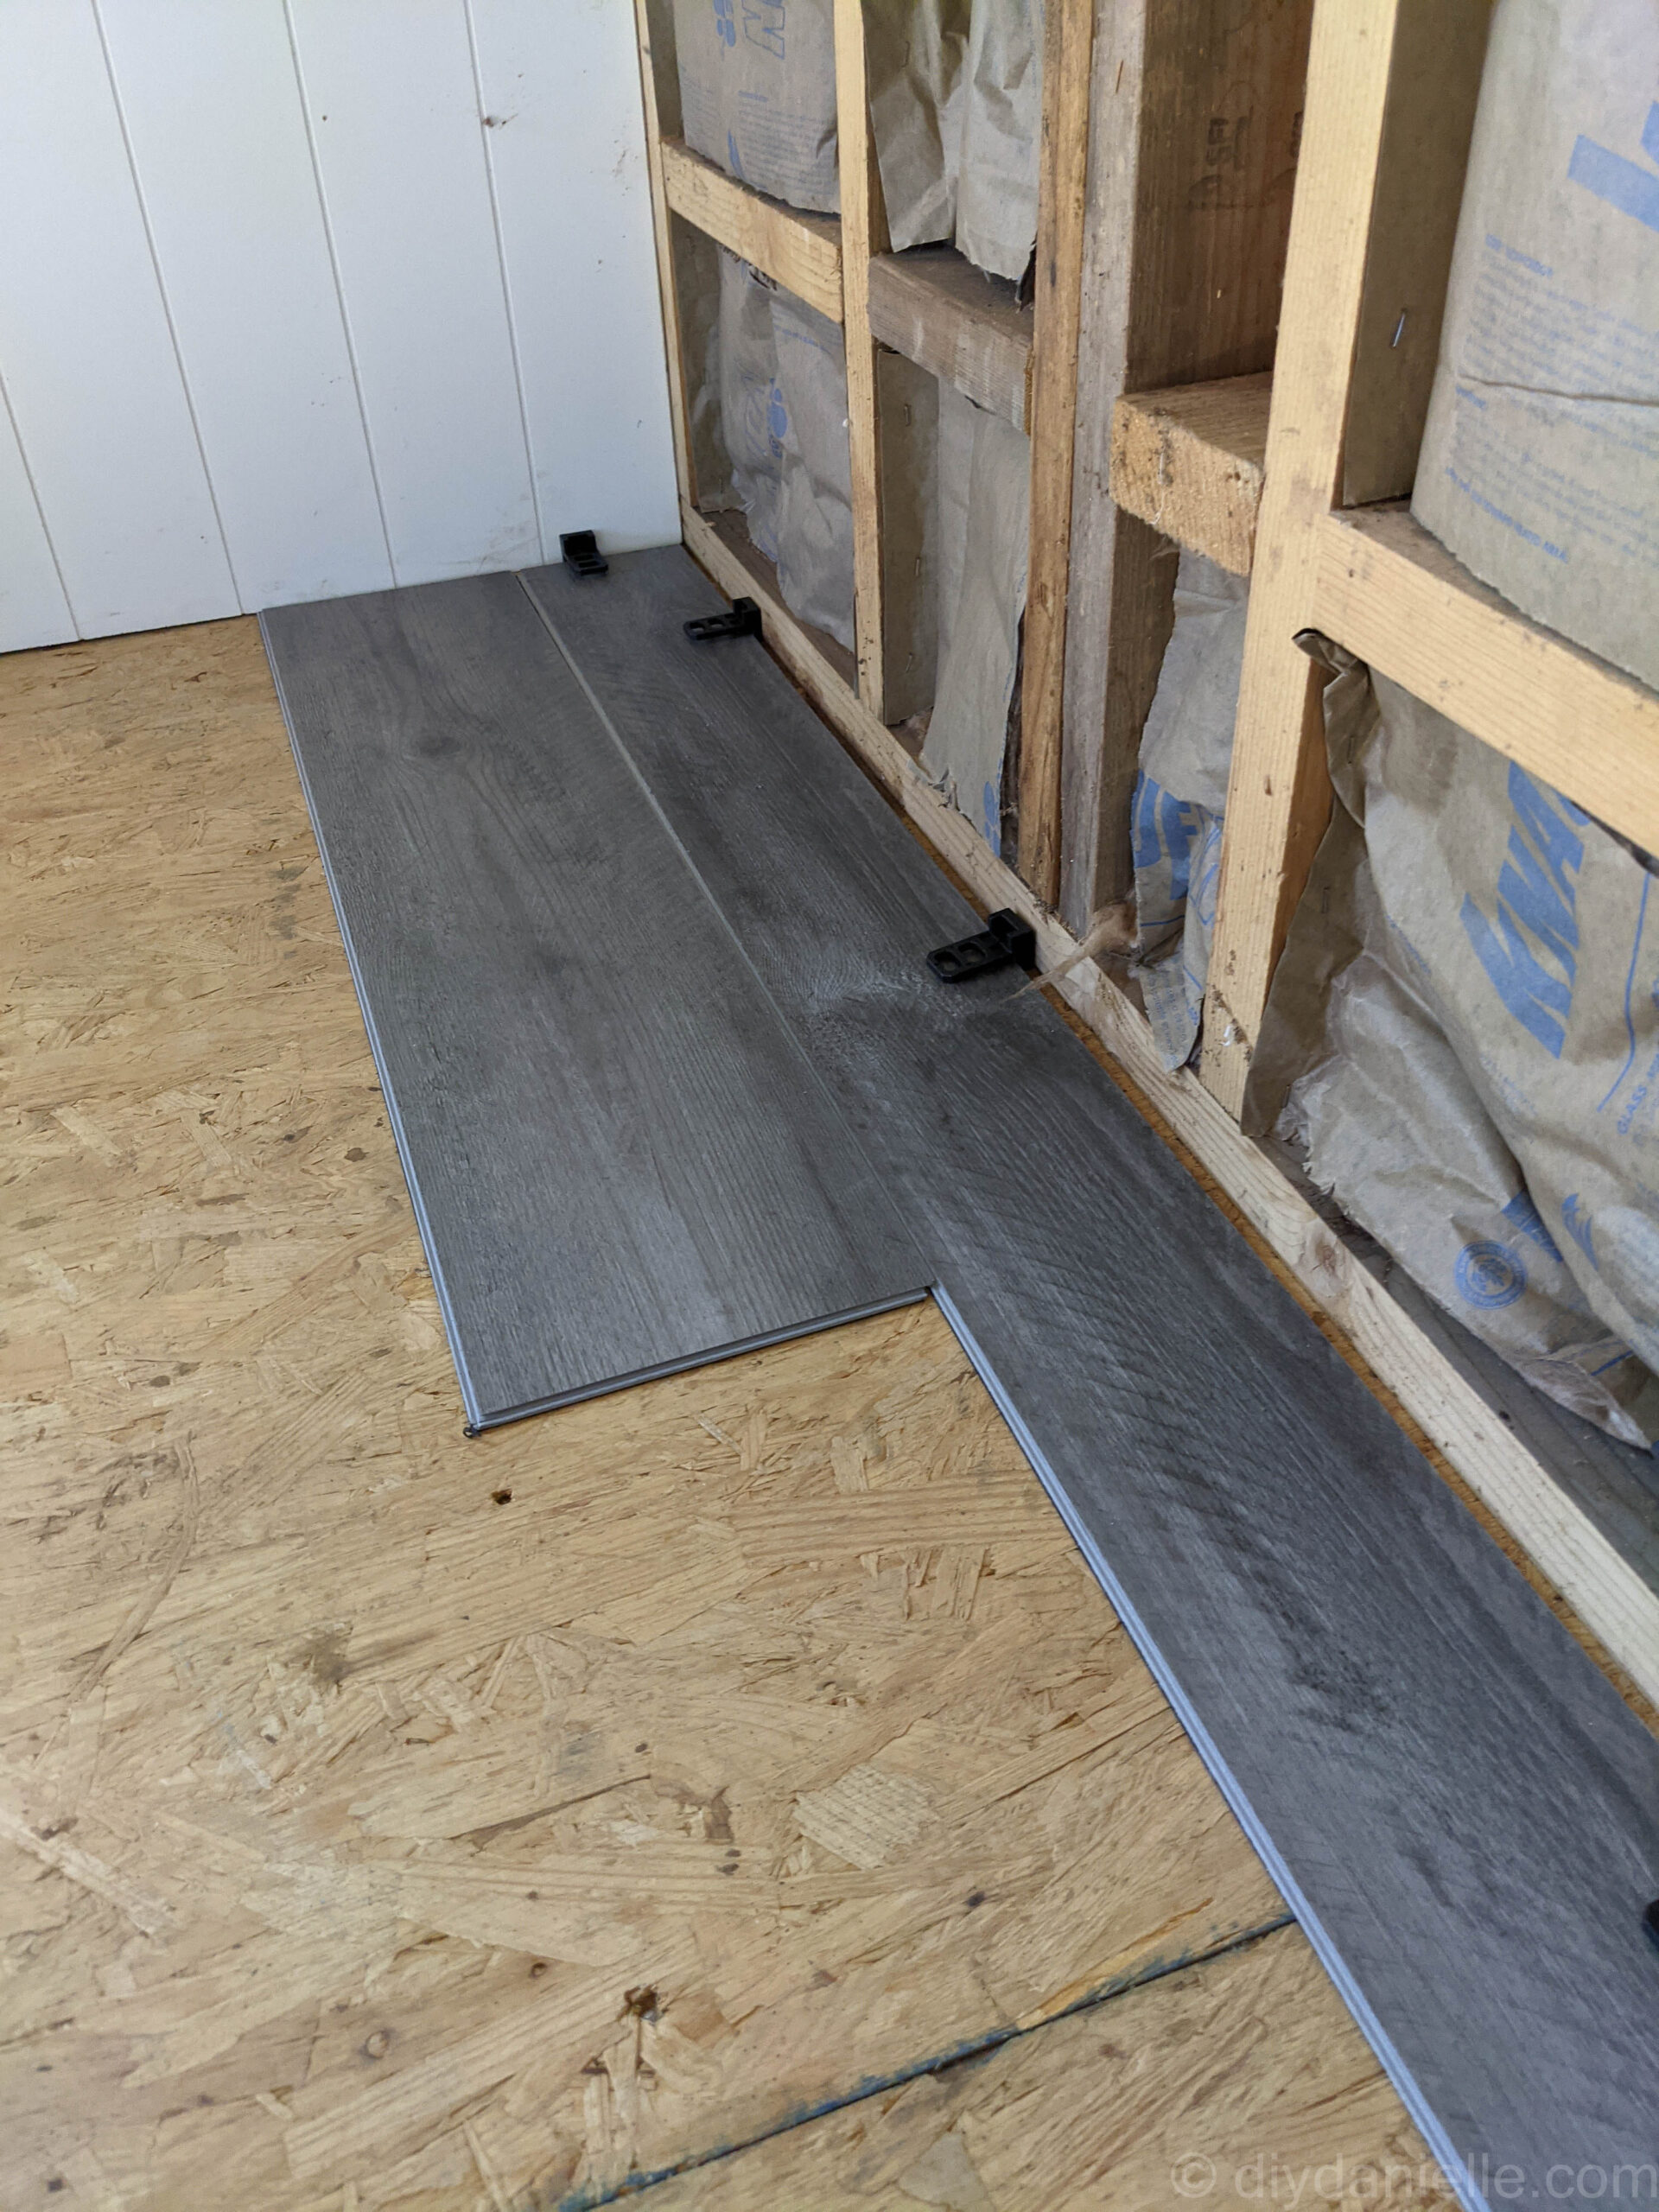
Step 3: Cutting and Laying the Laminate
When you start your first row, you want your first panel to be a partial panel. This allows you to alternate so the panels don’t all line up in a straight line row by row. So your first row will be PARTIAL PANEL-FULL PANEL-FULL PANEL (repeat full panels until you’re all the way across the row)-FINISH WITH PARTIAL PANEL (or full panel if the math works out perfectly).
You can cut your laminate floor planks easily using a box cutter with a sharp blade. I use a speed square to help make a straight cut, make my cut using the box cutter, then snap the plank in half over my knee.
Remember that all four sides of your original plank had a tongue or groove to help the pieces fit together. The RAW cut side needs to always go against a wall. The raw cut will be covered by baseboard or quarter round.
Use the spacers to hold the floors away from the wall a little. You will remove these once your flooring is completely installed. This extra space allows for expansion and contraction of the flooring. The spacers keep you from accidentally installing it tightly against the walls.
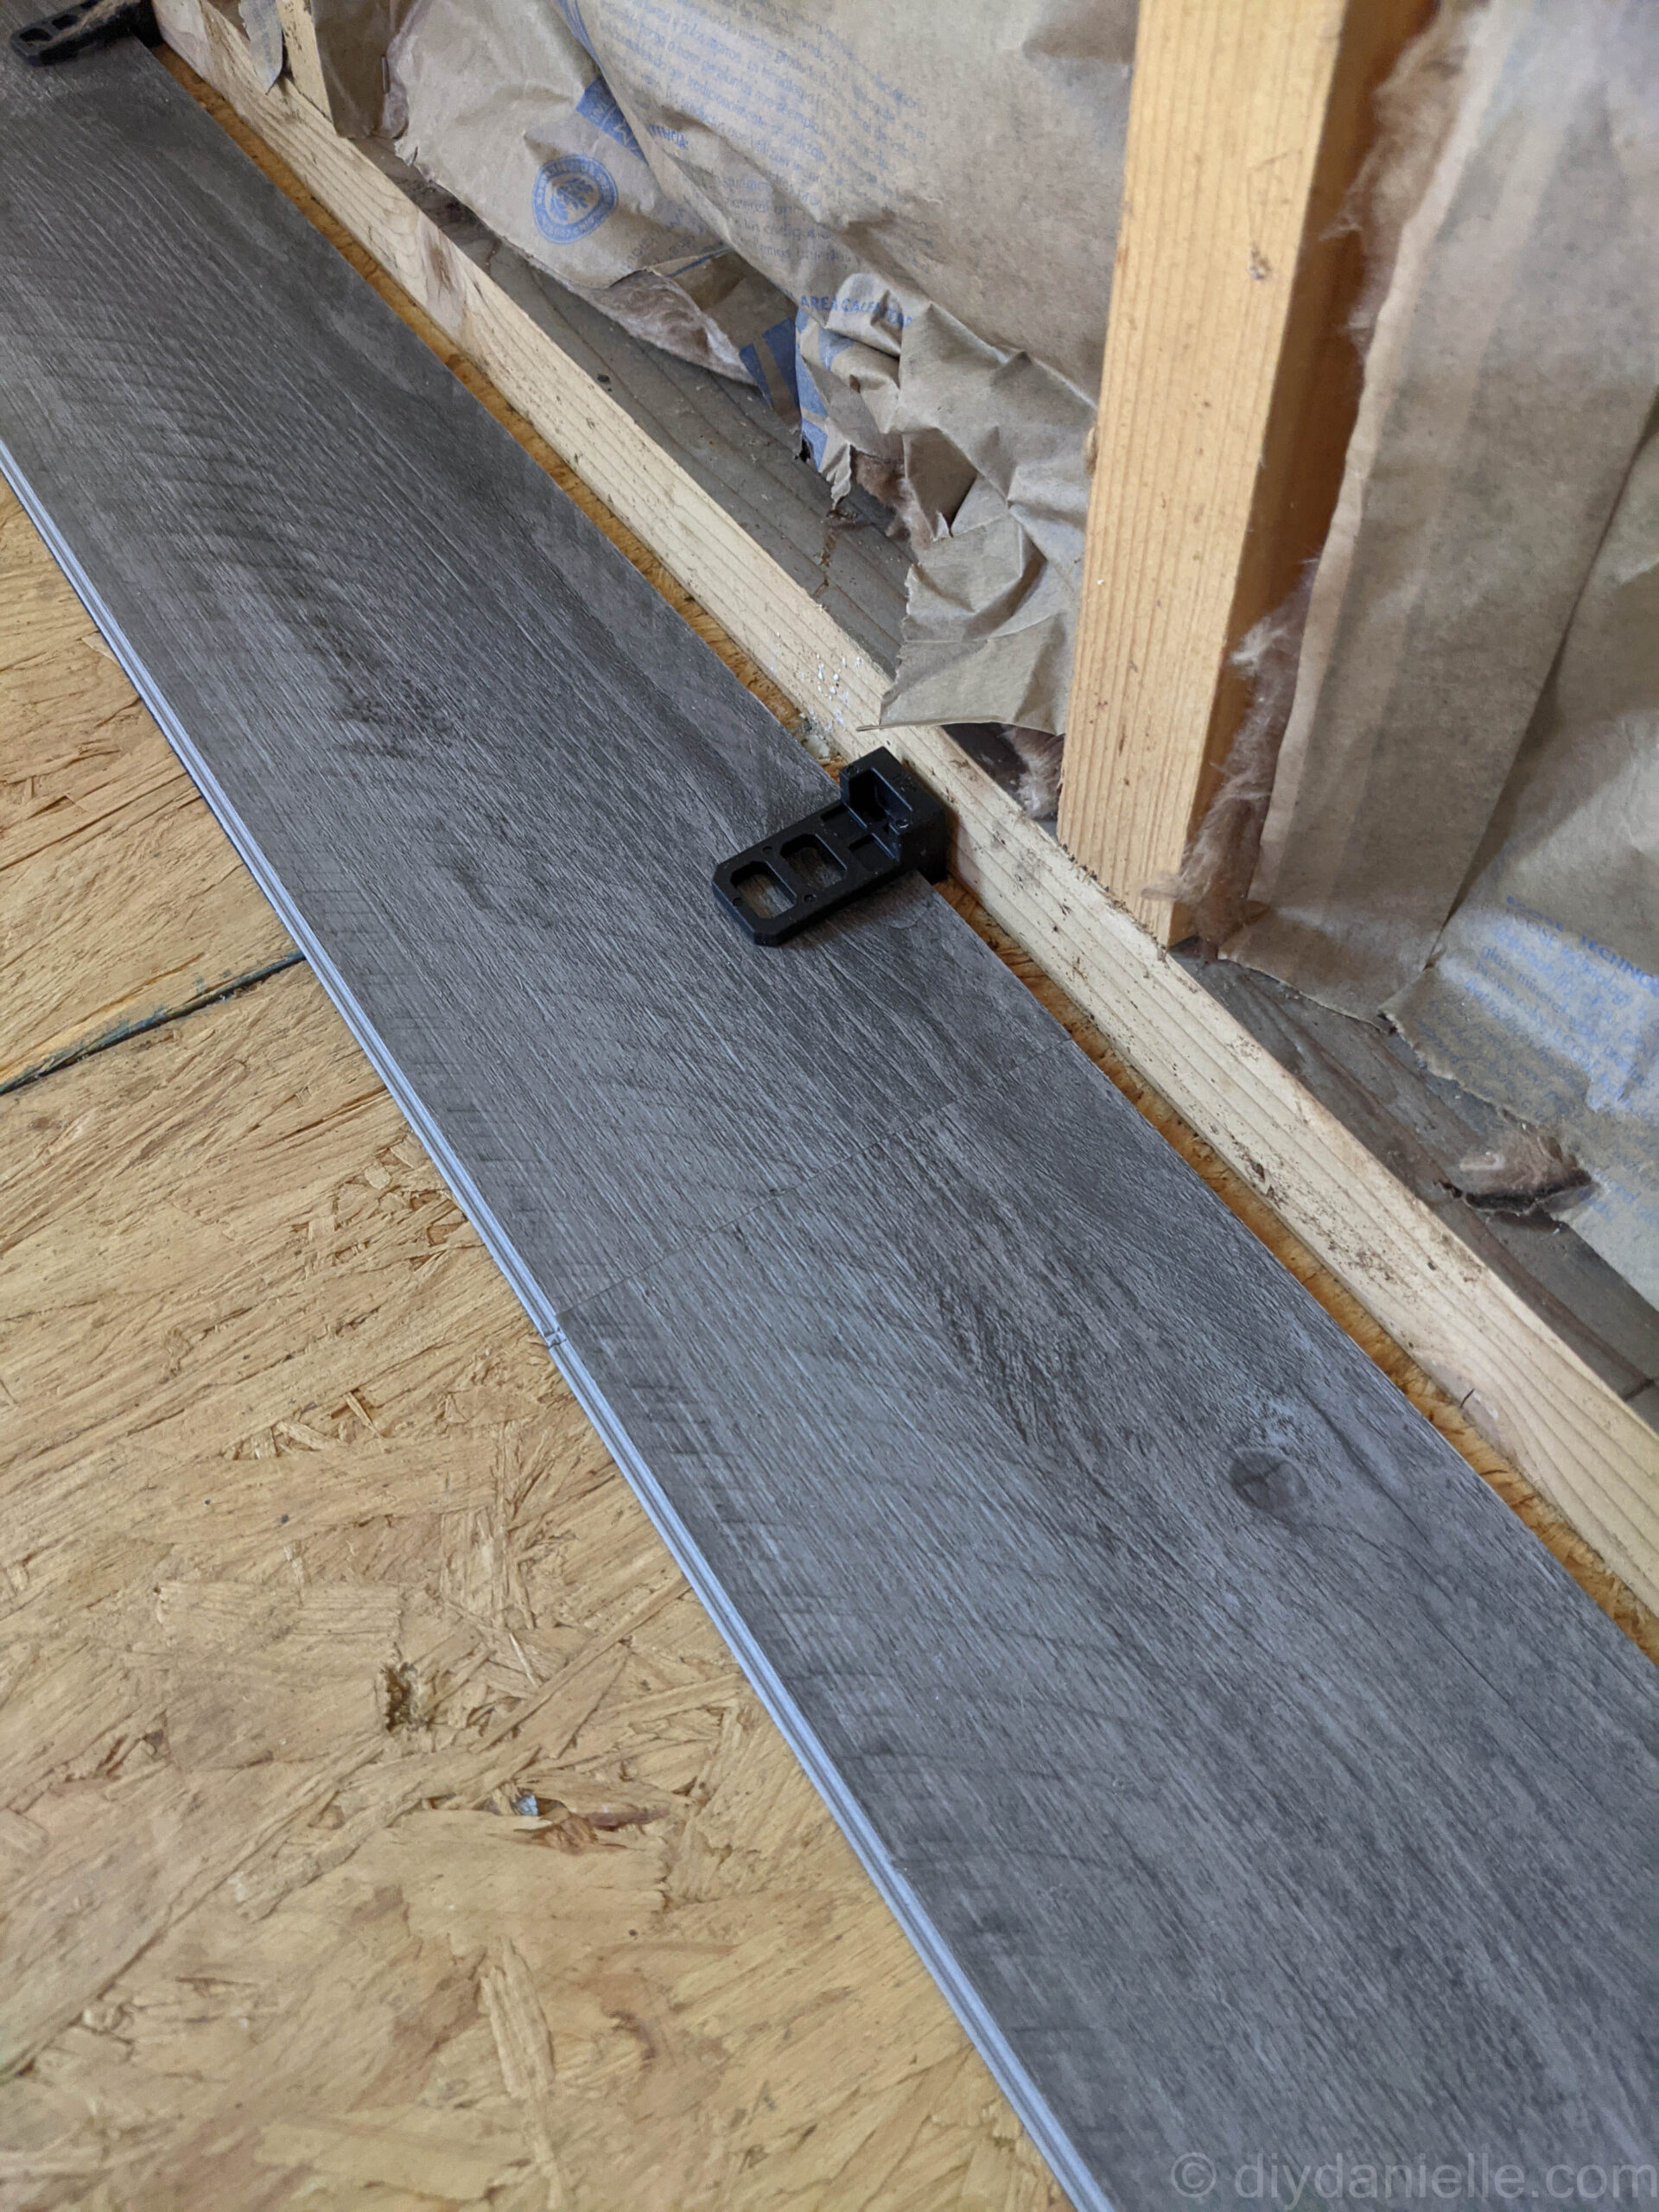
Planks should fit snuggly into each other thanks to the tongue and groove. If it doesn’t seem to be working, you may have the wrong side of the plank.
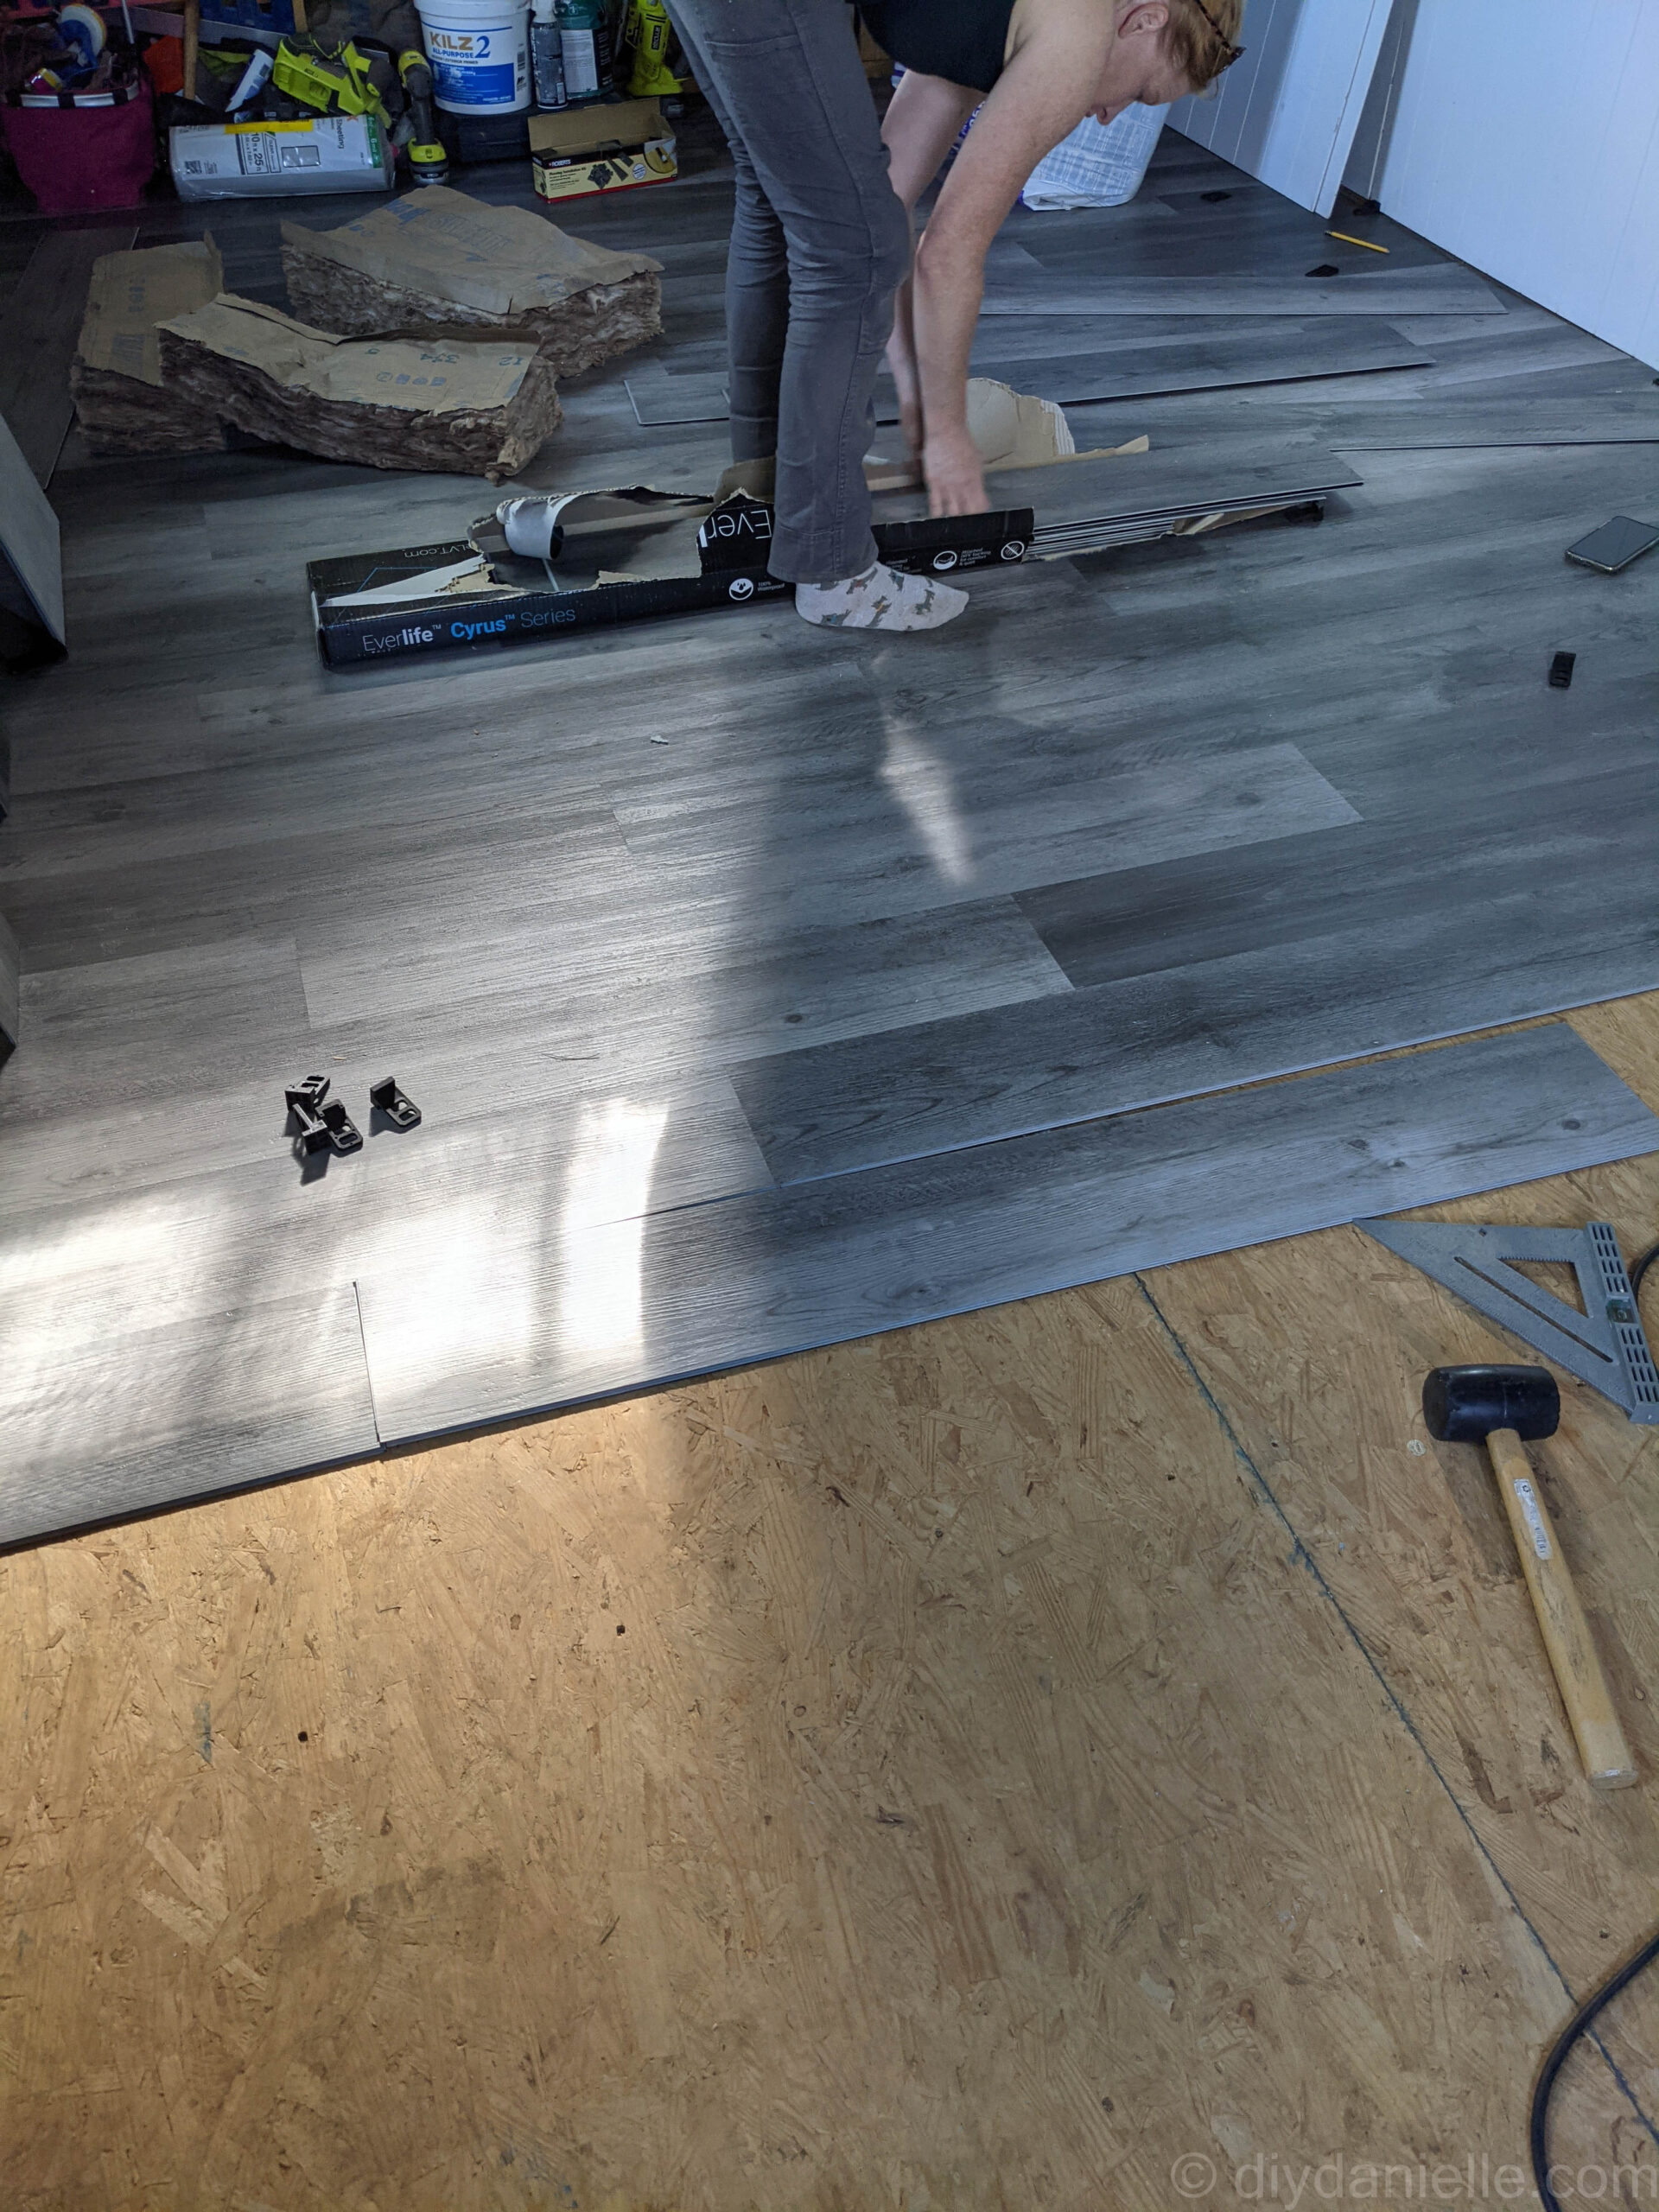
Installed by hand, they will have a slight gap. Use the tapping block and mallet to hammer them snuggly together. DO NOT use a hammer or mallet directly on the plank. The tapping block or tapping bar keeps you from damaging the tongue and groove.
Install one row, then move onto your second row. Each plank should fit snuggly into the other plank.
Install row after row, continuing to add spacers as needed.
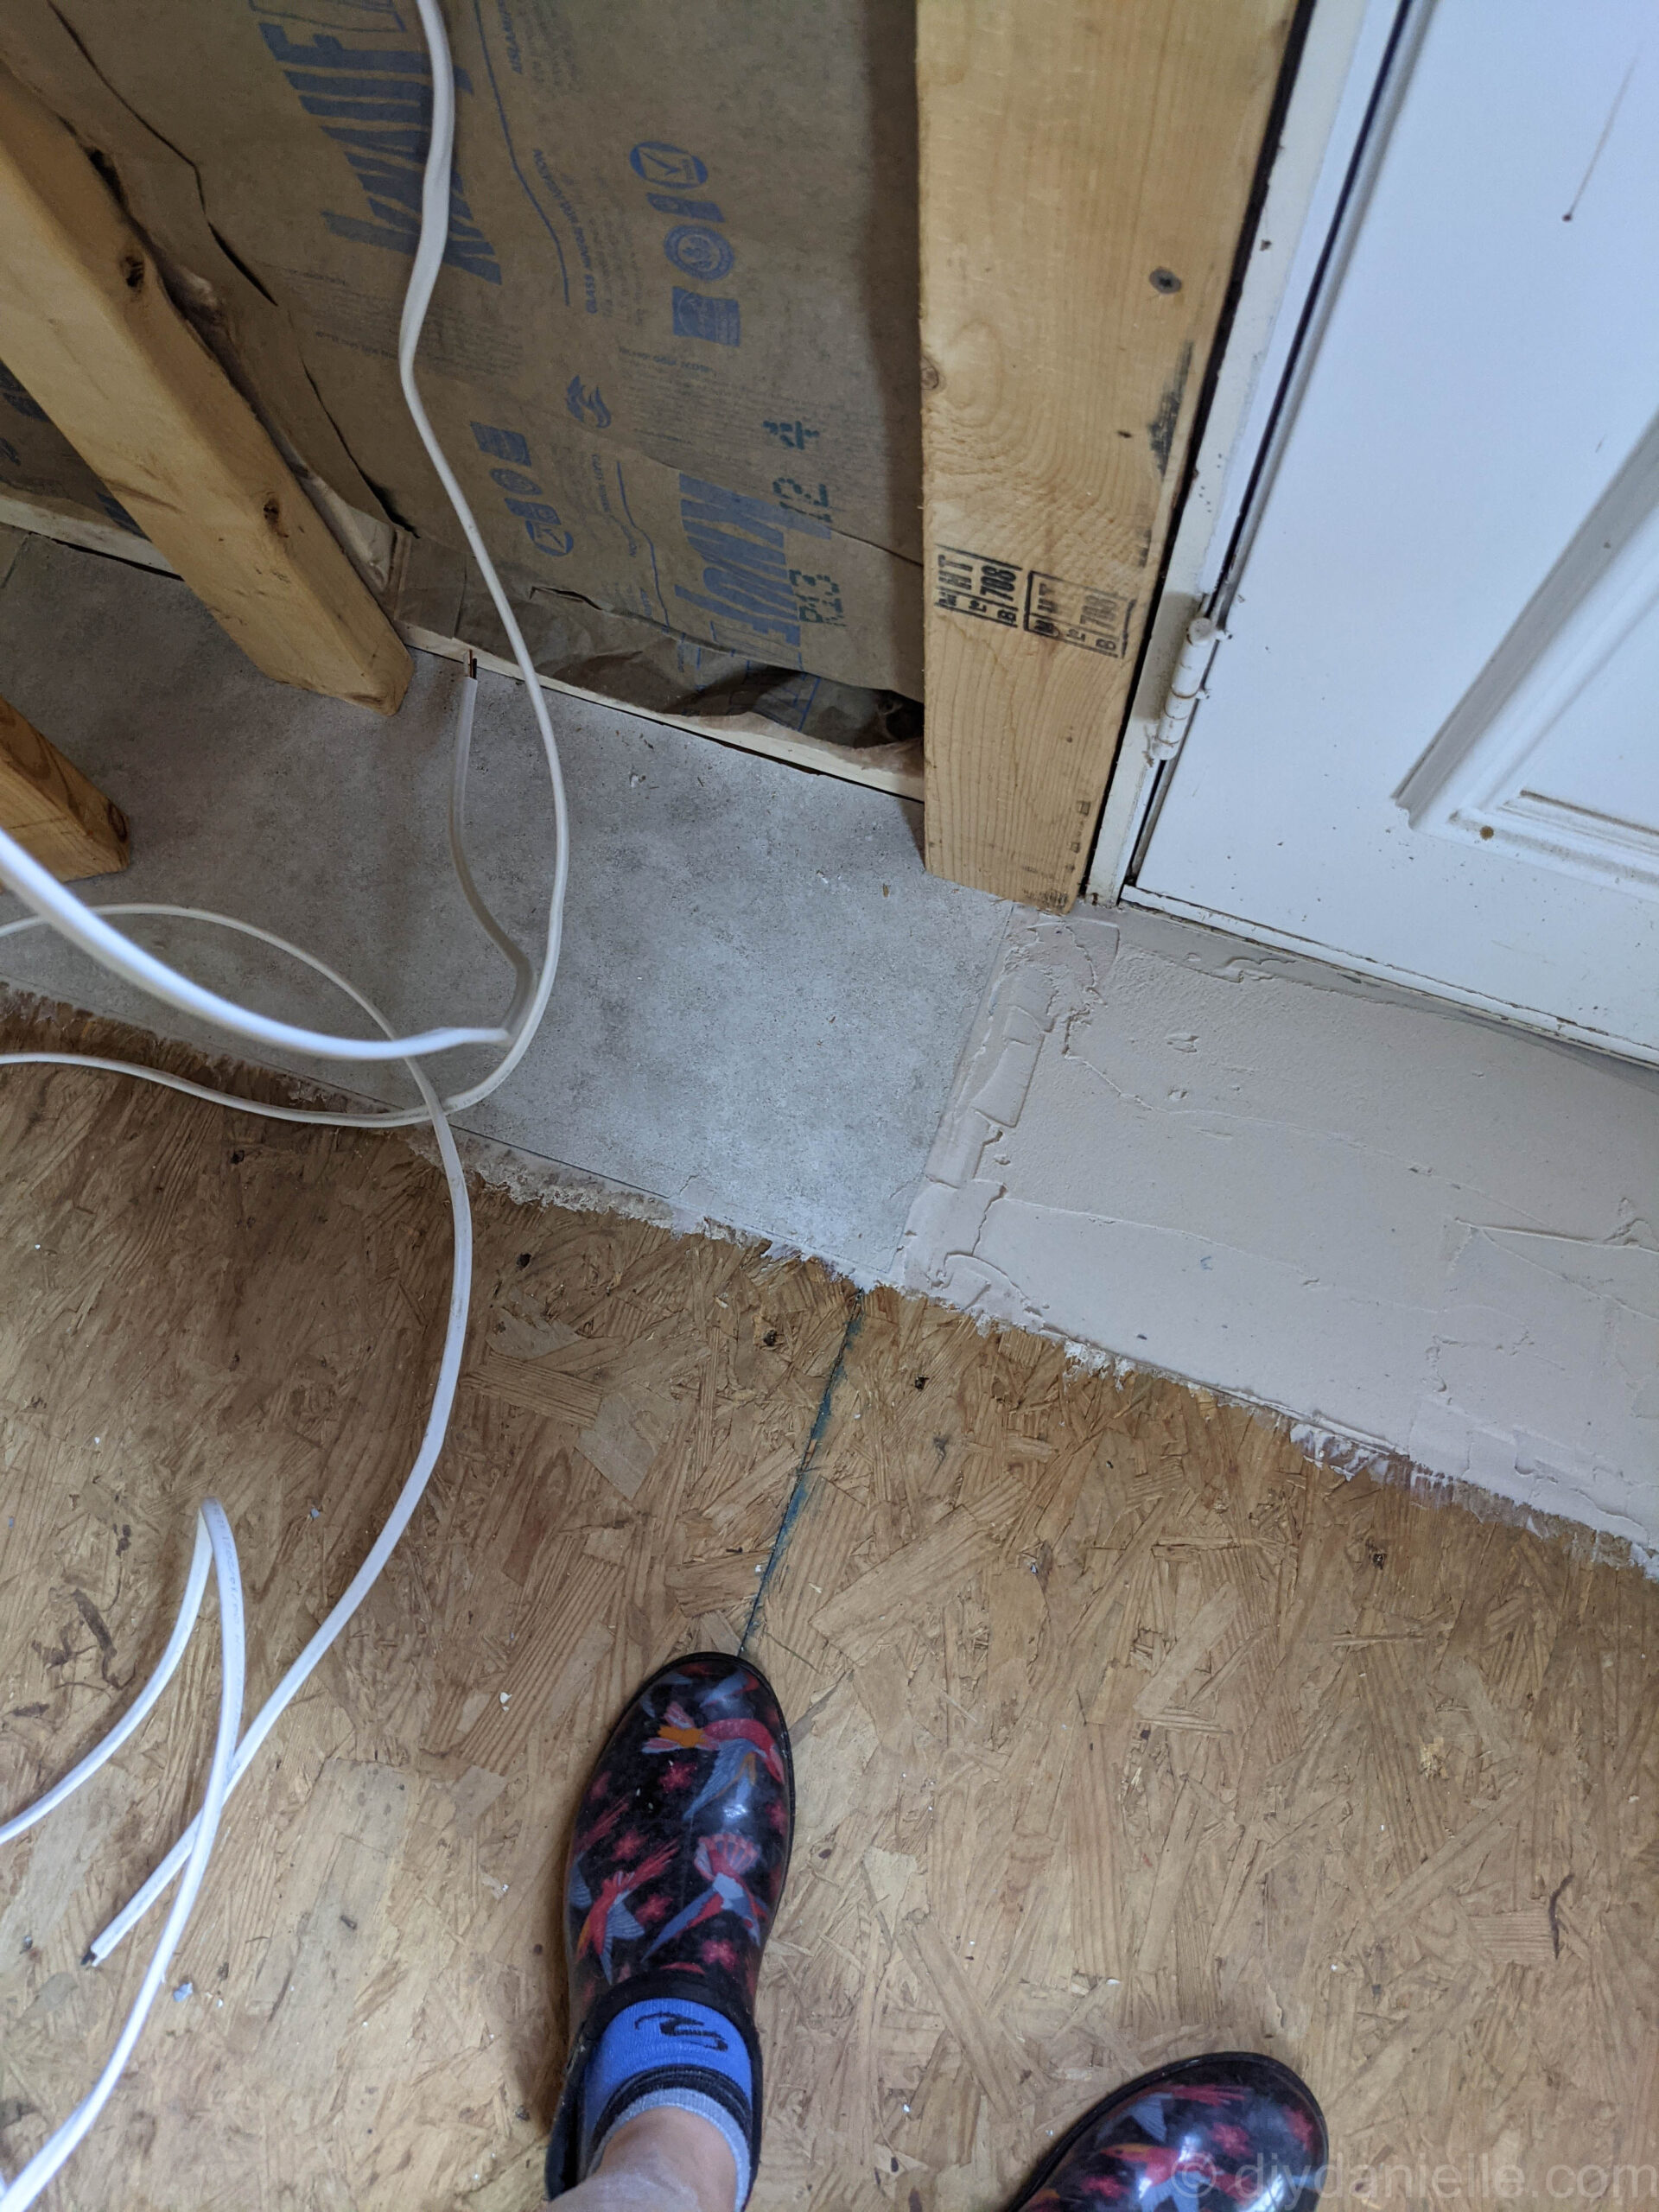
If any floor is uneven, you can use a leveling compound and let that dry before installing the flooring over it. We had this weird area where we had replaced some rotting wood.
Note how the pattern doesn’t line up. We also opened multiple boxes and tried to make sure we weren’t using the same patterned pieces together too much. It’s not super obvious if you do, but theoretically you could accidentally put a bunch that have the same pattern on them if you weren’t careful.
The whole time we were installing, we’d vacuum up any dust and debris. It’s easy to drag in stuff from the outdoors and not realize it.
If you have any weird areas like our bathroom entrance, you may need to use a jig saw to cut the shape out so the plank fits around it.
Once you’re flooring is completely installed, you can install your baseboard and/or quarter round.
Here’s a photo of it all before I completely removed the spacers…
Here’s a video showing the process for installing this in a bathroom… it is the same process, I just used a threshold in the bathroom and also underlayment.
As we’ve used this in multiple spaces in our home, here’s a photo of the basement bathroom…
After we did this, we had issues with the work done by the plumbers so we had an emergency Christmas laminate floor install in part of the basement too (ugh).

Please share and pin this post! You can also post your project and tag the DIYDanielle team on Instagram @doityourselfdanielle!