
How to install base cabinets. Installing cabinets is an easy way to add storage and they’re EASY to install.

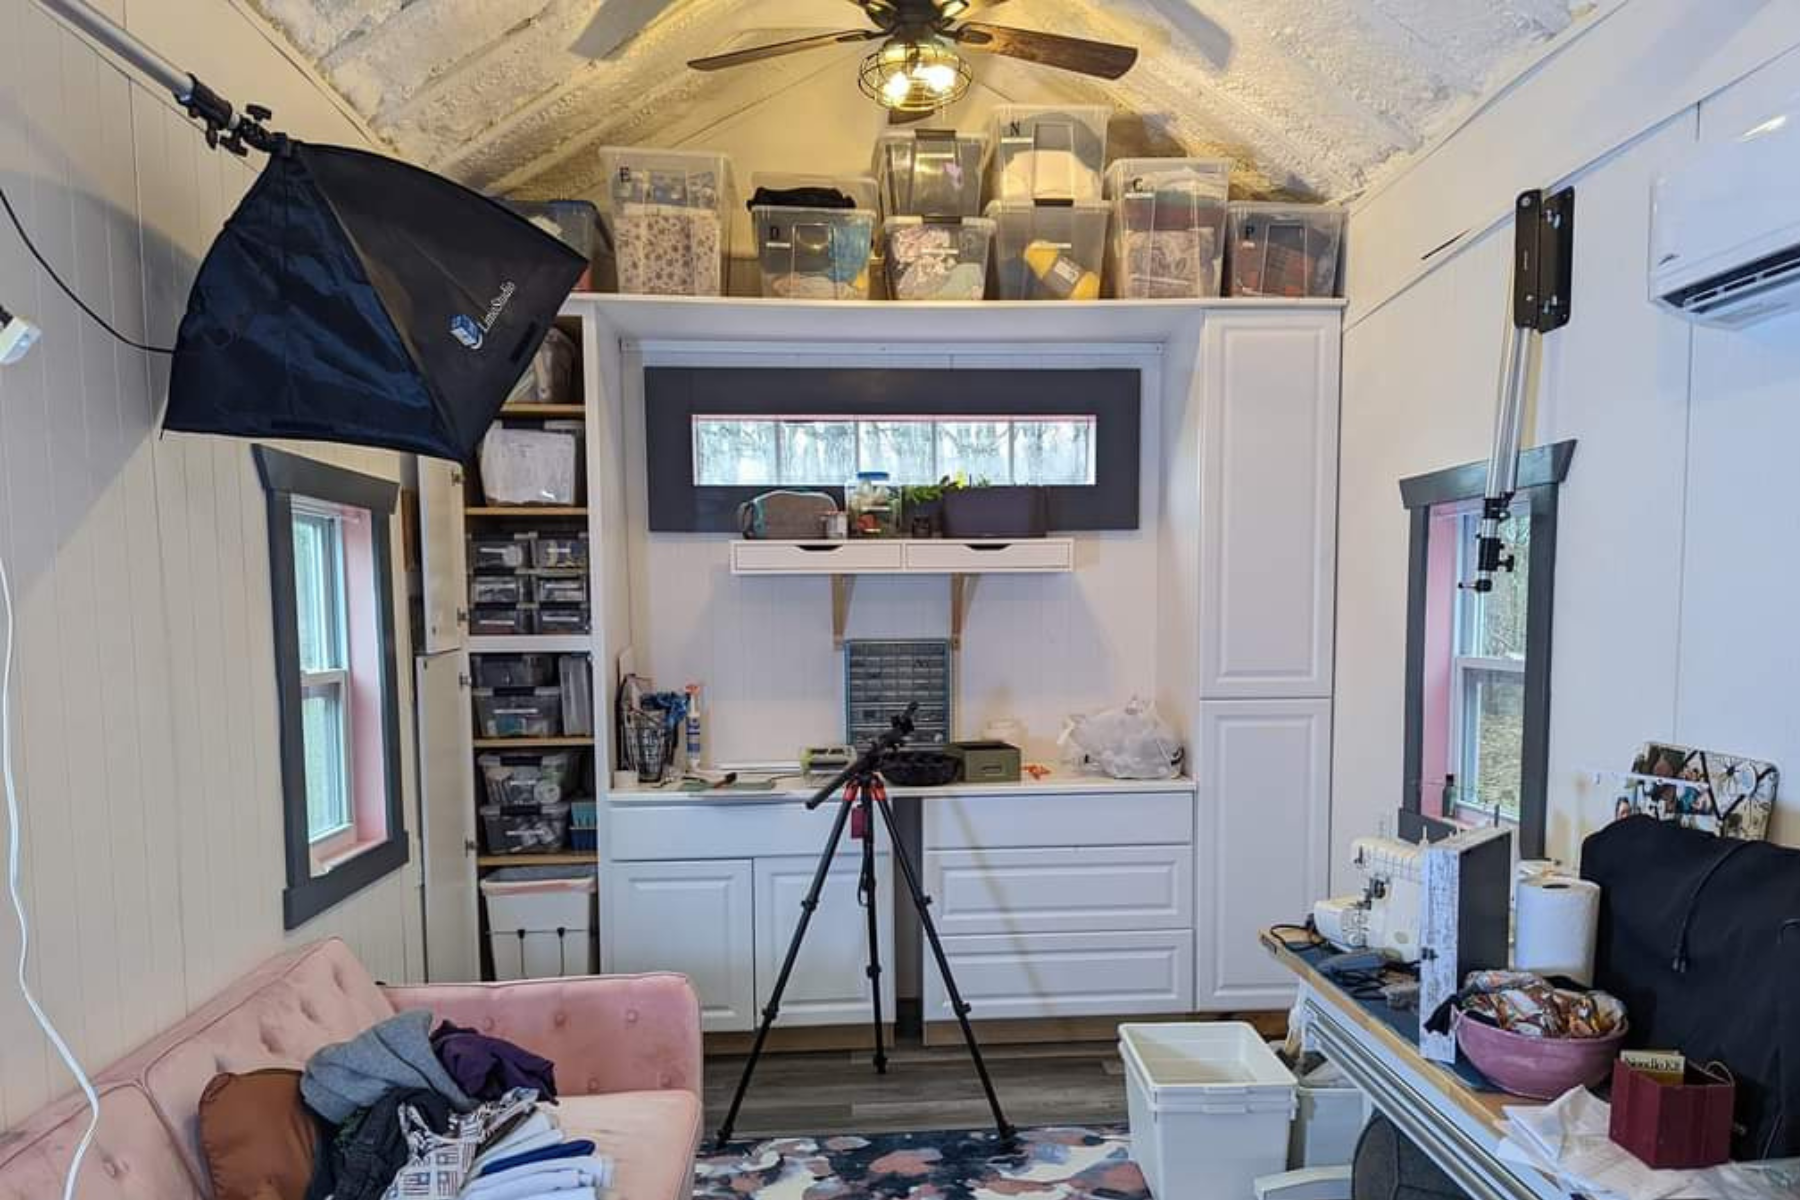
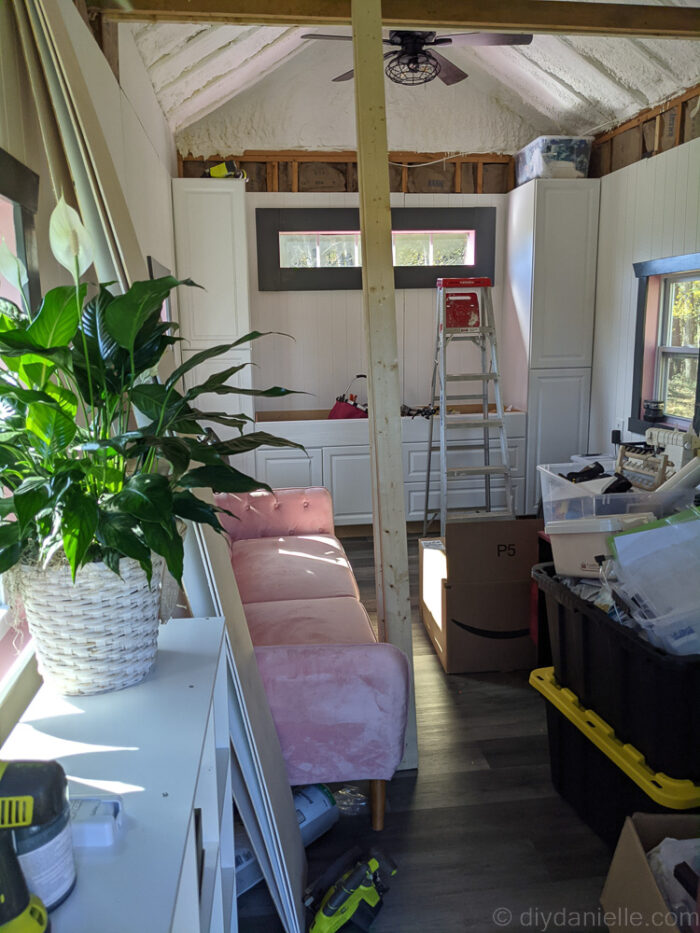
We have been working on updating an old shed so that I can use it for an office space. I was using our dining room for my craft room and office space for the past 2 years. Initially, we planned to just use the current shelving from that area in the shed. Once I started moving everything out, however, I realized that built-in cabinets would be very helpful to organize the space.
I simply had too much stuff that I wasn’t willing to declutter because I tend to use everything eventually… My main concern was organizing it all well so I could find what I needed.
We have built custom shelving before and it was a consideration, but by the time we got to this stage in the process I was pretty burnt out from working on the shed renovation. Building custom shelving was a hard no for me.
I started to look at prices for white cabinets that would fit in the space and I found the perfect cabinets. Rather than purchasing unfinished base cabinets and staining them like I have in the past, I opted for finished white cabinets to make my life easier.
Installing base cabinets is very, very simple and I highly recommend it for a space like this. Even though it’s a little pricey, this is going to allow us to organize the space so much better and they look fantastic.
Due to the window on the wall, we didn’t not install any wall cabinets. This tutorial will exclusively be covering how to install base cabinets.
This post may contain affiliate links which may earn me commissions should you click through them and take certain actions. As an affiliate for Amazon, Cricut, xTool, Home Depot, and other sites, I earn from qualifying purchases. Please DIY carefully. View my full legal disclosures here.
The majority of my content is generated by me, as are 99% of the photos and videos, but I utilize technology for titles, descriptions, video editing out all of my ums, and occasionally for text overlay on images.
Please read the whole post so you don’t miss any important information!
Supplies
- Cabinet screws
- Stud finder
- Base kitchen cabinet with drawers: $369
- Base kitchen cabinet: $236
- Pantry Cabinets x 2: $744
- Toe kit (2): $40
- Cabinet Filler (1): $18
- Countertop: IKEA Lilltraask $49
Total $1398 *not including plywood for top shelf
If you’re okay with shopping around, or going with used cabinets, you can save a LOT of money by checking at a thrift woodworking supplies store like Habitat for Humanity Restore, Second Chance, Community Forklift Project, or check on marketplace.
Installing Base Cabinets vs. Overhead Cabinets
Cabinets are really quite easy to install. When we were getting quotes for our home addition, I was loathe to have them quote me for this part of the project because it’s the FIRST job I’d prefer to save money by DIY’ing… that’s including jobs like painting.
Base cabinets, including tall pantry cabinets, are really, realllly easy to install and you can do them alone.
Installing overhead cabinets is a bit more tricky if you’re doing it solo, but I’ve done it (probably not completed in an OSHA-approved way).
Base cabinets generally are about 24 in deep. One option you have if you don’t want to crowd your floor too much is to use wall cabinets and build a base for them. That is what we did for our two DIY entertainment centers.
In this case I really wanted the extra depth so I would have more storage space.
Wall cabinets usually run around 12 in deep, as a comparison.
Measuring and Planning
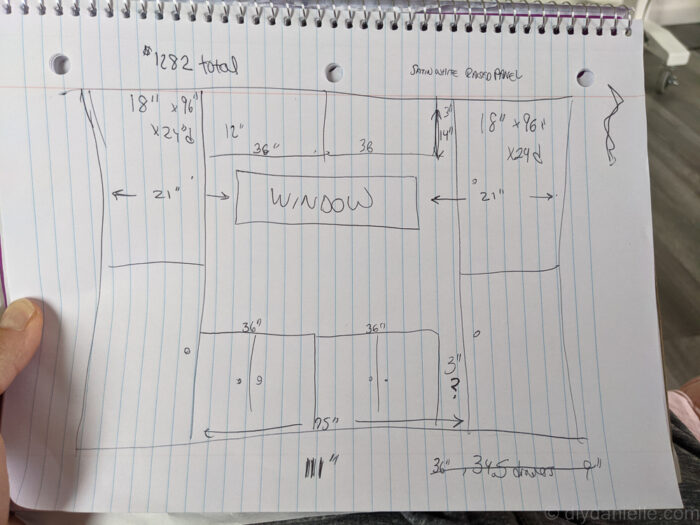
The project is simple, but your main time should be spent planning the layout. You need to take good measurements of your wall and look at your cabinet options. I sketched out several options on paper before I made a decision. This is what my plan looked like initially.
A company like the RTA store will actually help you come up with a plan for free which is nice and ensure that you have the right trim and filler pieces. We used them for our Kids Bathroom, as well as for our DIY Pantry.
Supply issues were a problem at our local stores when I was doing this, so I ordered online. All of the cabinets, but one showed up within a week and the last one ended up lost. I did a lot of hunting to find the right cabinet at one of our stores.
When you’re ordering in stock cabinets, you have a few options for colors including white, gray, brindle and unfinished. You also can choose a shaker style or raised panel cabinets. Just make sure you don’t pick up a few of one and a few of another style as they won’t match.
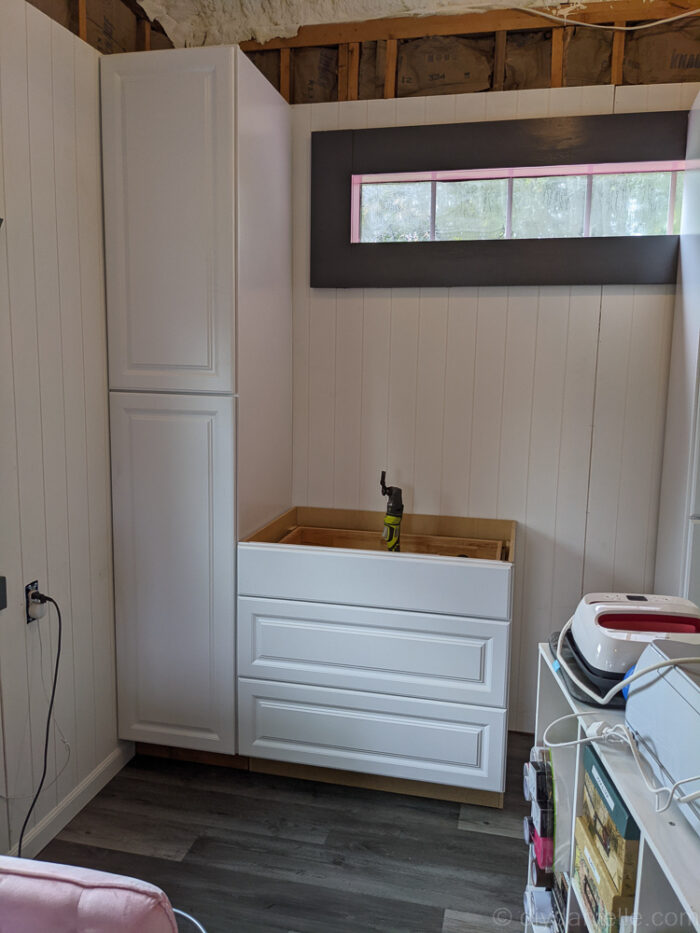
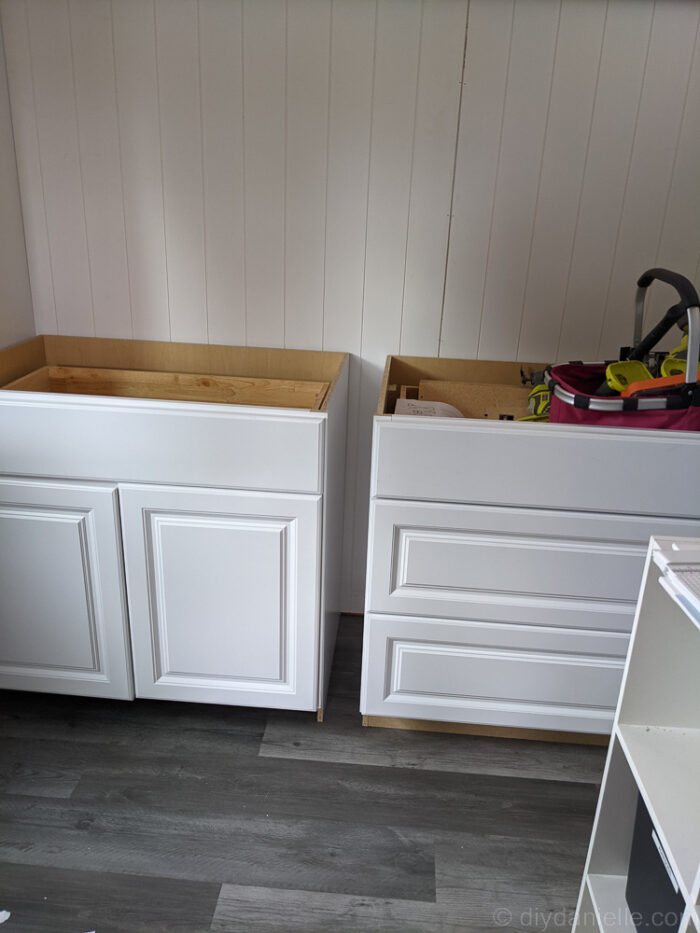
For my space I opted for two pantry cabinets for the outside walls, and two regular base cabinets for the middle. I also purchased a toe kit and a cabinet filler panel. The cabinet filler panel covers the extra space if you have a gap.
I ended up purchasing one base cabinet with a pots and pans drawer base and the other has traditional cabinet doors. I wish I’d purchased two pots and pans drawers instead because they’re pretty useful for a craft space.
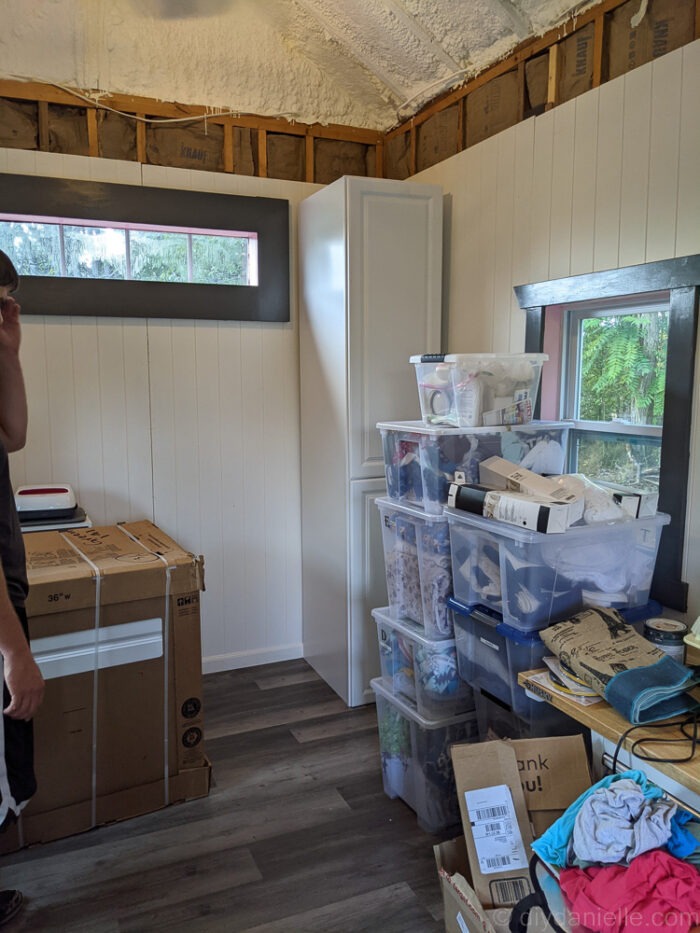
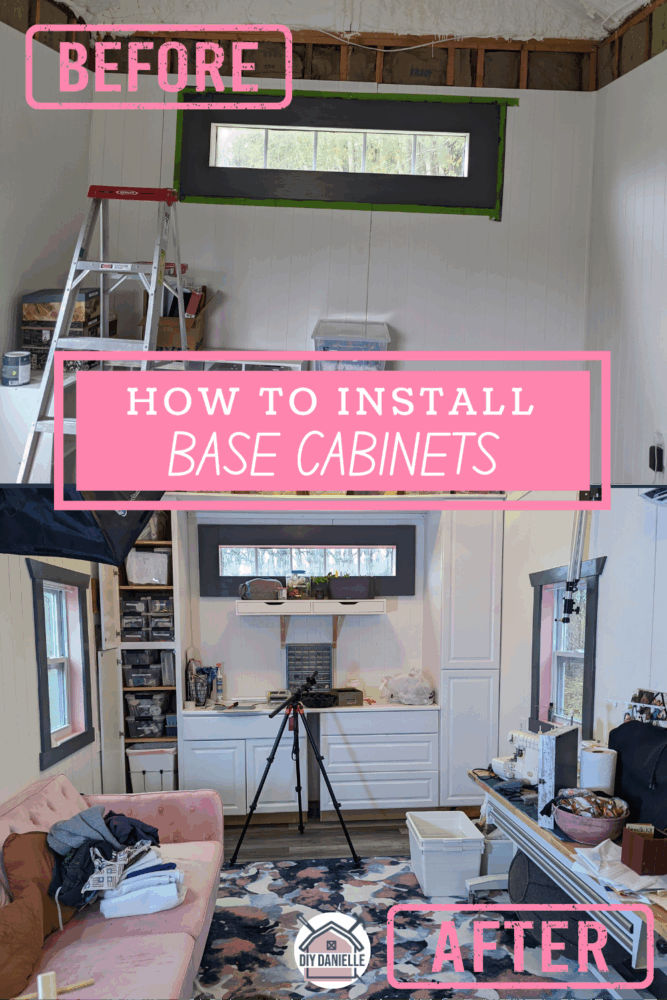
This is the wall before we added the cabinets. We decided not to add wall cabinets across and we did a loft instead. The window gets in the way a bit.
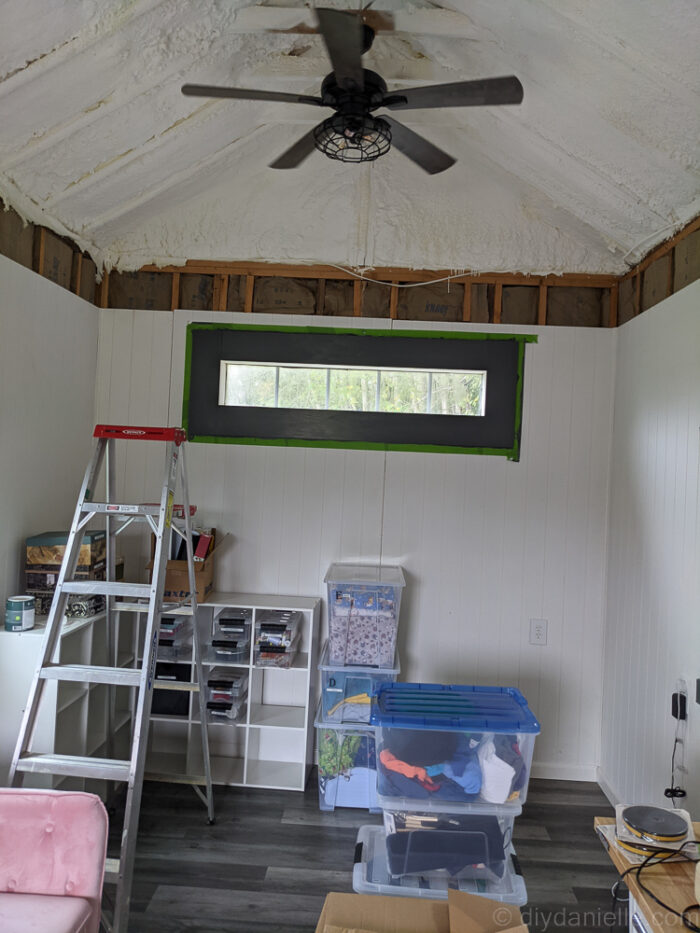
Removing Baseboard
When you’re waiting for your cabinets to come in, you can go ahead and start removing your baseboard. This is very simple to remove.
In the case of a full wall like I’m using, you can use a pry bar pry the baseboard off.
For walls where you don’t want to remove the entire span of baseboard, you can use a special tool called the Job Plus. I have a tutorial and video showing how to remove baseboard this way. This method allows you to cut the baseboard off in place, rather than removing the whole wall, cutting it down, then replacing it.
Installing the Base Pantry Cabinets
To install the base cabinets, we started with the two outside cabinets. These are both large pantry cabinets and we knew we wanted them right up against the wall. I made sure the cabinet doors opened out toward the wall. It may have been a bad idea because they hit the wall when they’re open. Whoops.
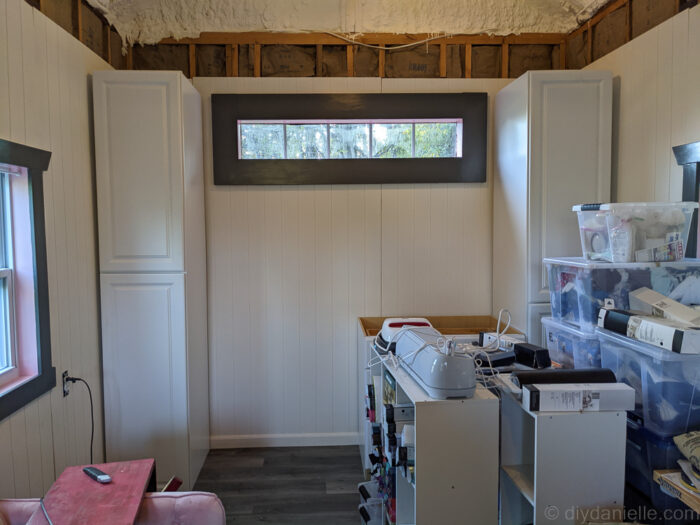
You can flip the pantry cabinets either direction which gives you options for how you place them. My pantry cabinets came with two small boxes with the supplies to build the base.
Start by building the base. Then lift your pantry cabinets on top. We didn’t realize that our cabinets came with the base so we built our own before figuring that out. Whoops.
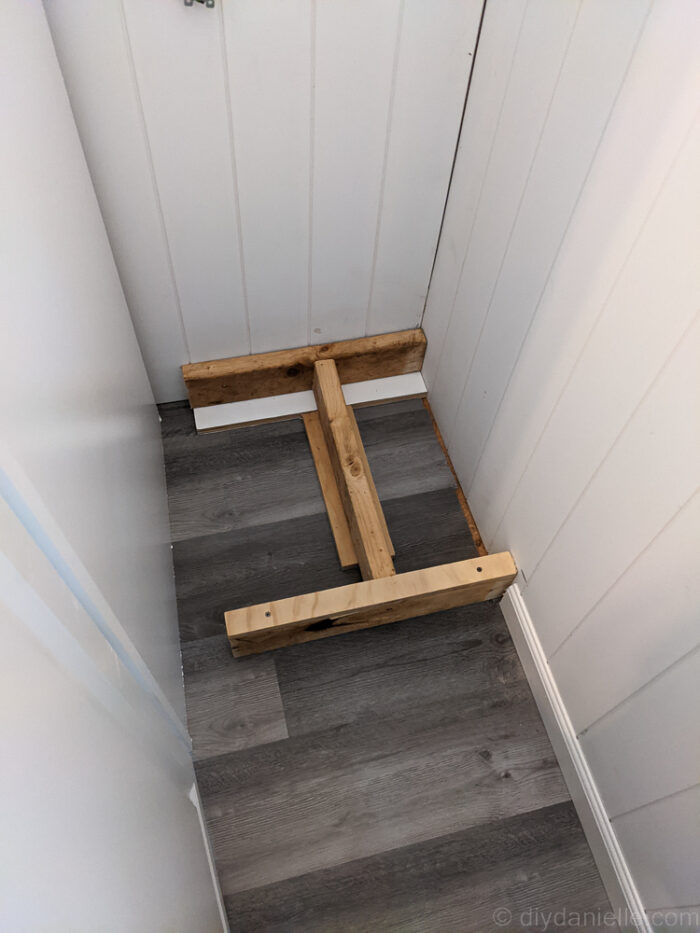
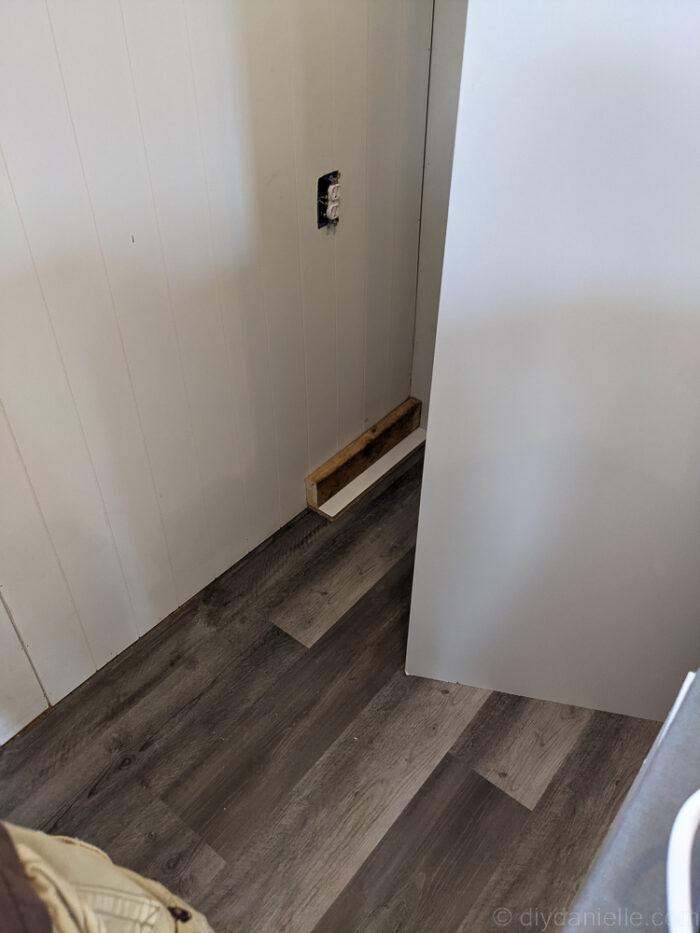
We also needed to cut out the area for the outlet in the back of one of these…

In an ideal world, you plan your outlet placement in an intelligent way, but we tend to forget these important things.
Use cabinet screws to screw the interior back of the pantry cabinets into studs on your wall.
Installing the Base Cabinets
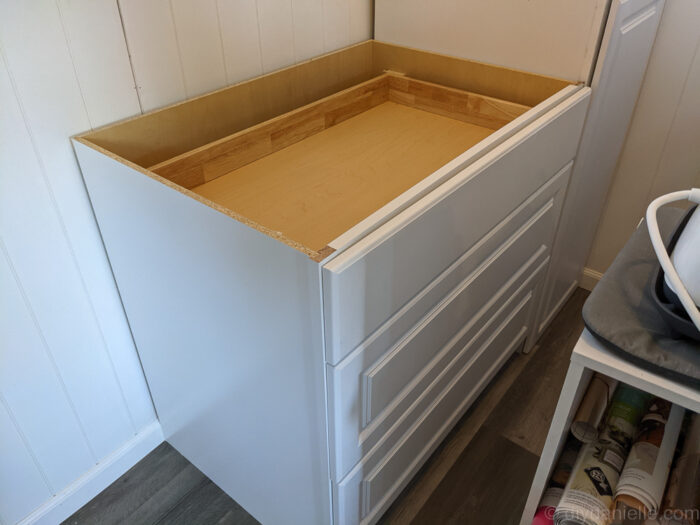
The regular base cabinets get installed in much the same way. The big difference is that the regular base cabinets are attached to their base already.
You need to position your cabinets and then use cabinet screws to attach them to studs on your wall. These screws keep the cabinets from tipping over if you pull out a heavy shelf or draw.
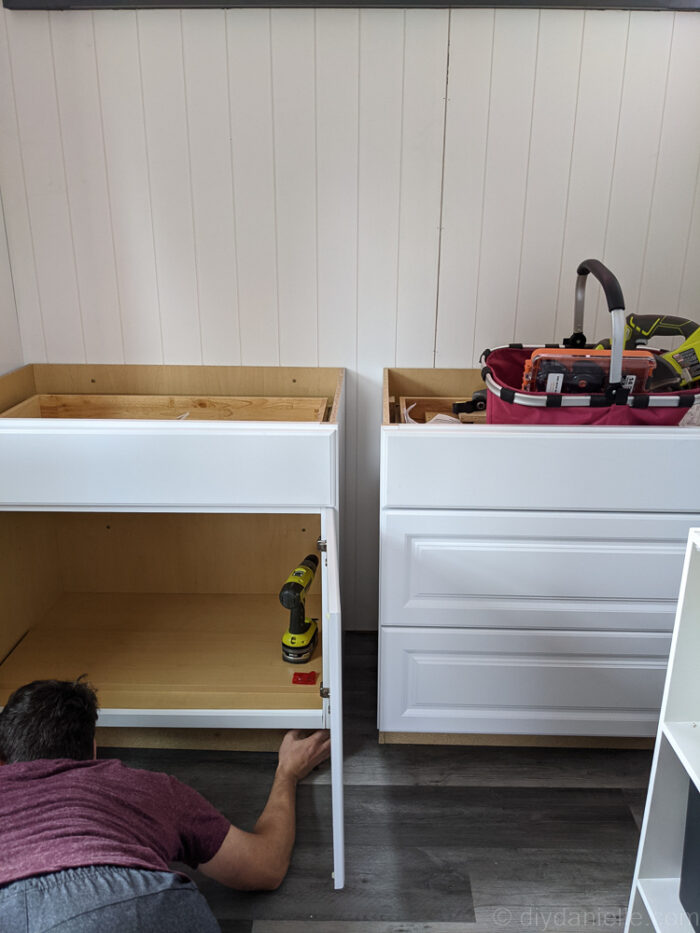
We installed one of the base cabinets right next to each pantry cabinet.
As you work inward though, you need to start worrying about spacing. You’ll end up with a little bit of a gap somewhere. It’s important to plan out where you want that gap and to make sure that it’s smaller than the piece of cabinet filler that you purchased. If it’s not, you should move your cabinets so there’s two gaps and use one filler panel for each gap.
In our case, we planned to build a little pull out zone for the big gap… and then never did. I use it for cutting mats, but I’d planned to make it a bit nicer.
Add Cabinet Filler
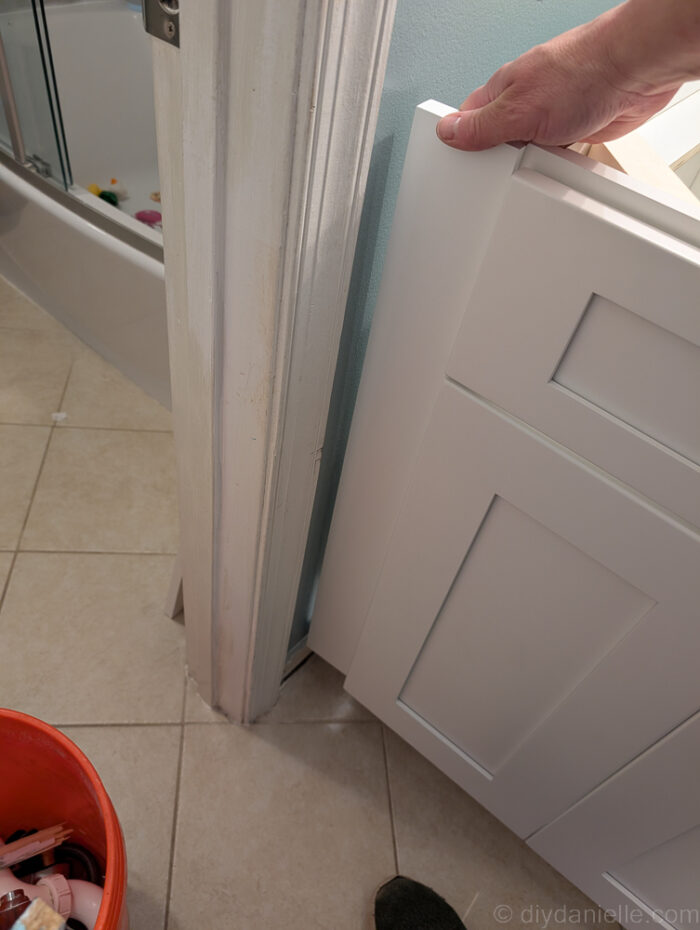
If you’re using it, add your cabinet filler (a thin strip of wood that’s inserted in the gap between your cabinets to make it look like one solid piece of furniture). These screw into the sides of your cabinets.
I didn’t use them on this project, but this is what they look like… this was from the kids’ bathroom project.
Adding Toe Kit
The last step is to simply install your toe kit. You may or may not need one depending on the style of your cabinets. You can use glue or a nail gun to install this. If you look at the photo below, you can see the raw wood at the bottom… this is where the toe kick goes. Where we kept the gap, we didn’t really work out how to do the toe kick so it’s been sitting waiting for installation for the past few years… judge me if you will- nobody’s judging me harder than I’m judging me.
Adding Hardware
While adding hardware, such as cabinet handles or knobs is entirely optional, you really want to consider how easy your cabinets will be to open without them. In this case, my cabinets were very hard to open and I decided to purchase some knobs online.
You can get standard knobs and handles at the hardware store, but this was my she shed space and I really wanted something that looked nice and fit my style. Prices don’t really vary that much so you might as well get what you want, even if it’s splurging the extra 25 cents.
Here’s my tutorial on how to install drawer pulls.
Add Countertop
You can buy a variety of countertops for base cabinets, but I really like the faux wood ones from IKEA because I dislike marble and the typical look of countertops. I’m not sure why I hate them, but I do. I LOVE the look of wood, but I do NOT want to be sealing and constantly maintaining it, so the cheap IKEA counters are perfect. They’re also really cheap to replace if they get ruined in some way.
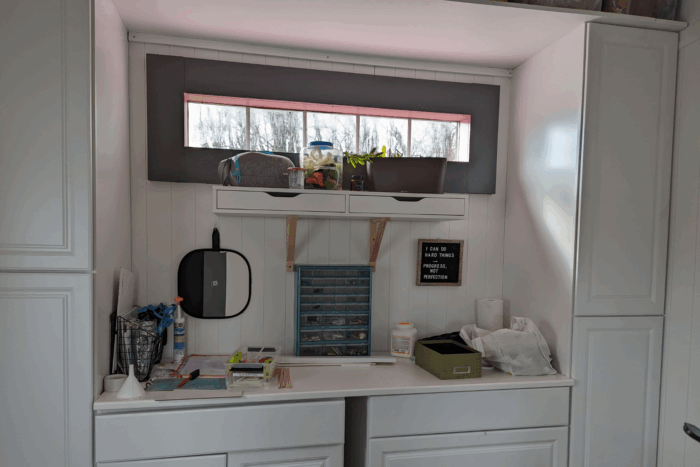
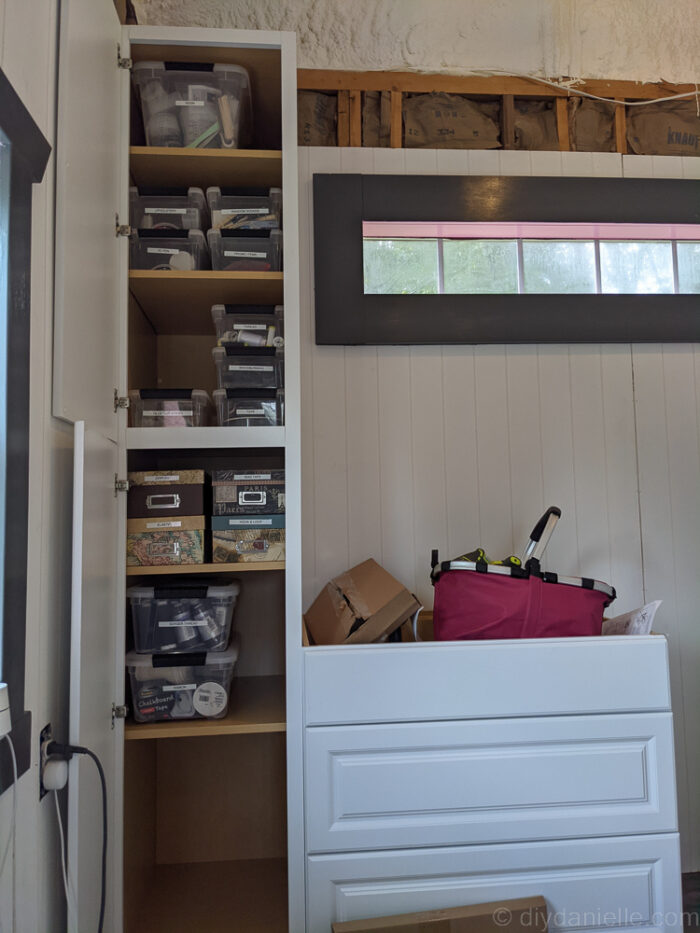
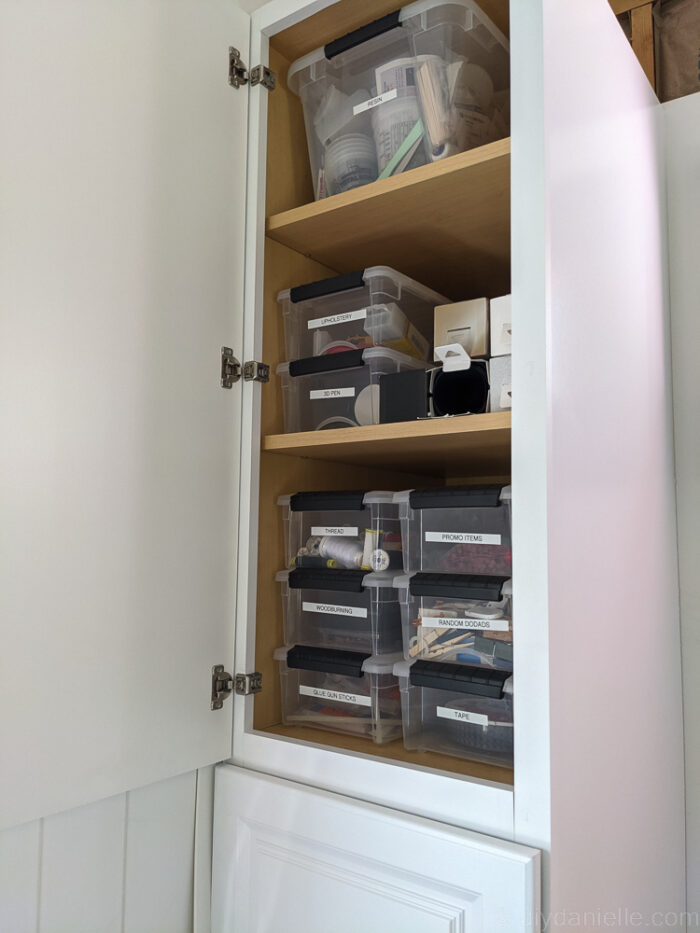
Craft Room Organization with Cabinets
I’ll just give you a peek at how I organized things in the cabinets. It gave me lots of space to organize things, although I think fabric would have done well in here as well.
I think more shelves is a nice option and I believe you can buy extras if you desire or cut your own from 3/4″ plywood. You just need to buy extra brackets to hold each.
Please share and pin this post! You can also post your project and tag the DIYDanielle team on Instagram @doityourselfdanielle!
This is seriously so helpful! I’ve been wanting to remodel our laundry room and put in new cabinets for better storage, but the idea of installing the base cabinets myself is so daunting! I almost just decided to leave them the way they are and refinish them, but I’m so glad I found your blog! I’ve been taking lots of notes so hopefully I can put the room together almost as effortlessly as your post made it seem. Thanks so much for sharing!
It’s really one of the easier jobs which is why it’s my favorite (haha). Particularly if you don’t need to refinish/finish the cabinets too. The upper cabinets are always more challenging just to get them level and have someone hold them up while they’re attached to studs, but it’s really also pretty simple!