How to build easy, affordable shelving for your shed, storage area, or garage. This was an easy DIY for storage and didn’t take a lot of time. We were also able to fit the wood into our minivan.
We purchased a great shed at the beginning of the summer, but now that it’s Fall we realized that we needed to get everything truly organized for the winter. I am so excited about quickly and easily my husband put this together.
Supplies
Supplies listed below may include affiliate links to the products.
- (1) 4×8 plywood project wood
- (8) 8′ 1×3’s
- (3) 8′ 2×4’s
- Tools, nails, etc.
Tutorial
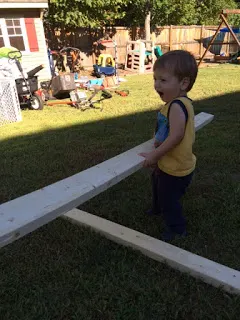
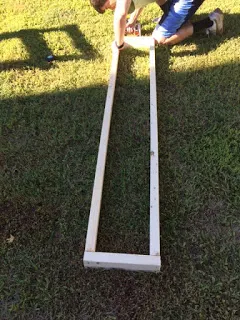
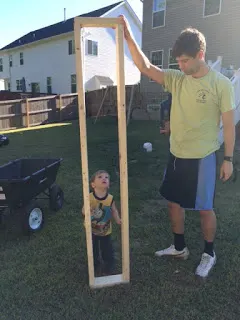
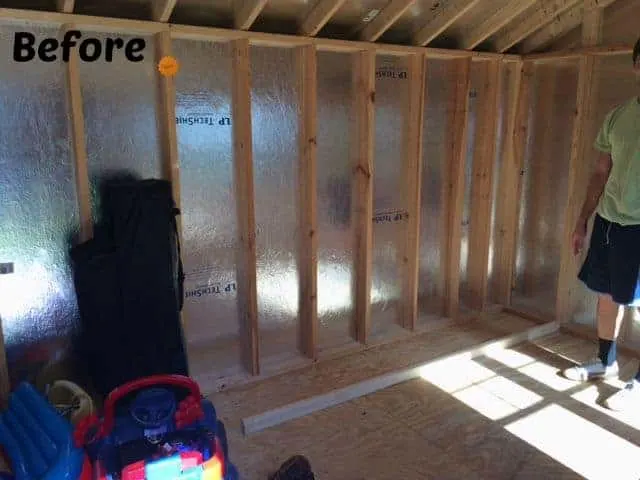
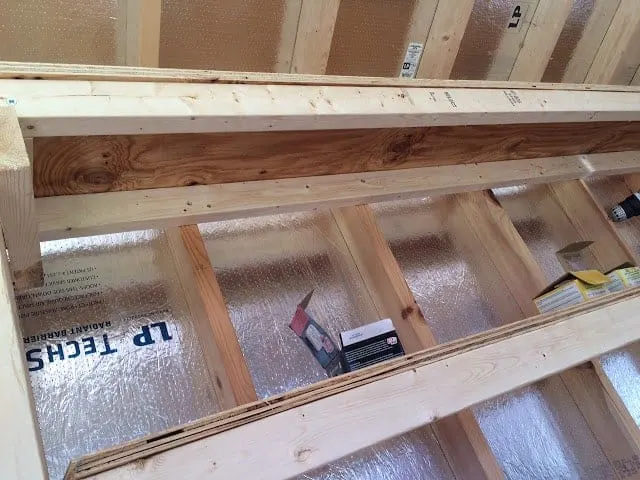
Here’s the rectangular frame. For our particular shelves, making this meant creating a rectangle with two 12″ pieces and two 72″ pieces. You may want to adjust yours depending on the size of your shed. The height needed to match the shed studs height.
My husband screwed it into the wall stud. The wood along the bottom is just there temporarily to make sure the spacing is correct.
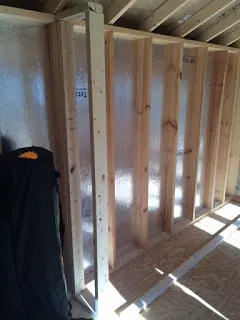
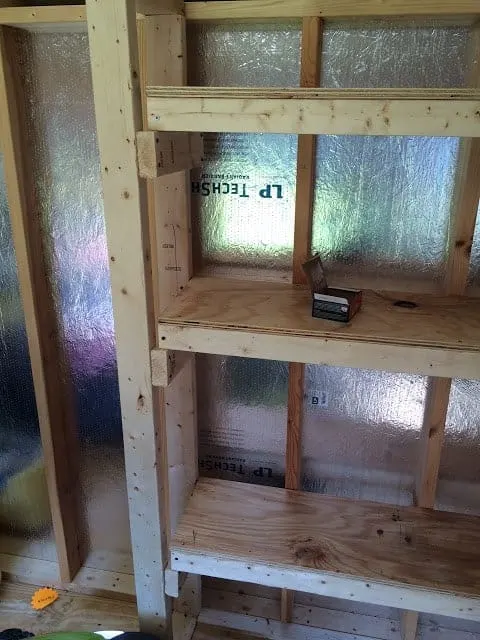
On the right side, towards the corner, he screwed a piece of wood along the stud to make everything flush on that side… this is where the right side of the shelves will attach. On the right, you can see where he’s adding a board to support the right side of the shelf.
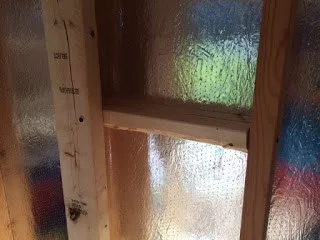
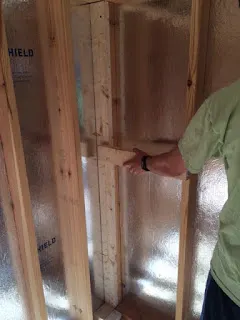
I didn’t get a good picture of the shelves being built, but he used 1×3’s to create the shelves EXACTLY how he made the left frame. Once he created his rectangle, he cut a piece of plywood to fit on top and screwed the plywood on.
Once built, the shelves were placed on top of the supports on each side and screwed into the wall studs behind the shelves. They just sit on the supports- those aren’t screwed in.
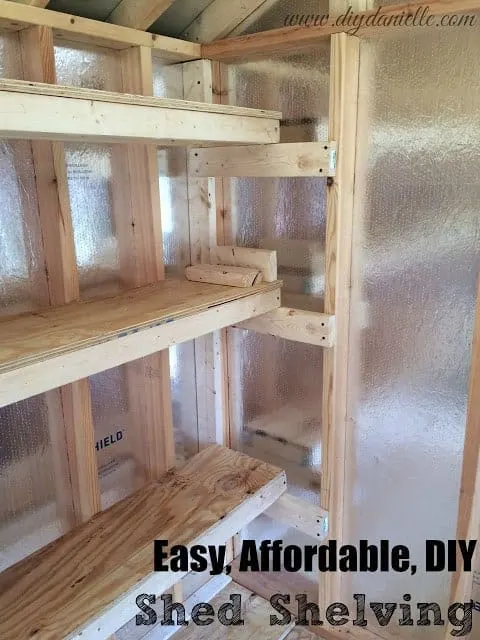
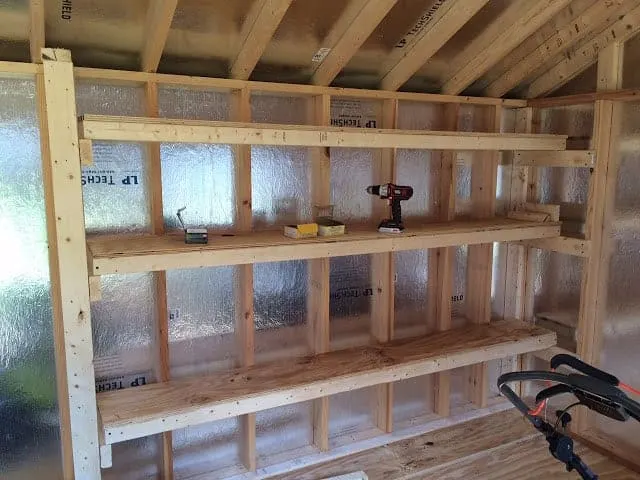
Thanks for taking the time to read this post! I really appreciate the time you’ve taken. Please share, like, and pin my post if you enjoyed it. Follow me on social media and subscribe to my email list to keep up to date on all of my latest projects!

DIY Storage Shelving for Our Shed
Build easy and affordable shelving for your shed, garage or storage unit.
Materials
- (1) 4×8 plywood project wood
- (8) 8′ 1×3’s
- (3) 8′ 2×4’s
- Nails
Tools
- Drill
Instructions
- Cut the wood to create a frame for the left side from (2) 8′ pieces of 2 x 4's.
- Create a rectangle with two 12″ pieces and two 72″ pieces.
- Screw it into the wall stud.
- On the right middle side, screw a piece of wood along the stud to make everything flush.
- Use 1×3’s to create shelves exactly how you made the left frame.
- Cut a piece of plywood to fit on top and screw the plywood on.
- Place shelves on top of the supports on each side and screw it into the wall studs behind the shelves.
Recommended Products
As an Amazon Associate and member of other affiliate programs, I earn from qualifying purchases.
Google Web Story: DIY Storage Shelving



Karina
Sunday 29th of July 2018
We’re gonna have to do something like this once we move into our new house. The shelving looks super sturdy & I love that your little one helped. :)
Danielle
Monday 30th of July 2018
Thanks! They usually like to help out a bit, particularly the big guy. We still need to do an overhead shelf. I keep wanting to organize the heck out of everything. My husband thinks I'm exhausting. lol.
Hilda Rodgers
Friday 23rd of October 2015
Those shelves are amazing! I love storage shelves in sheds and these DIY ones are awesome. I could store and organize a whole lotta stuff on those ;)
Cari Dunn
Thursday 22nd of October 2015
My husband did about the same thing for my craft room. I had a closet taking up valuable space, so we added shelving like this as deep as the closet. Heaven! Now I can finally store everything :)