Upgrade your space with easy-to-install interlocking foam floor mats. These mats are removable so they’re perfect for renters! Discover a simple solution for a durable, stylish, and child-friendly flooring option.
As a therapist who works with both kids and adults, creating a welcoming and safe space is essential. When I discovered the versatility and cost-effectiveness of interlocking foam floor mats, it was a game-changer for my therapy office. I wish I’d discovered them years ago because they would have been an economical option to protect our hardwood floors from the kids and dogs. They would also be great for basement flooring or to cover up icky floors in an apartment.
This post may contain affiliate links which may earn me commissions should you click through them and take certain actions. As an affiliate for Amazon, Cricut, xTool, Home Depot, and other sites, I earn from qualifying purchases. Please DIY carefully. View my full legal disclosures here.
The majority of my content is generated by me, as are 99% of the photos and videos, but I utilize technology for titles, descriptions, video editing out all of my ums, and occasionally for text overlay on images.
Please read the whole post so you don’t miss any important information!
Installing Interlocking Foam Floor Mats: The Perfect Flooring Solution for My Therapy Office
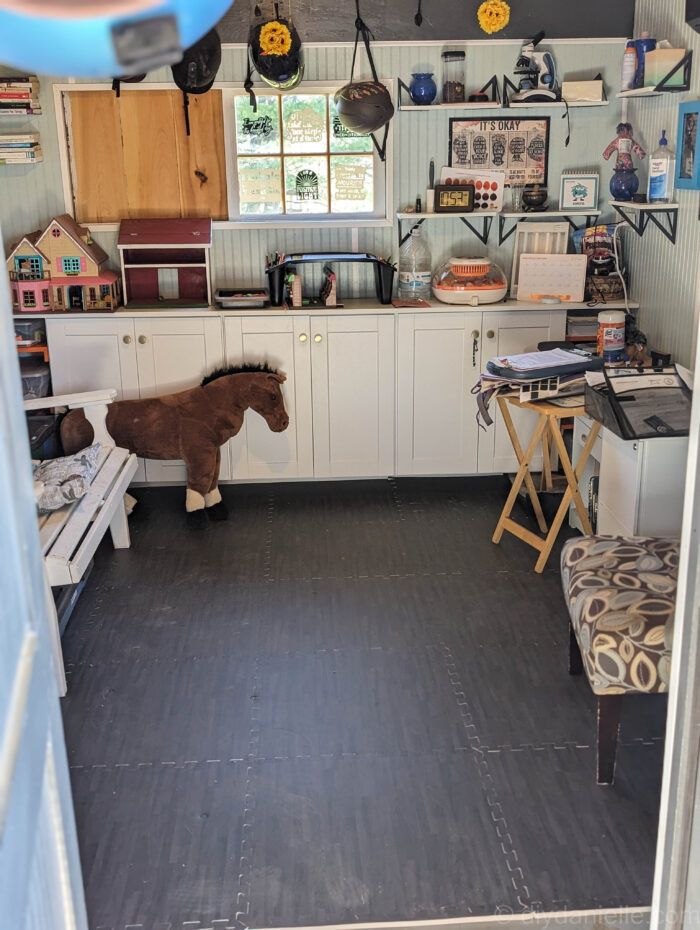
These foam floor mats are not only easy to clean and water-resistant, but also provide a comfortable and safe surface for both my clients and animals.
The installation process was a breeze. With just a few simple steps, I transformed my office floor into a functional and stylish space. The extra cushioning of the mats ensures that any protruding nails or imperfections in the original subfloor are no longer a safety concern.
One of the standout features of these foam mats is the convenience of the interlocking design. Each piece effortlessly connects to the next, allowing for easy customization and adjustment to fit any space. I particularly appreciated how simple it was to trim and tailor the mats to fit snugly against walls or furniture.
While they may have indentations from furniture and other items placed on them, the mats are affordable and I am not concerned with the looks of this as any floor that I use in my barn office is going to get a lot of wear and tear.
How to Install Interlocking Foam Floor Mats for a Room
Supplies
- ProsourceFit Wood Grain Puzzle Mat 1/2-in, 6 EVA Foam Interlocking Floor Tiles (24SQ FT) for Secure Indoor Room Workout Flooring and Playmat, Slate Grey
- Cut with scissors, a knife, or use electric scissors: https://amzn.to/3vZ7jRy
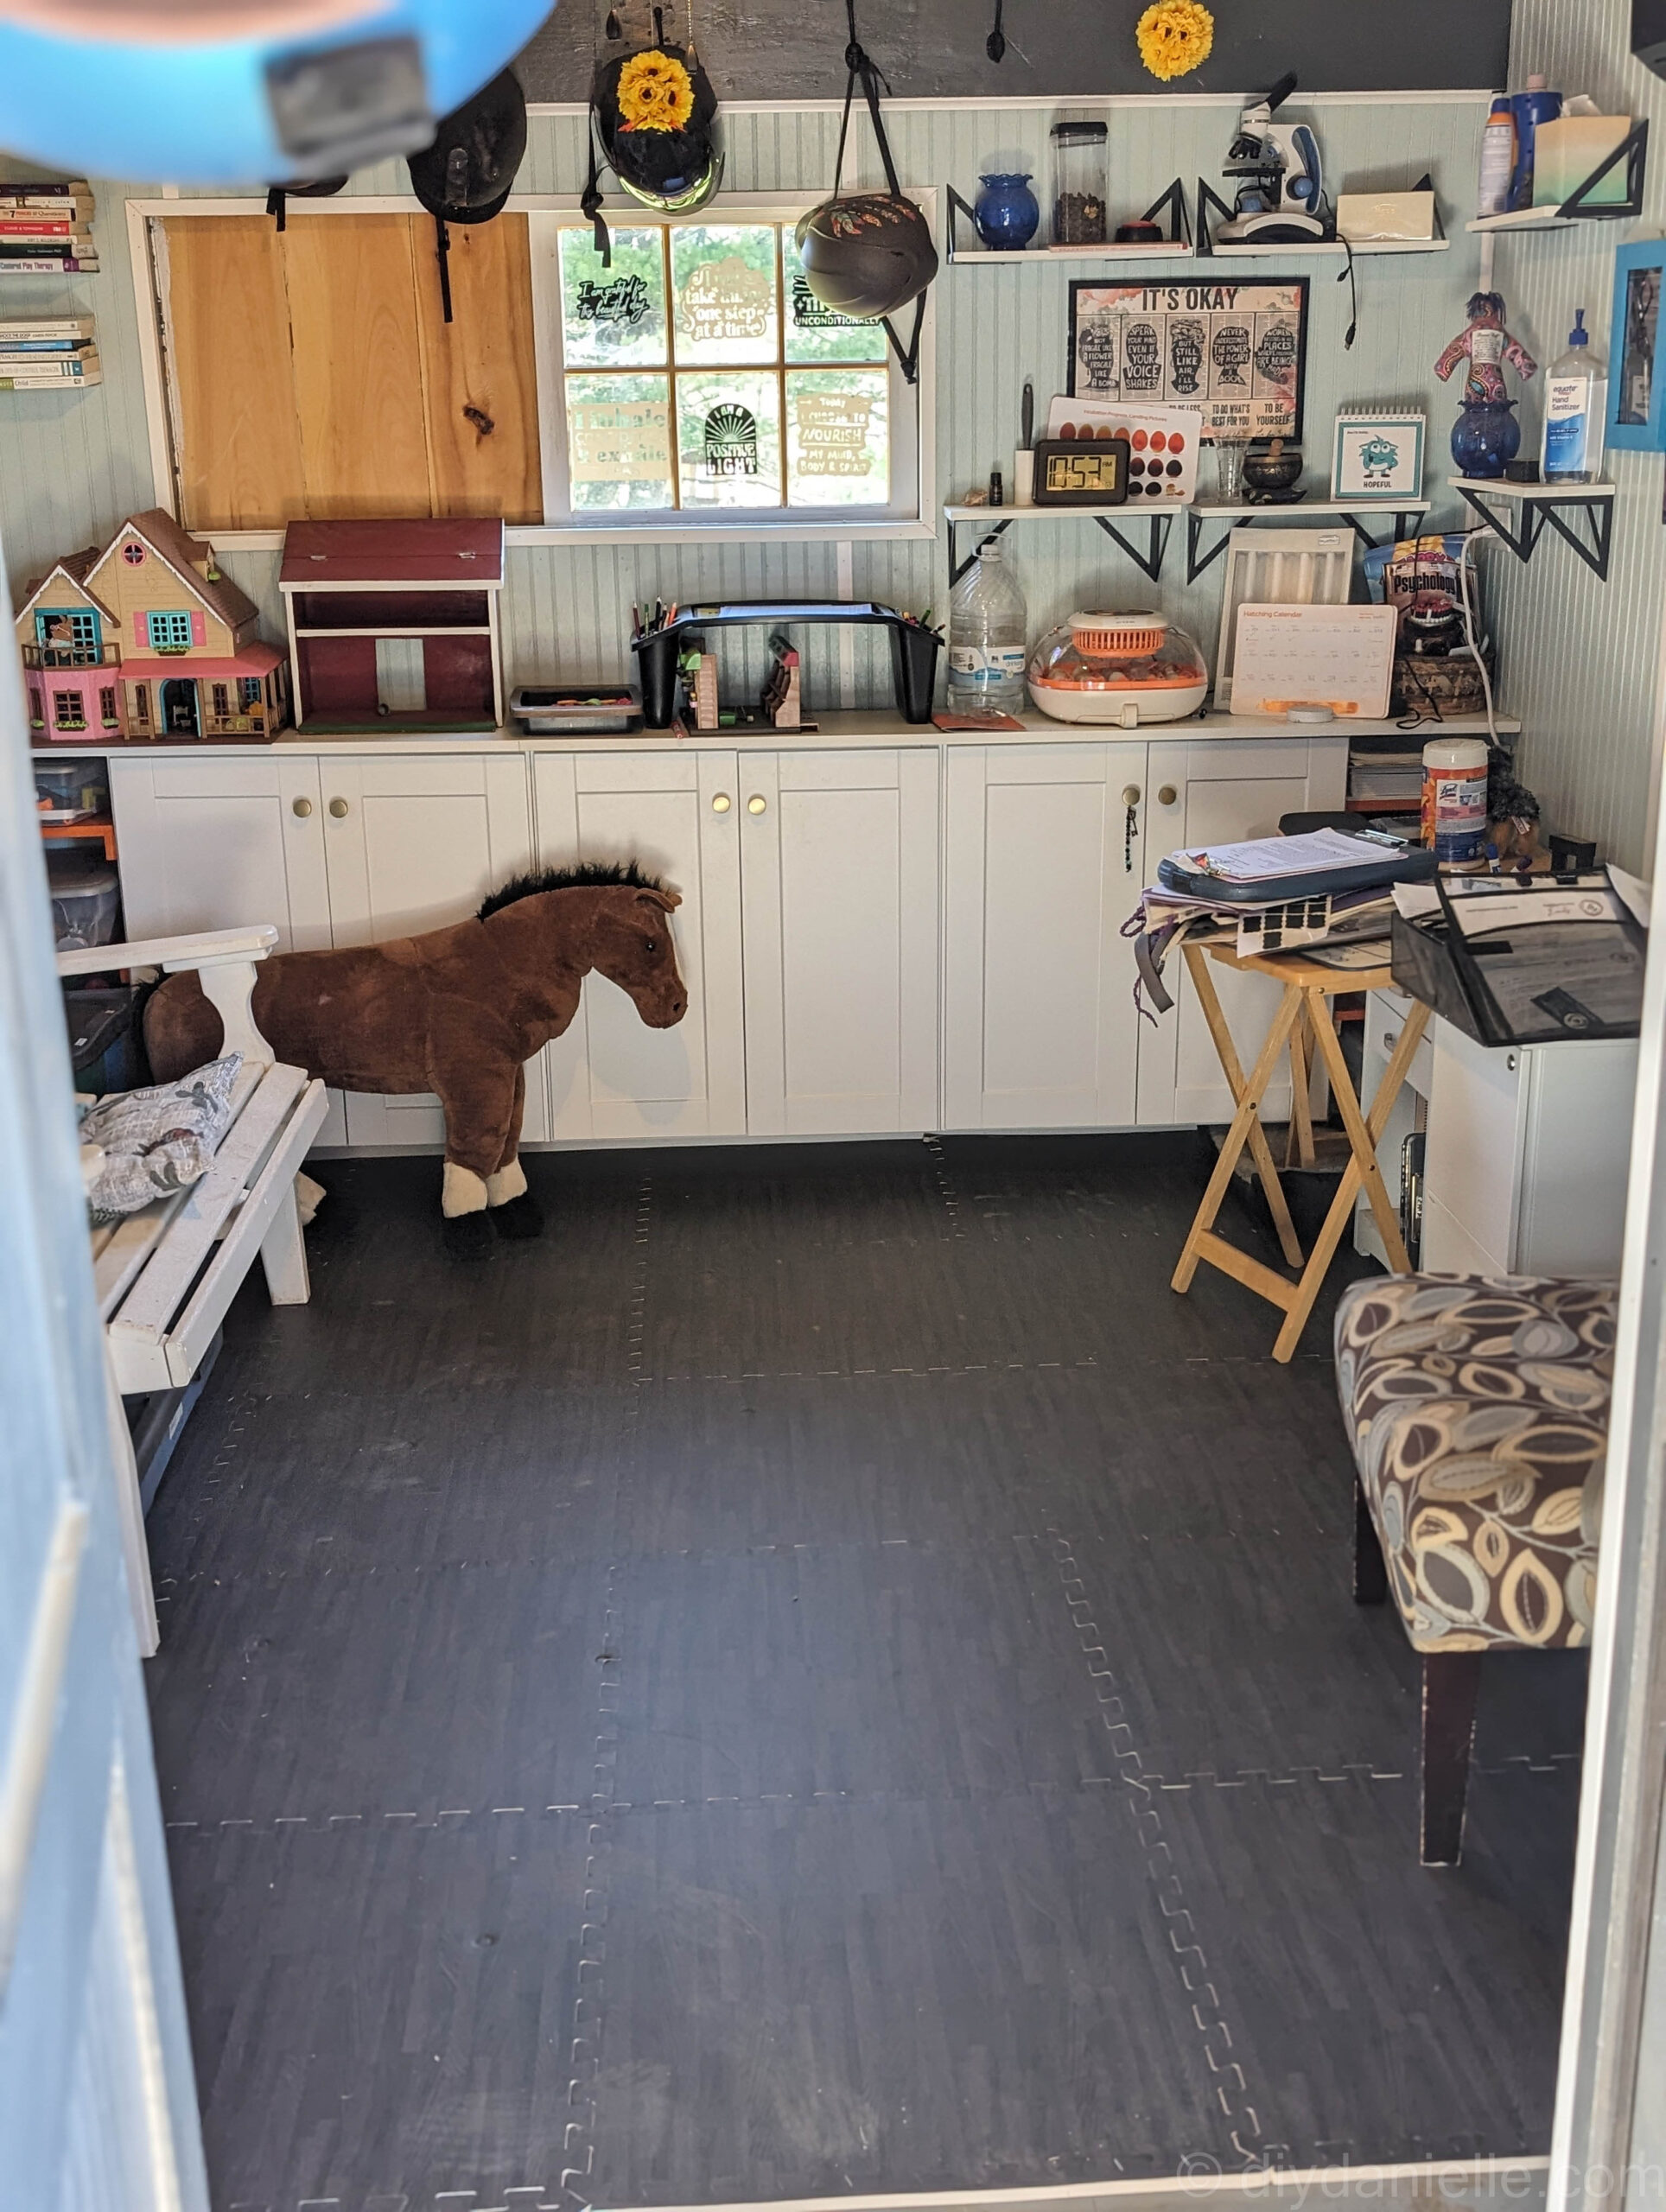
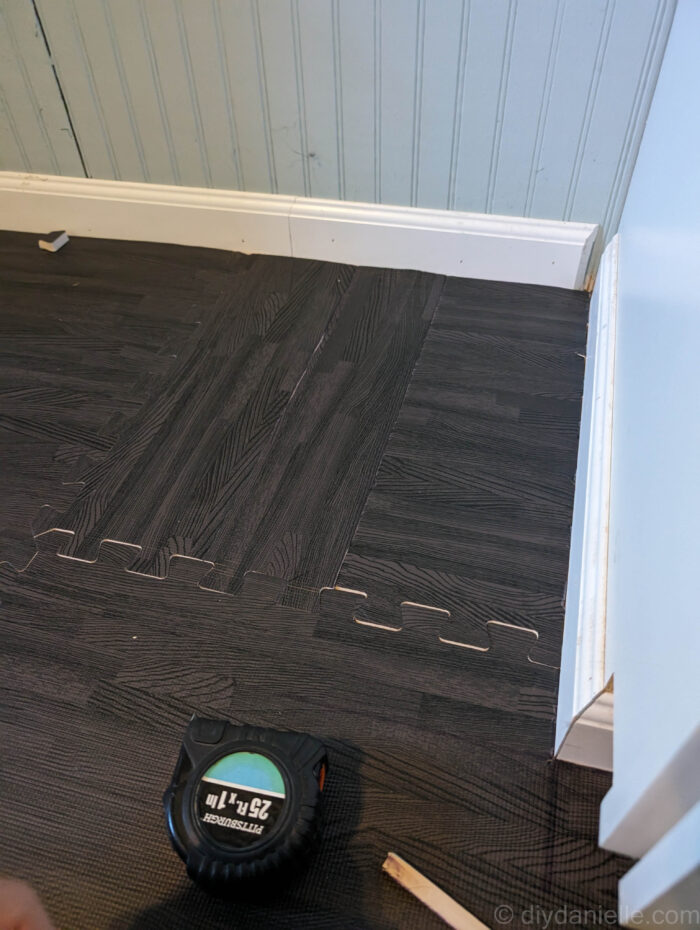
Begin laying your tiles in one corner of your room. You may want to be strategic about which corner you choose. I worked from my back wall towards my front door.
Make sure the wood grain lines up!
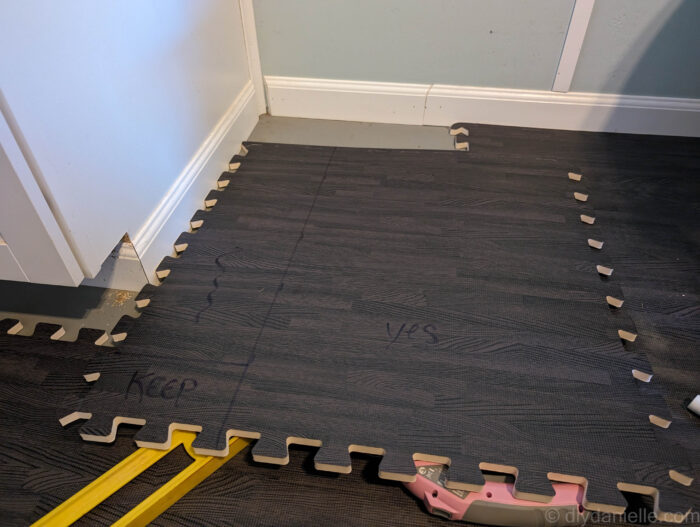
For the first corner tile, you’ll keep both trim pieces on. I placed the back left tile, then went to the right, connecting tiles along the back wall until I got to the right wall.
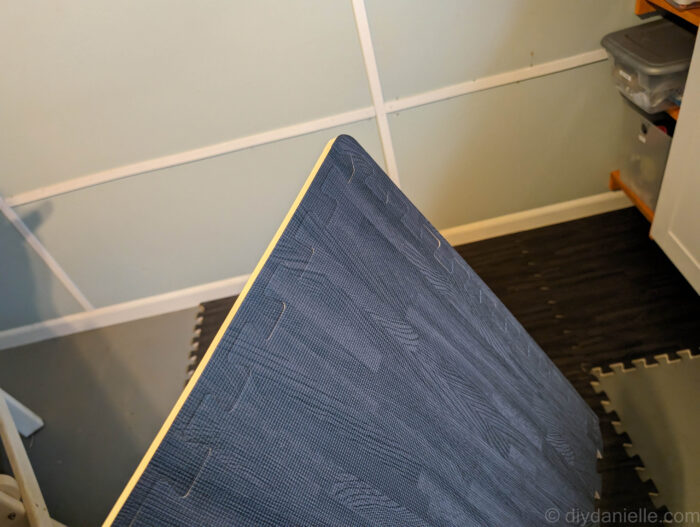
Measure the space left if the last tile doesn’t fit… cut away the part you don’t need and fit your tile in place. You want it to fit PERFECTLY flush to the wall. This keeps everything in place and avoids too much shifting or movement.
Cutting the tiles: I drew the cut line on my tiles using a dry erase marker, then used electric scissors to cut these. It worked great, but scissors or a knife will work too!
Continue working forward, row by row. Remove trim for any edge that needs to connect to another tile.
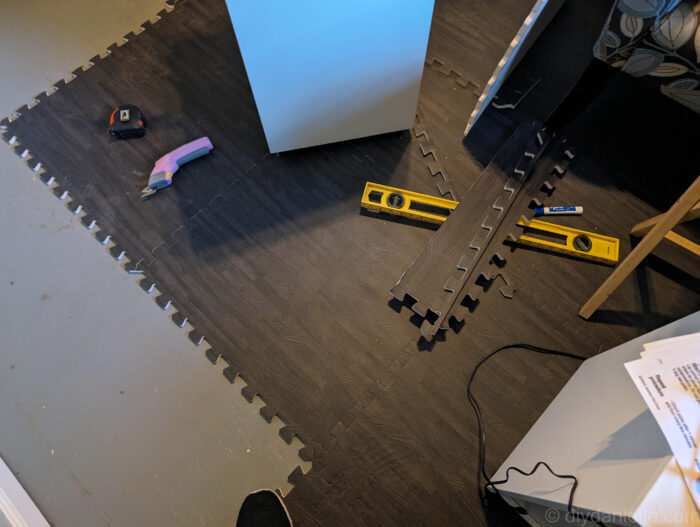
I needed to work around my cabinets at the front and used a straight edge + dry erase marker to draw my cut lines on. Once cut, this fit really well!
Unfortunately, I got to the last spot and discovered I was short tiles! Rather than order another set, I used scraps from the ones I’d cut. It’s not attractive, but it is hidden under my desk so it’s not a big deal.
Overall, this was a HUGE relief as it was an easy project that came together quickly. I’ve installed laminate floors before and while it’s a manageable task, I just didn’t want to invest the time or money necessary to do those in this space.
I LOVE these. They’re foamy and comfortable to walk or sit on. They look great. They were easy to install. I can easily remove a tile if I spill something to clean under it. I can replace a tile if needed.
When you place heavy items on the floor it DOES tend to leave an indentation (possibly permanently but I’m not sure)… I am not stressed about it though. It’s pretty affordable to replace tiles here and there if I dislike wear and tear on the center tiles— and I shouldn’t need to replace the exterior tiles that don’t get a lot of heavy use.
The affordability of these tiles means that I don’t stress about my dogs coming into therapy sessions or about if blowing bubbles in my office is going to ruin the floors. It’s AMAZING. I’m so so happy with these floors. What do you think?
Video of How to Install the Floor Mats
Please share and pin this post! You can also post your project and tag the DIYDanielle team on Instagram @doityourselfdanielle!