
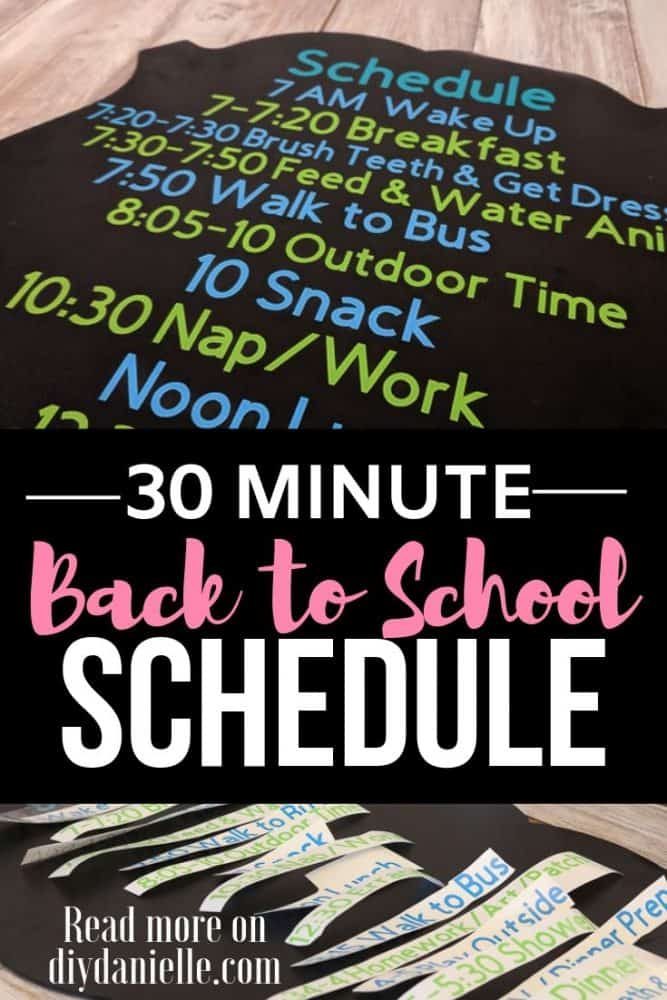
How to create a Back to School schedule with your Cricut machine so you can keep everyone organized this school year!
This post may contain affiliate links which may earn me commissions should you click through them and take certain actions. As an affiliate for Amazon, Cricut, xTool, Home Depot, and other sites, I earn from qualifying purchases. Please DIY carefully. View my full legal disclosures here.
The majority of my content is generated by me, as are 99% of the photos and videos, but I utilize technology for titles, descriptions, video editing out all of my ums, and occasionally for text overlay on images.
Please read the whole post so you don’t miss any important information!
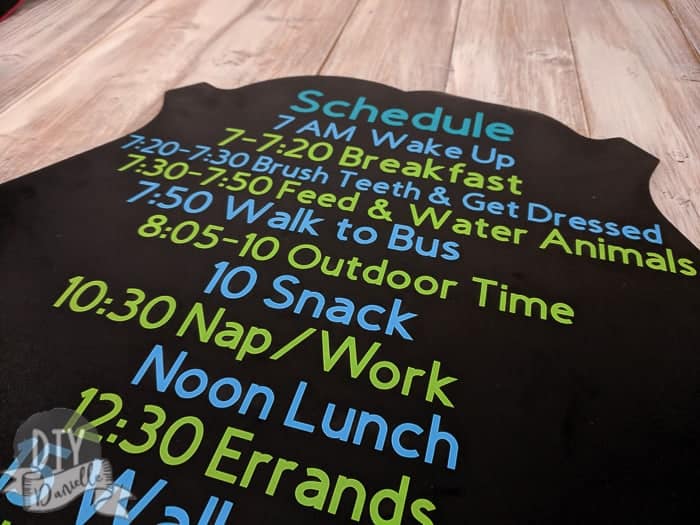
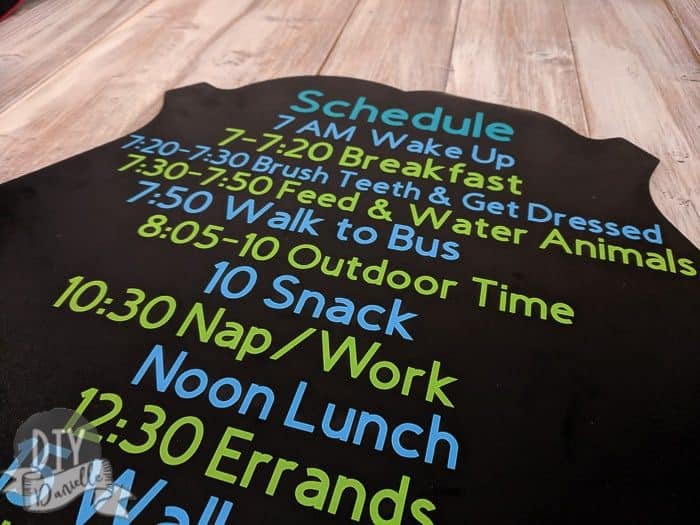
Last year I wrote a quick schedule for the family on this huge chalkboard and it worked really well. My 1st grader LOVED having it to refer to. Seeing it worked well for my kids, I figured I’d do a nicer version this year. I whipped this up really quick with my Cricut. It’s a lot of weeding and applying the vinyl, but it looks SO much nicer than my handwriting. I used regular vinyl so it could be easily removed when we need to change the schedule.
Supplies
- Chalkboard: Mine is pretty large. You’ll want to change the size of your text to work for the size of your chalkboard. Mine is 23″ tall x 14.5 wide, but I have nooooo idea where I bought it. This 13×23 framed chalkboard or this 20×30 framed chalkboard can be found on Amazon and either should work.
- Cricut Maker
- Cutting mat
- Weeding tool
- Removable Vinyl from Cricut
- Transfer tape
- You can use my Cricut file here if you want to use something that’s already color coordinated. Just change the times/info to match what you need for your family.
- I used 4 pairs of Command Strips to hang the chalkboard
Use the Discount Code DIYDANIELLE on cricut.com for 10% off any cutting machine or heatpress (no minimum). Excludes: materials/accessories/mystery boxes/etc. Applies to US/CA only, code expires 12/31/23.
How to Make Your Schedule
You’ll want to use the Cricut file that I give you above or make your own. If you want to alternate colors, make sure you have 2+ colors alternating on your schedule. I think this makes the sign easier to read.
Remember that the size of your words needs to be correct for the size of your board. I almost ran out of space and I’m not sure I’d want a smaller sign for this, simply because weeding small words is harder than big ones.
Place your vinyl on the mat, load into your machine, and set it up to cut.
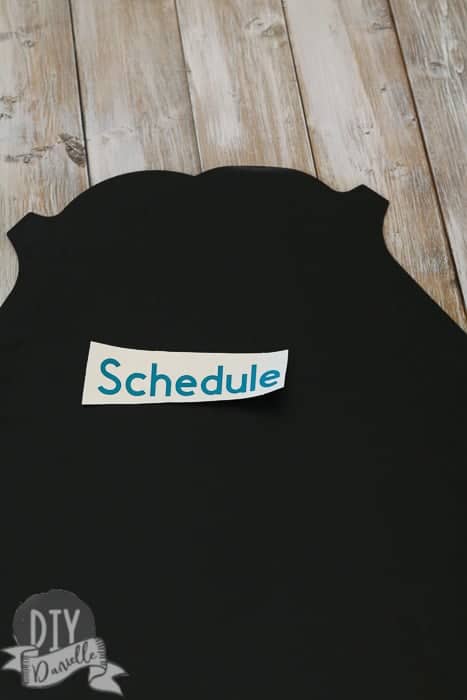
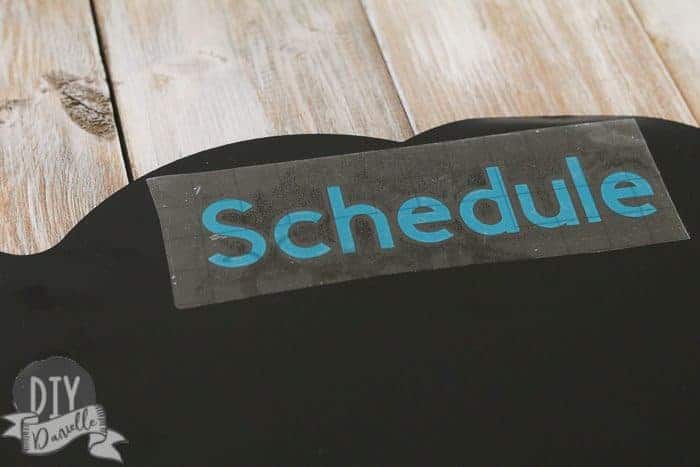
Cut each color separately. I used a different color for the “schedule.” I applied my “Schedule” cut before anything else.
Now cut your schedule items up so you have one strip for each “event.” Weed each.
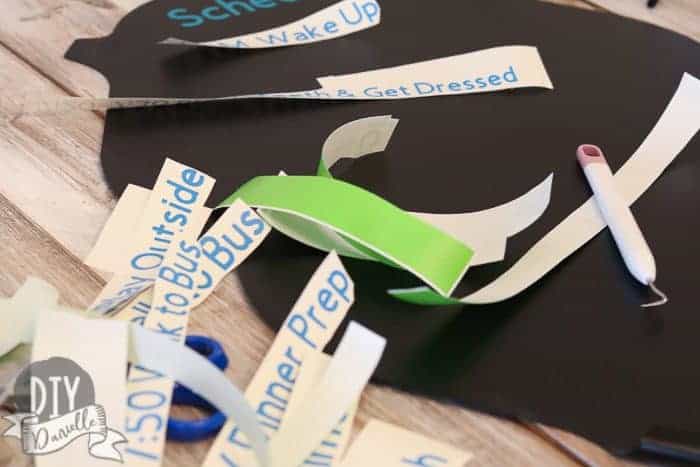
Line up your family schedule as planned.

Use your transfer paper to apply each line from the top down. Cricut transfer paper is pretty strong so I love to save old pieces and reuse them… it makes it a lot easier to apply vinyl when they’re a bit older, plus you get a lot of use out of the transfer paper before it becomes garbage.
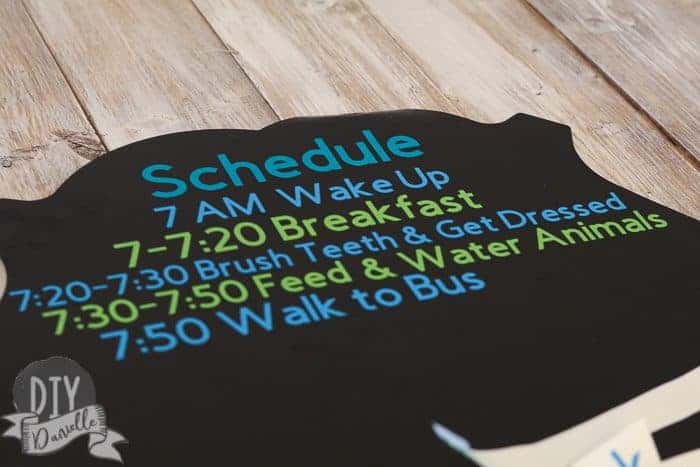
I just kept going all the way down until I had all of my items added. I added a mix of schedule items for my kids and myself, although I did stop at the kids’ bedtime.
Nothing is perfectly centered, but I tried to keep things a little sloppy. I’m going to call it “artistic license” and not laziness. I like the sound of that. My thought here is that you either need to get it perfectly centered and draw out your placements beforehand… or you need to make it sloppy enough to look intentional. I went in that direction.
Love your Cricut? Here are a few projects that you might also like: DIY Wooden Shields | Make Minecraft Themed Windows | Baby Nursery Signs | Kids Garage with Pretend Play Autobody Signage
Please share and pin this post! You can also post your project and tag the DIYDanielle team on Instagram @doityourselfdanielle!
Google Web Story: Putting together a family schedule with Cricut.