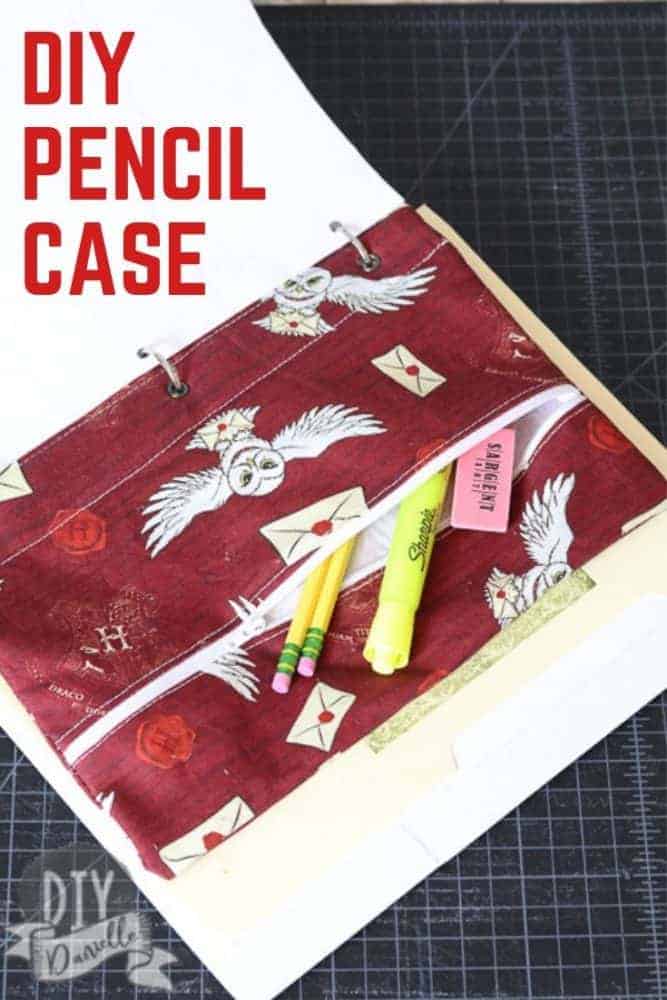
How to sew a DIY pencil case with a zipper. The grommets allow it to be kept inside a binder without falling out. This is such an easy beginner sewing project!
This post may contain affiliate links which may earn me commissions should you click through them and take certain actions. As an affiliate for Amazon, Cricut, xTool, Home Depot, and other sites, I earn from qualifying purchases. Please DIY carefully. View my full legal disclosures here.
The majority of my content is generated by me, as are 99% of the photos and videos, but I utilize technology for titles, descriptions, video editing out all of my ums, and occasionally for text overlay on images.
Please read the whole post so you don’t miss any important information!
Making things for my sons is always satisfying because they’re still that age where they appreciate it. Or at least one of my kids does usually. Haha. It just depends on everyone’s mood for the day.
I’ve been working on a few Back to School Crafts and Sewing Projects for the kids, including square zippered lunch bags (coming soon!) and journal bookmarks (these are fantastic!).
This was an easy project and one that’s ideal for learning to sew zippers, if you’re new to them. It’s a pretty straight forward zipper project.
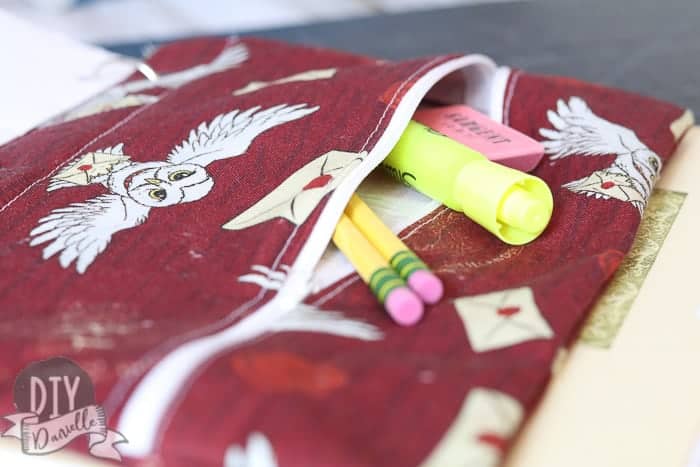
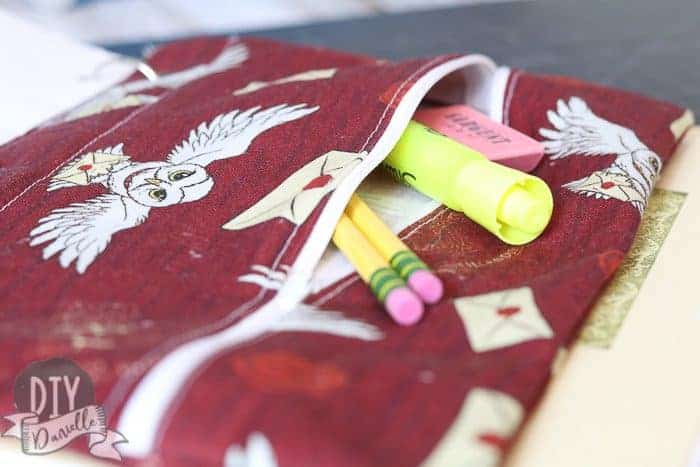
While some people like to use a see through front, I opted to skip that. I don’t really like sewing with that stuff and I think it tends to look icky pretty quick. Fabric will keep nicer and this should even be washable.
DIY Pencil Case Tutorial
This pencil case is an easy project- particularly if you leave off the grommets. But if you’re a beginner, it’s also a great way to learn two new skills: Applying Grommets and Sewing Zippers. It’s a fairly simple zipper to apply too!
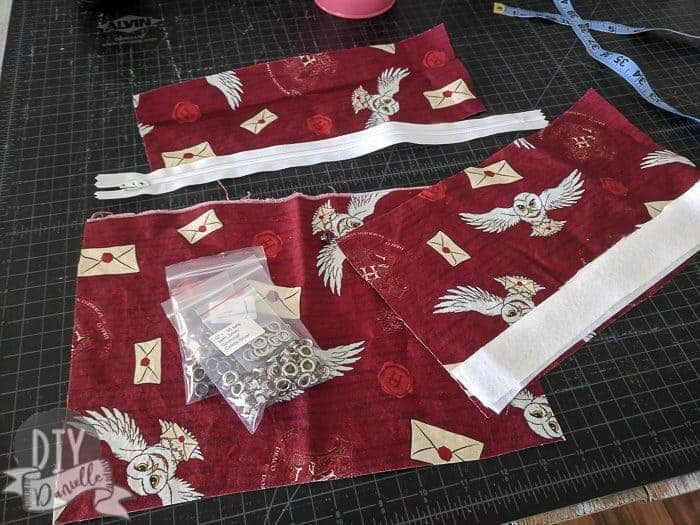
Supplies
- Woven Fabric, I used custom Harry Potter fabric (you can buy Harry Potter fabric on Fabric.com)
- 15″ Zipper (mine was a bit long so you could use a slightly smaller size)
- Optional: Felt (two layers) or stabilizer if you have it/prefer
- Optional: Grommets and grommet press. I used 5mm grommets and snap pliers from KamSnaps that have a grommet option (if you buy the attachments needed). This seems like a more affordable option than what I bought and it has a punch, but the grommet is slightly larger.
The optional items are for adding the grommets so you can put the pencil case in a 3 ring binder. It’s easier to leave those off, but…. these are so pretty with the grommets!
The pattern for this pencil case is available as part of my Resource Library for subscribers to my email list. Subscribe below! Once you get your password and link to the resource library, look for “Zippered Pencil Case Pattern.”
How to Sew a Zippered Pencil Case
Start by cutting all of your fabric for your DIY pencil case and laying out your supplies.
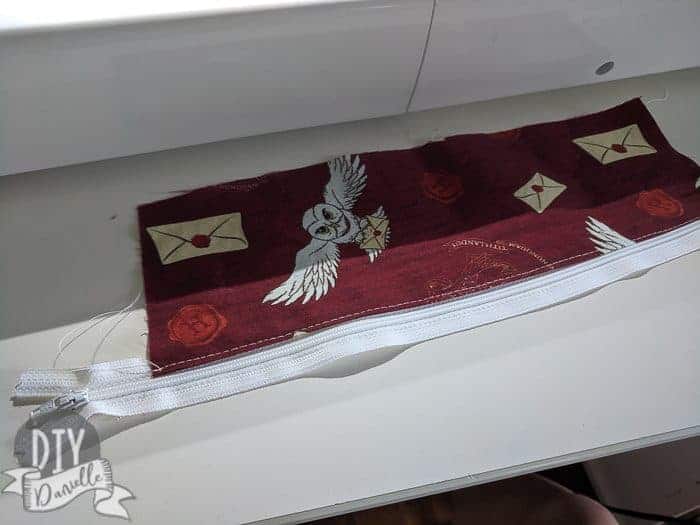
You have two front pieces for your fabric. Take the smaller one, the top, and place your zipper right sides down on it. Sew right sides together with your zipper foot. Flip, press, and top stitch.
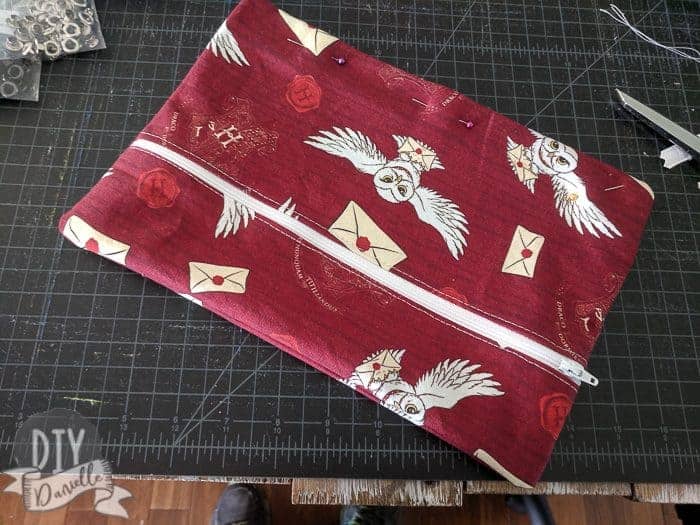
It’ll look like this….
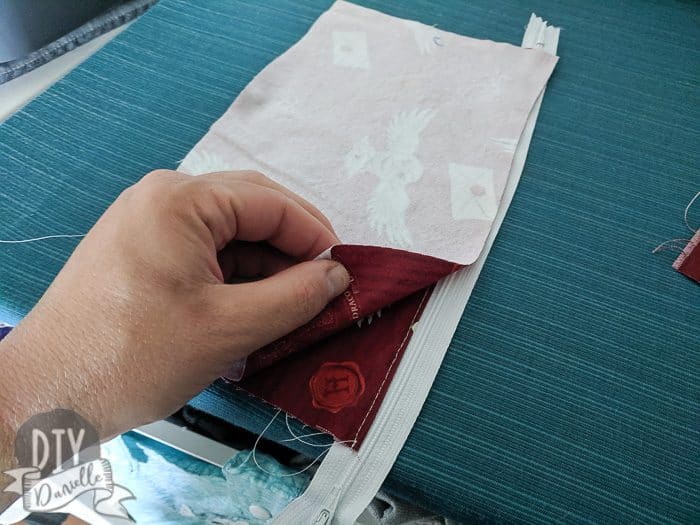
Now you need to attach the bottom front piece. Face it right sides together with the other side of the zipper.
Sew a straight stitch, turn right sides out, press, and top stitch.
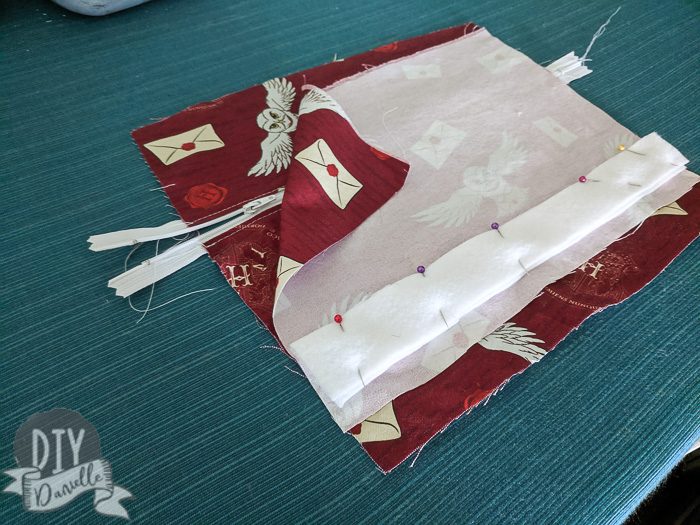
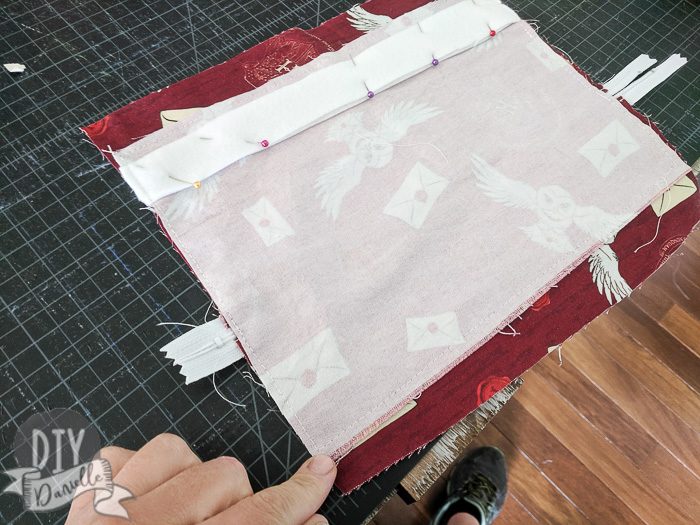
Now that your front is finished, place it right sides up on your table. Place the back piece right sides down on top. Pin your stabilizer/felt in place at the bottom… make sure to leave enough room for the seam allowance. You don’t want to sew the stabilizer into the seam allowance.
Pin the fabric pieces together. Make sure to leave your zipper open a tiny bit.
If you don’t want to do the grommets, you can leave off the stabilizer/felt steps. If you go this route, you may want to make a strap instead. If so, this is the time to sandwich the strap in.
Why stabilizer/felt? If you’re wondering why we need stabilizer or felt here, we will be adding grommets to this section. Similar to snaps, the area the grommets are added to needs a little extra support. Otherwise the grommets won’t look as nice and may pull out.
Sew around the whole case with your seam allowance. Clip corners and excess fabric.
Turn right sides out through your zipper. Once you turn it, you’ll need to fix your stabilizer/felt so it’s not crinkled up. Smooth it all out and pin it in place.
I sewed a straight stitch along the bottom of the bag and then along the top of the stabilizer so it will be held in place. Remove pins.
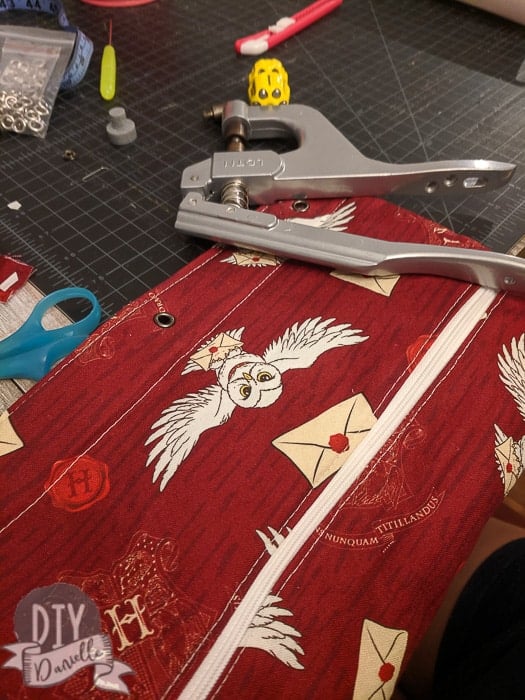
Now you can mark your placement for the grommets and add your grommets. Here’s a tutorial on adding grommets.
Here’s a video to show you how I made this DIY Pencil Case…
Please share and pin this post! You can also post your project and tag the DIYDanielle team on Instagram @doityourselfdanielle!