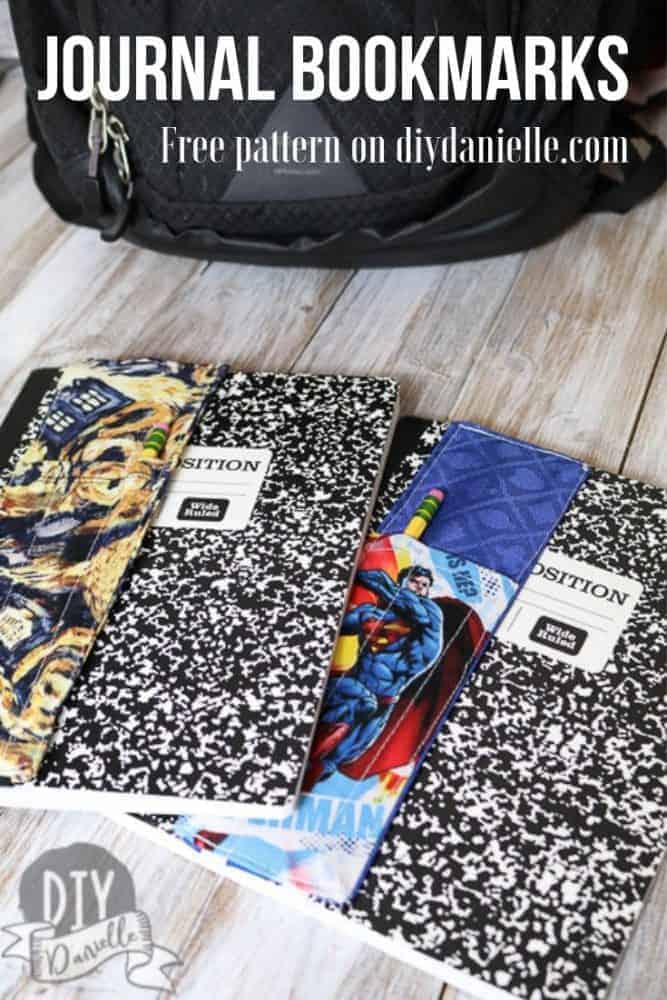

Learn how to make an easy pen holder bookmark. This creative bookmark idea is a great way to use scrap fabric and it’s a great easy gift idea to give with a journal.
This post may contain affiliate links which may earn me commissions should you click through them and take certain actions. As an affiliate for Amazon, Cricut, xTool, Home Depot, and other sites, I earn from qualifying purchases. Please DIY carefully. View my full legal disclosures here.
The majority of my content is generated by me, as are 99% of the photos and videos, but I utilize technology for titles, descriptions, video editing out all of my ums, and occasionally for text overlay on images.
Please read the whole post so you don’t miss any important information!
As my kids are ramping back up for school, I like to send them off with a couple of mommy made items. My middle son, 5, is going into kindergarten and he gets particularly excited about homemade items. I’ve been working on finishing up some lunch bags for them (I decided to whip up a new pattern instead of using the larger lunch box pattern that I did a couple years back), but I decided to put together some easy bookmarks.
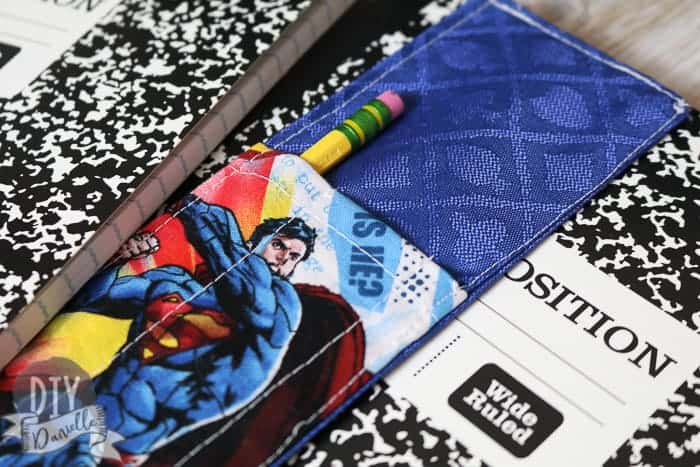
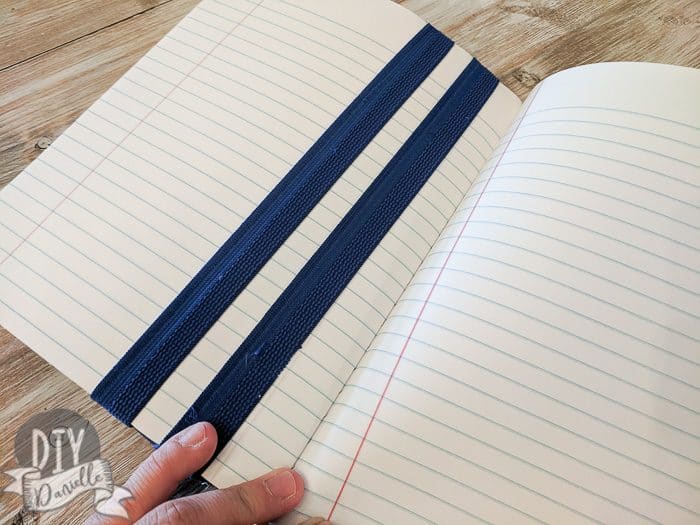
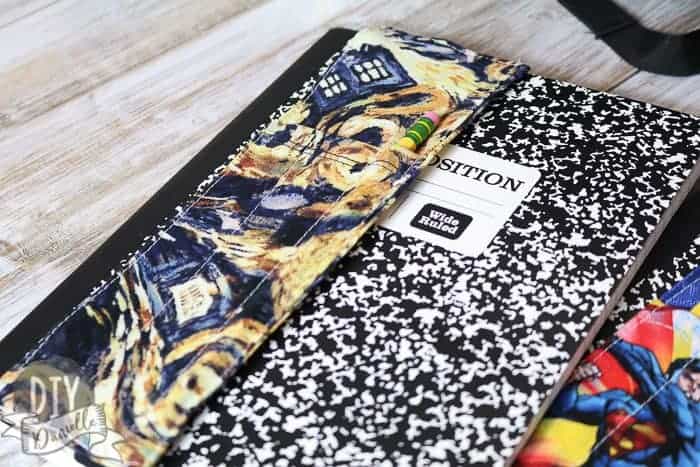
The nice things about these bookmarks is that they attach to a composition book so they’re hard to loose. They also have a convenient place to put a pencil or pen. I wish we’d had these last year for my older son’s reading journal. We were ALWAYS searching for a pencil.
Don’t forget to check out my zippered pencil case tutorial too! These are tons of fun!
Fabric Bookmark DIY
Let’s get started. I’ll keep this pretty basic for those who are beginners. After I finished this, I wondered if using a stabilizer might be nice for this project. If you do this, cut 1 stabilizer piece slightly smaller than the main fabric piece.
Supplies
- Cotton fabric, two coordinating fabrics or you can just use the same fabric (like I did with the Doctor Who version- get Exploding Tardis fabric on Joann.com)
- Elastic
- Iron, sewing machine, and other sewing supplies
- Ideally you’ll want a fabric marker
- Optional: Stabilizer of sort sort
How to Make a Pen Holder Bookmark
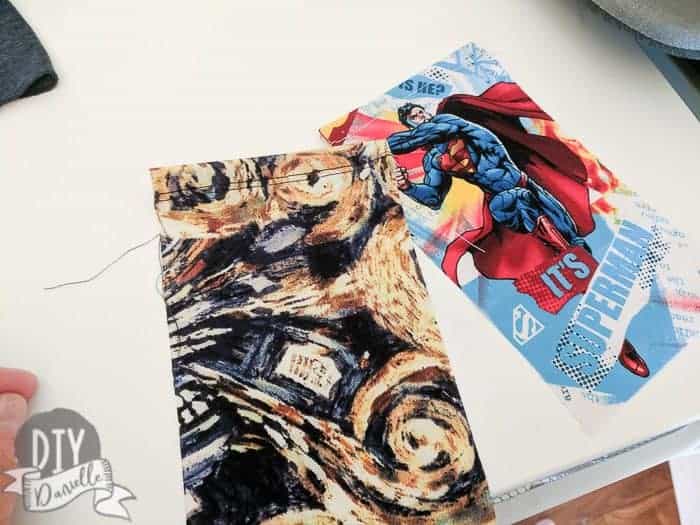
Start by cutting your fabric. The pattern is available, if you want it, in the Resource Library that is available to all of my subscribers.
This is a simple rectangular pattern though so I’ll give you the measurements if you prefer to save paper.
- Cut 2- 4 x 10.75″ — this will be the main bookmark
- Cut 1- 4 x 8.25″ — this will be the pocket for the pen/pencils
- Cut 2- 11.25″ elastics (or you could use fold over elastic- FOE)
You can adjust the size of your fabric/bookmark to hold more or less pencils.

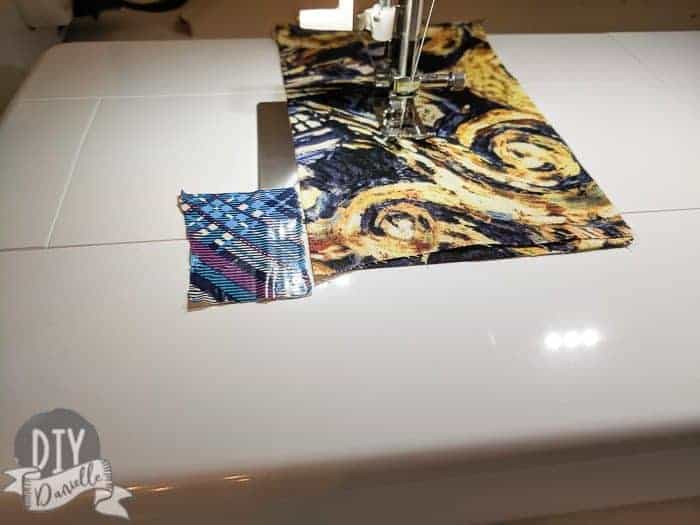
Iron your fabric. Turn over the top edge of your pocket fabric piece, press, turn it again, press again.
Sew a straight line across the top of the pocket to finish the edge.
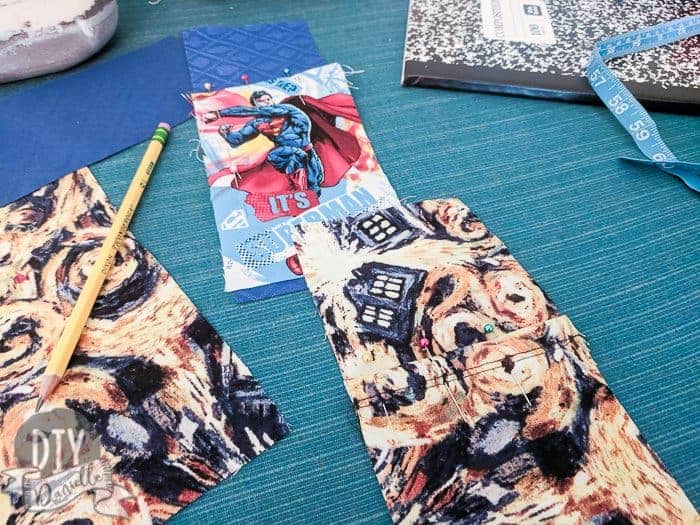
Line up your pocket fabric over the front piece of your main bookmark fabric (one piece, put the other piece to the side).
Optional Stabilizer: If you’re using some type of stabilizer, you’ll want to lay that down first, put the main bookmark fabric on top, then the pocket piece.
Pin your pocket in place on top of the bookmark fabric (and stabilizer, if applicable).
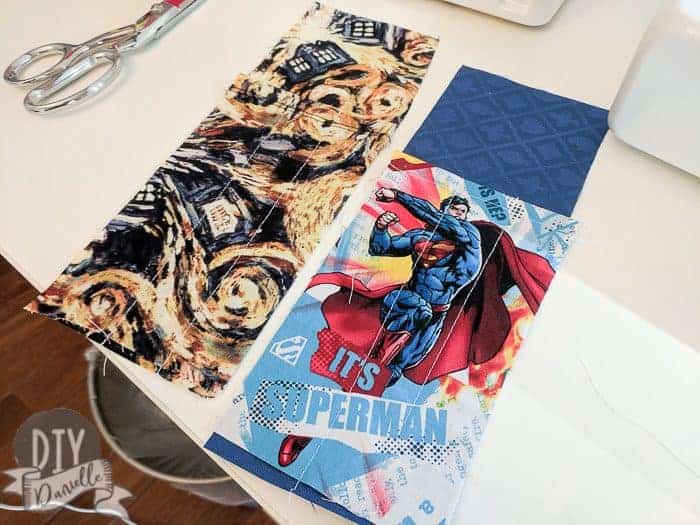
Mark where you want your lines for your pockets. I made sure to mark where my seam allowance is (around 1/2″ from each side). You’ll want your first line about 1-1.25″ out from that. You can mark two lines for this pattern.
Usually I like to use a fabric market to draw the line, but I couldn’t find mine. So I did my best to pin where I needed the line. It wasn’t as easy to do it this way honestly and the Superman bookmark wasn’t as even because of this.
Once you mark your lines, you can sew a straight stitch along them. I like to back stitch and reinforce around the pocket top. This part will see a lot of wear and tear from pens/pencils coming in and out of it so it’s good to make sure the stitches won’t pop.
I used a piece of duct tape here to help me get a straight line… this wouldn’t work if my fabric wasn’t cut straight.
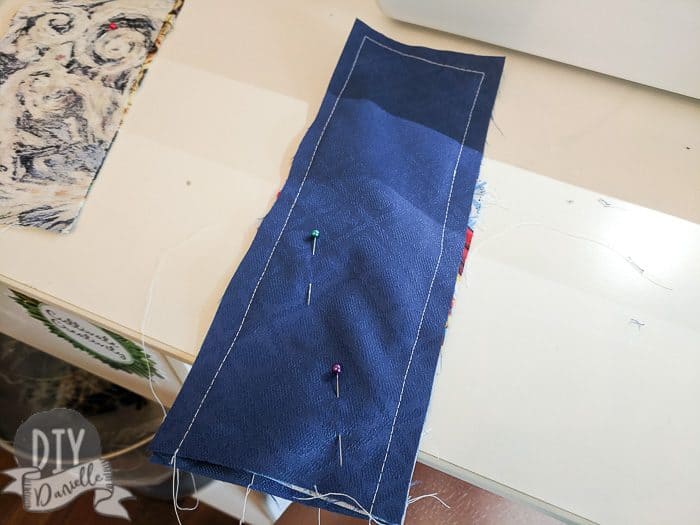
At this point, you’re ready to assemble the rest of the bookmark. I laid my extra piece of bookmark fabric right sides up on my table. Then I laid the piece attached to the pocket right sides down on top.
Take your two pieces of elastic and sandwich them in between AT THE TOP. Try to space them evenly apart. Make sure the rest of the elastic is in the middle and won’t get sewn into the sides of the bookmark.
Pin everything.
Sew around the two long sides and the top with a 1/2″ seam allowance. I would recommend sewing a slightly smaller seam allowance for the sides here. I think you could fit a third pen/pencil if you do… my third “pocket” got squished a bit.
Trim the corners, making sure not to clip the stitches.
You’ll turn the bookmark right sides out from the bottom opening. Grab the elastics and pull- it’s easier. Use something to poke out all of the corners once right sides out.
Press.
Turn under the edges of the bottom open end… you’ll want to press these too.
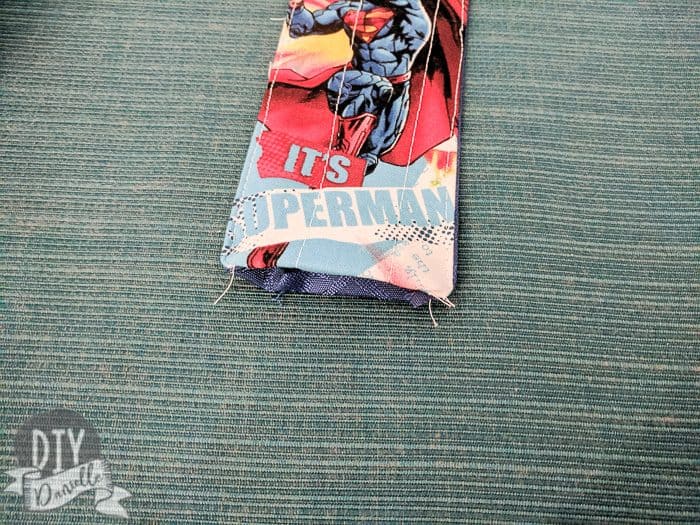
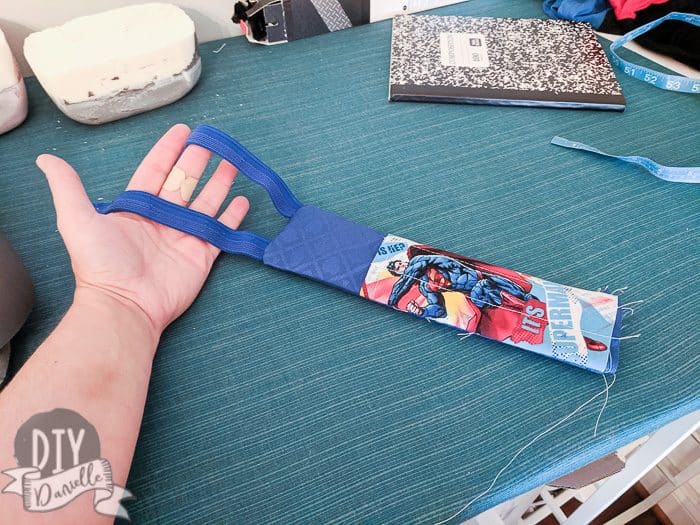
Tuck your free elastic ends inside. It’s a good idea to pin this elastic in place and give it a try on your notebook to make sure the elastic is far enough in. There’s a sweet spot where it’s not too tight and not too loose.
This one below ended up being too tight so I replaced the elastic with longer elastic (the 11.25″ should be fine).
Sew closed, making sure to back stitch over your elastic a bit to reinforce the area.
And you’re done! Mr. 5 year old came up to me after and gave me a big hug to thank me. THAT is satisfying! I hope I’ll always have at least one kid who appreciates my work, haha.
Here’s a video tutorial of the process:
If you don’t have time to sew this, check out these fabric bookmarks on Etsy:
- SweetPNMe Store: Planner pen holder/bookmarks
- Gilham Crafts Store: Pen Holder/Bookmark
- SweetPNMe Store: Pen Holder Bookark, Zippered
Please share and pin this post! You can also post your project and tag the DIYDanielle team on Instagram @doityourselfdanielle!