
Last year we put together a Haunted Trail for Halloween for the kids This year we’re going bigger than ever. Here are the details.
Last year was our first annual haunted trail. It’s a fun event for us to host because we have a large property with a decent area that is wooded. It makes for a great Haunted Trail!
Trail Planning
We walked the woods several times and marked out the entrance and exit first. We worked around areas that made sense: for example, my son built a couple of sketchy looking structures in the woods that made perfect “witch huts.”
Once we decided on where the path would be, I marked out the area with red ground paint. I didn’t add too much paint because I wasn’t sure if it would wash/be cut away before the day of the trail. We marked each zone.
This year, four of us met weekly to plan the trail for about 6 weeks. We had 2-hr meetings once a week from September through the week of the trail. The week of the trail, we met twice during the day, the evening prior for a run through (this allowed us to check to make sure we had enough lighting where we wanted it), then about 2-3 hrs before the event for final touches.
This post may contain affiliate links which may earn me commissions should you click through them and take certain actions. As an affiliate for Amazon, Cricut, xTool, Home Depot, and other sites, I earn from qualifying purchases. Please DIY carefully. View my full legal disclosures here.
The majority of my content is generated by me, as are 99% of the photos and videos, but I utilize technology for titles, descriptions, video editing out all of my ums, and occasionally for text overlay on images.
Please read the whole post so you don’t miss any important information!
Trail Supplies
Here is a list of the supplies that we used for our Halloween trail, not including the DIY decorations (see next section). I’ll add the supply list for each project to their individual blog post because it’s just too much to list here.
These are simple items you can purchase.
- Fishing line/monofilament (this is great because it’s clear)
- Baling twine
- Small LED ball lights: These things are AMAZING and my friend brought a huge bag. They fit nicely in skull eye sockets.
- Tea lights
- Battery operated fairy lights (red, orange, warm white are all good colors)
- Strobe lights
- Scissors
- Something to cut away dead wood, branches etc.
- Rake
- Red Inverted Spray Paint for Ground
- Work Gloves
I recommend mapping out the trail in advance to help you plan out the spaces. We used Red Inverted Spray Paint to mark the trail, then used rakes/work gloves/etc to clear debris from the trail. Fallen trees were pushed to line the trail. They were turned into tea light holders to light the path.
DIY Outdoor Halloween Decorations
Here are the decorations we bought and made for the trail. The products are links to the Amazon store, but I’m going to link all of the DIY projects to their respective tutorials. Some of the DIYs will be shown in the photo section (if you keep scrolling), but not all will so make sure to not scroll past this part. I’ve got a ton of photos and video on here, but I don’t want this page to be unable to load because it’s too photo heavy.
Outdoor Halloween Decorations for a Haunted Trail
Some of the DIY projects we've completed for our Haunted Halloween Trail. This is a compilation of ideas that you can make yourself to decorate outdoors.
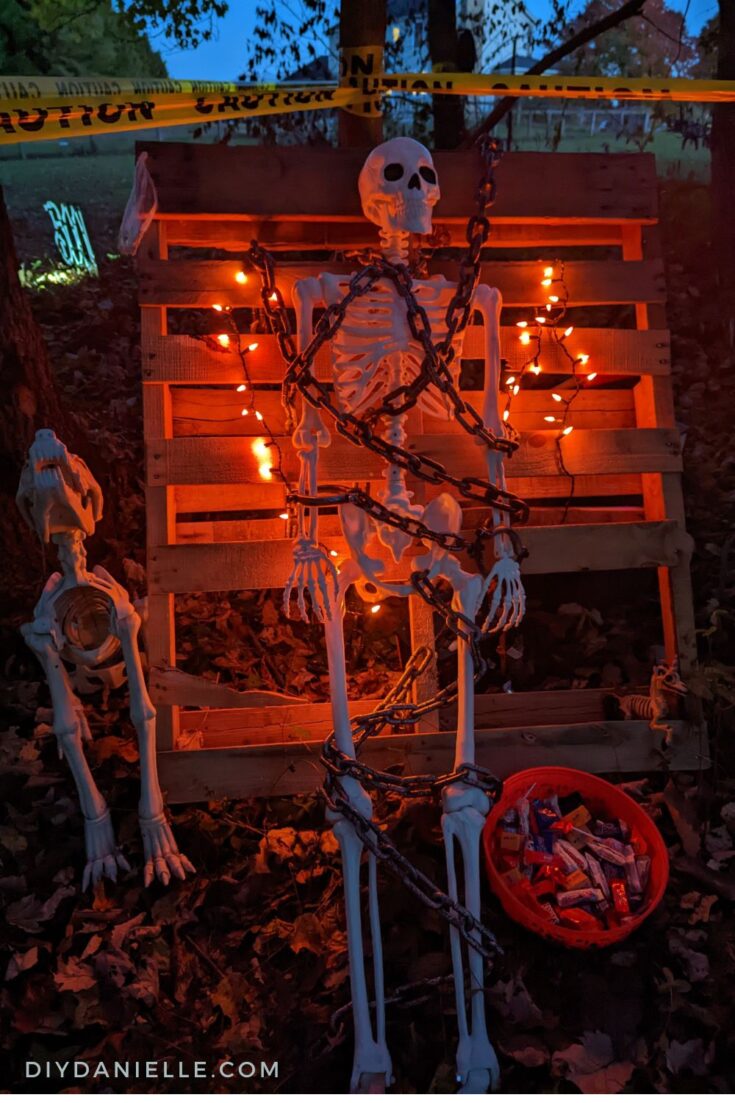
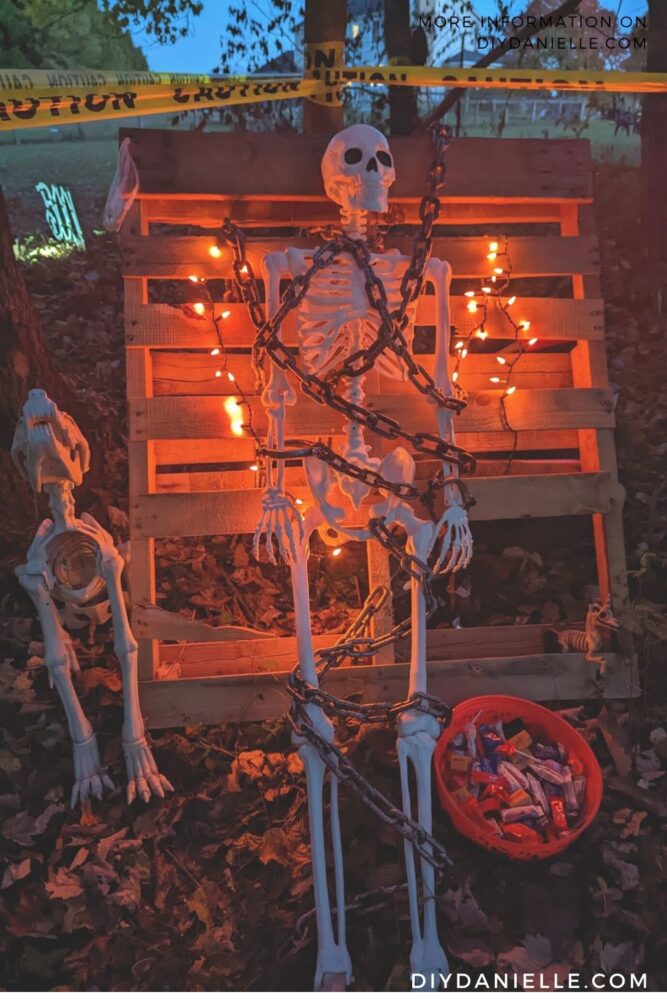
Skeleton in Chains: Outdoor Halloween Decoration
This came out so great, despite being a very last minute project. Putting a speaker right behind the pallet was a great hiding spot and added to the spooky ambience.
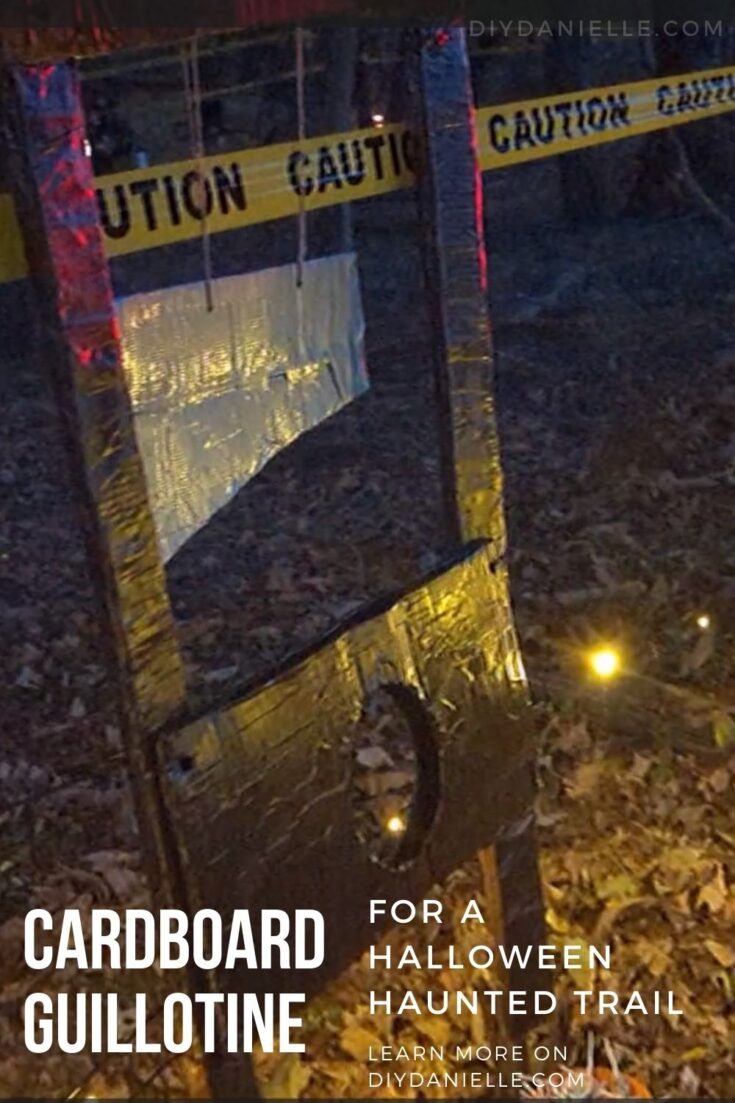
DIY Guillotine from Cardboard for a Halloween Trail
This was a guillotine made of cardboard, duct tape, and PVC. It was cheap and easy to put together.
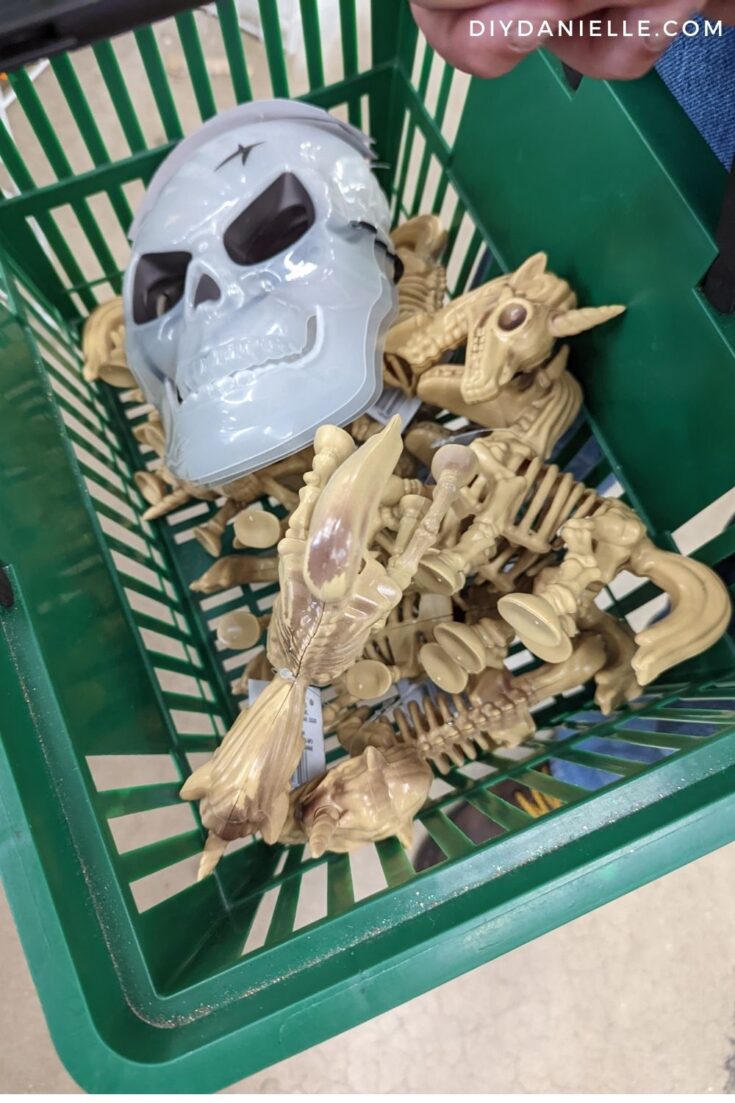
Skeletal Unicorns for a Halloween Scavenger Hunt
We painted these Dollar Tree unicorns and put them along the haunted trail for the kids to find, Scavenger Hunt style!

DIY Halloween Pathway Lights: Creepy Doll Faces
I made some pathway lights using creepy doll faces. These were an AMAZING addition!

JOYIN Halloween Decorations 5 FT Back from The Grave Dead Body Halloween Prop, Scary Halloween Decorations Outdoor Haunted House Yard Garden Decor
This guy was an item I was sent to review. He worked great, although he's foam so prone to getting eaten/broken a bit. I added fairy lights under the white sheet.
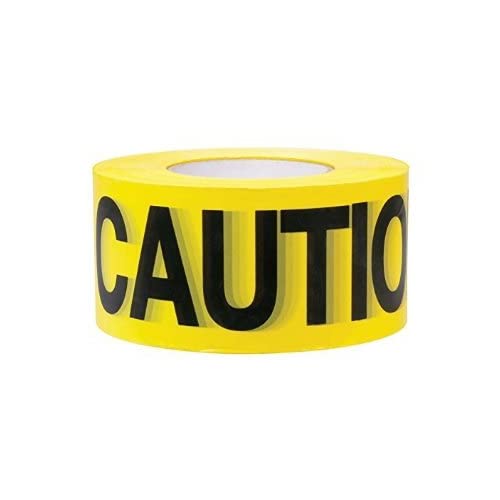
Premium Yellow Caution Tape 3 inch x 1000 feet, Halloween Decoration Party Tape, 3" Wide for Maximum Readability, Strongest & Thickest Tape for Danger/Hazardous Areas
This MUST HAVE item allowed us to mark the trail easily and keep kids from wandering off it.
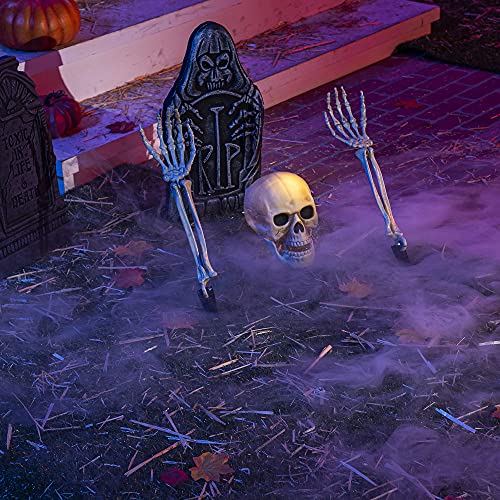
JOYIN Halloween Decoration Outdoor Life Size Light-Up Skeleton Groundbreaker Stakes Lights, Lawn Yard Stake with Lighted Skull for Halloween Outdoor Lawn Garden Holiday Decorations
I LOVE this guy! His eyes light up and the stakes are perfect to hold him in place. He was perfect for our graveyard.
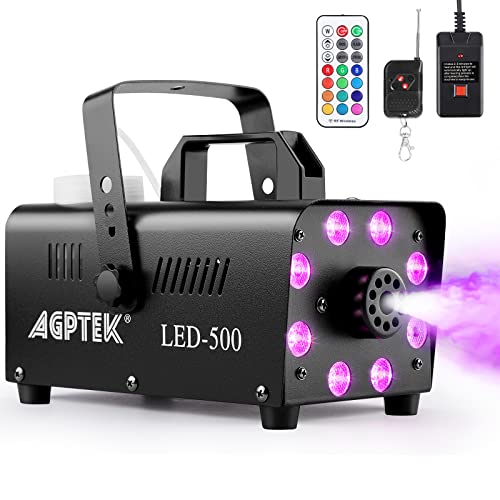
Smoke Machine, AGPTEK Fog Machine with 13 Colorful LED Lights Effect, 500W and 2000CFM Fog with 1 Wired Receiver and 2 Wireless Remote Controls, Perfect for Wedding, Halloween, Party and Stage Effect
We have a different brand fog machine, but any of them should work great. This is a great way to add an extra spooky feel to the trail. I set this up at the beginning of the trail, next to our huge animatronics River Styxx guy.
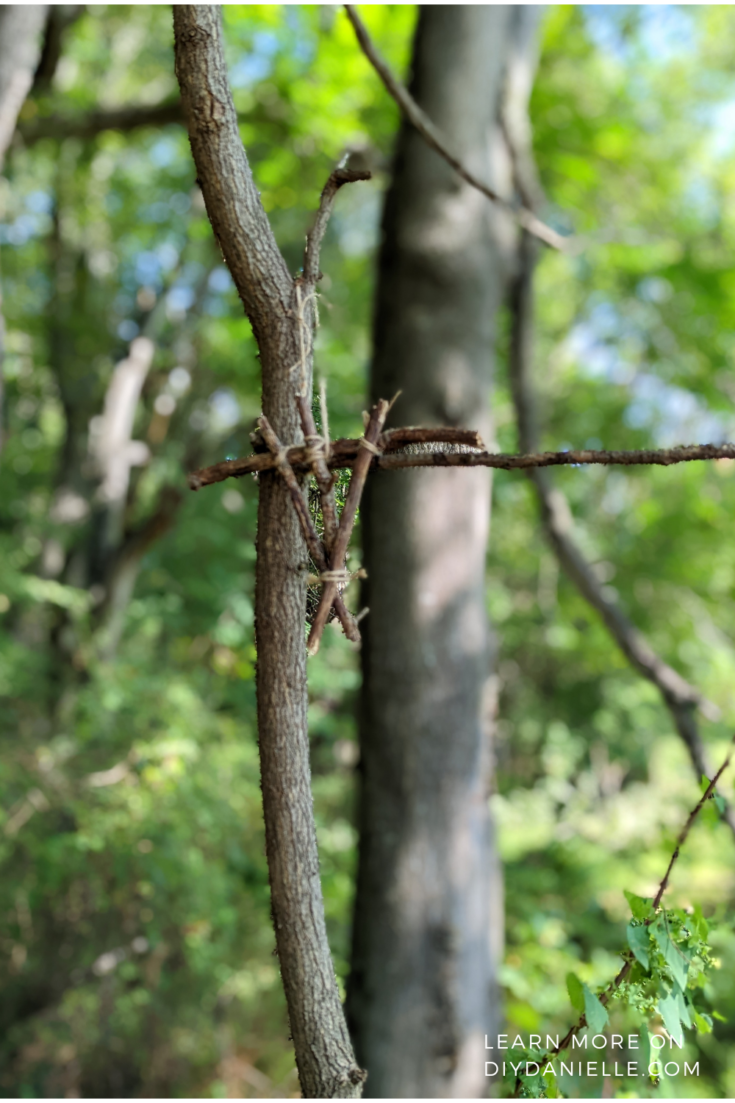
DIY Halloween Decor: Witch Totems from Sticks
Easy witch totems, inspired by the Blair Witch Project. We used these as a scavenger hunt along the trail, giving the kids something to look for while they were walking through.
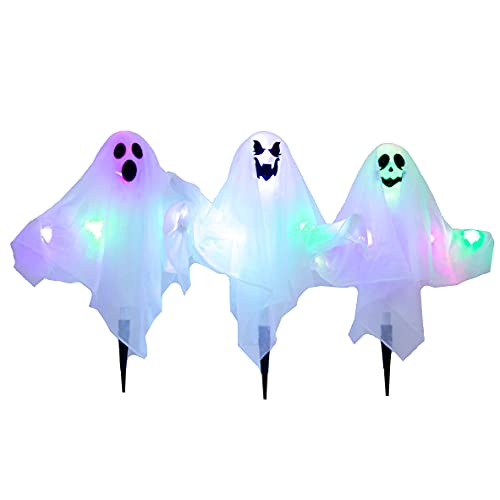
Joyin Halloween Outdoor Decorations, 3 Pack Lighted White Ghost Stakes, Light Up Multicolored Lights Cloth Ghost Yard Stakes for Halloween Decor, Lawn, Yard, Patio, Haunted House Decorations
These are cute pathway markers for the trail.
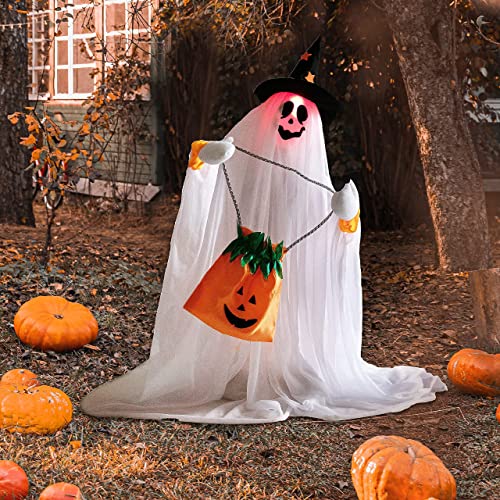
JOYIN 28'' Halloween Animated Ghost Decoration with Pumpkin Bag, LED Light-up Dancing Ghost with Funny Music for Halloween Party Indoor and Outdoor Decoration,Yard, Porch, or Patio Decoration
This guy is super cute- almost too cute- for the trail. He's motion activated so we put him behind a bowl of candy for trick or treat so kids would set him off when they reached for candy.
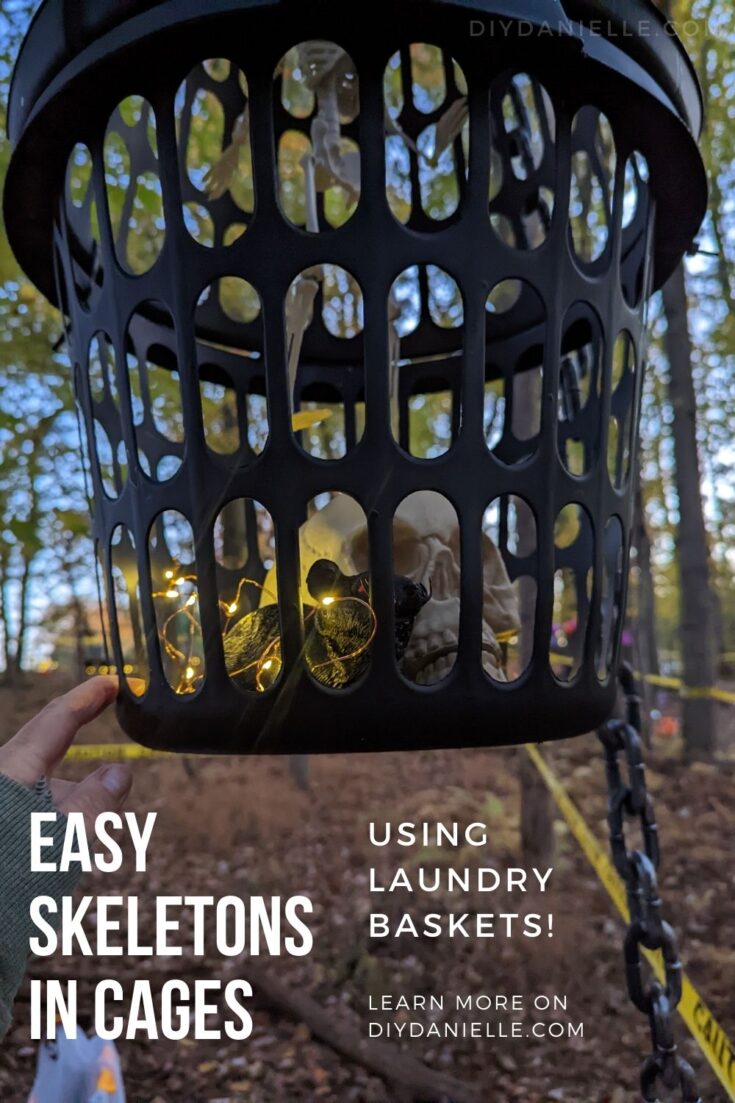
DIY Cages for Halloween Decor
LOVE how these cages come out and we used supplies we already had on hand for them.
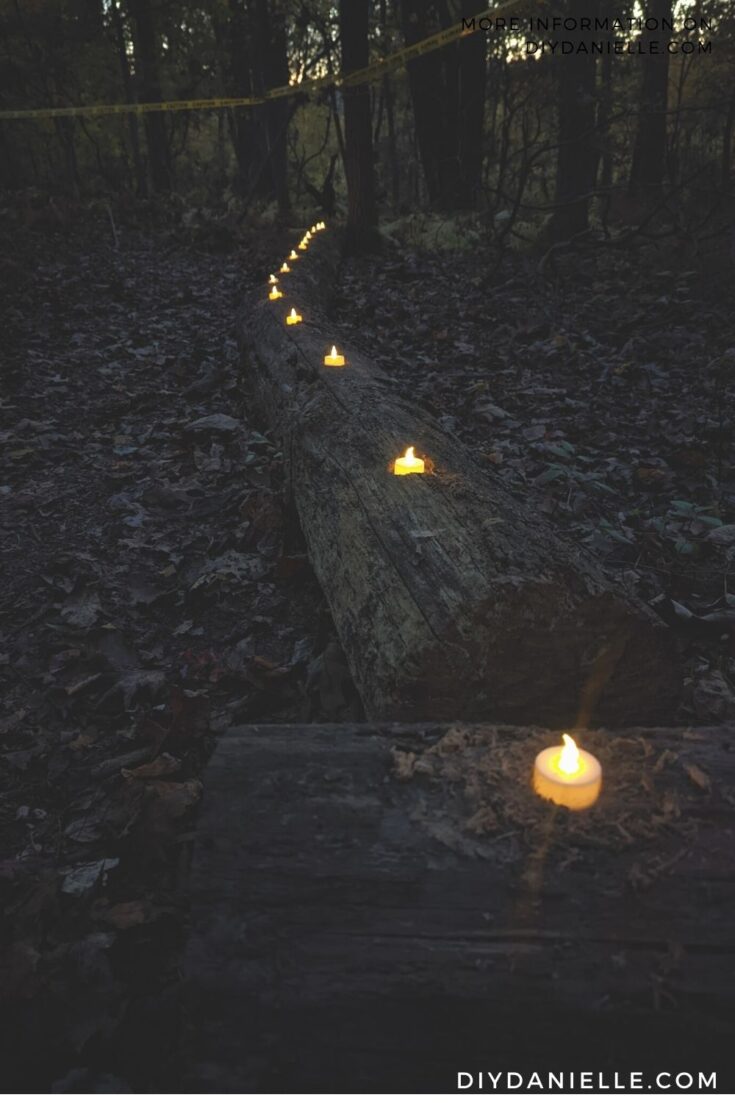
Pathway Lighting on an Old Log
This was a cheap and easy way to light the path using tea lights and downed logs.
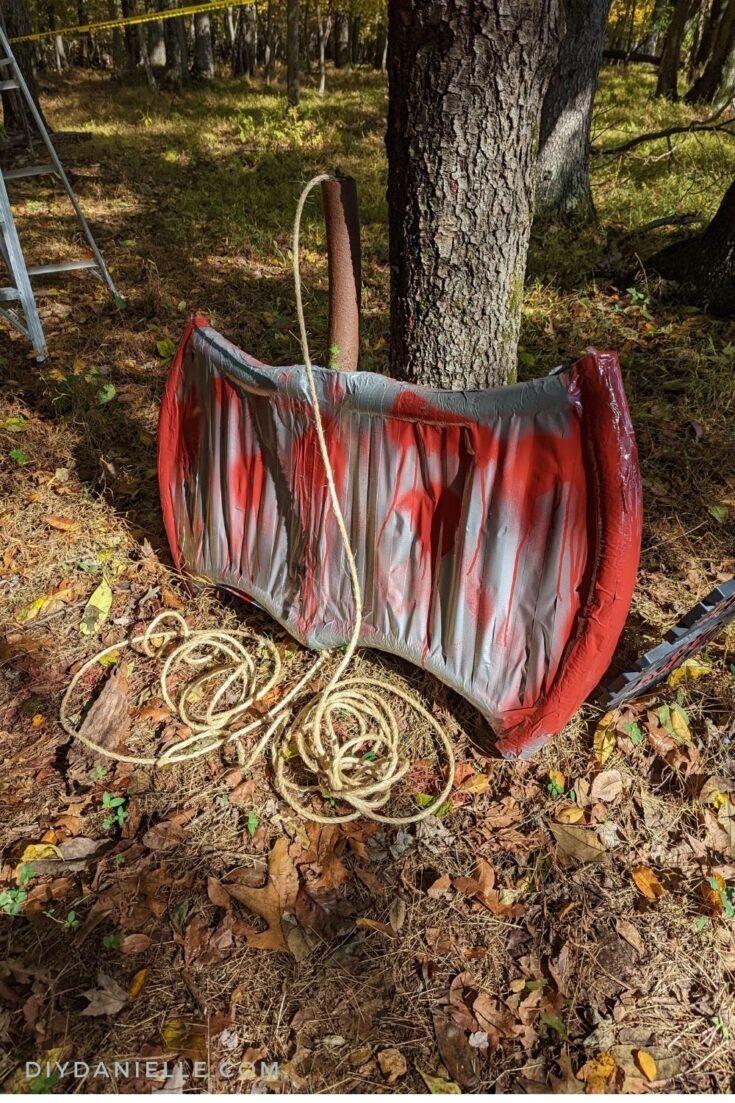
Fake Axe DIY for Halloween Decorations
This fake axe swung from the trees as a jump scare, but it's cardboard and pool noodles so it wouldn't hurt anyone.
2022 Haunted Trail
So this is just the final run through but you can also see a quick early tour of some of our outdoor Halloween decorations. We did a LOT more afterwards, but you can see the early stages of the process.
This is the final tour. I’m going to walk through during the day first, then I’ll follow-up with a night time tour at the end of the video.
2021 Haunted Trail
This is a tour of our 2021 Haunted Trail and Trunk or Treat. We decided to skip Trunk or Treat in future years because the haunted trail is quite a bit of work, and instead we’ll have people setup “trick or treating” areas along the trail.
Haunted Trail Photos from 2022
We live in a moderately rural/suburban area so most of our friends don’t get trick or treats at their house. Usually we’d go to trunk or treat events or to a neighborhood to trick or treat on Halloween. As we end up missing out on some of that fun, we used the trail as a Trick or Treat trail. We setup bins of candy and non candy treats along the trail for the kids to find. This pushed them into spooky areas and their proximity would set off motion sensors.
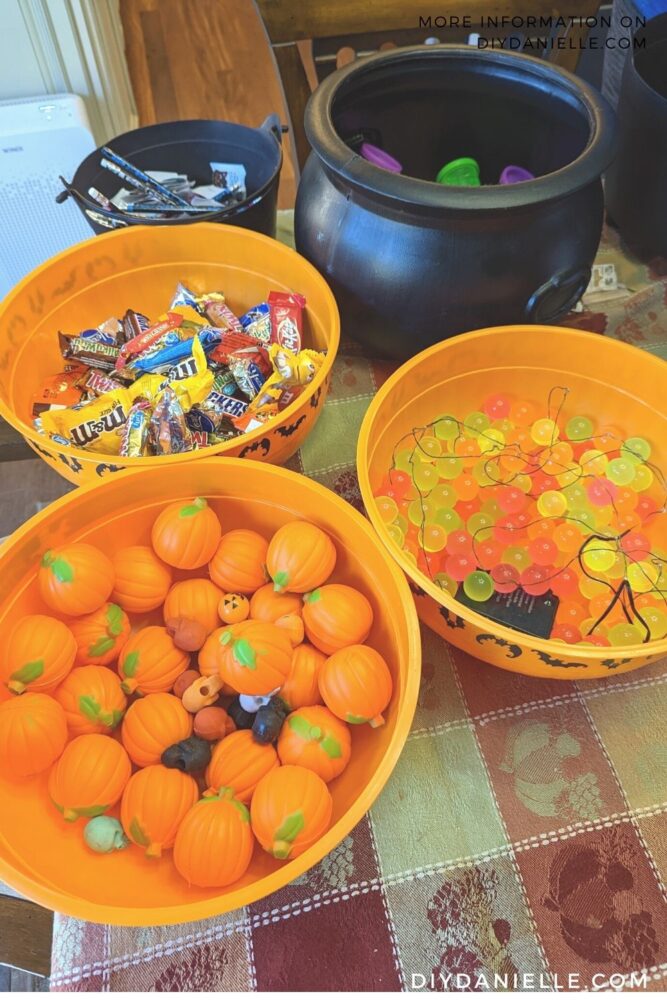
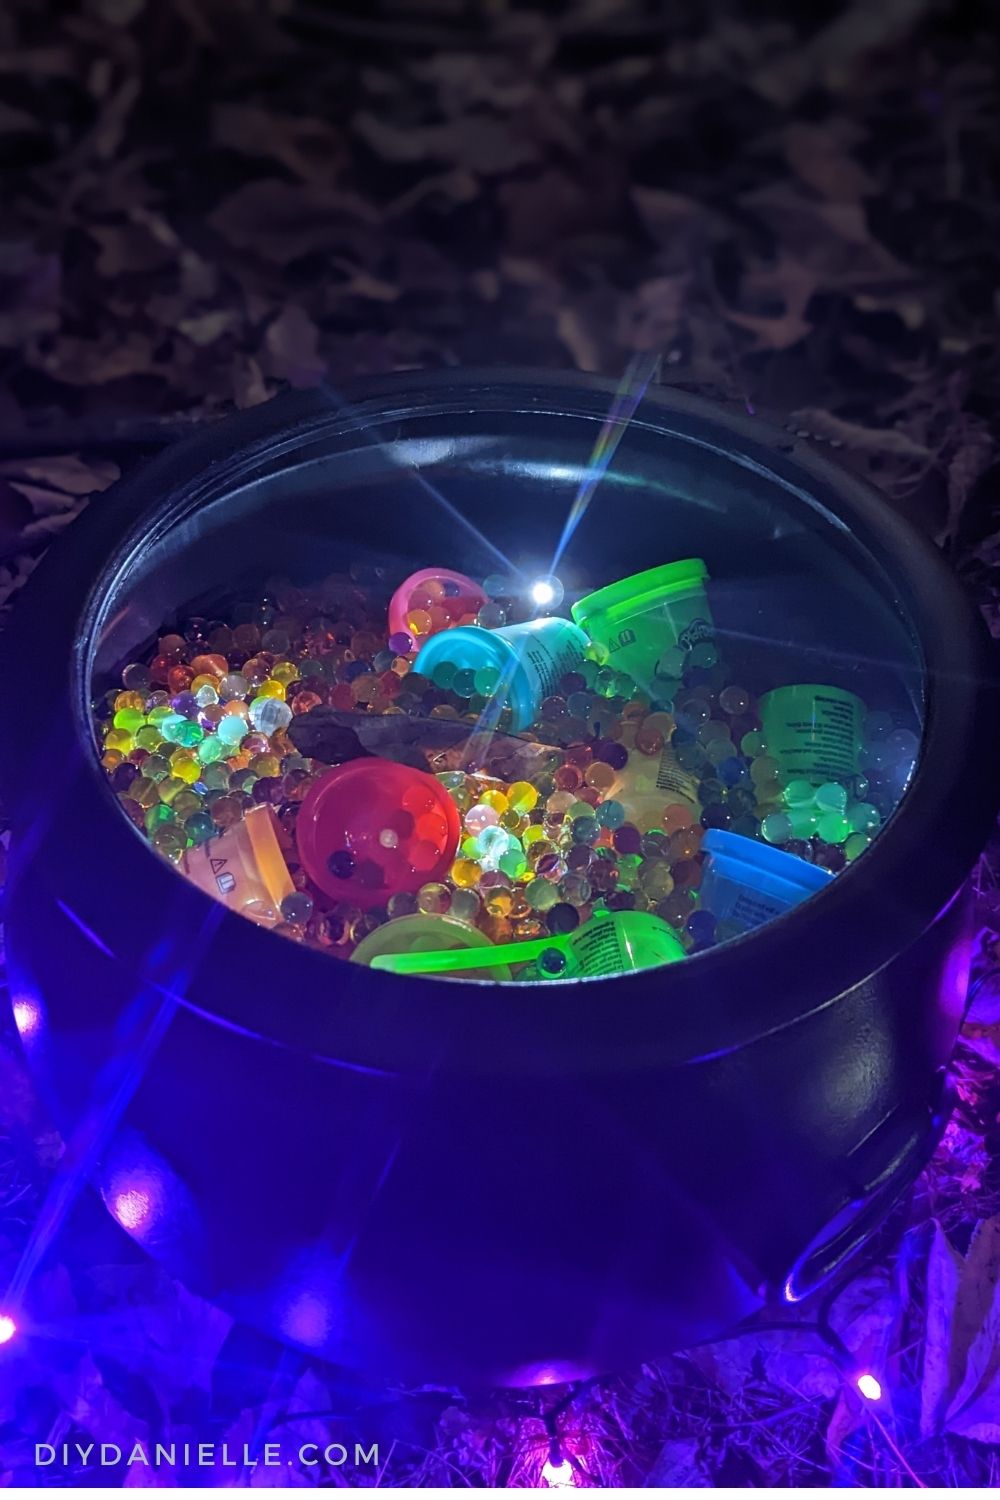
One of my favorite touches was taking a witches cauldron, adding Playdoh “treats” and making the kids put their hands into the cauldron full of water beads to get their treat. It was fairly chilly that night so the water beads were cooooold and slimy. It was perfect. We dropped in a few of those ball lights (make sure there’s no water in the bin- the water beads were ‘full’, no water was inside this bin) inside to make it all glow. There were also fairy lights on the ground around the cauldron.

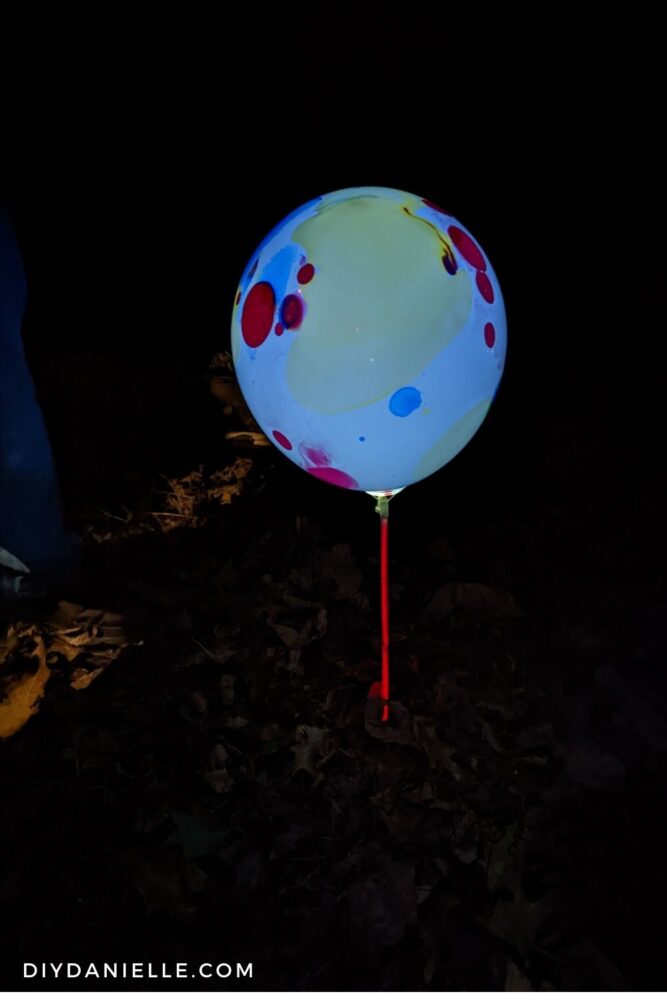
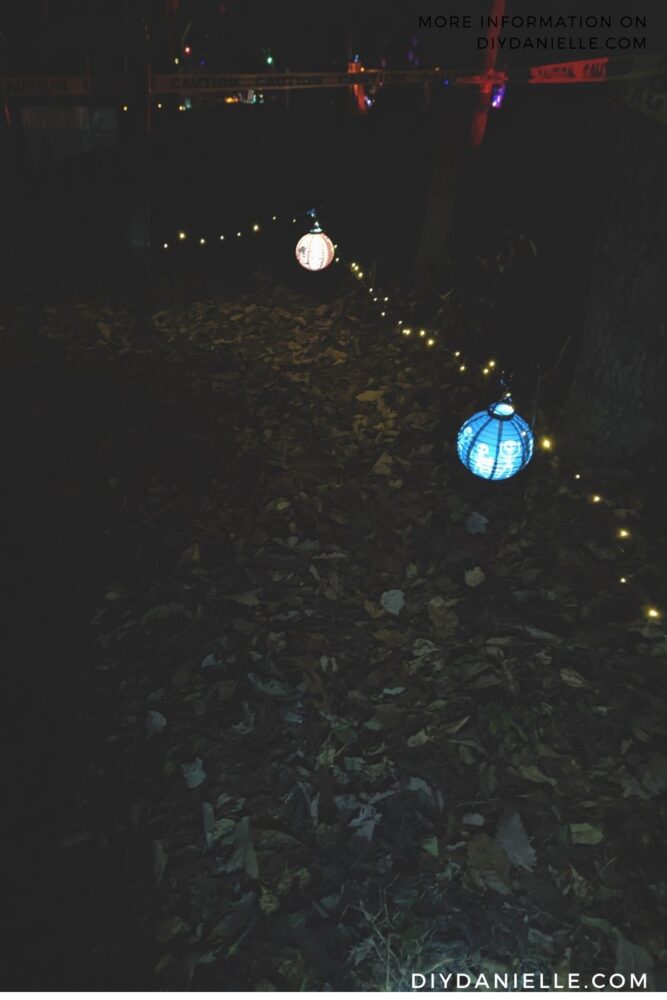
Another touch for path lighting was adding balloons with a LED ball light inside it. We shoved clear balloon sticks (not the exact brand- not sure where my friend got hers) into the ground along the path, slid a thin glow stick necklace inside, then tied the balloon on top. I think they may sell special balloon sticks that light up though- we may check those out next year.
Lighting is KEY. Some small details aren’t easy to see at night in the dark. We added cheap little Dollar Tree lights everywhere that made since. The night prior to the trail we did a walkthrough together to see what spots needed light. Then we added the lighting that evening and the next day, right before the trail opened. The tricky part was getting everything turned on in time for the trail to start while kids waited impatiently to run through!
Sometimes we just grabbed random stuff from our homes. These shelves were actually supposed to go into my pantry- but we used them for the trail. They’ll make it into the pantry eventually! This was the setup for the Mad Lab.
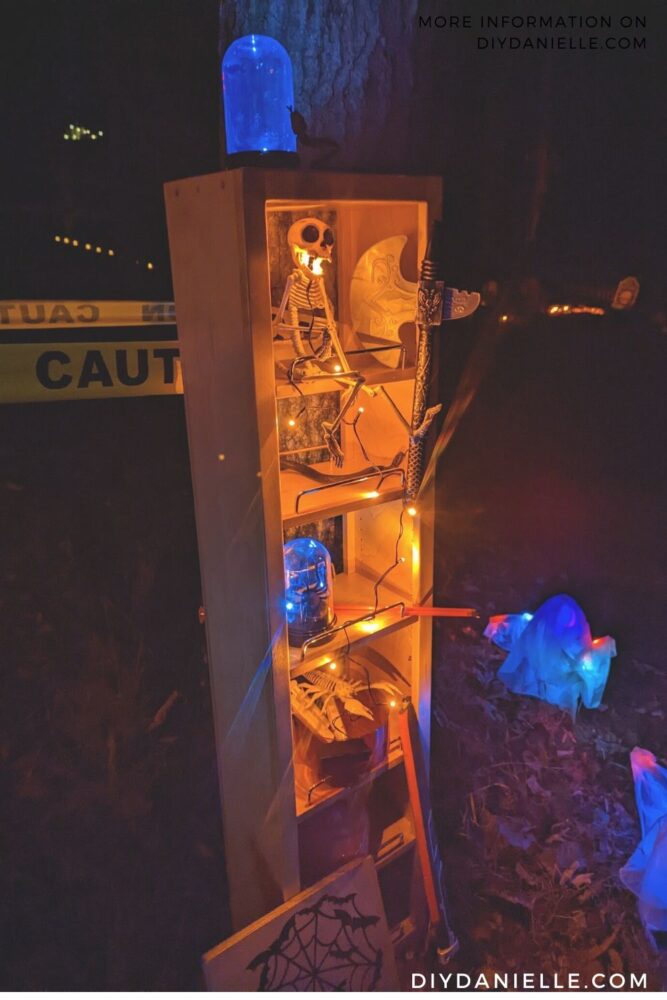
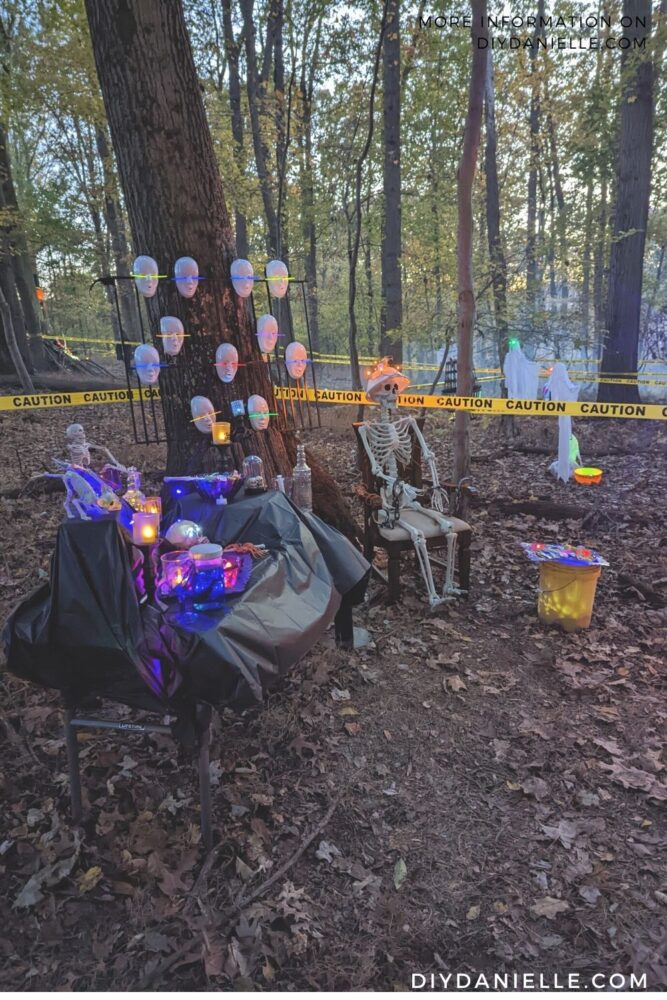
This was the whole Mad Lab. At night it was ON POINT, but you can tell it’s a bunch of normal household items for the most part… and Dollar Tree stuff. The masks on the fence have glowing eyes because we fed glow sticks through them. The skeleton’s “electric chair” is a normal chair with arms + pvc, attached to my colander.
The folding table is covered with a plastic black tablecloth… underneath we have some empty boxes to raise up certain areas.
Weeks before the trail, we all brought out all of our Halloween stuff and had a show and tell. Many items were just randomly dispersed along the trail, although we tried to stick with themes.
This part of the trail was a bit too dark prior so we used Dollar Tree hooks in the ground to hold string lights and lanterns.
This was a last minute project to fill an empty zone- we had pallets, lights, and the skeleton dog. Max ran out to hunt down a 5′ skeleton for me because Amazon didn’t deliver ours in time.
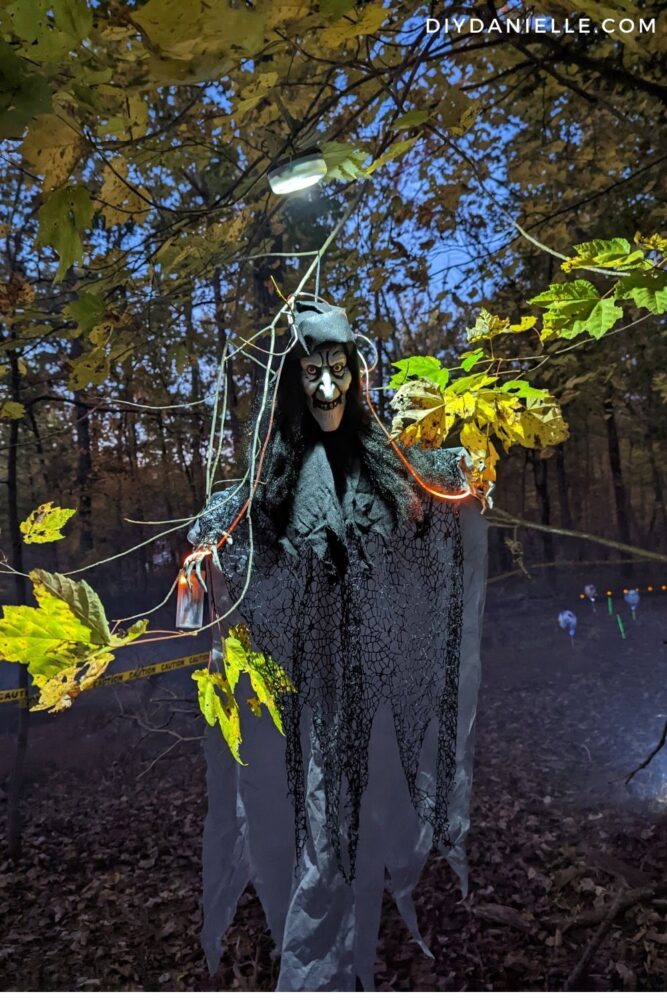
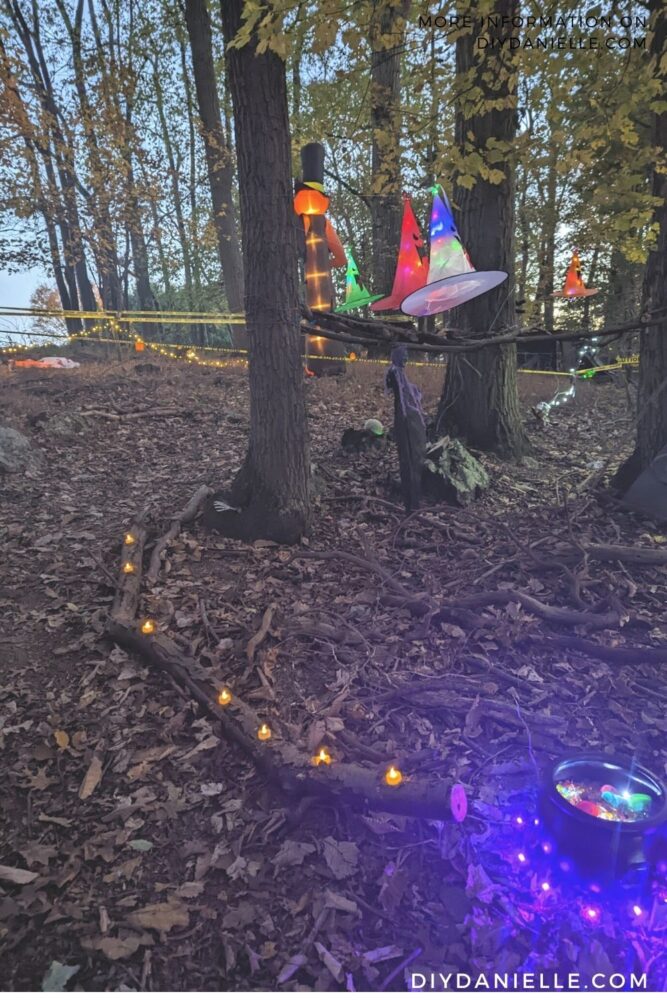
This was the witches area… the hats are hung on monofilament. They look AMAZING at night. My pictures don’t really do this justice.
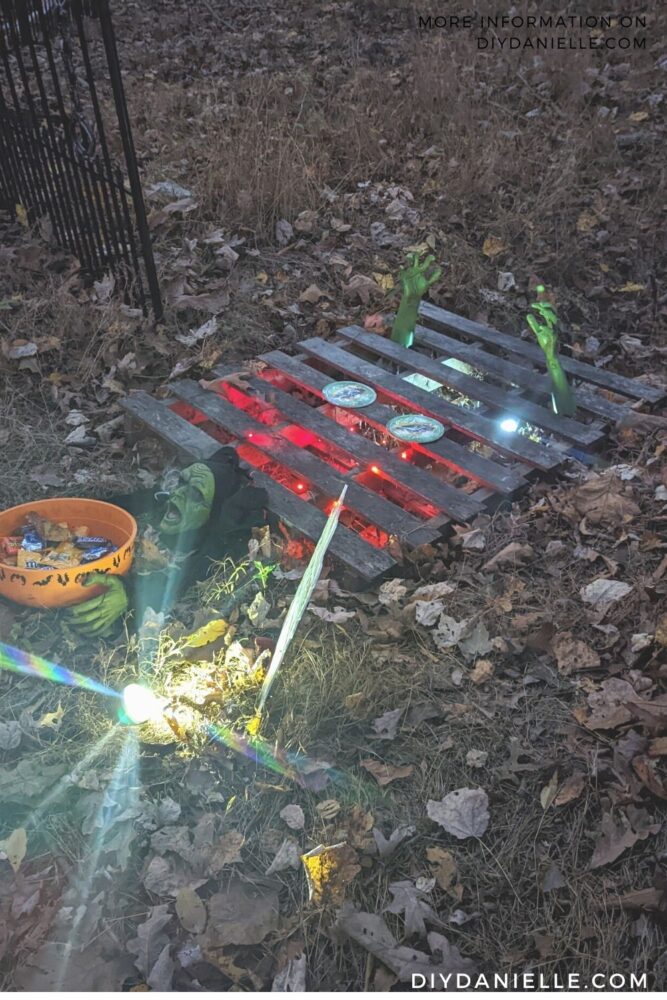
The zombie pit! Again- super easy. We added red fairy lights and a strobe light. Zombie arms and a zombie who had motion-activated lights/sounds. She was holding the bag of candy.
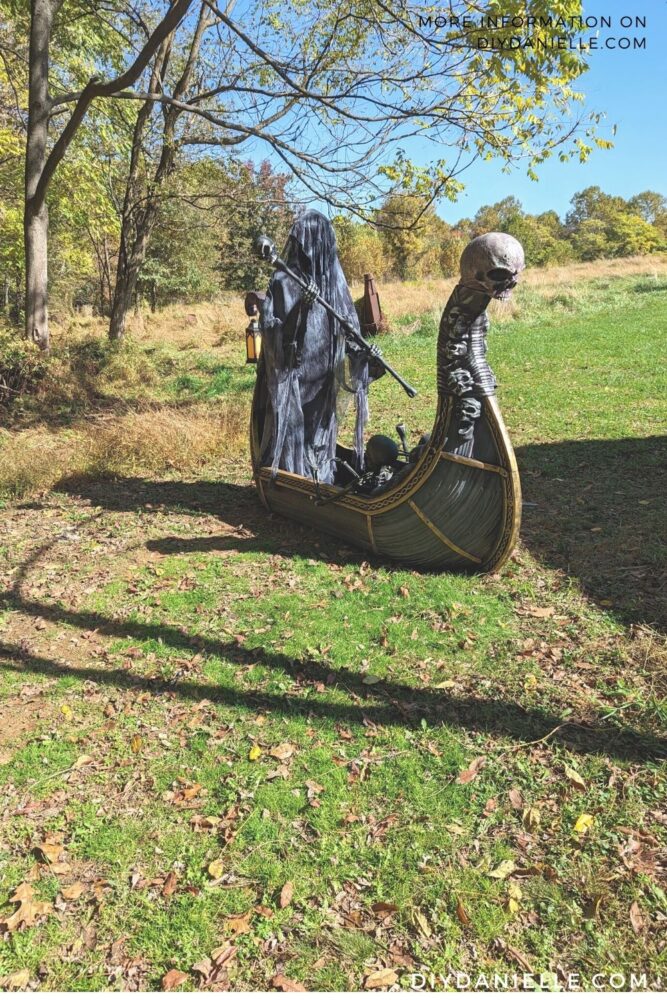
I bought this guy last year at Home Depot… I don’t think he’s sold anymore, but he’s a motion activated “boat guy”… he’s supposed to be Charon, taking souls down the River Styxx to the afterlife. LOVE HIM so much. The skull at the front and the lantern at the back both light up (batteries). He is plugged in and rows the boat. He’s on a motion sensor and TALKS SO MUCH. I put my fog machine behind him so it looks extra spooky. He’s amazing.
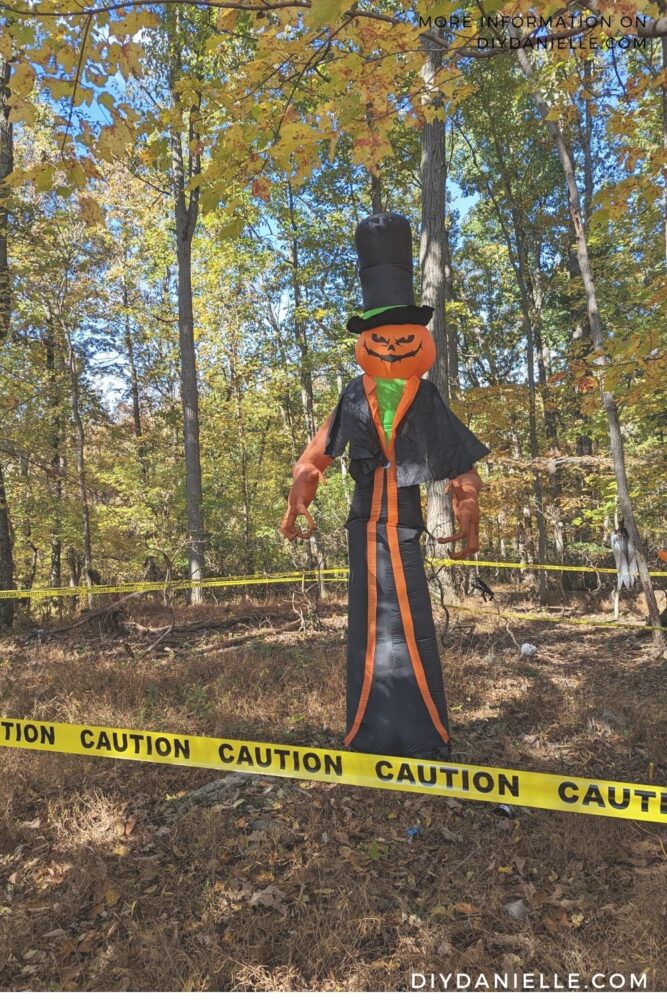
Someone local was selling this guy for $40 used. He’s blow up, VERY TALL, and requires electric. He was worth running the extension cords for! He was perfect in an area with a clearing and you could see him lit up through the trees in the dark.
The spider lair was awesome, but I didn’t get any good photos! I’m so mad because I didn’t photograph all of the areas really well. When we moved into our house, there was random posts in the ground in the woods. Right before the pandemic hit, my husband decided to turn this into a fort for the kids and he build the stairs and flooring. Then prices of wood skyrockets and we never finished. But it makes a GREAT spider lair!
Spiders were hung using monofilament, there were strobe lights and fairy lights inside, and SO MANY SPIDERS. We also stapled cheap plastic tablecloths to close off the area so the kids had to walk through the zone (unable to see outside). It’s shown MUCH better in the video… I wish I’d taken better photos, but we were rushing around a lot.

And that’s it! What should we add next year?
Please share and pin this post! You can also post your project and tag the DIYDanielle team on Instagram @doityourselfdanielle!
