
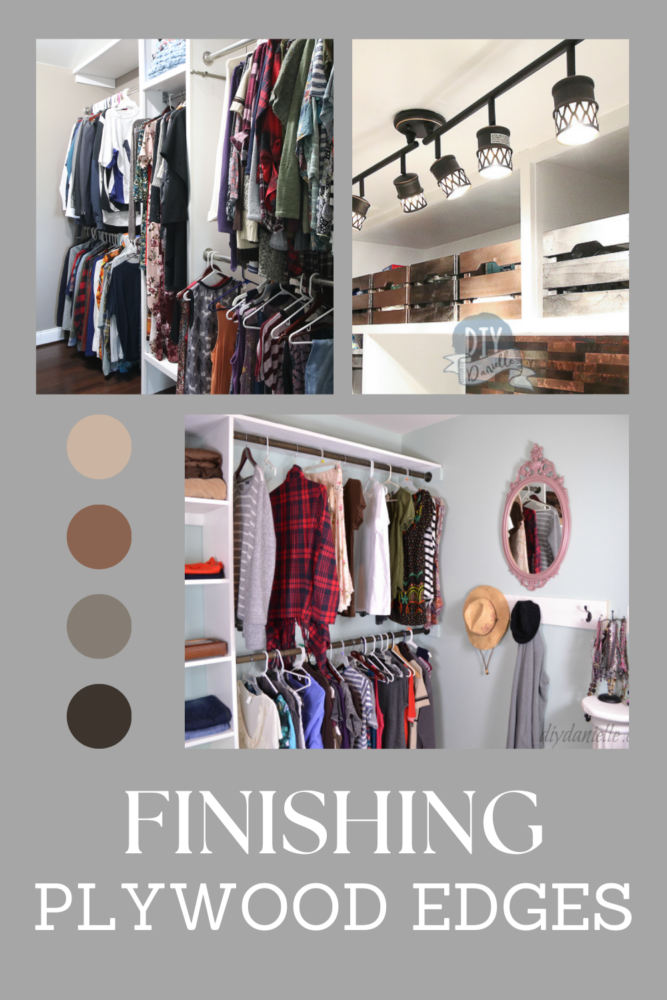
Learn how to cover up raw plywood edges in your DIY projects with various finishing options, from edge banding to veneer tape. Get tips and techniques for a professional-looking result.
Plywood is an incredibly versatile wood that works well in many different DIY projects, from build-your-own cabinets to smaller craft projects. It’s stable, strong, flat and pretty inexpensive compared to solid wood – but it’s not the most aesthetically pleasing. Exposed plywood edges show the layers of the wood with chips, gaps, and adhesive.
If exposed edges aren’t your ideal look, there are plenty of options to cover up raw plywood edges on your DIY projects for a custom, professional look and better wear over time. I’ll walk you through the three main methods below, and if you’re looking for more DIY inspo, check out some of my home projects here!
This post may contain affiliate links which may earn me commissions should you click through them and take certain actions. As an affiliate for Amazon, Cricut, xTool, Home Depot, and other sites, I earn from qualifying purchases. Please DIY carefully. View my full legal disclosures here.
The majority of my content is generated by me, as are 99% of the photos and videos, but I utilize technology for titles, descriptions, video editing out all of my ums, and occasionally for text overlay on images.
Please read the whole post so you don’t miss any important information!
Options for Covering Up Raw Plywood
The three main things DIYers use to cover up plywood edges are edge banding, wood trim, and wood filler. Each of these has different advantages and disadvantages, so you’ll need to choose based on your budget, the look you’re going for, and how much work you’re willing to put in to the project, but all of them are pretty beginner-friendly.
Edge Banding
Edge banding is one of the most popular ways to cover raw plywood edges on woodworking projects. Edge banding comes in a roll (like tape) in different widths and thicknesses to fit your specific project, and it can usually be painted or stained to match. It can be made of tons of different materials, but the three types that are used most often are PVC, wood veneer, and melamine. Each type has pros and cons:
PVC is durable and more resistant to moisture than other types, but it’s usually easy to spot.
Veneer is made from real wood and looks more seamless and high-end, but it comes with a higher price tag and less moisture resistance.
Melamine offers greater heat resistance than some others, making it ideal for environments with high temperature exposure like kitchen and outdoor projects, but it chips more over time than other kinds of edge banding.
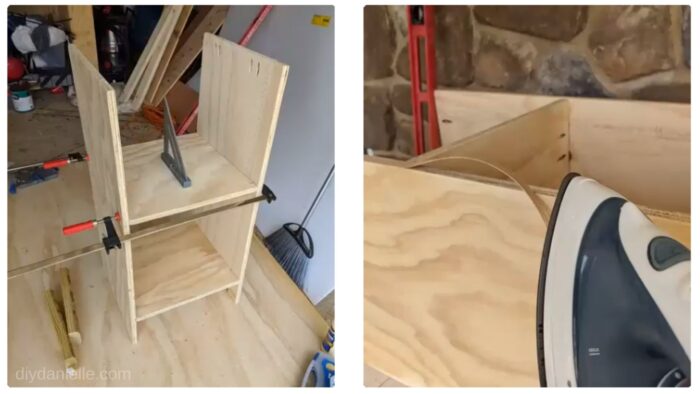
The strips come pre-glued and you apply each type of edge banding with a household clothing iron on a lower heat setting to reactivate and melt the glue to the exposed plywood, making sure it’s pressed flat on the edge to prevent bubbles and visible creases. It may take more than one pass, but it should provide an airtight seal that will last a long time.
Once it’s securely attached, you can sand, trim, and finish it with paint or stain to match your woodworking project.
For what it’s worth, I DO NOT love this method. I find that it’s prone to peeling off. I also hate ironing. It’s a bit more time consuming as well. The benefit, however, is that the edge is the perfect fit for the edge of your plywood. Some people love it. I just… meh.
Wood Trim
Wood trim is another great option for exposed plywood edge finishing. You can buy and customize decorative trim pieces or save money by making your own trim by cutting down leftover scrap wood from your project.
You can use whatever type of wood works best for your project and just screw, staple, or nail it on. Cover the holes with wood filler, sand down, and apply the finish of your choice for a professional look!
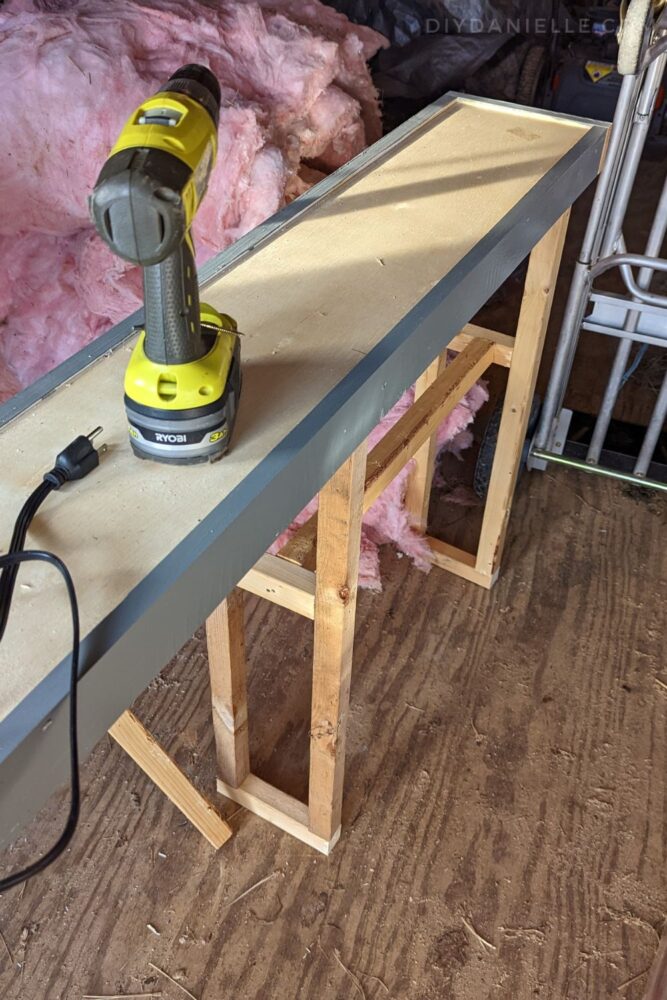
This is probably my favorite method because it tends to last well and be easy to apply. You can use different widths of wood to achieve different looks.
Below is the table I made for behind our sofa. I used a wider pine board to finish the edges.
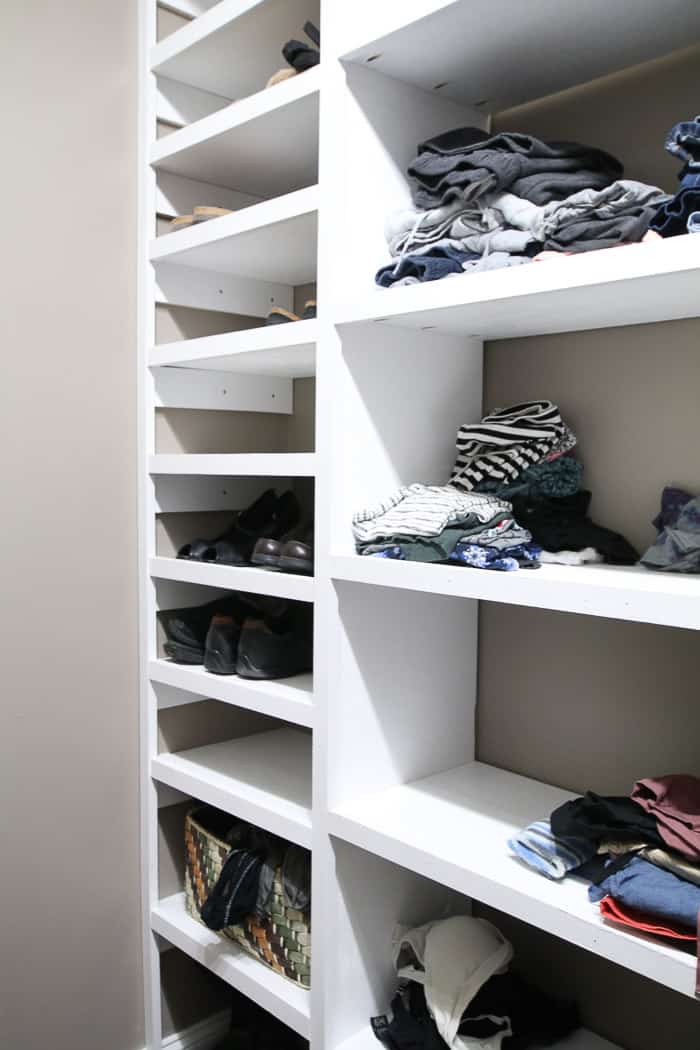
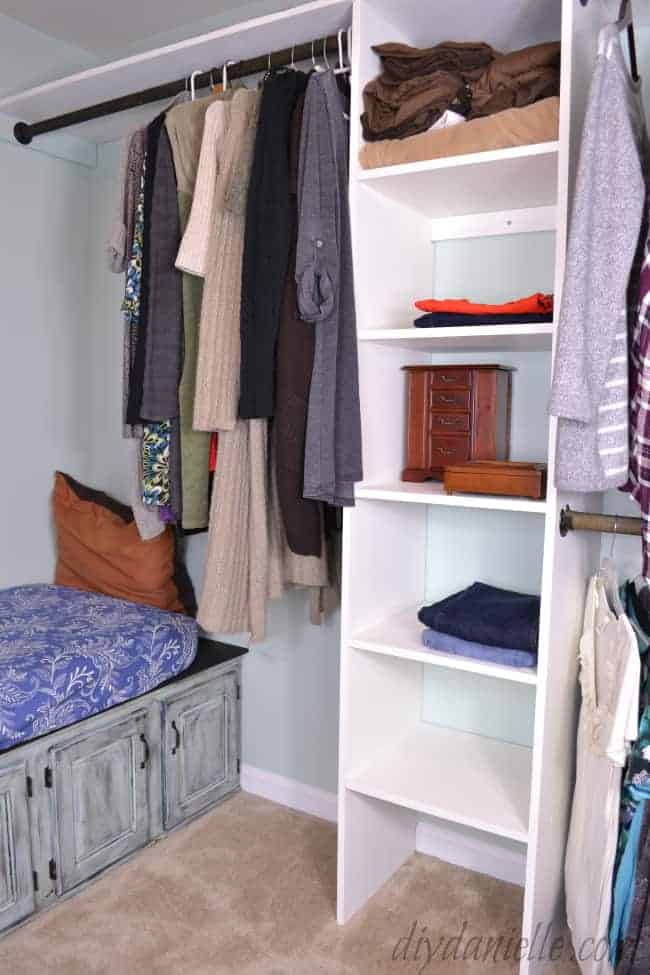
Below is a photo from my latest closet renovation.
Here’s my first closet renovation if you want to compared the wood to the veneer option…
Wood Filler
Wood filler (or spackle) is the final method I’ll talk about. Both are applied using a putty knife to create a smooth edge and should be easy to paint and sand. Wood filler will likely stain much easier and truer to tone than spackle will, so keep that in mind.
Unlike the other types, you’ll probably have to apply it in layers and sand them smooth in-between coats for the smoothest finish. This method is also fairly noticeable, so it’s best saved for DIY projects where the edge isn’t highly visible like on the sides or back of a project.
I’ve done this. It works. But I find it really time consuming and messy. Unfortunately I don’t have pictures of what this looks like.
Other Options for Covering Plywood Edges
There are other less-popular options to choose from when finishing plywood projects, like simply sanding down the plywood edge and sealing or painting it. This is best for projects using high-end plywood and it won’t look professional in every application. You can also plan ahead and use a design that doesn’t leave the edges of the plywood exposed, but that won’t be possible all the time.
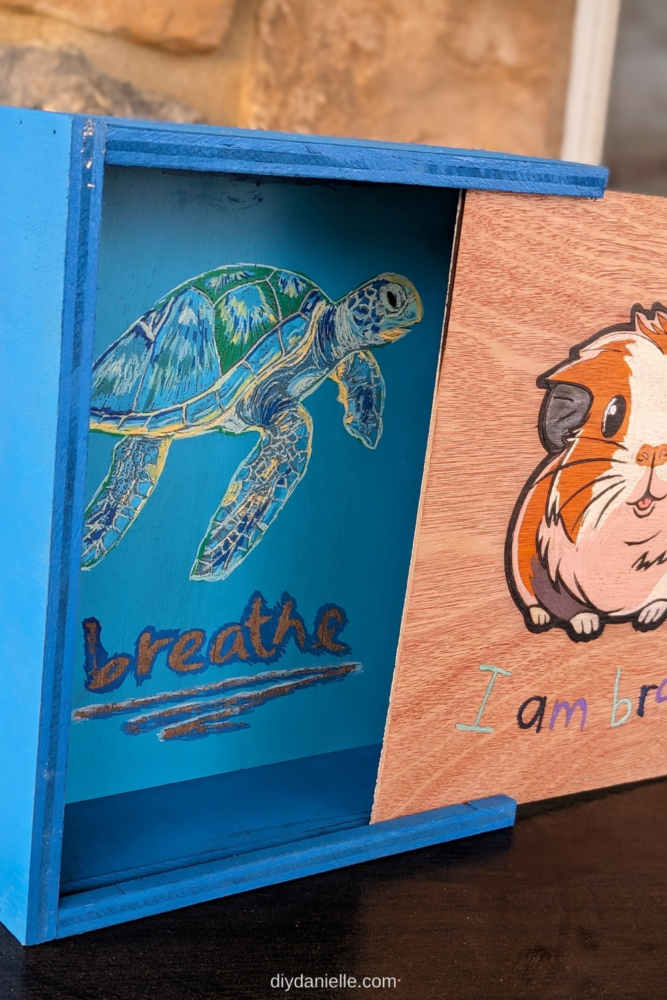
Your last option- and one I don’t think we need to discount as an option- is to just leave it unfinished. This is a cosmetic issue- and we could potentially start a new trend. Probably not. But maybe? Haha.
I have no shame so that’s what I did for the memory box that I made my son.
Which method listed above is your favorite option for covering plywood edges on your DIY woodworking projects?
Please share and pin this post! You can also post your project and tag the DIYDanielle team on Instagram @doityourselfdanielle!

Hi Danielle, great article! I used wood trim pieces on the plywood edges of a computer desk I built decades ago. It was easy to attach and stain. It was a do it once and forget, the other edging options are likely to need upkeeping over the years. Marie