
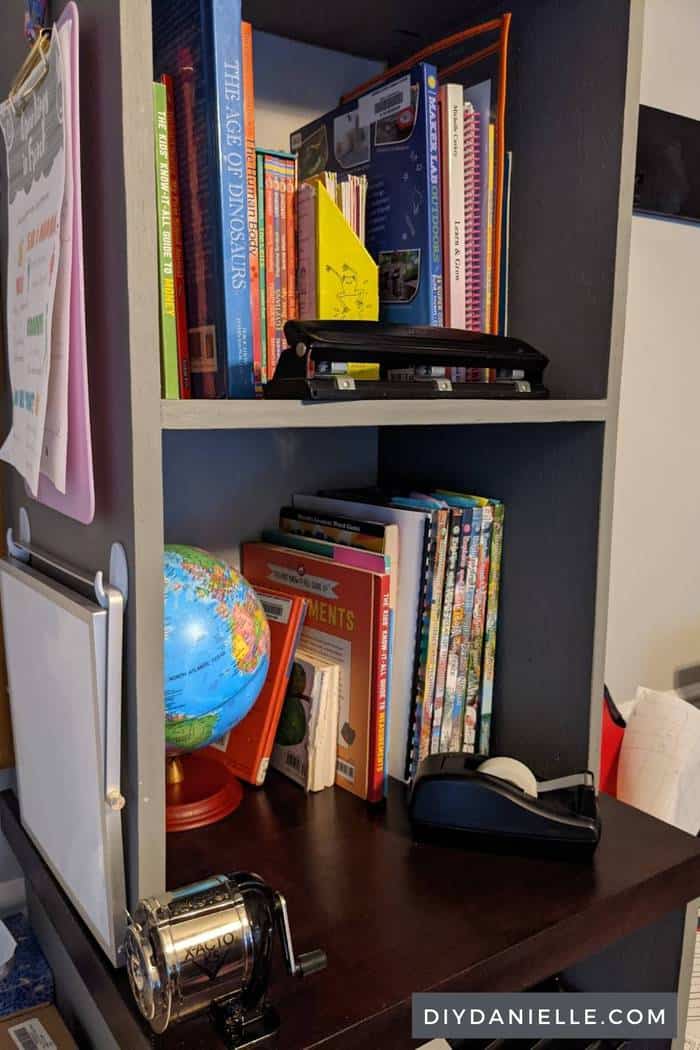

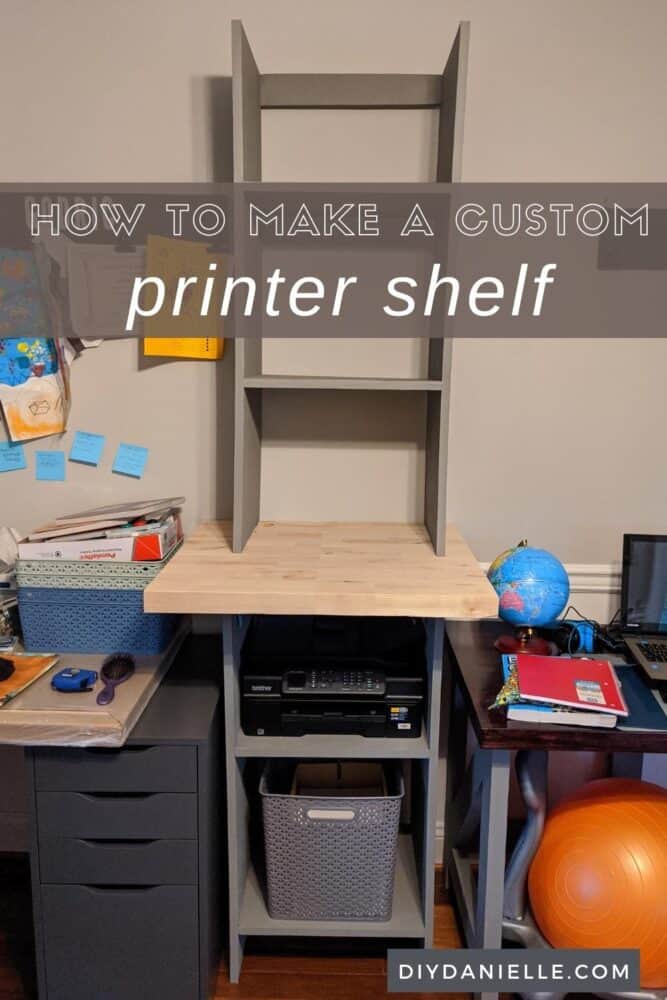
This DIY printer stand has storage for paper underneath, a butcherblock countertop, and shelves for books above.
This post may contain affiliate links which may earn me commissions should you click through them and take certain actions. As an affiliate for Amazon, Cricut, xTool, Home Depot, and other sites, I earn from qualifying purchases. Please DIY carefully. View my full legal disclosures here.
The majority of my content is generated by me, as are 99% of the photos and videos, but I utilize technology for titles, descriptions, video editing out all of my ums, and occasionally for text overlay on images.
Please read the whole post so you don’t miss any important information!
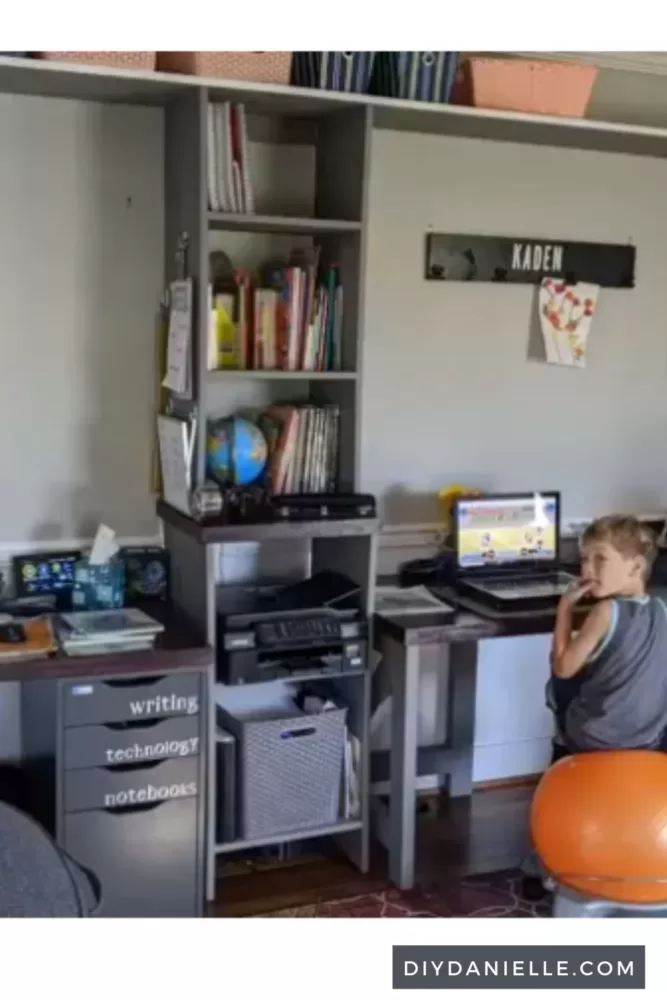
We’ve been working on updating our office and making it more functional for our space. The office space is relatively small, but I like my kids to all be in the same room when they’re on their computers; it allows me to supervise their computer use and help them with school work as we are homeschooling this year.
My two older sons share an L shaped corner desk and my husband, me, and my youngest son each have individual desks in the room. We wanted a built-in look that wasn’t too expensive, complicated, or difficult to move around if necessary. Aka my husband told me no more built ins.
I did a few different organization projects with my Cricut for the homeschool setup as well, and I’ll be updating the décor and walls eventually.
The one thing we needed to add was a spot to hold the printer, books, and extra printer paper. We needed a spot to mount a manual pencil sharpener as well.
We had some leftover butcherblock scraps from our desks, but nothing big enough for the countertop. Rather than buy more butcherblock, which is pricey, we decided to attach two of the scrap pieces using wood glue and a small metal brace. This has worked well and isn’t obvious.
Lastly, we wanted a place to park our robot vacuum. I can give you the measurements for the parking space we added, but our vacuum isn’t available any more so you’d really need to tailor it to the size of YOUR vacuum.
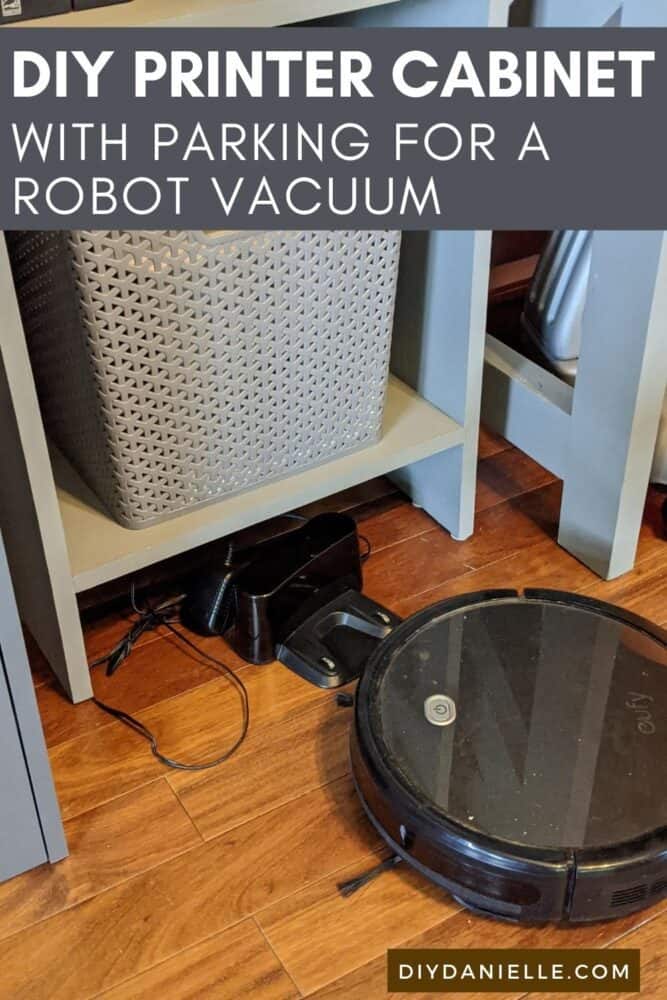
I have mixed feelings about the parking spot… time will tell if it’s working well, but unfortunately the vacuum has seen better days so I’m not sure if the issues we’re having are vacuum related or if the parking spot is causing issues. I think a wider shelf might have been better for this.
Here are the measurements for our cabinets:
The bottom printer cabinet:
- Butcherblock Countertop: 18″ deep x 20″ wide
- (2) Shelves: 16.75″ x 16.75
- (2) Sides: 38″ high x 16.75″ deep
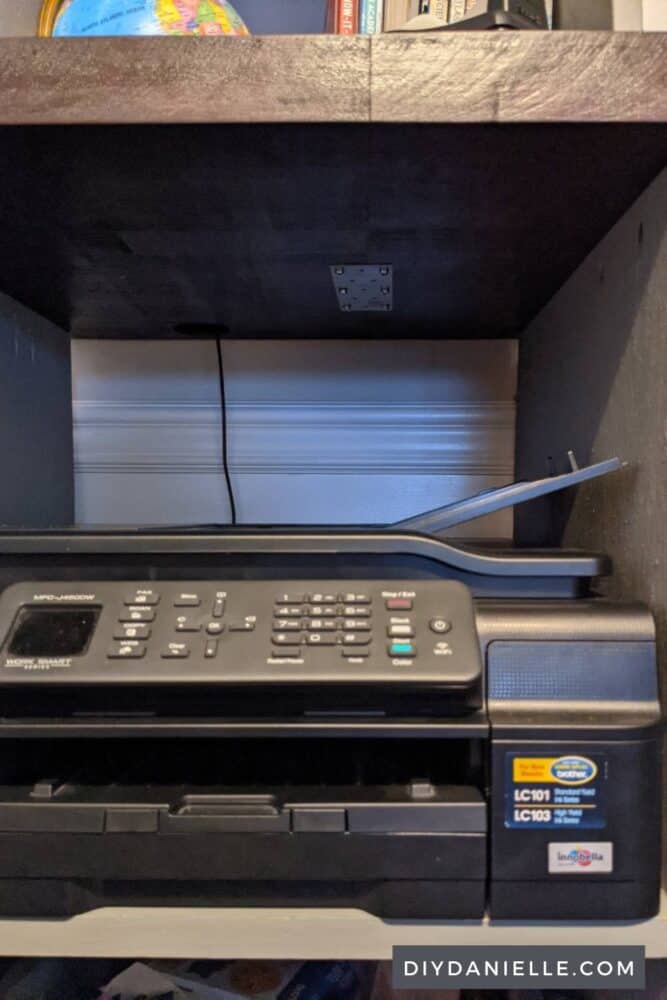
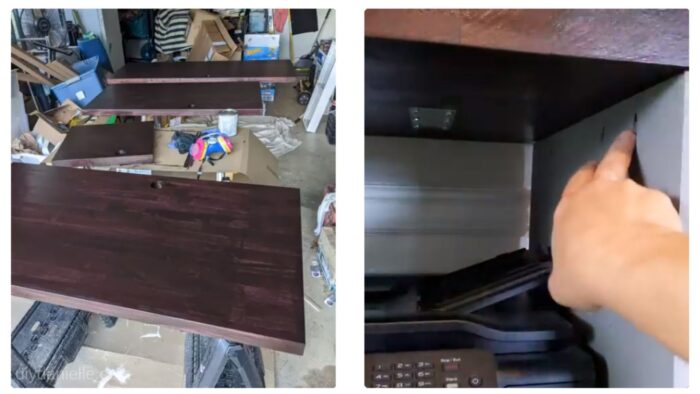
The top shelf has 14.5″ between the shelf and the butcherblock so I have enough room to open the scanner section of the printer. The bottom shelf is big enough to hold a basket for the printer paper. The vacuum parking area is 5.25″ high.
Top cabinet:
- (2) Sides: 13.5″ deep, 43″ tall
- (2) Shelves: 13.5″ x 16.75″
- Small scrap across the top back to attach the top shelf to the wall for additional support.
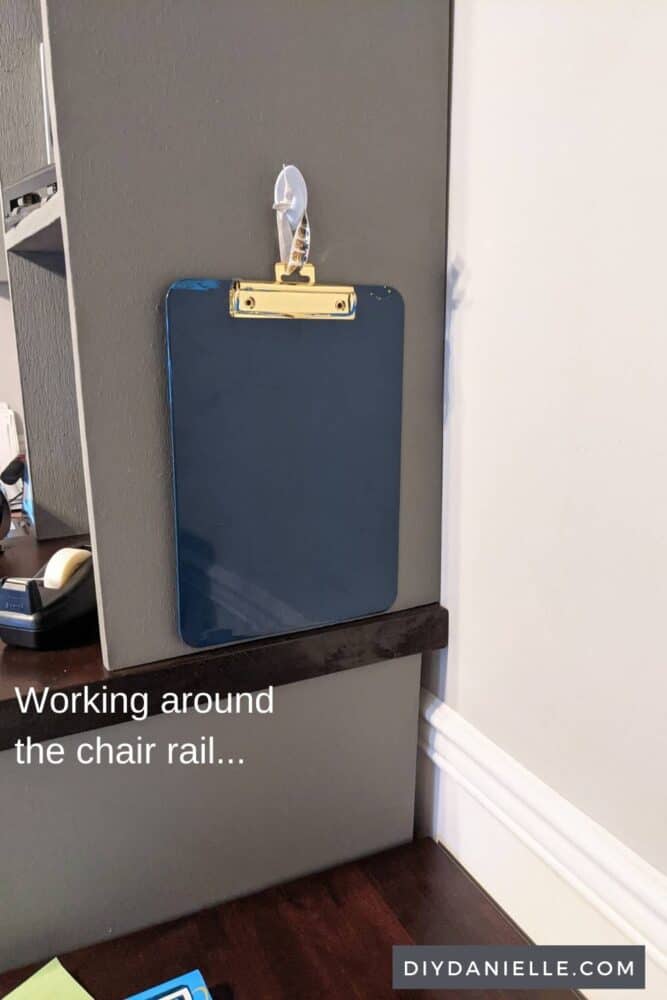
We didn’t want to remove our chair rail or baseboard (laziness factor) so our top cabinet actually sits back further that the bottom cabinet. You can’t tell from the front, but it allowed us to work around the chair rail easily.
The very top shelf runs the entire length of our room and I’ll show that better in the final home office update post… that may take a while for me to get finished, but keep an eye out for it. I still need to add trim and under cabinet lighting to the top shelf.
Here’s a quick tutorial on how I made the printer cabinet. Ignore the extra pocket holes… I messed up a few of them, whoops.
DIY Printer Cabinet
Supplies
- 3/4″ Birch Plywood (4×8′)
- Kreg Jig Pocket Hole Kit
- Primer
- Paint, Behr Barnwood Gray
- Clamp
- Level + Speed Square
- Measuring Tape
- Drill (or 2)
- Butcherblock: I used a scrap from our desks
- Black Cherry Stain
- Polyurethane
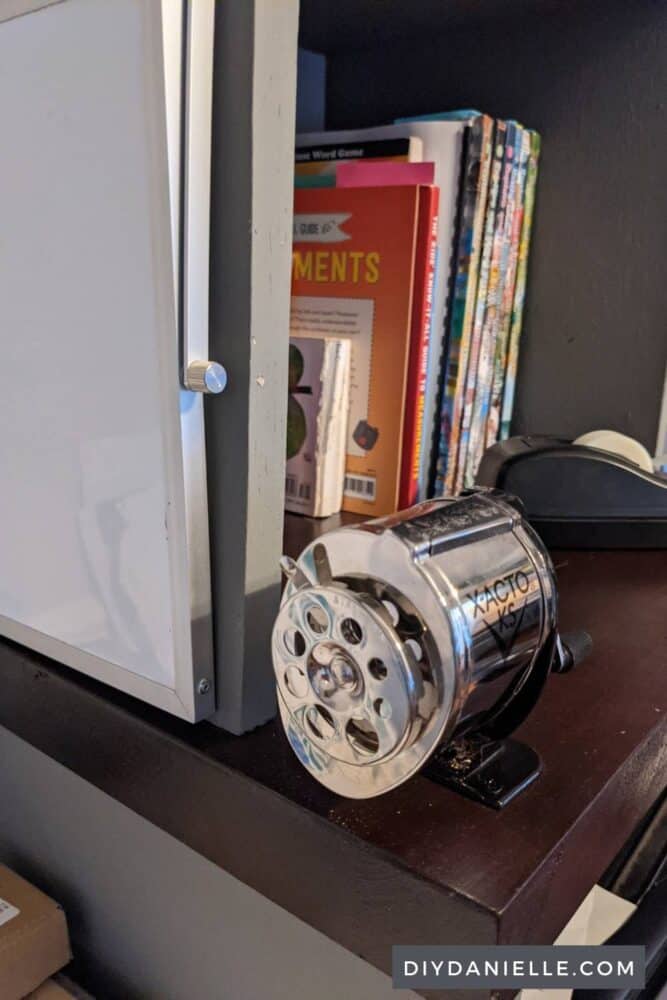
- Pencil Sharpener
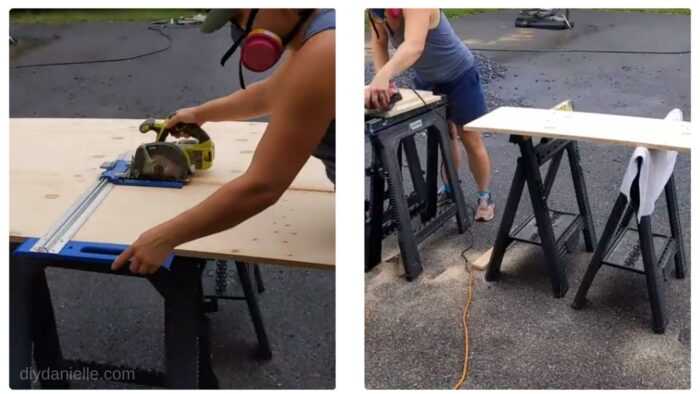
Step 1: Cut your wood.
Step 2: Sand your wood.
Step 3: Add pocket holes to the bottom of each shelf.
Step 4: Add pocket holes to the top of each side.
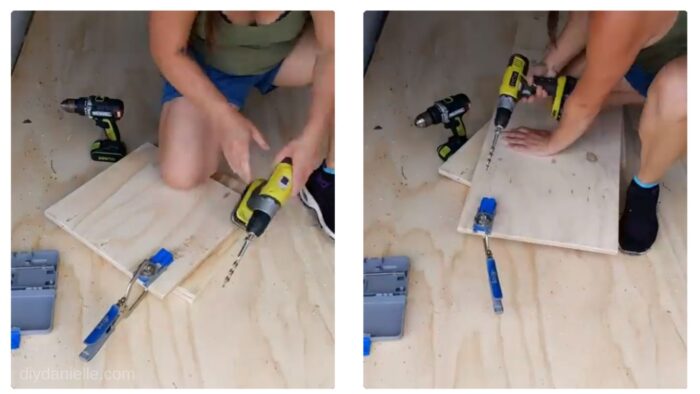
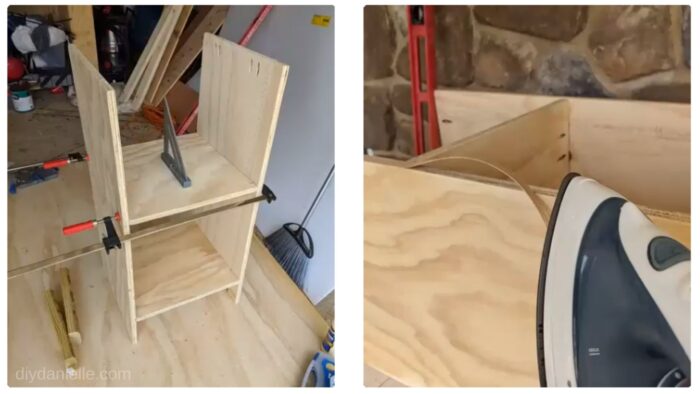
Step 5: Attach shelves to the sides. Note that the top of each side has pocket holes too- those will allow you to attach the butcherblock as a countertop.
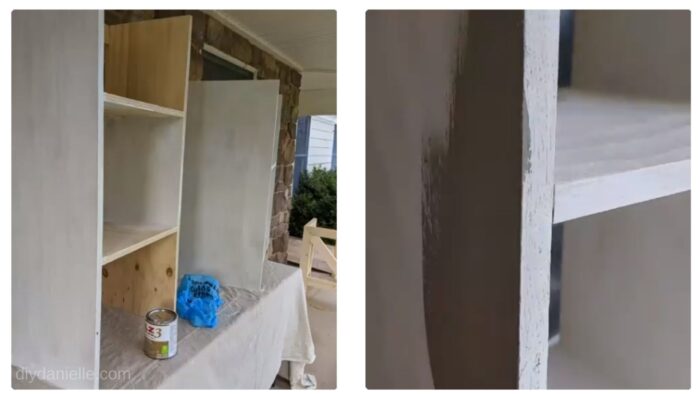
Step 6: Iron On Veneer Edging. This stuff is magic. Veneer edging comes in rolls to match the type of plywood you’re using for a project. You can place it sticky side down, then use an iron to iron it onto the edges. This helps cover up the ugly raw plywood edge.
Step 7: Prime and paint shelving. Let dry between coats.
Step 8: Add felt pads to bottom of the stand. These will help keep the shelf from scraping up your floors if you have hardwood. If you have carpet, you can probably skip this.
Step 9: Stain your countertop.
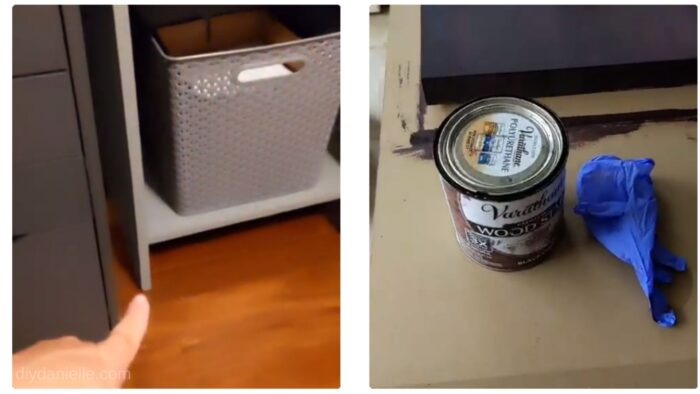
Step 10: I used 3 Coats of Polyurethane on the Countertop.
Step 11: Attach the Countertop. The pocket holes on the bottom shelve allow you to keep any hardware hidden on the counter. You’re essentially screwing up into the butcherblock.
Step 12: Attach your top shelves to the wall and to the butcher block.
Step 13: Screw in your pencil sharpener!
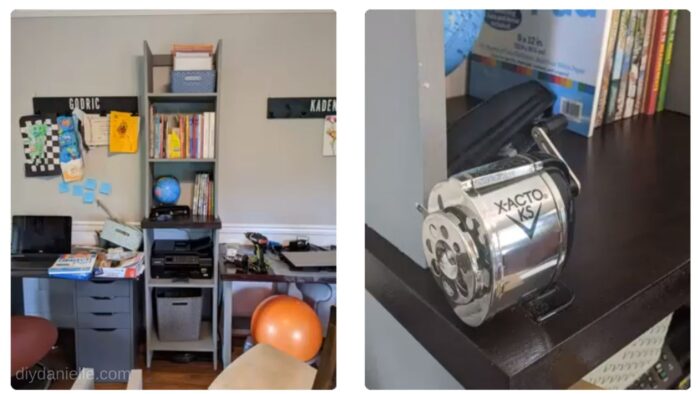
Step 14: Add top shelf and wall shelves. I wanted lots of shelving so I added shelving above the printer stand. I also have a couple of wall mounted shelves above the desks. I need to get a better picture, but I still haven’t painted the veneer edging on the top shelf. Life has gotten away with me thanks to schools closing.
Video Tutorial
Once I get the whole area organized and add wall decor, I’ll have a new post about the entire office renovation. Check out my post about our DIY Office Desks. I also have a post with lots of Home Office Organization Ideas for once your office is all setup!
Please share and pin this post! You can also post your project and tag the DIYDanielle team on Instagram @doityourselfdanielle!
Google Web Story: DIY Printer Stand with Storage