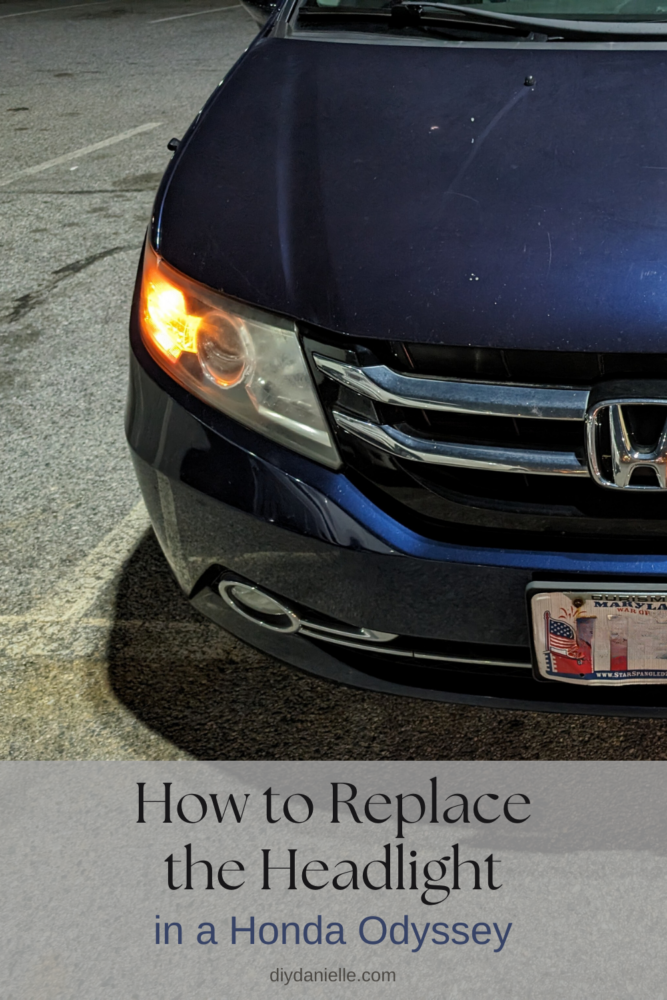
A step-by-step tutorial on how to change the light bulbs in a 2013 Honda Odyssey. Learn how to access the bulbs, remove and replace them, and ensure they are working correctly.
Hey, DIY enthusiasts! This is Danielle from DIYDanielle.com, and today I want to walk you through the process of replacing a headlight in a 2013 Honda Odyssey. Whether your light bulbs have burnt out or you simply want to upgrade, this guide will help you tackle the task with ease.
This is so easy and you can save a lot of money compared to what you’d pay at the dealership.
This post may contain affiliate links which may earn me commissions should you click through them and take certain actions. As an affiliate for Amazon, Cricut, xTool, Home Depot, and other sites, I earn from qualifying purchases. Please DIY carefully. View my full legal disclosures here.
The majority of my content is generated by me, as are 99% of the photos and videos, but I utilize technology for titles, descriptions, video editing out all of my ums, and occasionally for text overlay on images.
Please read the whole post so you don’t miss any important information!
How to Change a Minivan Headlight:
Supplies
- PHILIPS – 12362B2 H11 Standard Halogen Replacement Headlight Bulb, 2 Pack: https://amzn.to/3PxW4pZ
- Klein Tools 602-10 Flathead Screwdriver with 3/8-Inch Keystone Tip, Made in USA, 10-Inch Heavy Duty Round Shank: https://amzn.to/4aoGFQO
Getting Started
Before we dive in, make sure to hit subscribe for more DIY tutorials and visit my blog www.diydanielle.com for a list of supplies needed for this project.
Let’s get started by popping the hood of your Honda Odyssey. The lever for that is by your left leg when you’re sitting in the driver’s seat. It’s near the gas cap lever.
Once you pull the lever, you can go around to open your hood. If you use your hand to slide under the hood near the Honda sign, you will find a little lever under the hood that will release the hood when pulled to the side.
Once that’s unlocked, you can push your hood up and use the bar to prop it open.
Accessing the Headlight
With the hood open, locate the plug that attaches to the headlight.
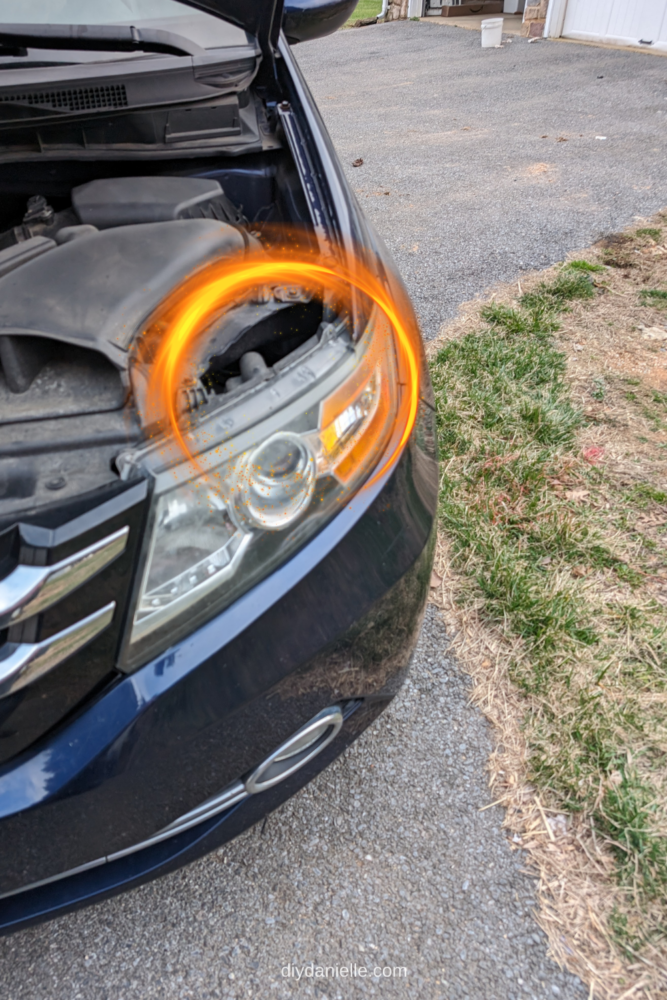
Using a flathead screwdriver, gently push down to release the plug.

“Unscrew” the old bulb (it’s more of a short turn than unscrewing really), replace it with a new one, and secure it in place by turning it until it clicks.
Reattach the plug to the new bulb.
Testing
Once the new bulb is in place, test the headlight to ensure it’s working properly. Avoid using the brights for this test, as we’re focusing on the replaced bulb.
Once confirmed, you can close your hood and you’re ready to go!
Conclusion
And there you have it! A simple and cost-effective way to replace a headlight in your Honda Odyssey 2013.
This should save you about $400 at the dealership… I still remember getting quoted about that much many years ago to replace a headlight in my last car. Yikes.
If you encountered any issues or have questions, feel free to reach out. Thanks for following along with this tutorial. Stay tuned for more DIY tips and tricks! Take care.
Video Tutorial
Please share and pin this post! You can also post your project and tag the DIYDanielle team on Instagram @doityourselfdanielle!