

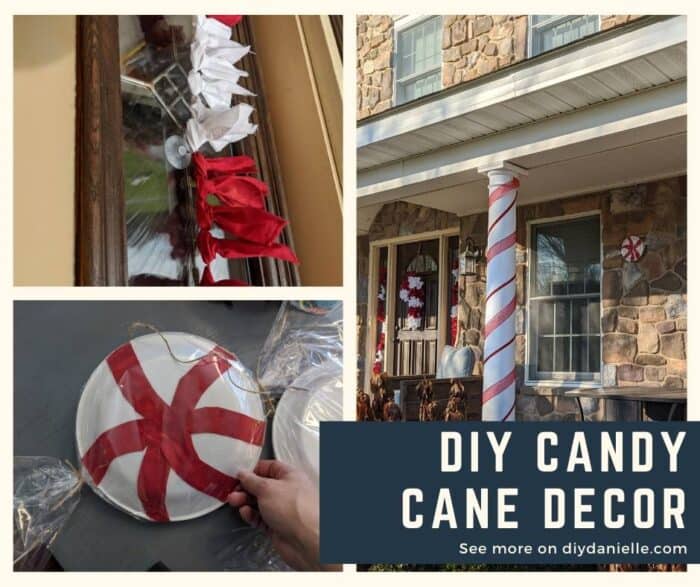
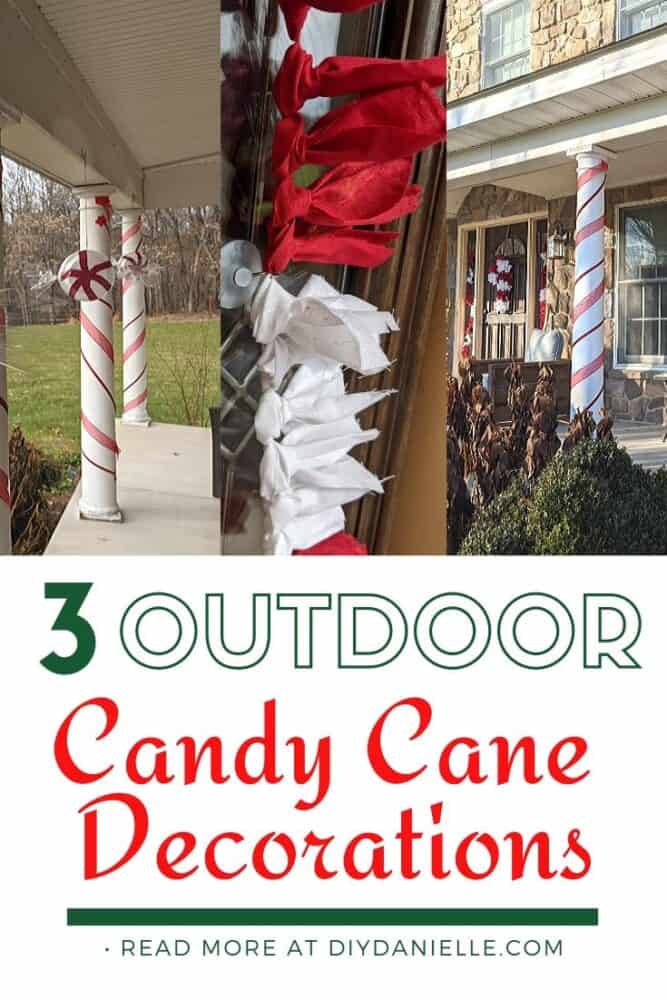
Three easy to make candy and candy cane themed decorations to make for your front porch that you can make with $25 in supplies. Perfect for Christmas decor!
This post may contain affiliate links which may earn me commissions should you click through them and take certain actions. As an affiliate for Amazon, Cricut, xTool, Home Depot, and other sites, I earn from qualifying purchases. Please DIY carefully. View my full legal disclosures here.
The majority of my content is generated by me, as are 99% of the photos and videos, but I utilize technology for titles, descriptions, video editing out all of my ums, and occasionally for text overlay on images.
Please read the whole post so you don’t miss any important information!
For the outdoor decor portion of our holiday challenge, I decided to stick with the candy theme. I had extra fabric leftover from my Candy Cane wreath that I also used for a small embroidery hoop Christmas sign. I wanted to use it!
For some reason though, my Christmas creativity felt like it had fizzled out a bit. Nothing was coming out right, I’d tackle another project in hopes it would work better, I’d go back to the other project…
I ended up making three different projects instead of just one.
Fortunately they’re all super simple so they made sense to put to them together for this post! They are all candy cane themed outdoor decorations!
3 Easy Christmas Decorations
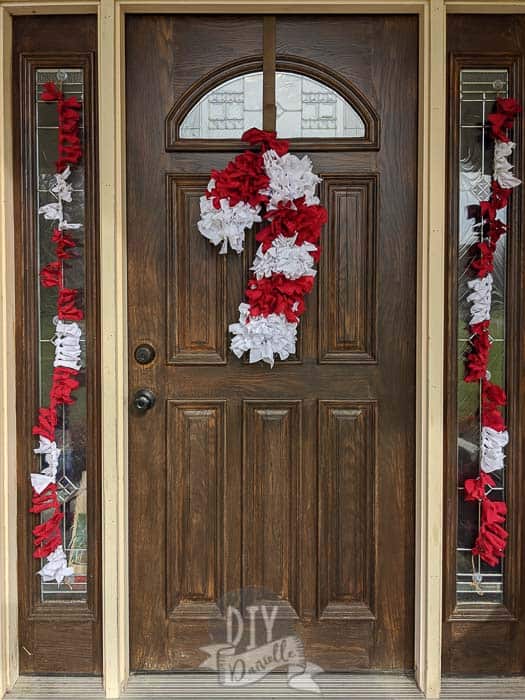
Red & White Candy Cane Fabric Banner
Supplies: Red and white strips of fabric, 4-6 stick on glass suction cups, and some twine. The suction cups and twine were purchased at Dollar Tree
Cut 2 pieces of twine slightly longer than the length you want. Start by tying a loop on either end of each piece.
I like mine to be fairly tight while I’m tying the ribbon on so I hooked it up in my sewing room so either end was hooked on something.
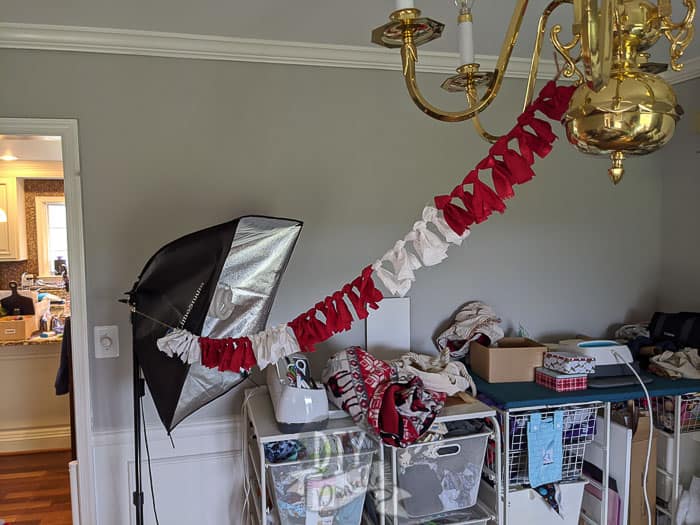
You want your fabric strips to be around 2″ x 7″…
Fold a strip in half in front of the twine, then take both ends and fold them backwards, under the twine, then over the top. The ends go through the loop (from the fold in the strip). Tighten.
Continue to add red and white fabric strips in whatever order you want.
Hang using suction cups. I love this as a vertical banner… everyone does horizontal so it’s nice to switch it up a bit.
Cost: Not including the fabric, this cost $2
You might like this crafting cart woodworking plan in my shop! This is a fantastic cart to hold all of your supplies, plus it’s on wheels so you can move it around as needed. Keep scrolling for more candy cane ideas!
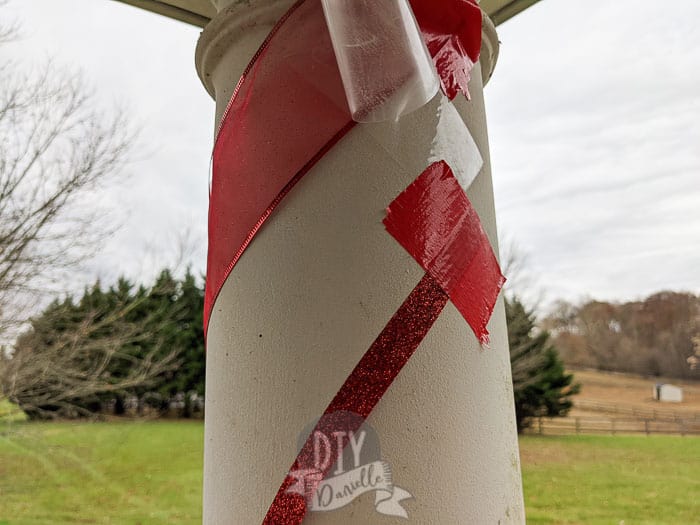
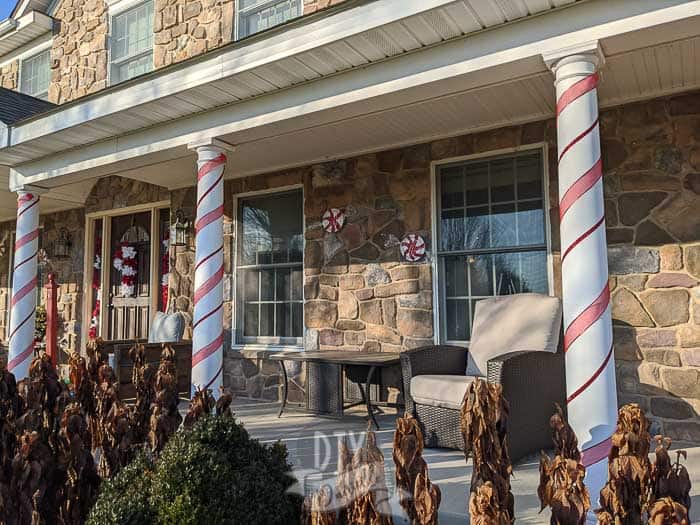
Candy Cane Porch Columns
Supplies: Two different types of red ribbon, red duct tape.
When I was considering decorations, I decided I really wanted to attack the big white columns on my front porch- what better to create a candy cane out of?! There’s 8 columns total.
I started with a wide red ribbon that I found at the Dollar Tree, thinking I could save a lot of money. Unfortunately it ended up being more sheer than I liked.
Rather than scrap the sheer red ribbon completely, I decided to offset it by adding a darker thin red ribbon too. I got that at Dollar Tree too so it wasn’t terribly expensive.
I used red duct tape to adhere the ribbon to the backs of the columns. It’s not ideal but clear packing tape wasn’t doing the trick. We get a lot of wind and unfortunately neither solution was perfect. But duct tape seems to be holder a bit better.
After doing this, I wondered if red duct tape might have done the trick- it might have removed the paint too, but I need to repaint these soon anyways. Our columns were a pain to attach the ribbon to.
Cost: $17 for 16 containers of ribbon + red duct tape
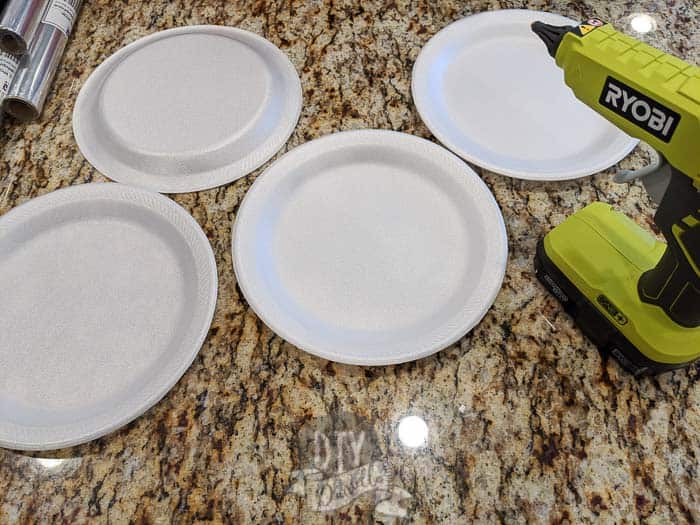
Peppermint Candy Decor
Supplies: Plain white foam plates, red fabric strips (or paint), a glue gun, cellophane wrap, twine, something to hang them from. You may also want to weigh them down with rocks inside.
First, these are really light weight when finished and blow around like crazy in the wind. I may decided to attach them directly to my porch instead of letting them hang… or I may need to weigh them down or attach them differently. They blew off with bad winds… we live at the top of a hill which is nice most of the time, except when it’s windy!
To start, glue together two plates to form the candy shape (bump out on either side).
Cut your red fabric into swirl strips. I had a bunch of straight 7″ strips that I cut to fit… this worked but I wished I had been able to cut the swirl from the full cut of fabric instead.
Glue the strips of swirls on… I used about 7 per plate set. I only added them to one side.
Once the glue cooled down (hot glue gun issues), I wrapped the “candy” in the cellophane, keeping the seam where the edges joined in the back.
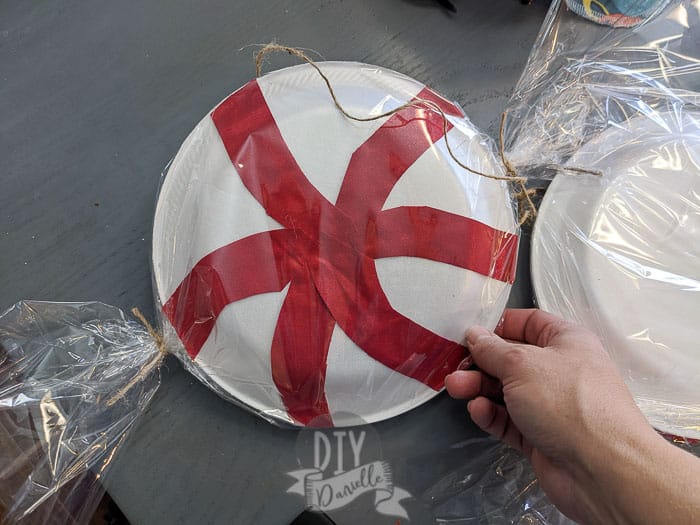
I twisted either side of the plate and tied it with twine (clear tape might have been better).
Then I added a dab of hot glue to the top and placed a piece of twine on the top to hang it from. You could also just attach the candy to the sides of your house or porch.
Cost: Not including the glue and fabric, this project
cost me $2 in cellophane and $1.50 for the plates.
TOTAL COST: Under $25! How’s that for thrifty?!
Learn how to create large personalized “Santa bags” for your kids with the Cricut! We lay these out on Christmas Eve for Santa to fill!
Don’t have a Cricut yet? Here’s what you need to buy when you get a Cricut!
Please share and pin this post! You can also post your project and tag the DIYDanielle team on Instagram @doityourselfdanielle!


Candy Cane Christmas Decor
Web Story: DIY Candy Cane Decorations
So many fun ideas!! Love that you were thrifty too!!! The peppermints are awesome!!!