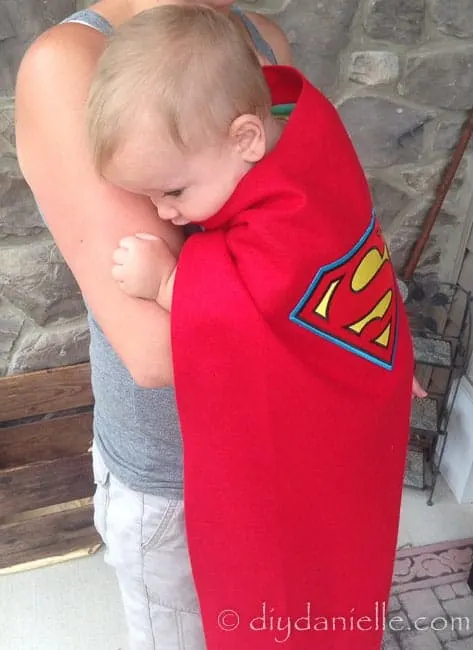
How to make a superhero cape without sewing. These DIY Superhero capes are so easy to whip up!
This post may contain affiliate links which may earn me commissions should you click through them and take certain actions. As an affiliate for Amazon, Cricut, xTool, Home Depot, and other sites, I earn from qualifying purchases. Please DIY carefully. View my full legal disclosures here.
Please read the whole post so you don’t miss any important information!
This product is in no way affiliated or sponsored by DC Comics, their subsidiaries, or affiliates. This tutorial is intended for personal use only.
I really like dress up games, but my son isn’t into them quite yet. That said, I decided to TRY again and make a superhero cape without sewing. He really likes when we put it on, but he’s still not too psyched about wearing anything himself… still won’t wear the tool belt I made him either. I figured a no sew cape would be quick and easy to put together for him.
This is a very easy project. Very. This tutorial is going to be in two parts… the first part will show you pictures and a description of how I made mine (demo with one I embroidered myself). Second part at the bottom is a YouTube tutorial, showing you the iron on patch. I think both came out awesome, but the patch really was way less time consuming and it’s really a great size.
You’ll also love the DIY Superman car I repainted to go with the cape.
Supplies for a No Sew Children’s Cape
- Patch: Superman Patch / Batman Patch / Other Superhero Patches
- Felt, fleece, or knit fabric in the color of your choice (red for Superman, obviously). You can buy felt by the yard on Amazon.
- Fabric Glue of some sort- unless your patch is iron-in, then you’re all good.
- Iron on hook and loop (generic term for velcro). Alternatively, you could sew it on.
DIY No Sew Superhero Cape
Here’s a video to show you how I made my no-sew children’s cape. Scroll down below for the photo tutorial.
For fabric, I used red felt because it’s cheap, I had a ton, and there are no seams to finish. The big thing with fabric choices is that some fabric frays if you don’t sew it- a quilting cotton, for example, will start to fray and fall apart a bit, particularly if you wash the cape.
Fleece, felt, and knit fabrics usually don’t fray so they’re good choices. Use the color you want.
Step 1: Cut your cape shape out of fabric
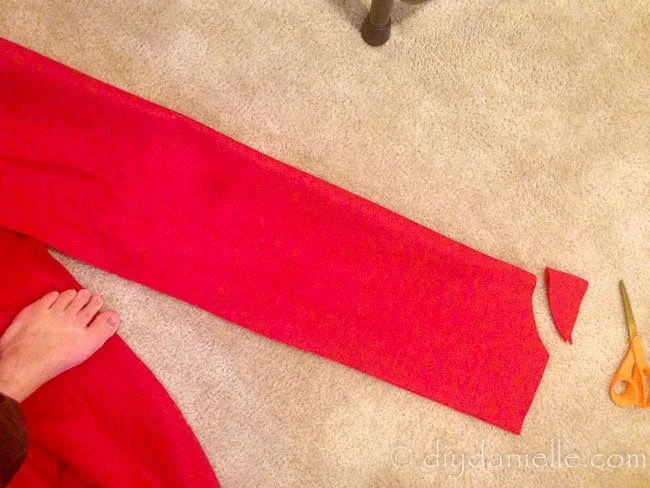
I cut out a big rectangle by eyeballing how long it would need to be for his height. It’s better to go too long than too short in my opinion, seeing felt is pretty easy to cut to adjust for height if needed. But when I looked at photos of Superman in his cape, they were all around floor length- if that helps give you an idea about length.
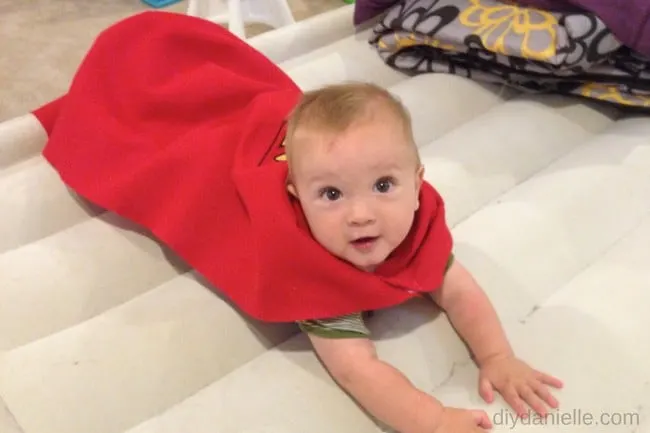
In some of the photos, the baby is modeling the cape but the cape is for my older son, just fyi.
Once I cut out the rectangle (which is folded in half in the picture below), I cut out a small curve for the neck (this is on the side with the fold). I have the rectangle folded so both sides of the neck are even.
Step 2: Add your superhero logo
Once that’s done, all you need to do it add your Superman logo. You can embroider it using an embroidery design like I did, or you can buy a patch to add on.
Options: Iron-on patch, sew on patch, sew on patch and adhere with fabric glue, or embroider the logo on.
If you get an iron-on patch and use felt, you could have NO sewing/embroidery to do which is pretty awesome if you don’t have a sewing machine. I love embroidery designs, but they take a pretty long time to embroider and it’s hard to carve out the time for it with the boys running around.
You can also use a sew on patch and use fabric glue (make sure it’s the permanent kind).
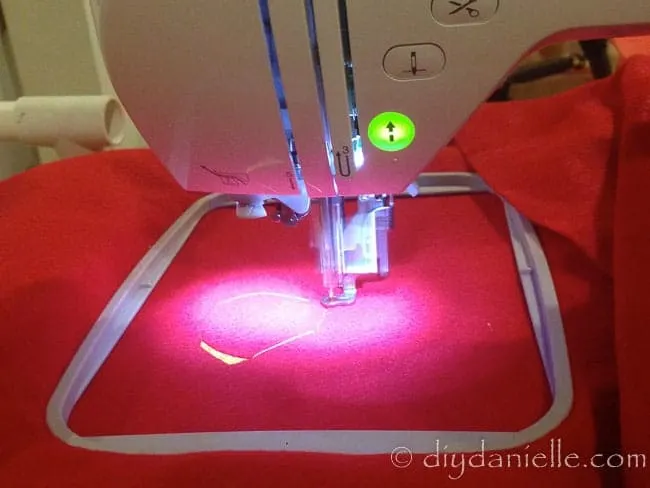
If you opt not to use the patch and/or glue option, you can embroider the design. I hooped my felt with some stabilizer on the back. Then I just used the design that I purchased online in PES format (the format for my Brother 770 embroidery machine). I love how nicely felt embroiders. This design did take FOREVER though because it’s very detailed.
Step 3: Add a closure for the cape so it stays on
Once it’s embroidered or the patch has been applied, you need to add something so the cape will stay on. You can use a snap if you have an older child, a button, or velcro. I used velcro because my son is only 2.5 years old and he gets very fussy about not being able to control whether he can get something on or off. AND I was concerned that a snap wouldn’t come undone if it got caught in something.
I sewed on the two sides of the velcro to either side of the neck pieces. I used my easier to pull off hook and loop (Velcro)…. I’ve got some super strong hook and loop for cloth diapers that has a much tougher grip to get off, but again, I wanted something he could get off himself.
You could also buy stick on velcro, as seen below, but I’m not sure how long it will stay on compared to sewing as I’ve never used it.
And that’s all there is to this project. It’s very quick and easy. Couldn’t get my 2.5 year old to model it so the baby is. This particular one is the patch version. If you decide it’s too long, you can always just trim off the extra on the bottom.
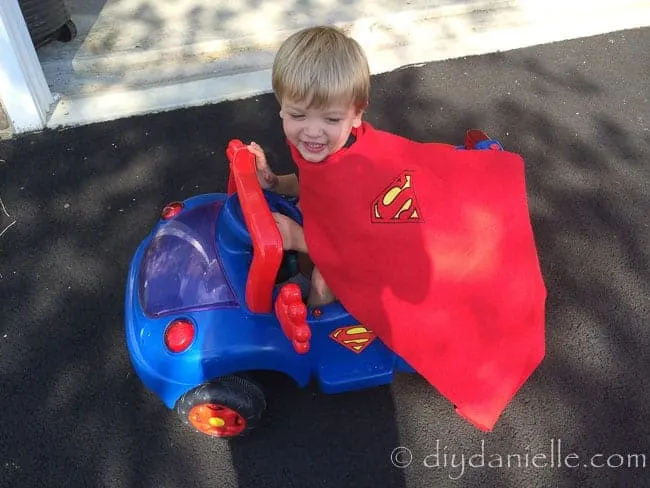
Learn how to update an old ride on car to look like a superhero car too!
Please pin this!
