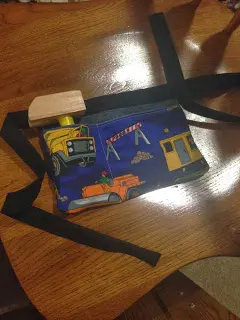
How to sew a children’s tool belt using binding, upcycled jeans and some construction fabric.
This post may contain affiliate links which may earn me commissions should you click through them and take certain actions. As an affiliate for Amazon, Cricut, xTool, Home Depot, and other sites, I earn from qualifying purchases. Please DIY carefully. View my full legal disclosures here.
Please read the whole post so you don’t miss any important information!
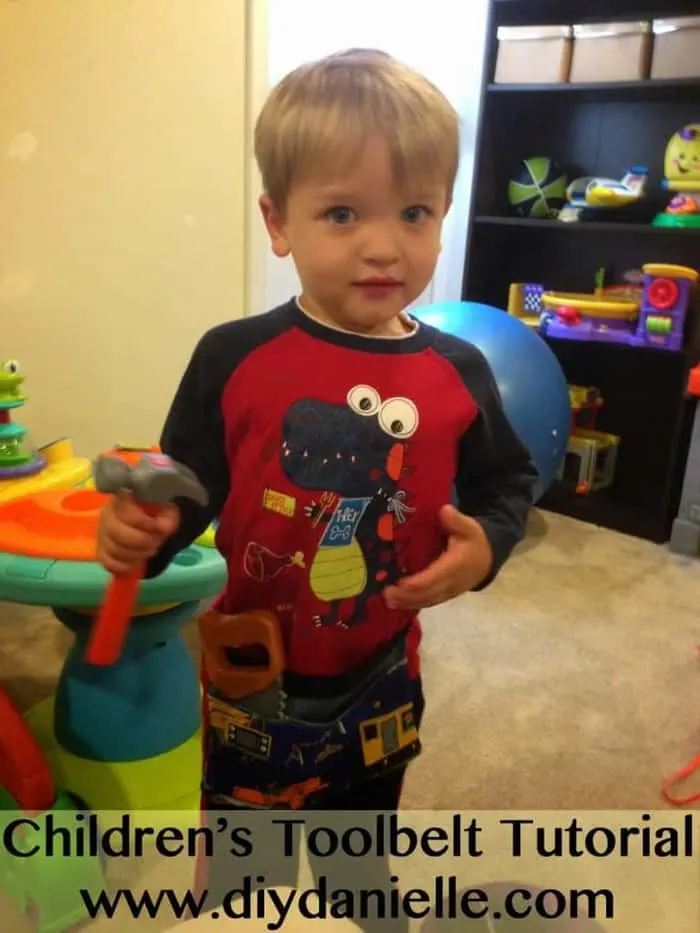
We got G a big tool bench for Christmas because he’s been really liking all of his tools recently. We signed up for the monthly Build and Grow workshop at Lowes which was AWESOME so he got a free Lowes smock there, but he didn’t seem to like the feel of it around his neck so I decided to try making him a regular tool belt to go with his tool bench.
I highly recommend checking out those workshops at Lowes because they’re free and fun. The recommended age is 5+, I believe, but G is 2 and enjoyed himself (though we did a lot of the work).
To make the tool belt, I used some upcycled jean fabric I had leftover because it’s a bit sturdier than regular cotton fabric. I used cotton to go with it.
Supplies
- 5×10″ cut of construction fabric and jean fabric
- 6.5×10″ cut of construction fabric and jean fabric (or two cuts of jean would be fine too)
- Bias tape, thread, scissors… all that normal stuff
How to Make a Kids Tool Belt
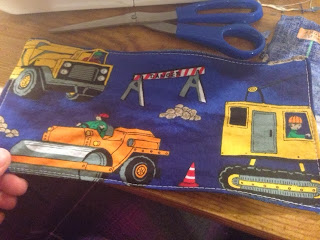
I took the two 5×10″ pieces and faced them right sides together, sewing them and leaving a place to turn them right sides out.
Turn and topstitched. You can just topstitch the top of the pocket if you want to make it easier/better looking. I wasn’t thinking it through and did the whole thing.
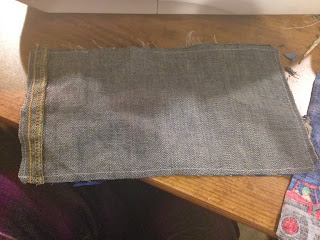
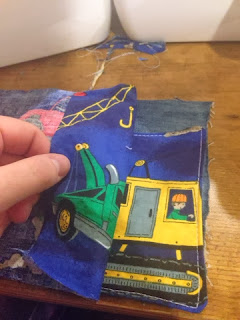
Then I put the jean fabric face up, the pocket face up on top of it, then put the back fabric face down on top of it all. I decided to use the big piece of construction fabric for the back of the tool belt so it wouldn’t be an overwhelming amount of patterned material… that’s why I said it might be better to just use two big pieces of jean fabric instead. The only problem with that is that jean is pretty thick to sew through.
I sewed in a “U” shape around this all, reinforcing areas where the pocket is by backstitching over them, and leaving the whole top of the belt open. I snipped the corners then turned the belt right sides out. Once you do this, you need to sew the pockets if you want two… or more.
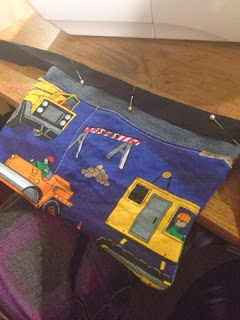
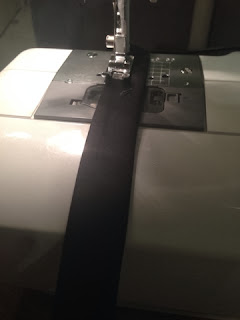
I figured out how much bias tape I needed to make the belt go around my toddler and tie… I think it was 46″ altogether. Then I pinned the bias tape onto the top of the belt, centering the main part of the tool belt in the middle of the bias tape.
Sew, making sure to sew up the bias tape on each side. I folded over the ends and sewed them closed so there’s no raw edges.
He is still warming up to the belt so he hasn’t put it on yet, but he loved putting things in the pockets and hammering it. Haha.
The pockets ended up being a great size to hold his wood hammer.
