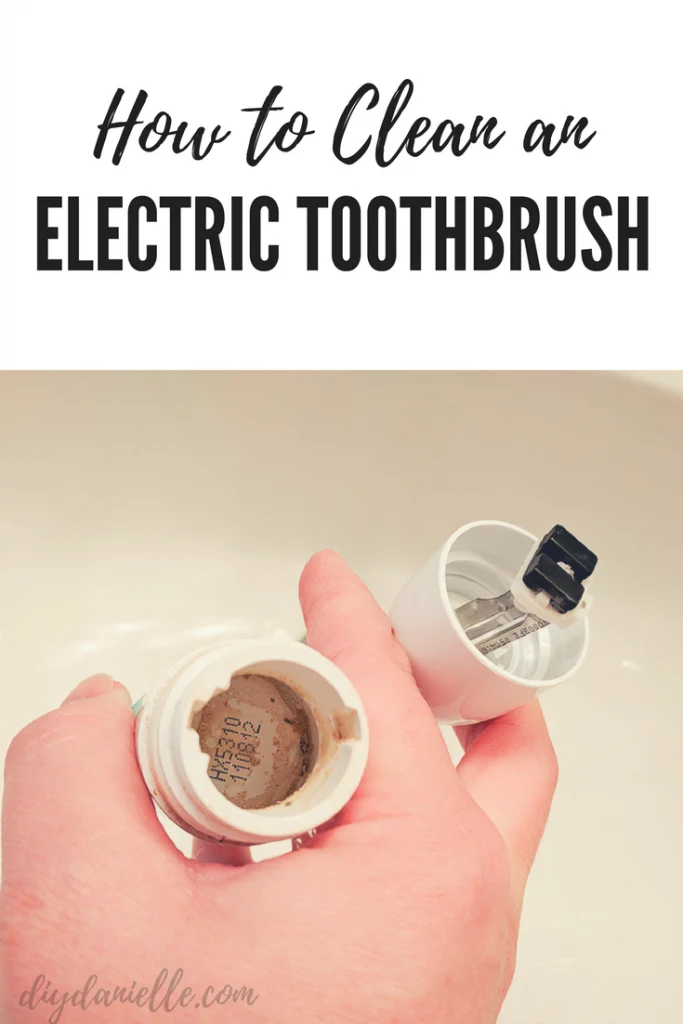
How to clean an electric toothbrush from Phillips Sonicare. Is your toothbrush harboring mold in the interior? Make sure to clean it regularly to extend the life of your electric toothbrush and to stay healthy.
This post may contain affiliate links which may earn me commissions should you click through them and take certain actions. As an affiliate for Amazon, Cricut, xTool, Home Depot, and other sites, I earn from qualifying purchases. Please DIY carefully. View my full legal disclosures here.
Please read the whole post so you don’t miss any important information!
It’s been so long since I first shared how I clean my electric toothbrush that I felt like I needed to show you again- with better photos and a video. Because yikes. My photos have gotten better since 2012!
First, this is done on a Phillips SoniCare toothbrush. I don’t own another brand so I can’t attest to how others are made. But I do know that the way these toothbrushes are structured, they tend to get water and gunk in them if stored upright. I believe storing them on their sides might help prevent this, but alas… the charger requires me to store it upright so that’s how I do it.
I don’t think this is so much of a design issue… I think the product works best the way it is designed. This is my second toothbrush from Phillips and they’ve had worked for a very long time and the one thing that has made me want to get a new toothbrush is the cleanliness issue. In order to be a bit more ‘green’ and save money, I don’t want to be regularly tossing the entire electric toothbrush.
As such, I’ve strategically worked out how to best clean them. I also try to prevent them from getting dirty by using a toothbrush cover or toothbrush scarf. Make sure to check out those posts because using a cover of some sort does help minimize how much cleaning you need to do.
Supplies
- A dirty toothbrush
- A new toothbrush head: Get them on Subscribe & Save so you don’t forget to change your toothbrush heads every 3-4 months as recommended.
- Q-Tips, a clean cloth, or paper towels (or all three)
- White vinegar or a bleach/water mixture
How to Clean an Electric Toothbrush
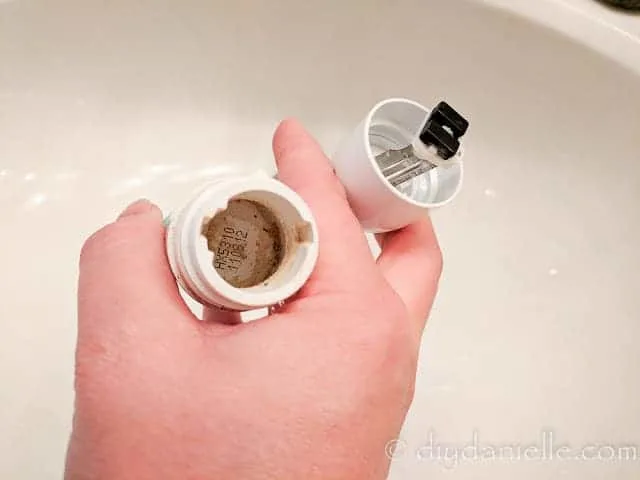
If you’ve owned your toothbrush for a while, it might look like this. This is only a short amount of use without cleaning… I usually try to clean them fairly regularly. How much ‘gunk’ builds up in your toothbrush is going to be impacted by how you store it (upright vs on its side vs without the head attached).

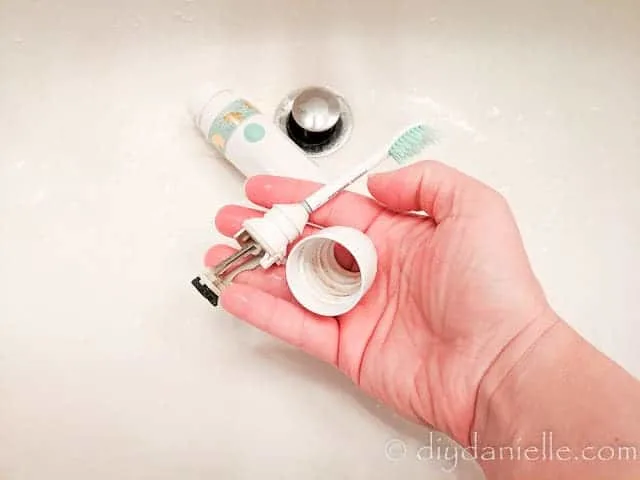
As seen in the photo at the very top, your toothbrush head can come apart to be cleaned as well, but usually I just replace the head per the recommended every three to four months.
I also use a a toothbrush cover or toothbrush scarf to prevent some of this build up which helps. Start by taking your toothbrush apart- you should have the base, plus the head. If you’re replacing the toothbrush head, you can just toss that in the garbage. Otherwise, use the same methods to clean the INSIDES OF IT (not the bristles).
I wet Q-Tips (you can use hot water or use white vinegar or a bleach mix) and use them to clean small crevices in the toothbrush. I also alternate with using a small cloth to push inside the area in the base to clean things out.
While I don’t normally use bleach and I would never use it on the bristles, I have had great luck cleaning mold out of the front of my front loader by soaking paper towels (or an old rag) and letting it sit in the front gasket of the washer. I think the same method could be used here if you want to use a super tiny piece of fabric or paper towel in the main base hole. I let the washer ones sit for 2-3 hours then pulled them out to a perfectly de-molded washer so it was pretty low effort.
In lieu of bleach though, I’d use white vinegar because it’s certainly a bit less intense to work with and it still helps do a good job cleaning.
That’s pretty much all these is to it… the Q-tips help with the smaller spots, you can wipe down the larger areas with the rag or paper towels. Once you’re done, let it dry upside down (so the water doesn’t build up inside it).
Hope that helps! Make sure to make a cover to prevent these issues in the future! You don’t even need a sewing machine for the toothbrush scarf.
Please share and pin this post!

