
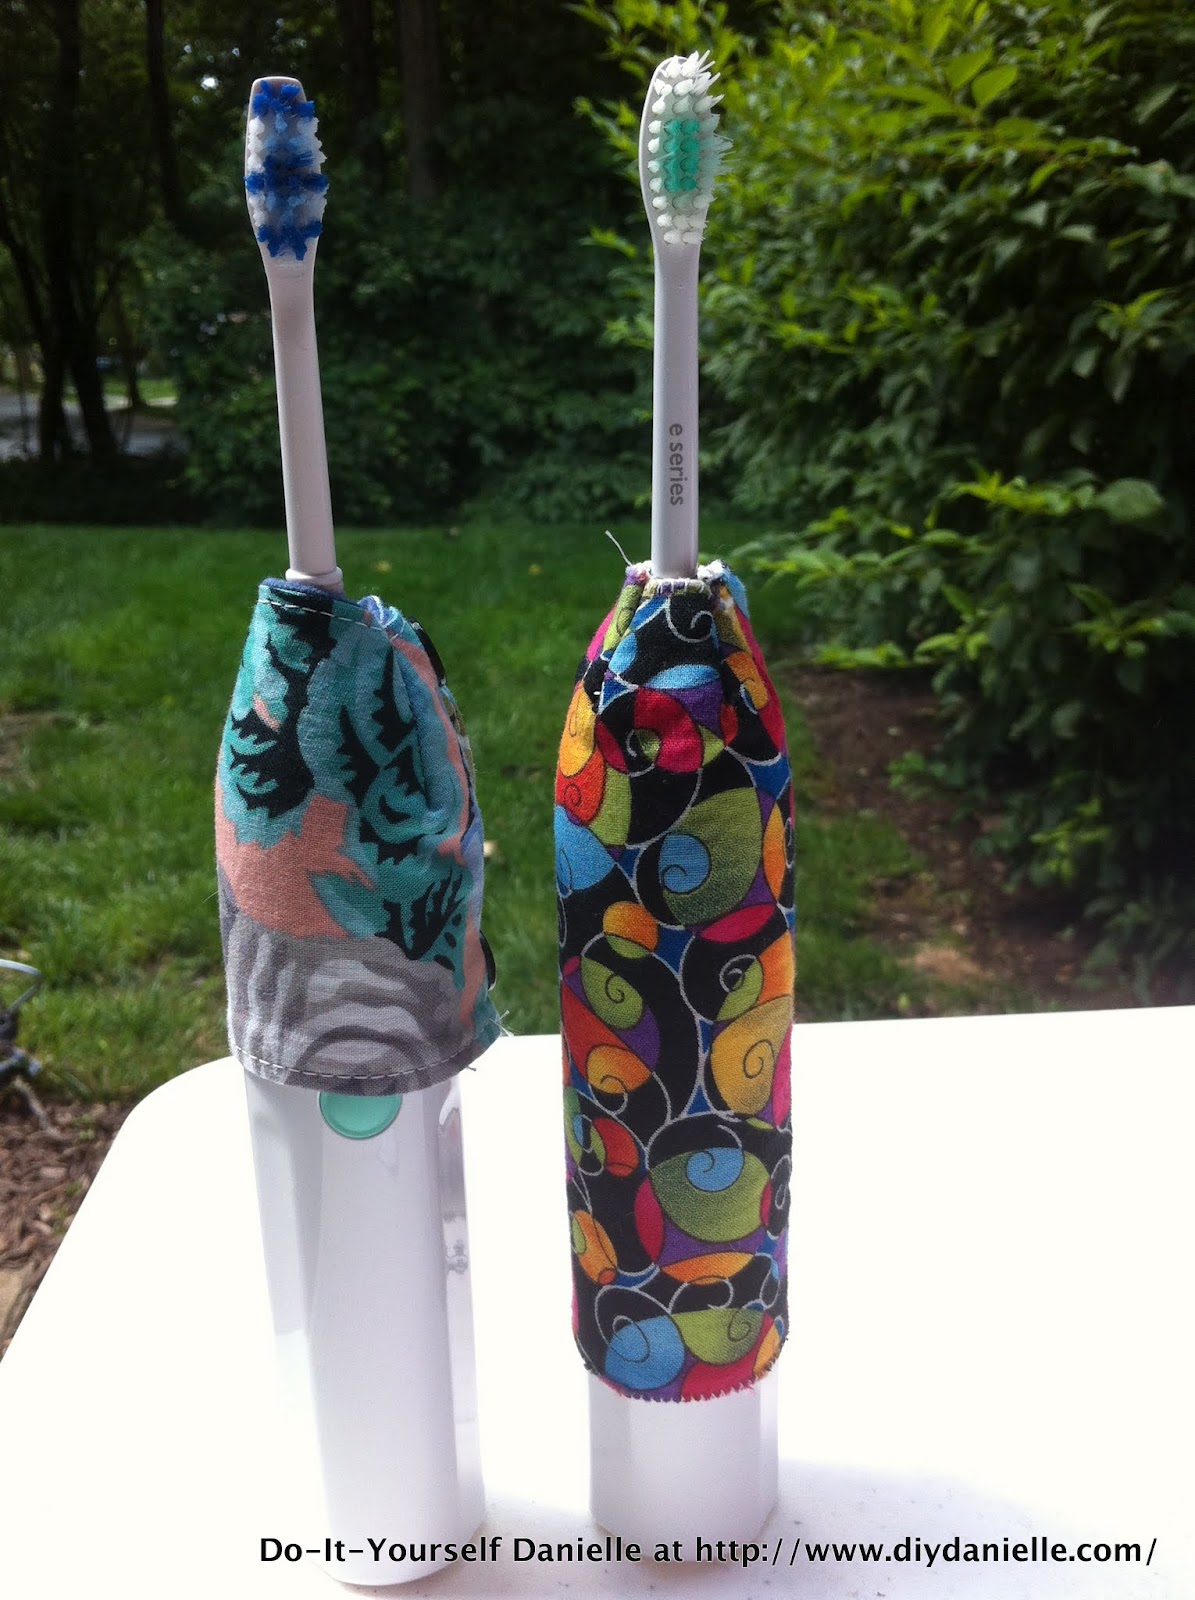
This electric toothbrush cover is a great project for scraps.
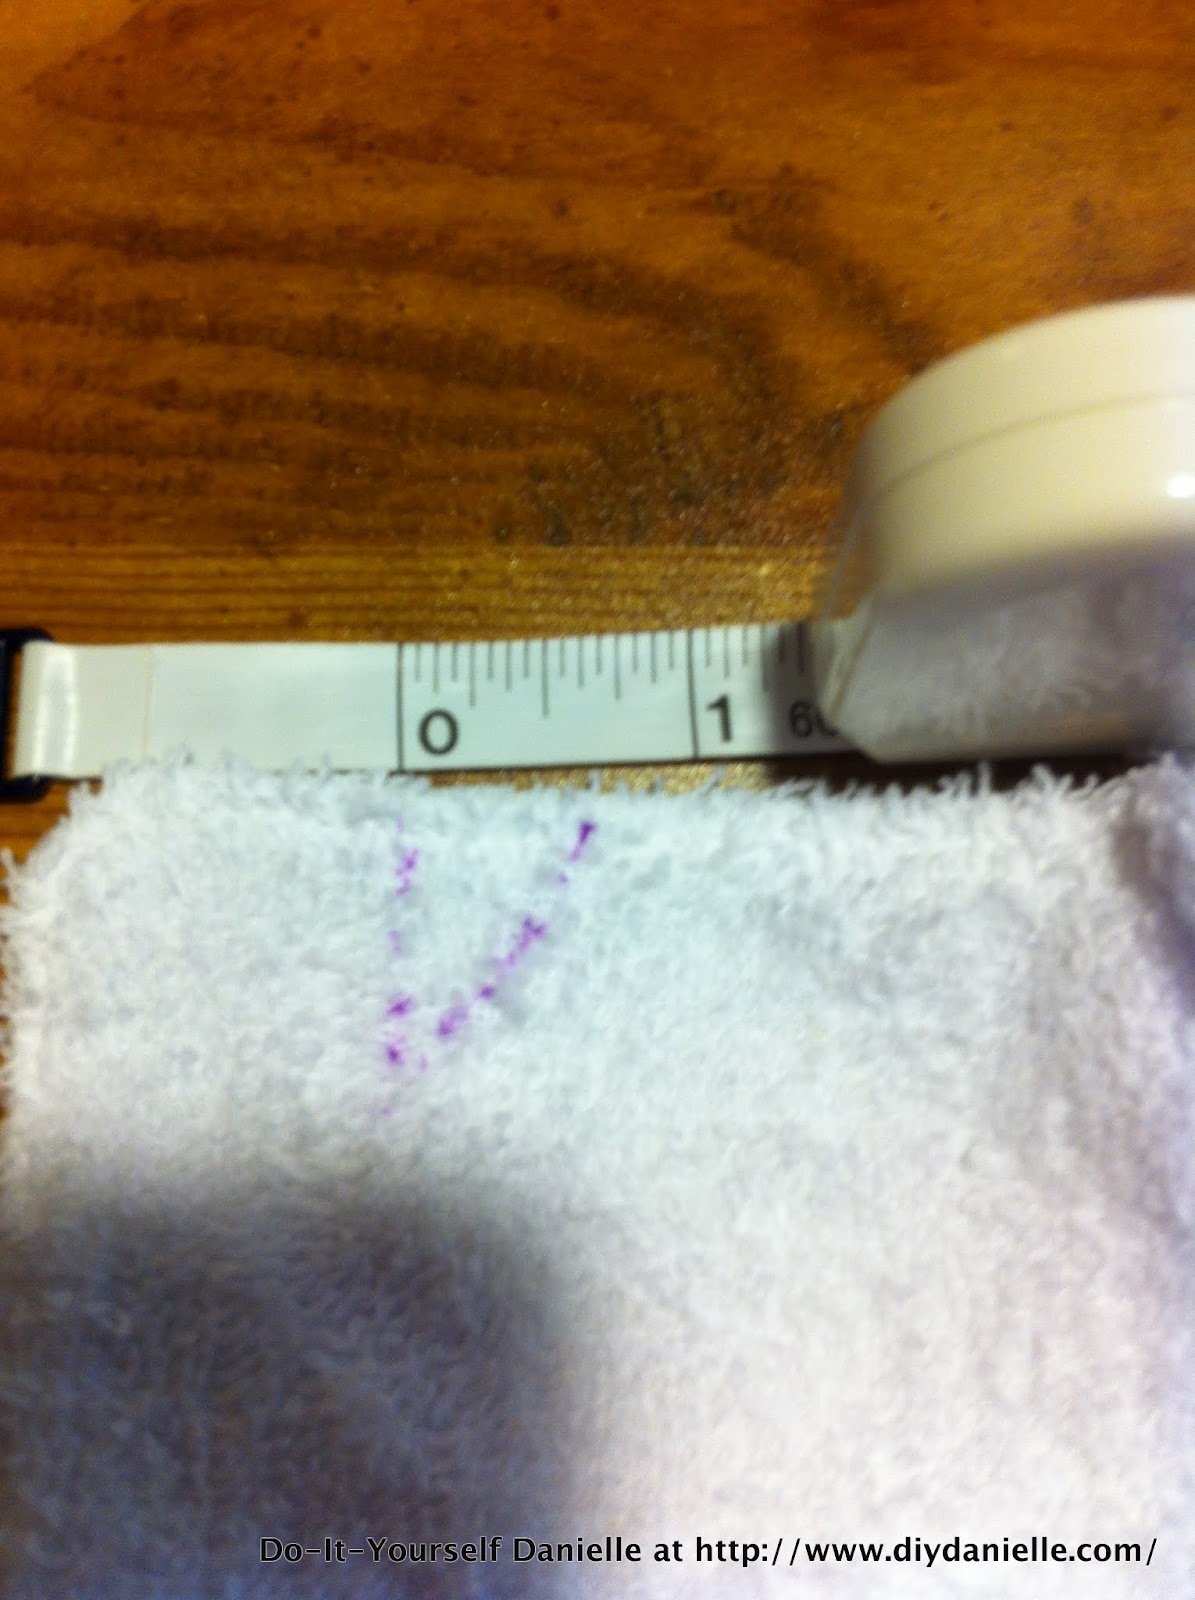
I recommend making two of these so that you have a spare when you wash the other. My pattern is for a Sonicare toothbrush, you may need to adjust for your own toothbrush. I don’t have any different toothbrushes to try it on and make a new pattern for, but it’s pretty basic. Just measure around your brush and add your seam allowance in.
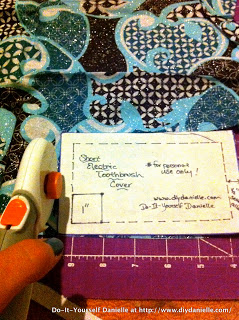
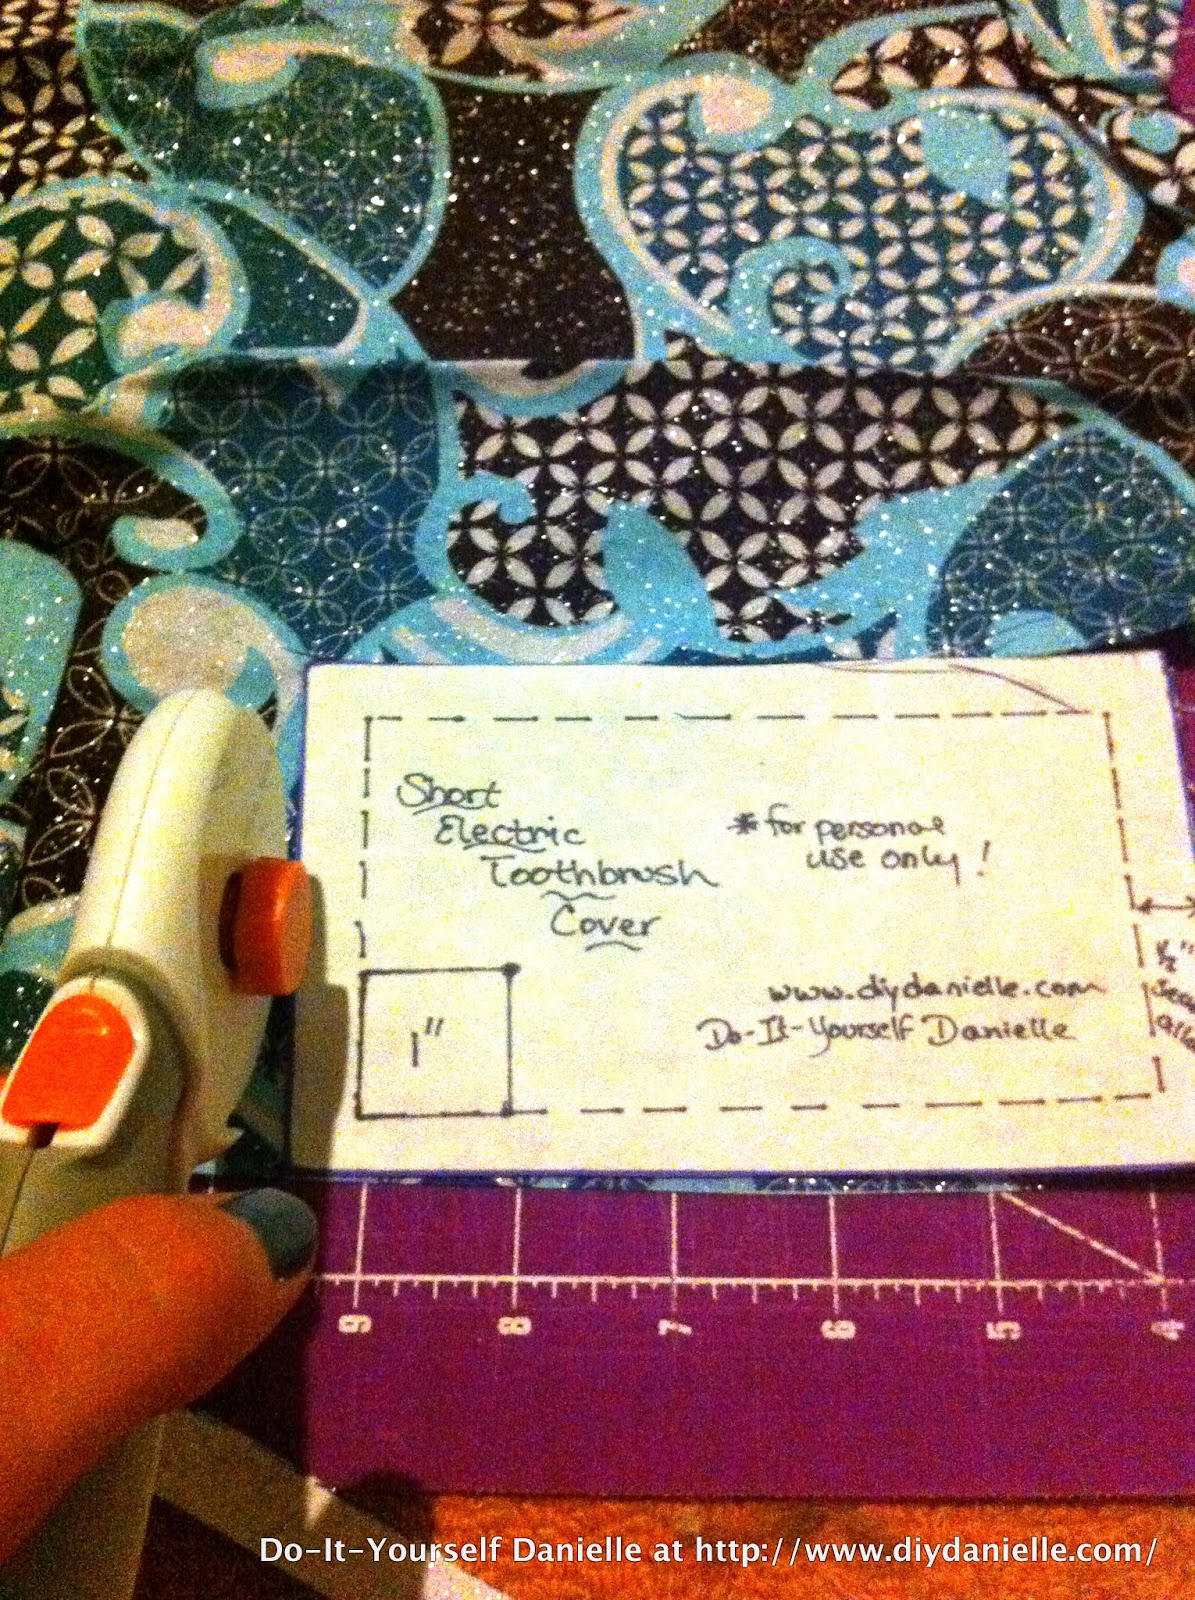
Electric Toothbrush Cover
For personal use only.
Materials:
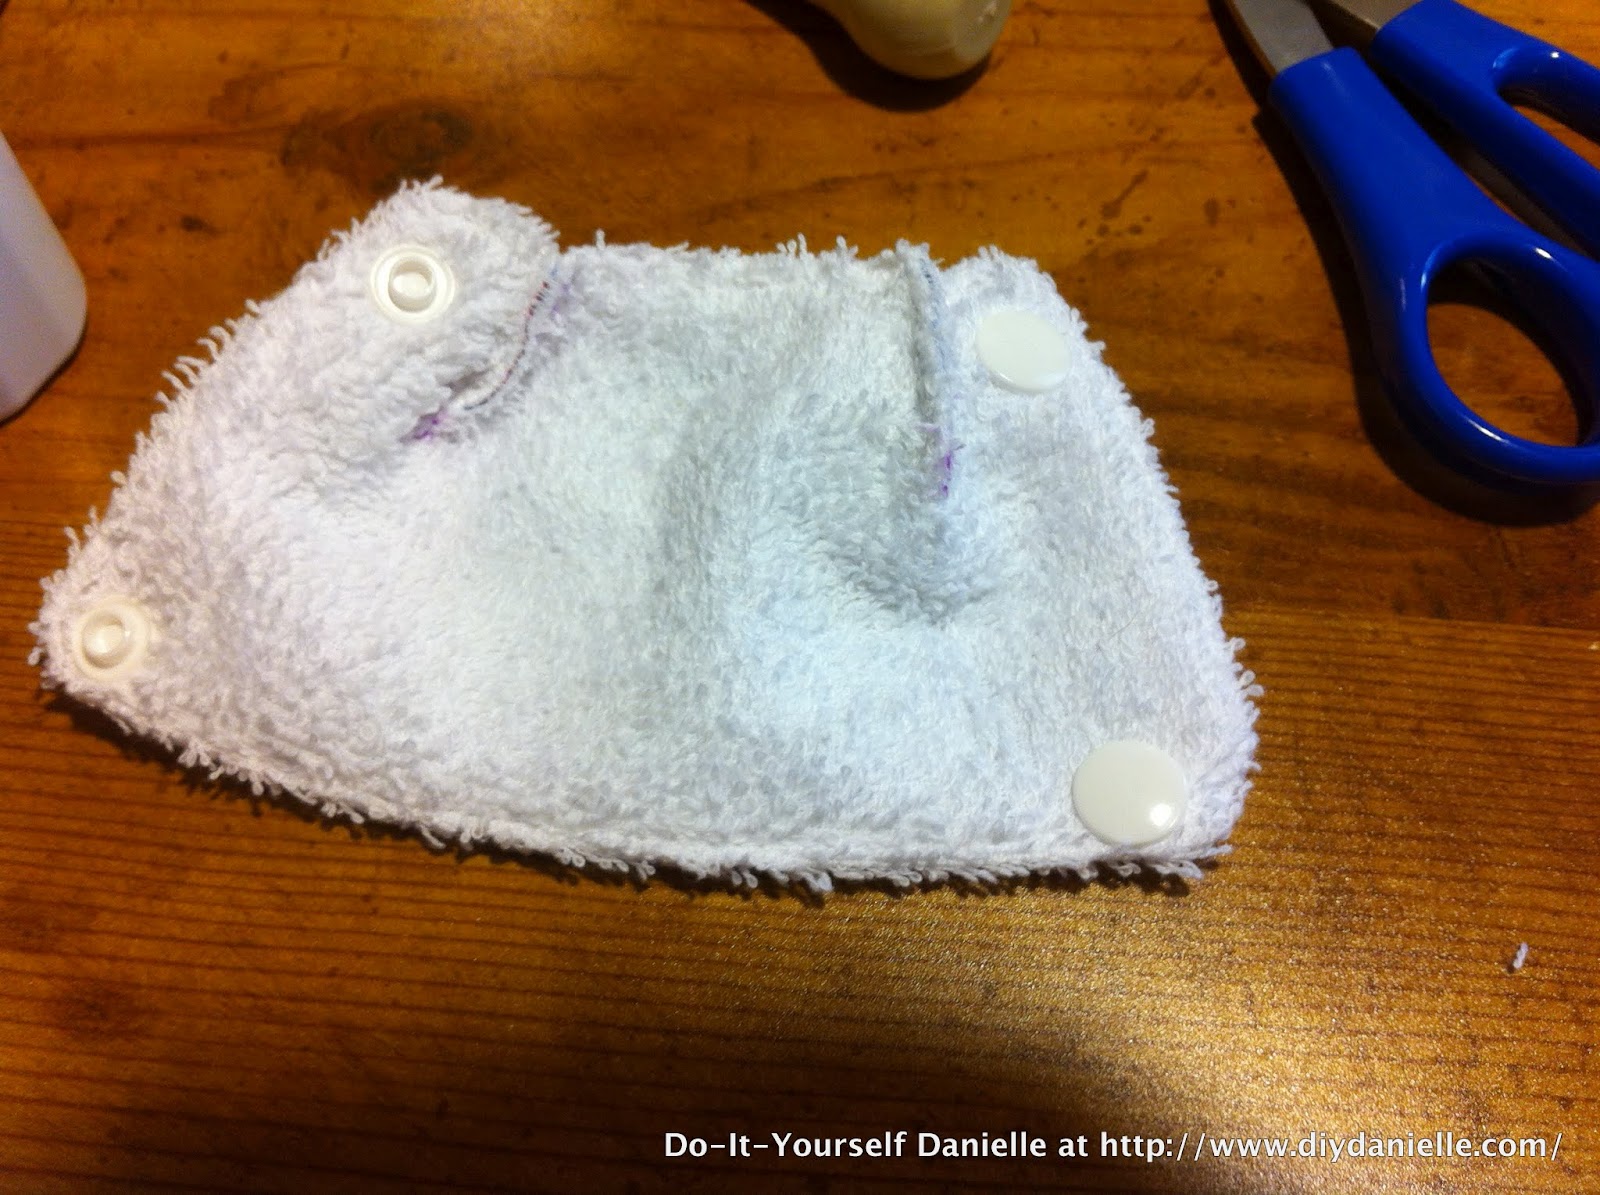
- Outer material: I use cotton or flannel.
- Inner material: This needs to be absorbent material such as flannel or terry cloth.
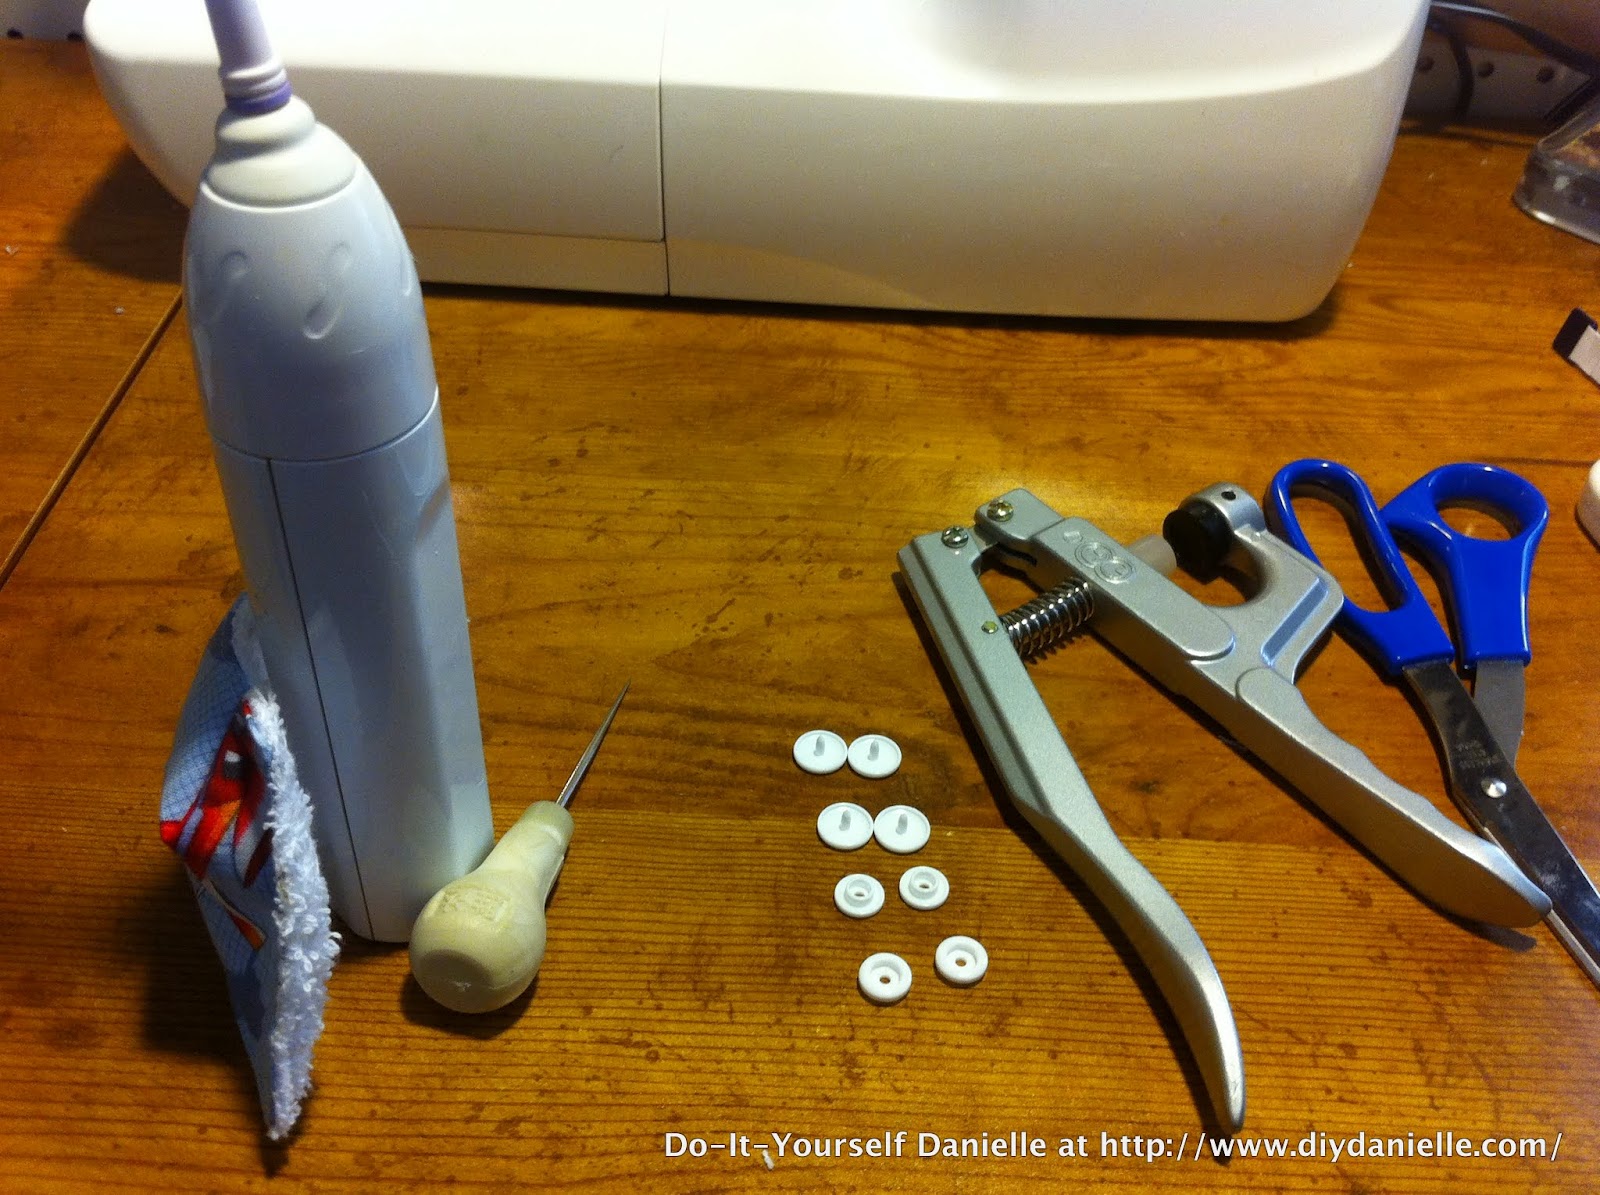
- Snaps, snap pliers/press, awl
- Thread, sewing machine, etc.
- Pattern (mine is located here)
 |
| Step 1: Use your pattern to cut your inner and outer fabric. |
 |
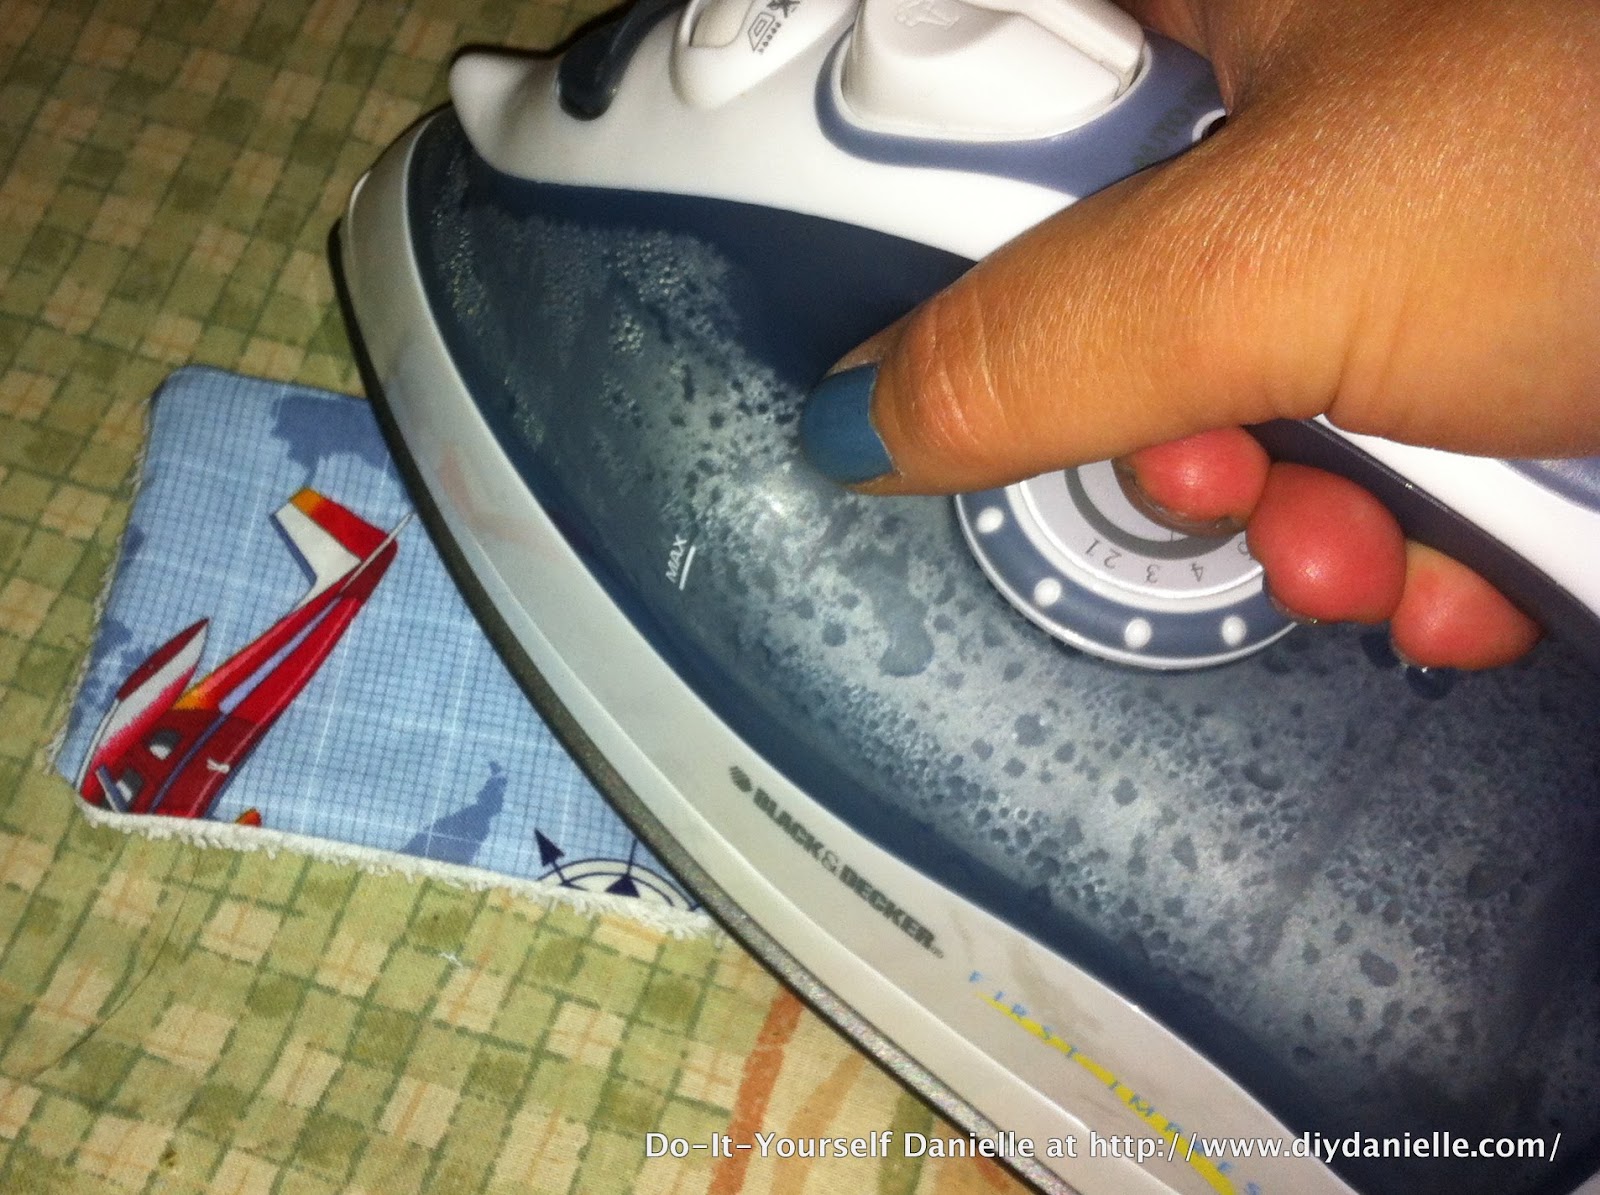
| Step 2: Iron |
 |
| Step 3: Pin two pieces right sides together. |
 |
| Step 4: Sew using a 1/2″ or smaller seam allowance. I used a little more than 1/2″ here which made my cover with just a tiny bit too little overlap (it worked, but it wasn’t as neat). Leave a small opening to turn right sides out. It’s easier if the opening is right in the middle of a side, rather than at a corner. It makes it easier to turn and top stitch. |
 |
| Step 5: Clip each corner, taking care not to snip the stitching. Cut off excess fabric. |
 |
| Step 6: Turn right sides out. Make sure to poke the edges out (I use chopsticks- carefully).
Step 7: Fold in the fabric where you turned it. |
 |
| Step 8: Iron it down and pin. |
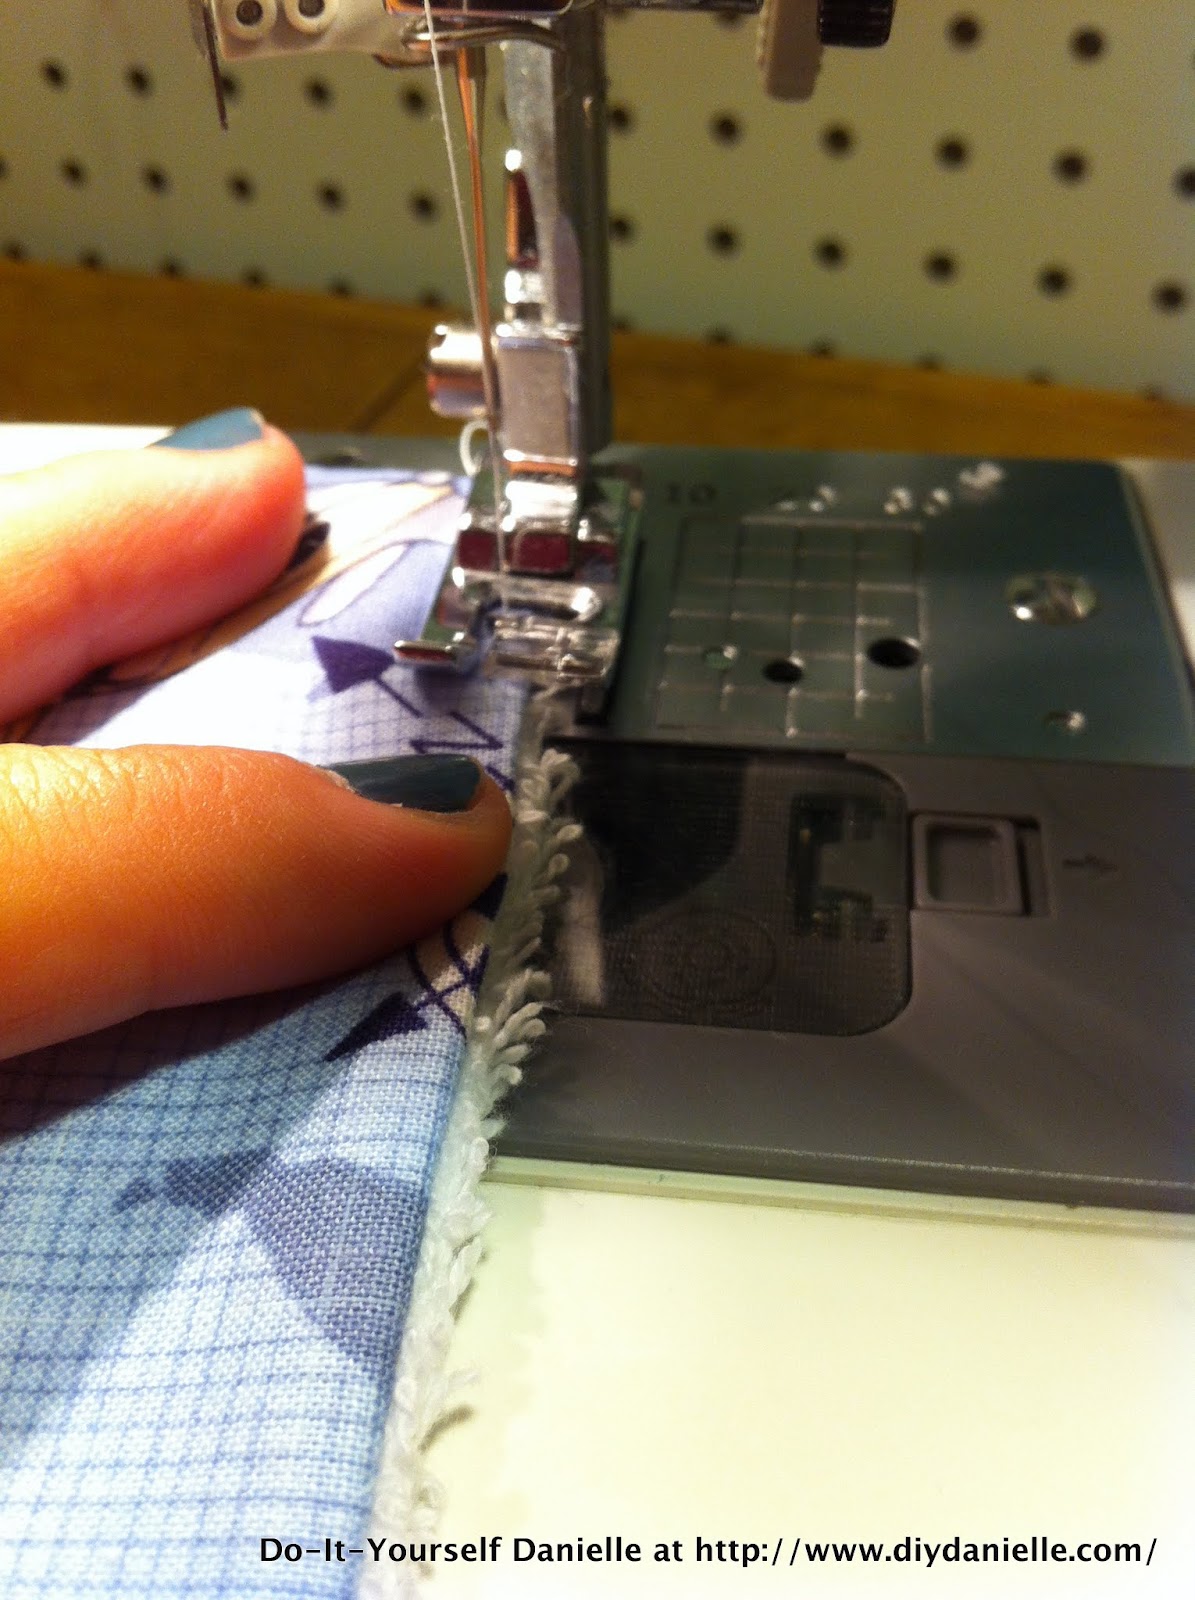 |
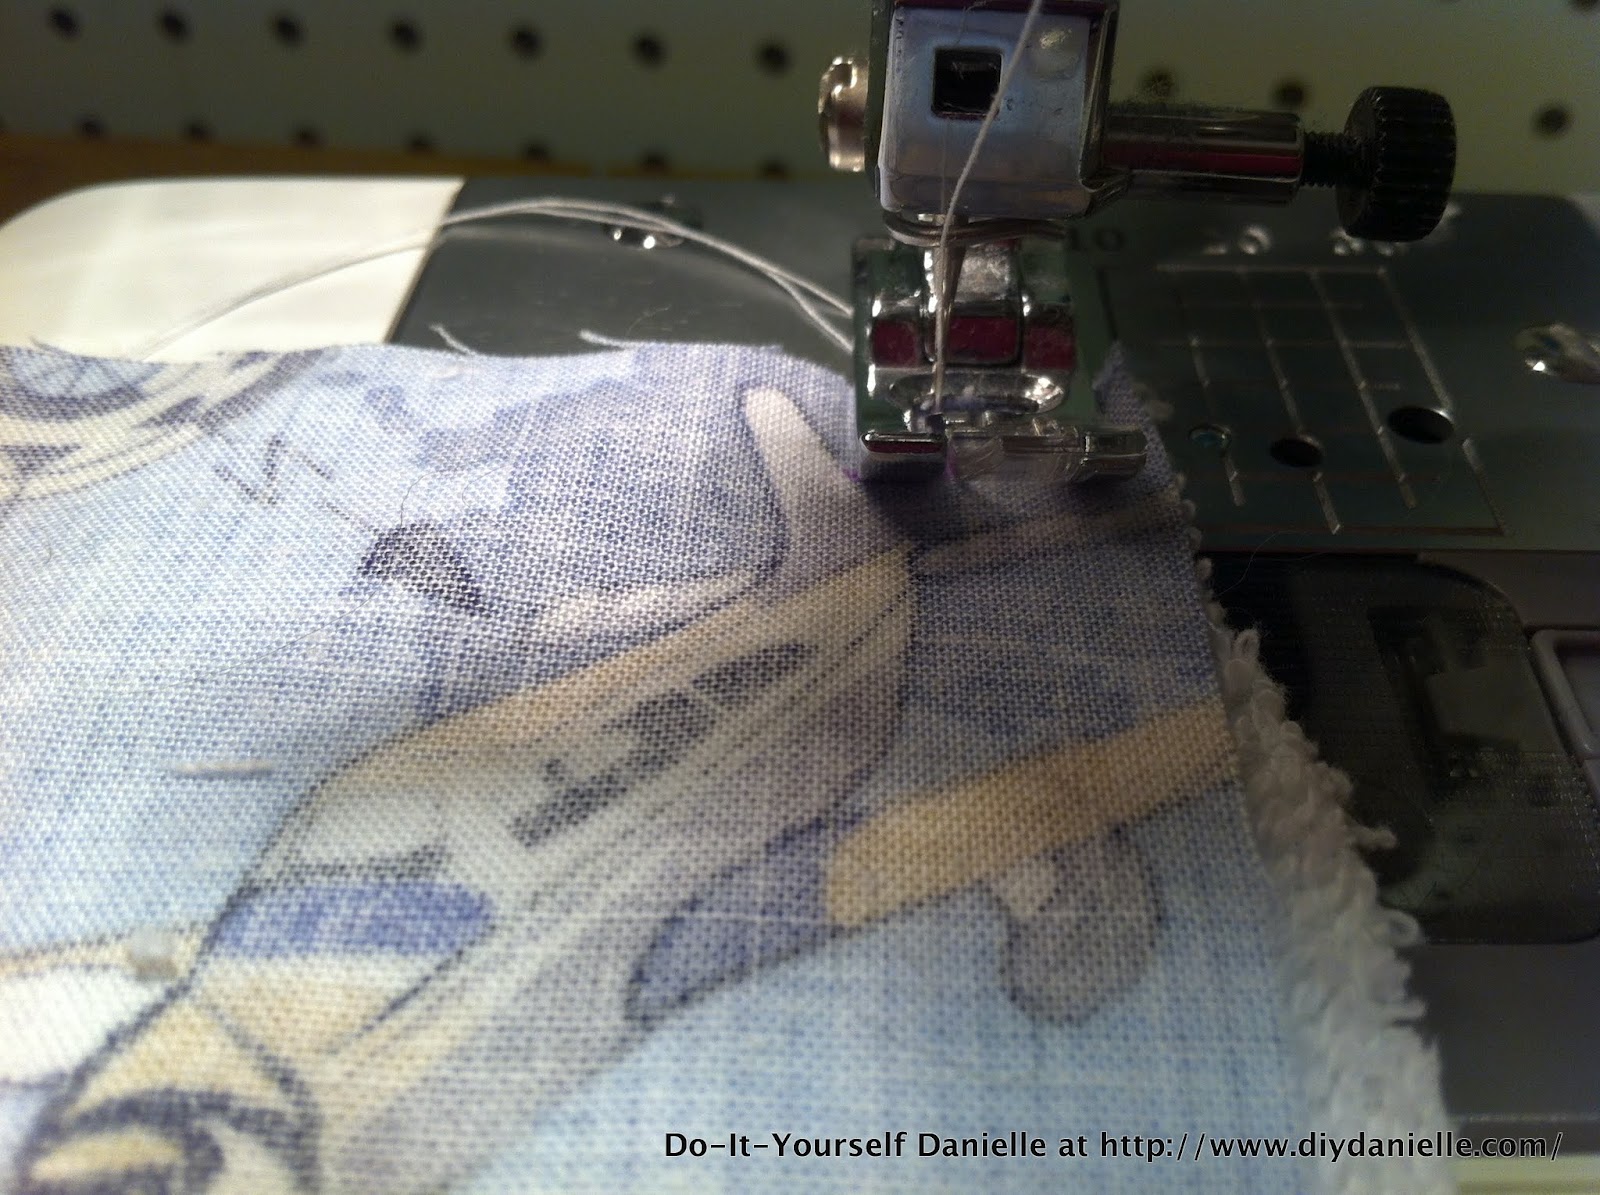
| Step 9: Topstitch all around the cover, closing up the opening. |
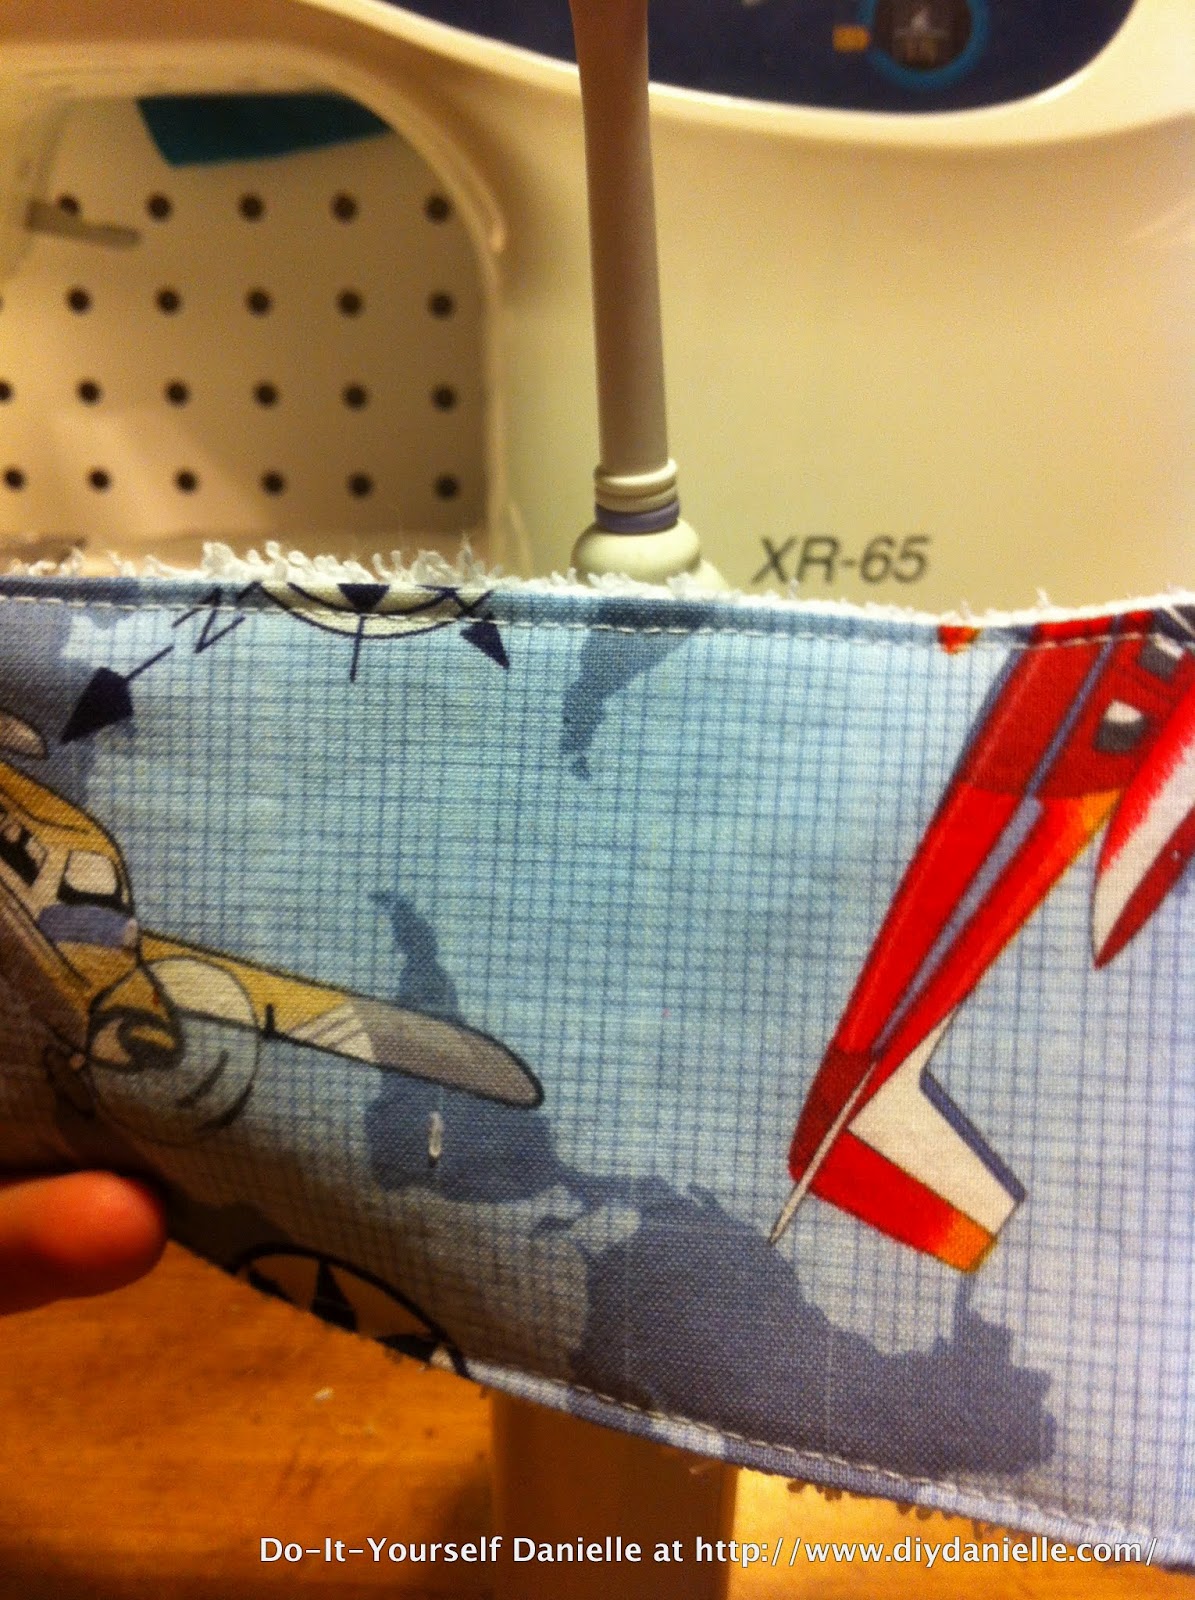
Step 10: Now I hold up my cover to the toothbrush that I’m going to use it on. It looks like it is the right size, but I need to make the top pointy to help keep water from just dripping down. I figured out a way to do this, THEN had to figure out what the technique was called. I really need sewing classes. I believe the technique is called “darts” (darting?). I think it’s used for clothes, but hey… It works.
As my description of this is probably going to suck, here’s a link to a blog that explains sewing darts.
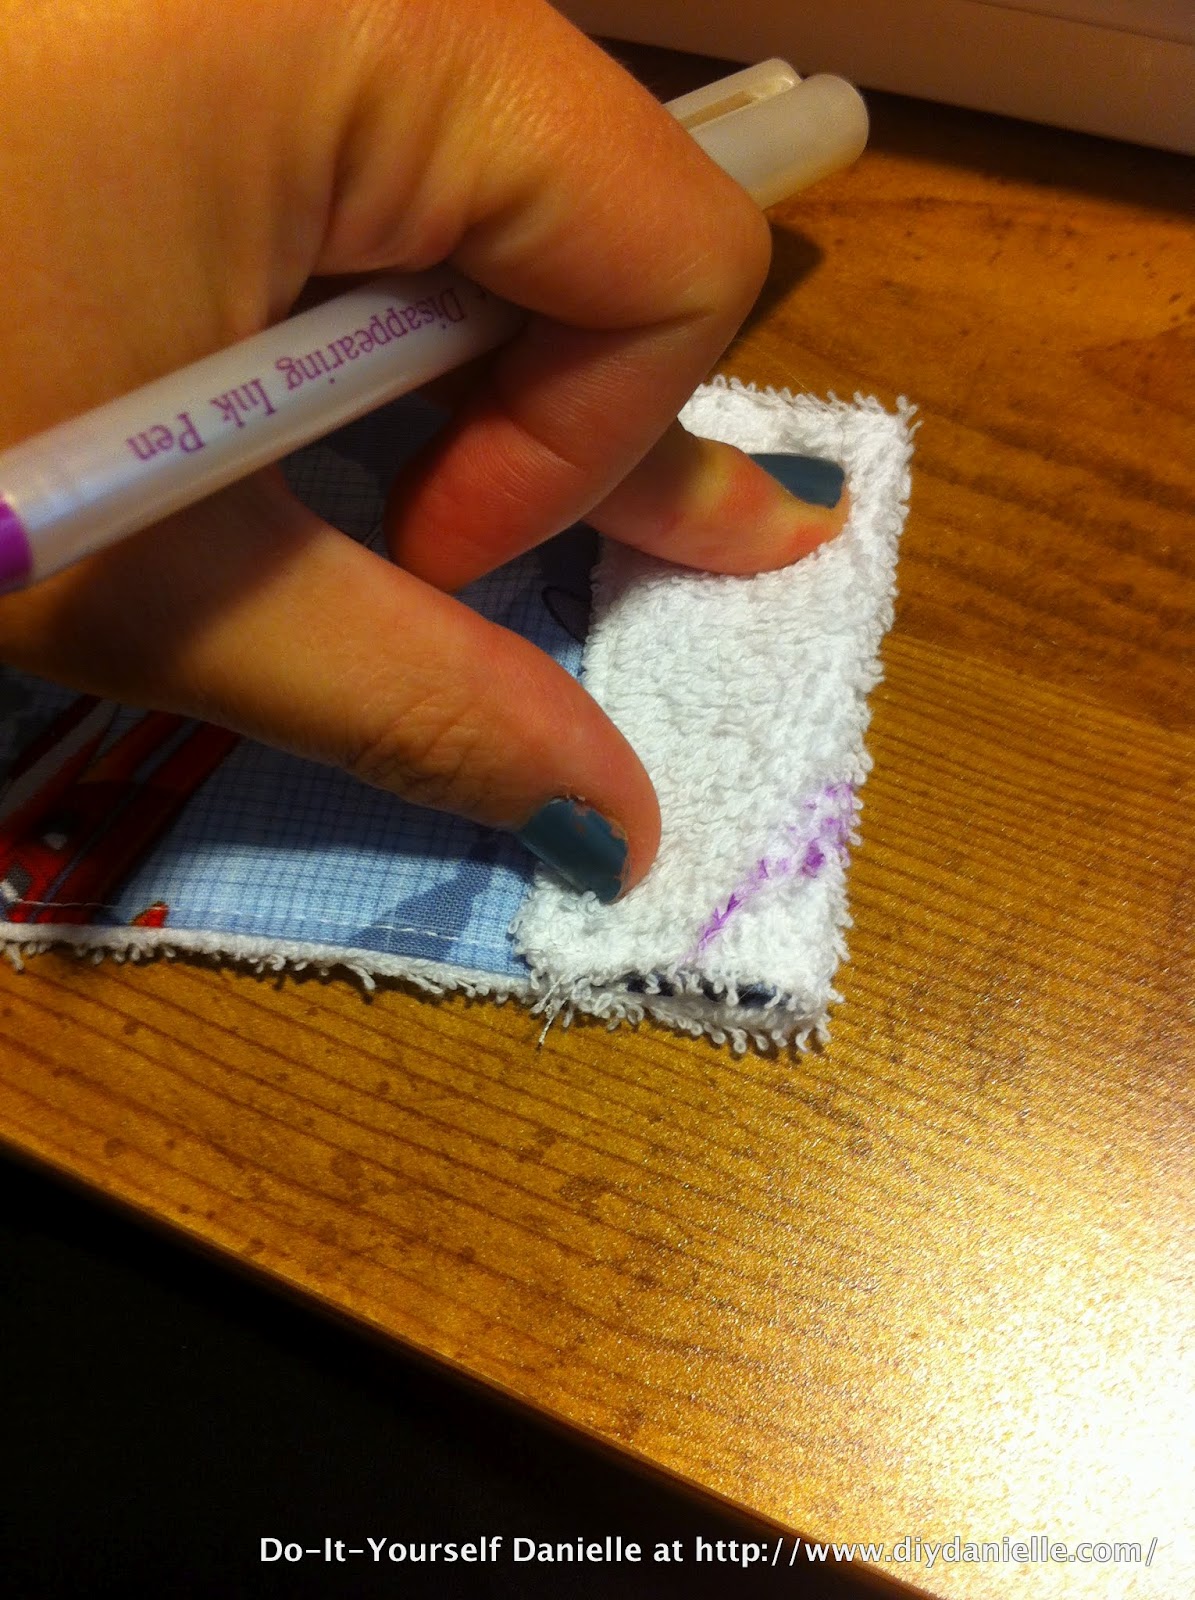
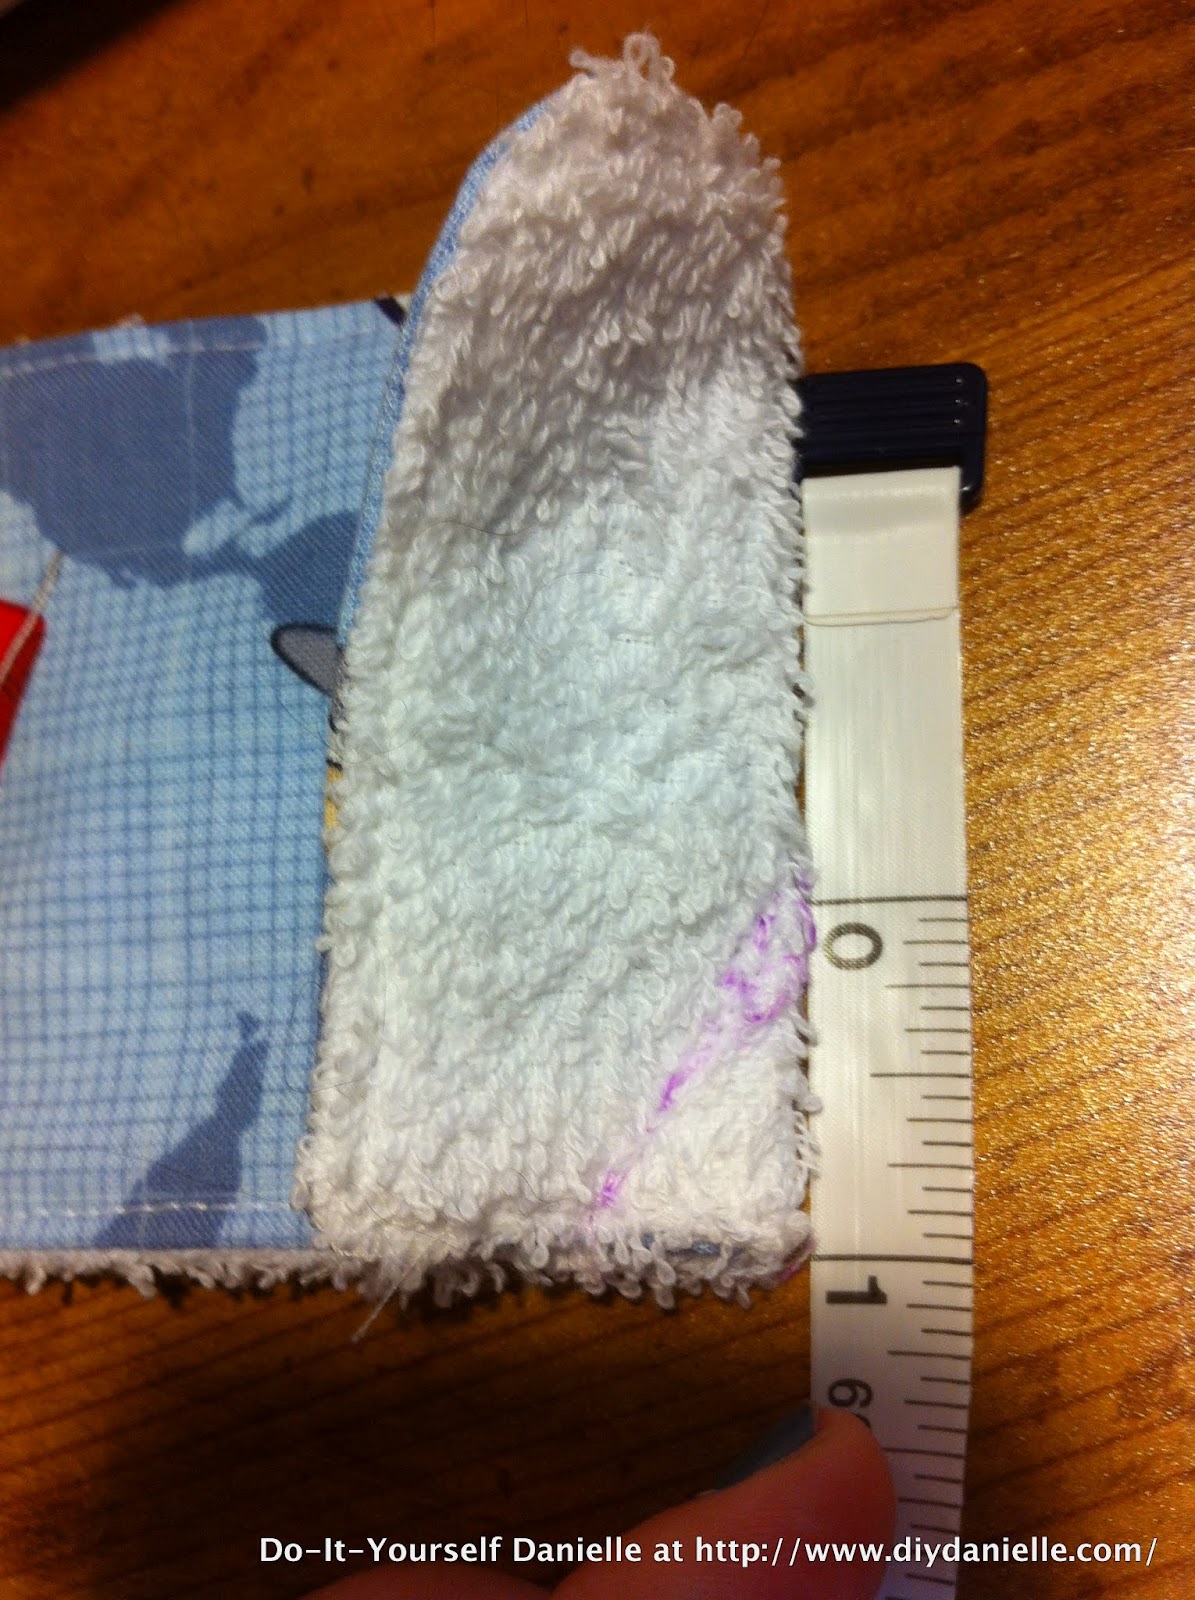
What you’re going to do for this is fold the cover right sides together and sew a diagonal line… I made a mark 1″ down and a little over a 1/2″ over and then connected the lines. Backstitch over each edge. This creates a little triangle on the inside of the cover.
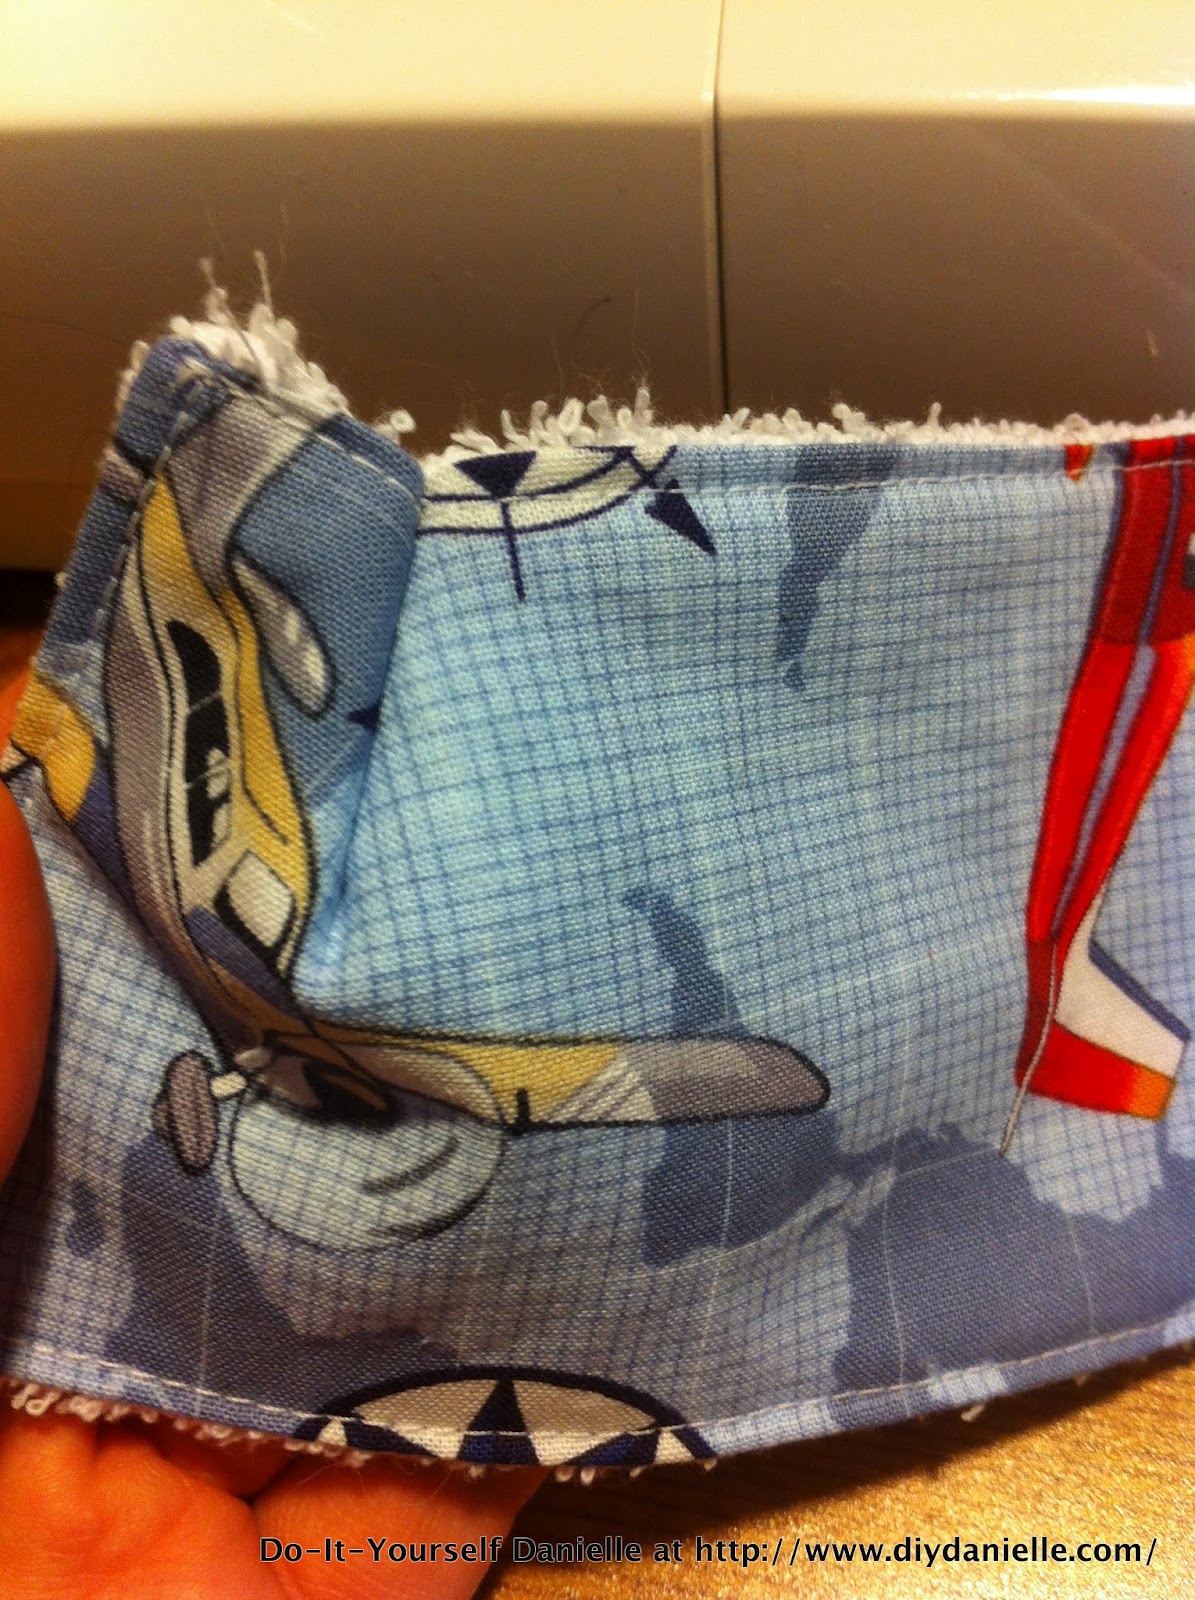 |
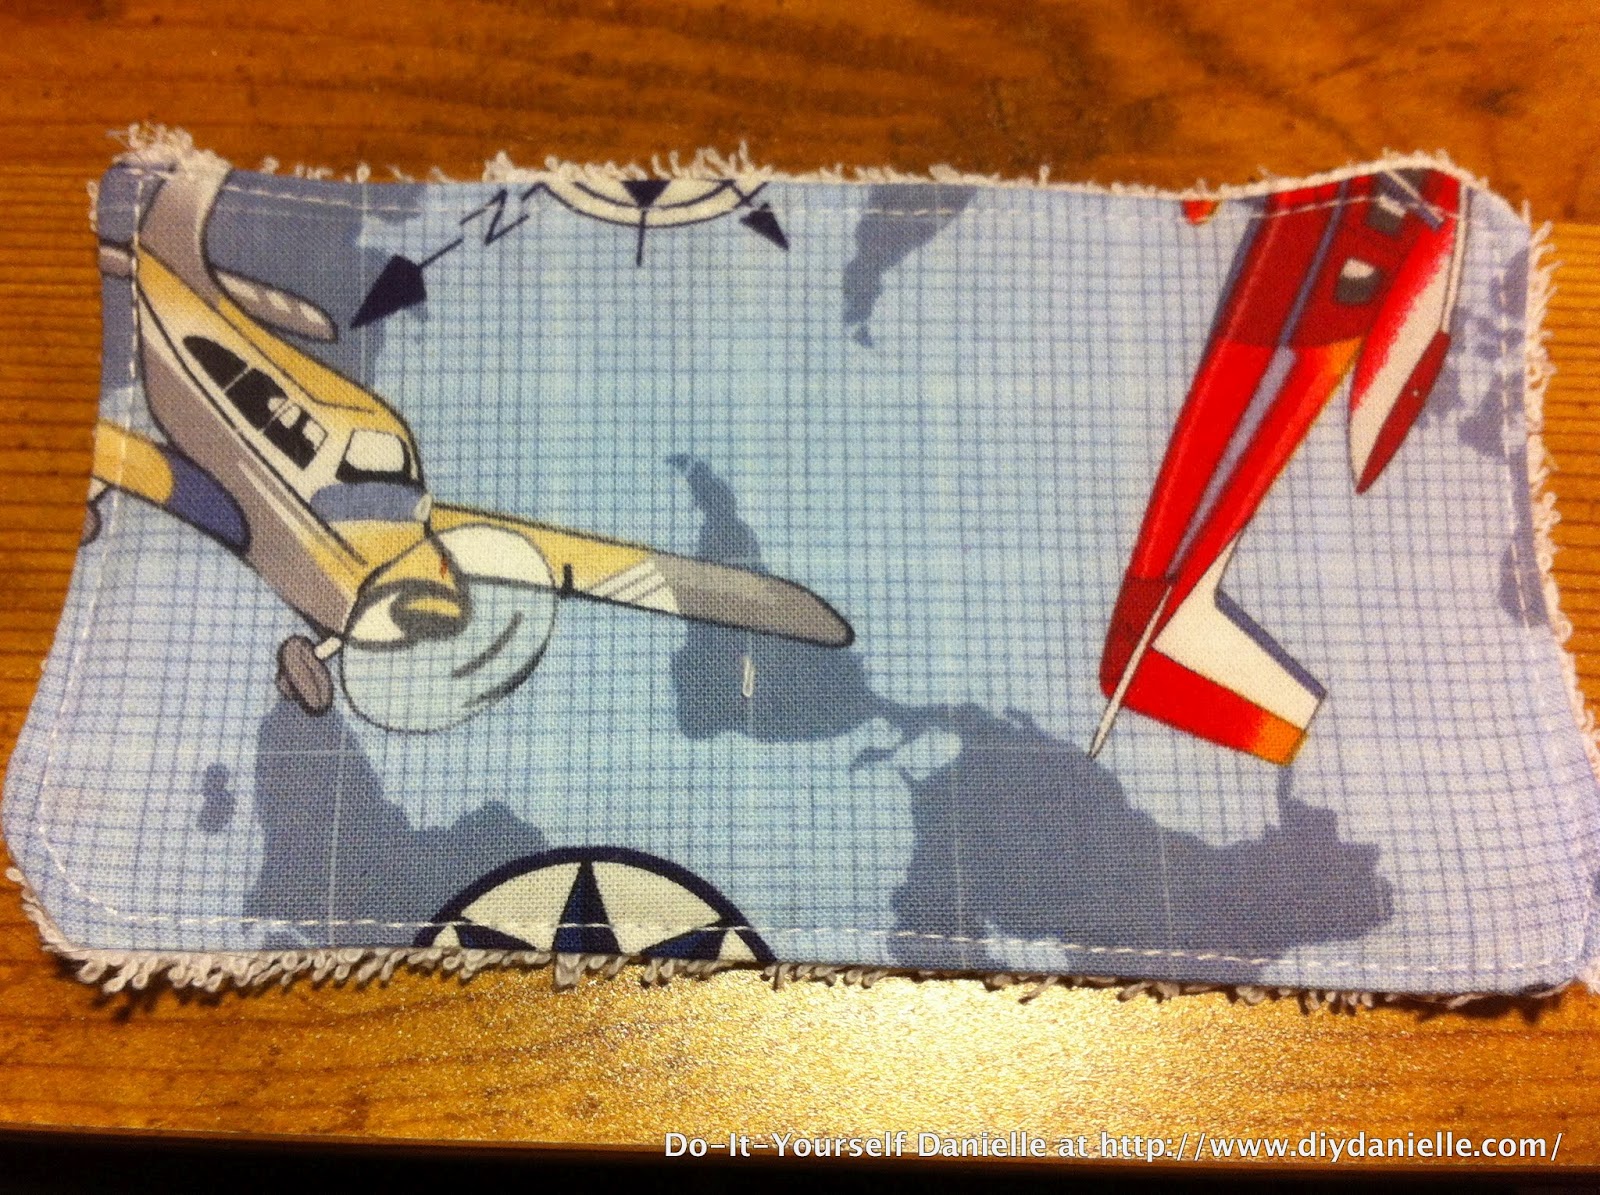
| This is how it looks on the outside, after you do this. |
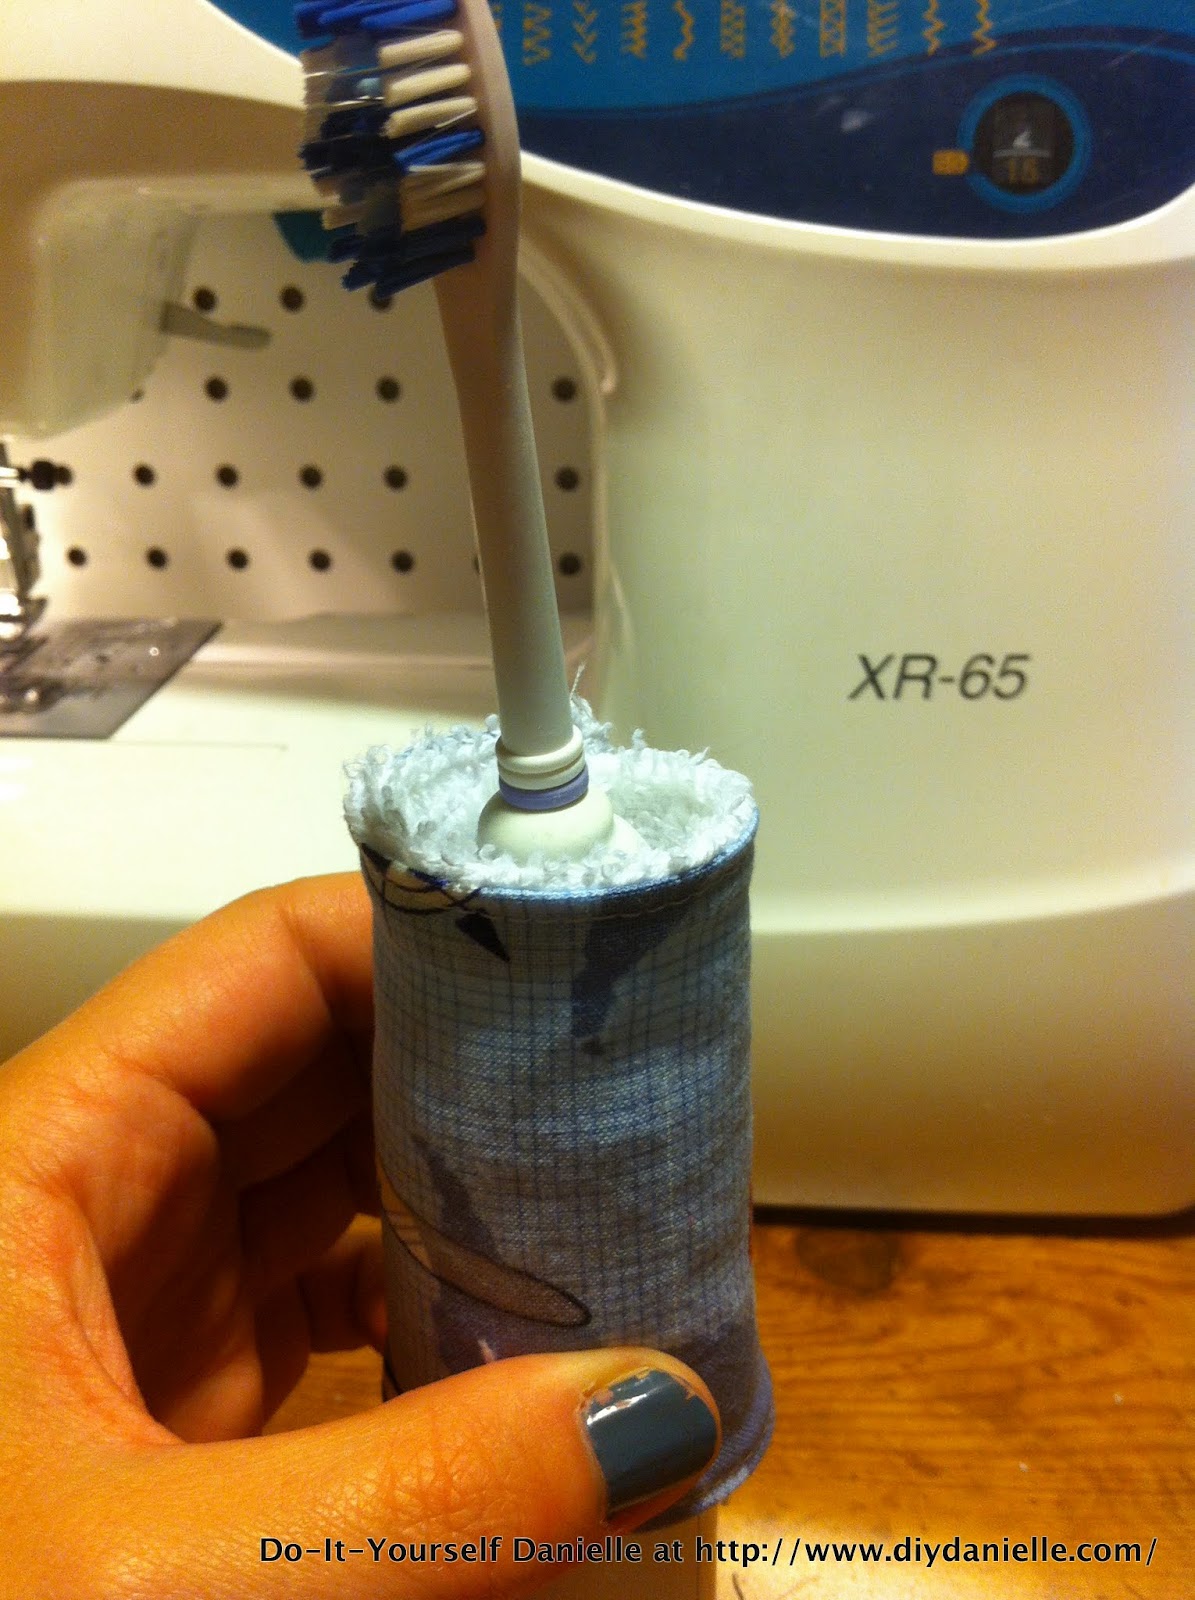
Now you can try it on you toothbrush again- it should be pointier now. You will need to do this 2-3 times around the top of your cover to make it the right size. I just keep testing it to see if it fits yet. It might be possible to transfer the dart info (as well as the snap placement) to the pattern, but I prefer to do them as I go because I want it to be as tight as possible when finished and I think we all have different levels of success sticking to the exact seam allowance all the way around (specifically, I have a low level of success at this).
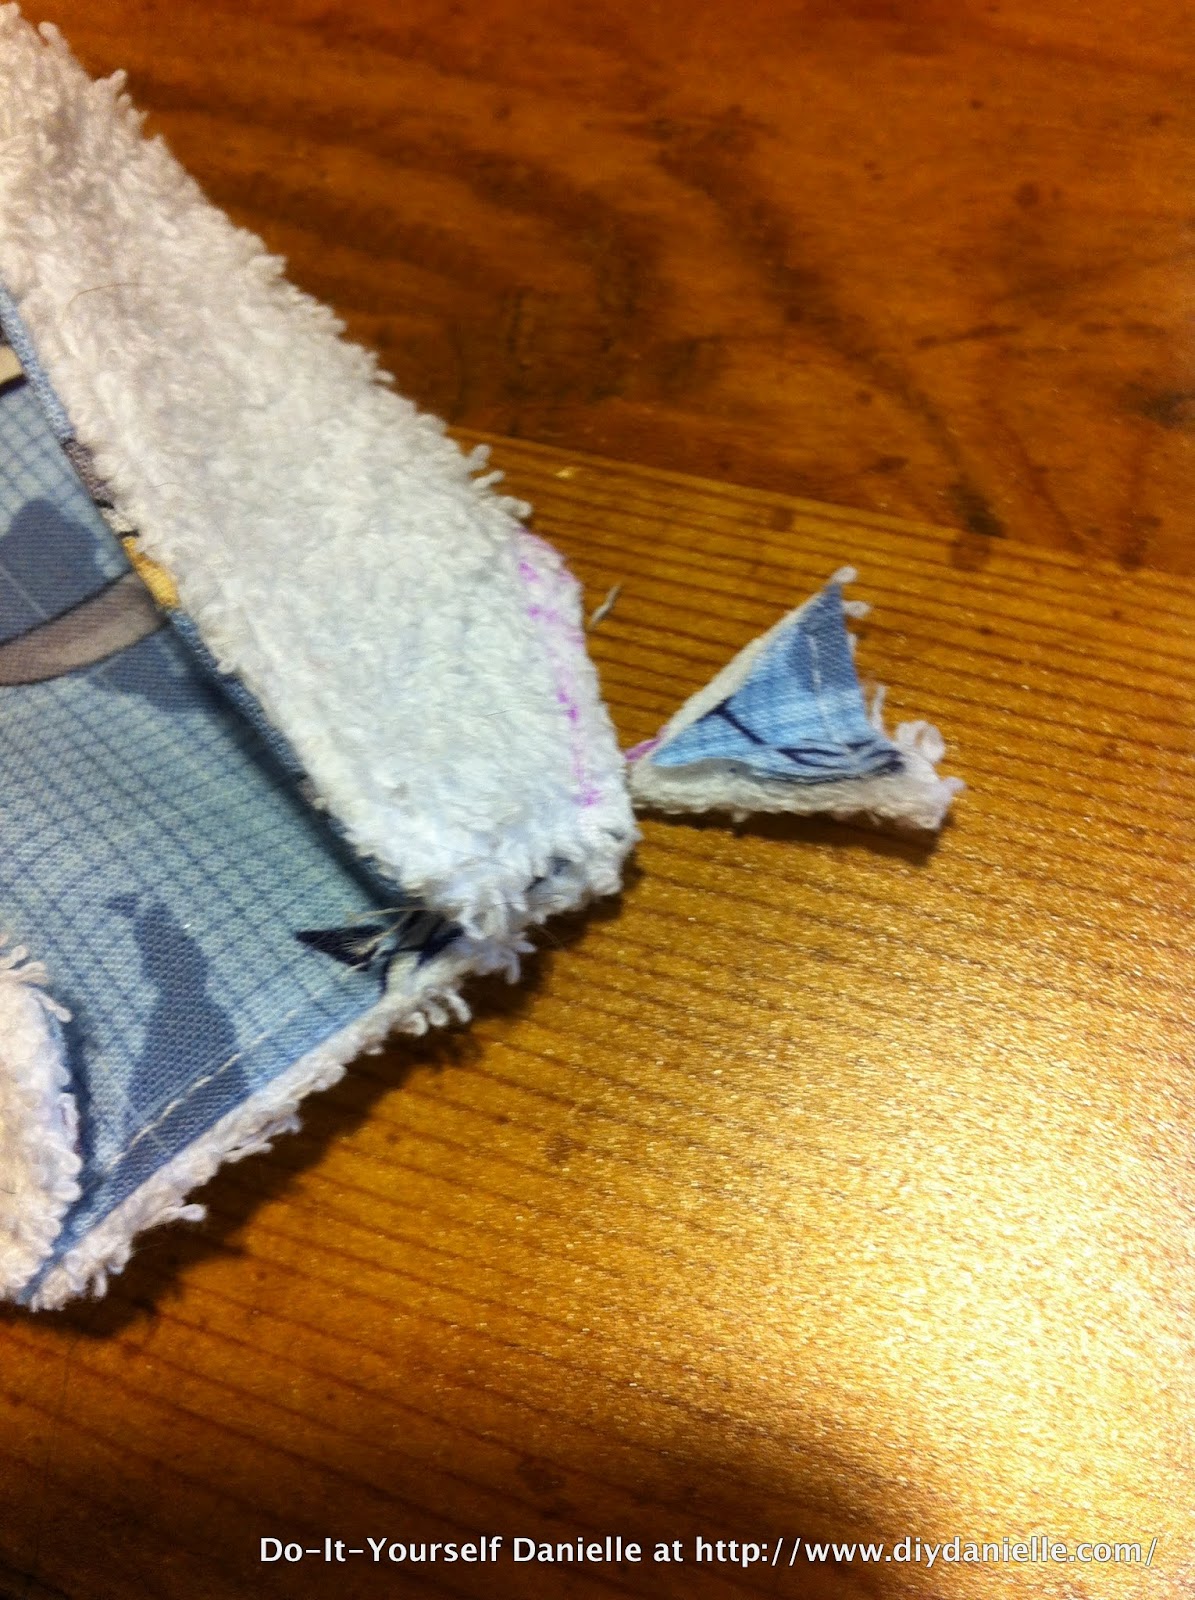 |
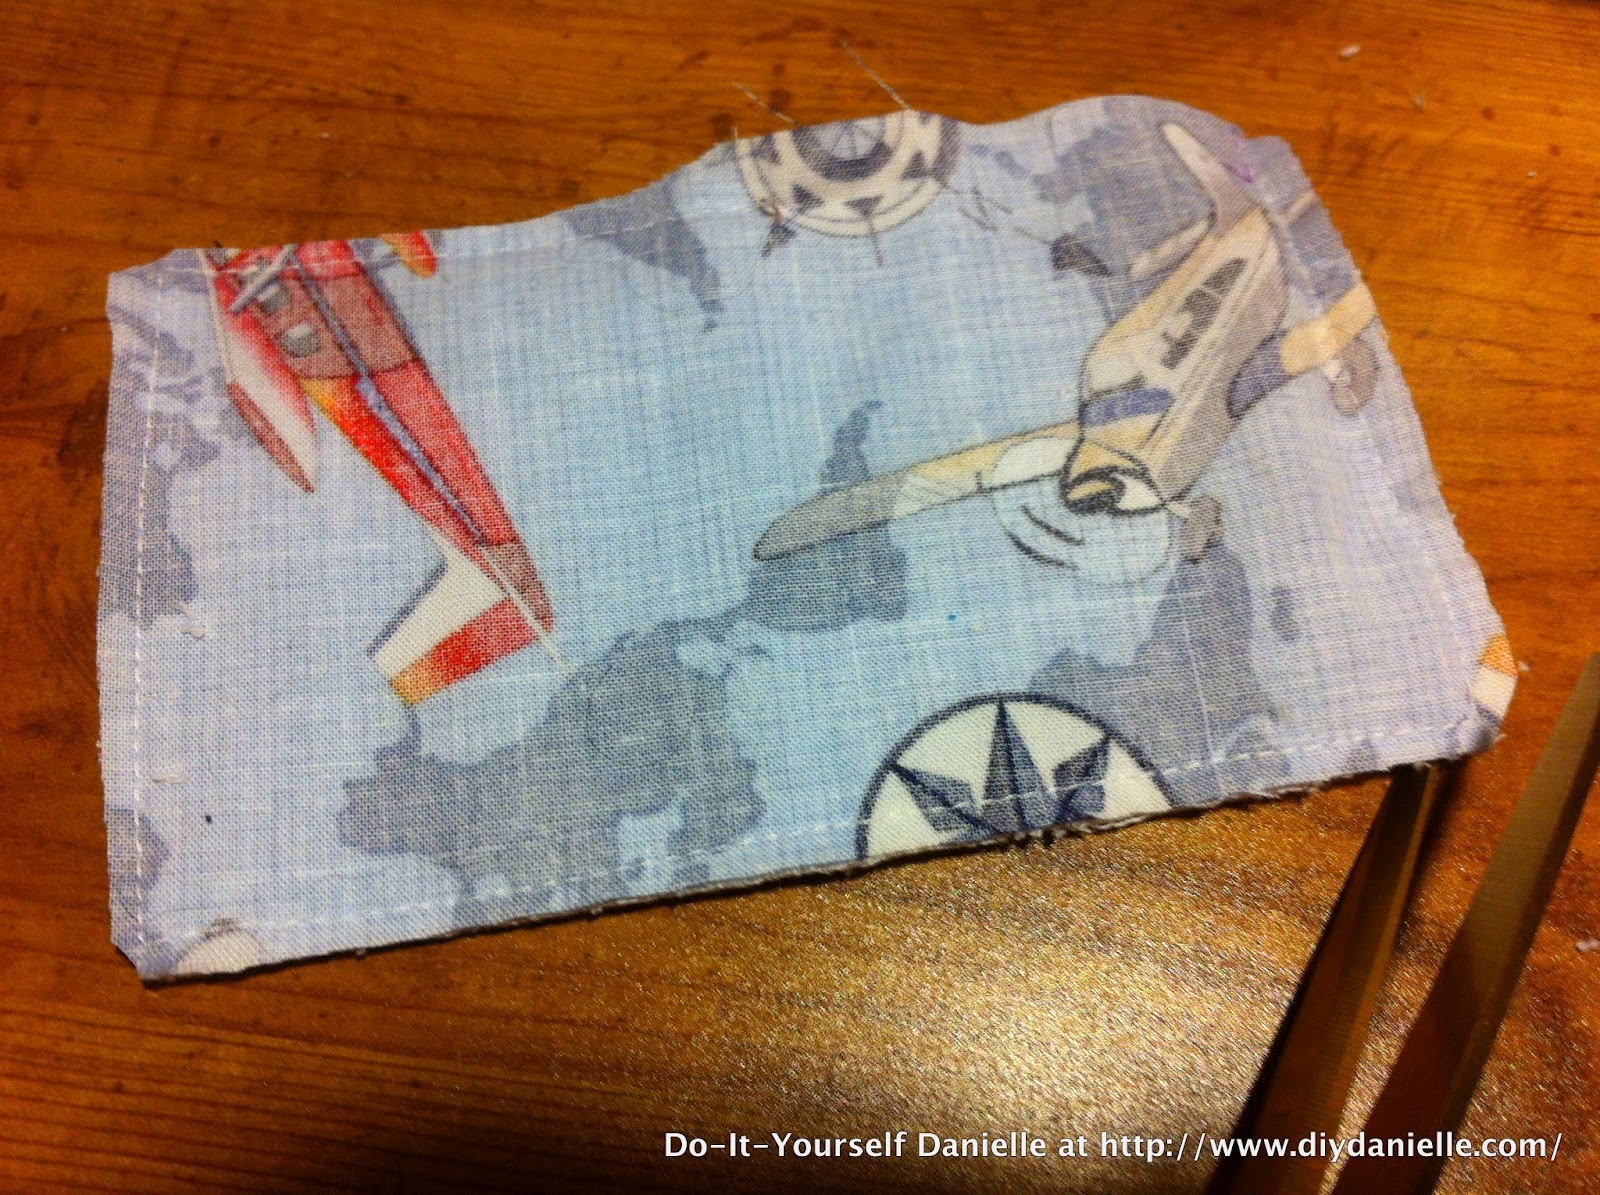
| At this point you could move on to the next step, but i didn’t like how it looked without trimming the extra triangle. I cut off the triangle to the outside of the stitching, then zigzagged the raw edge to keep it from fraying. |
Another option: One thing I tried was doing the darts first to each piece of material (matching darts exactly), then sewing right sides together, turning and top stitching. It works, but I was hoping for a nicer finished product (no raw edge)… I thought it didn’t look as nice though afterwards because the darts look more attractive if you don’t sew over them like you have to, doing it that way.
Step 11: You should have a mostly complete cover now that fits around the toothbrush. All you have to do now is add snaps. You’ll need 2 sets of snaps for the shorter cover and 3 sets for the longer one.
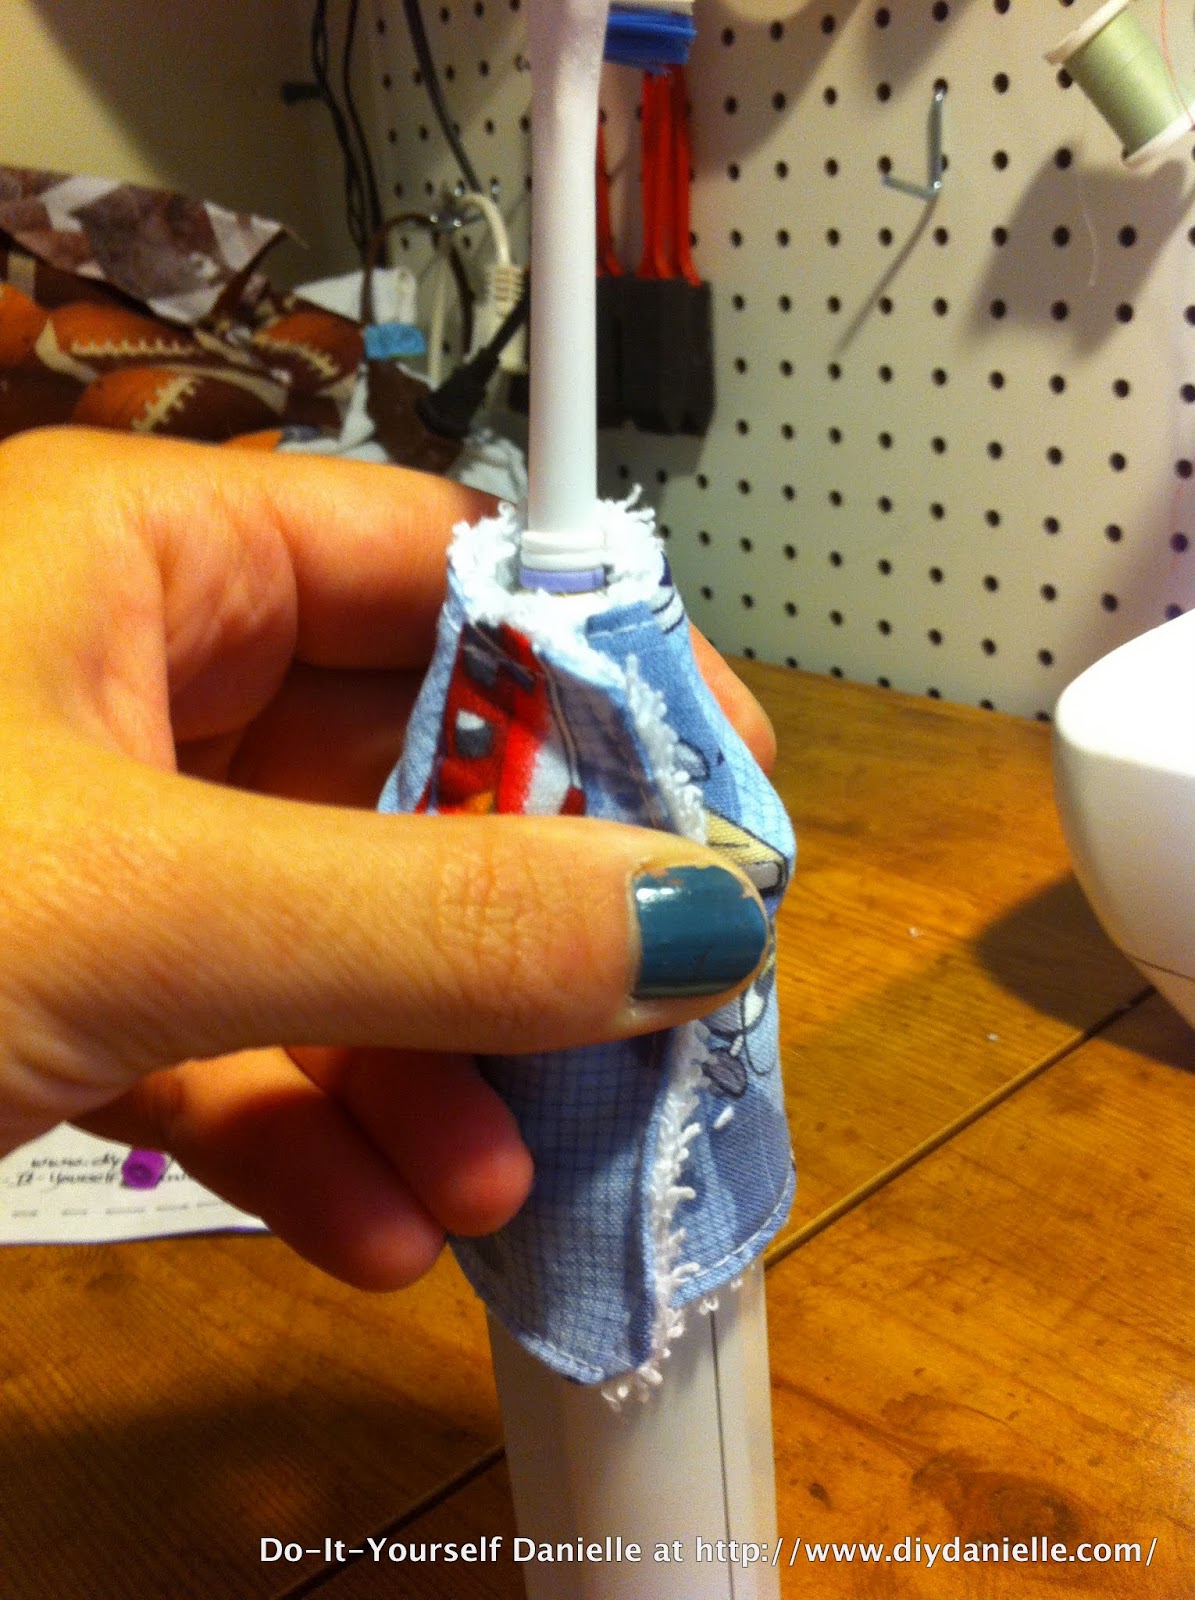

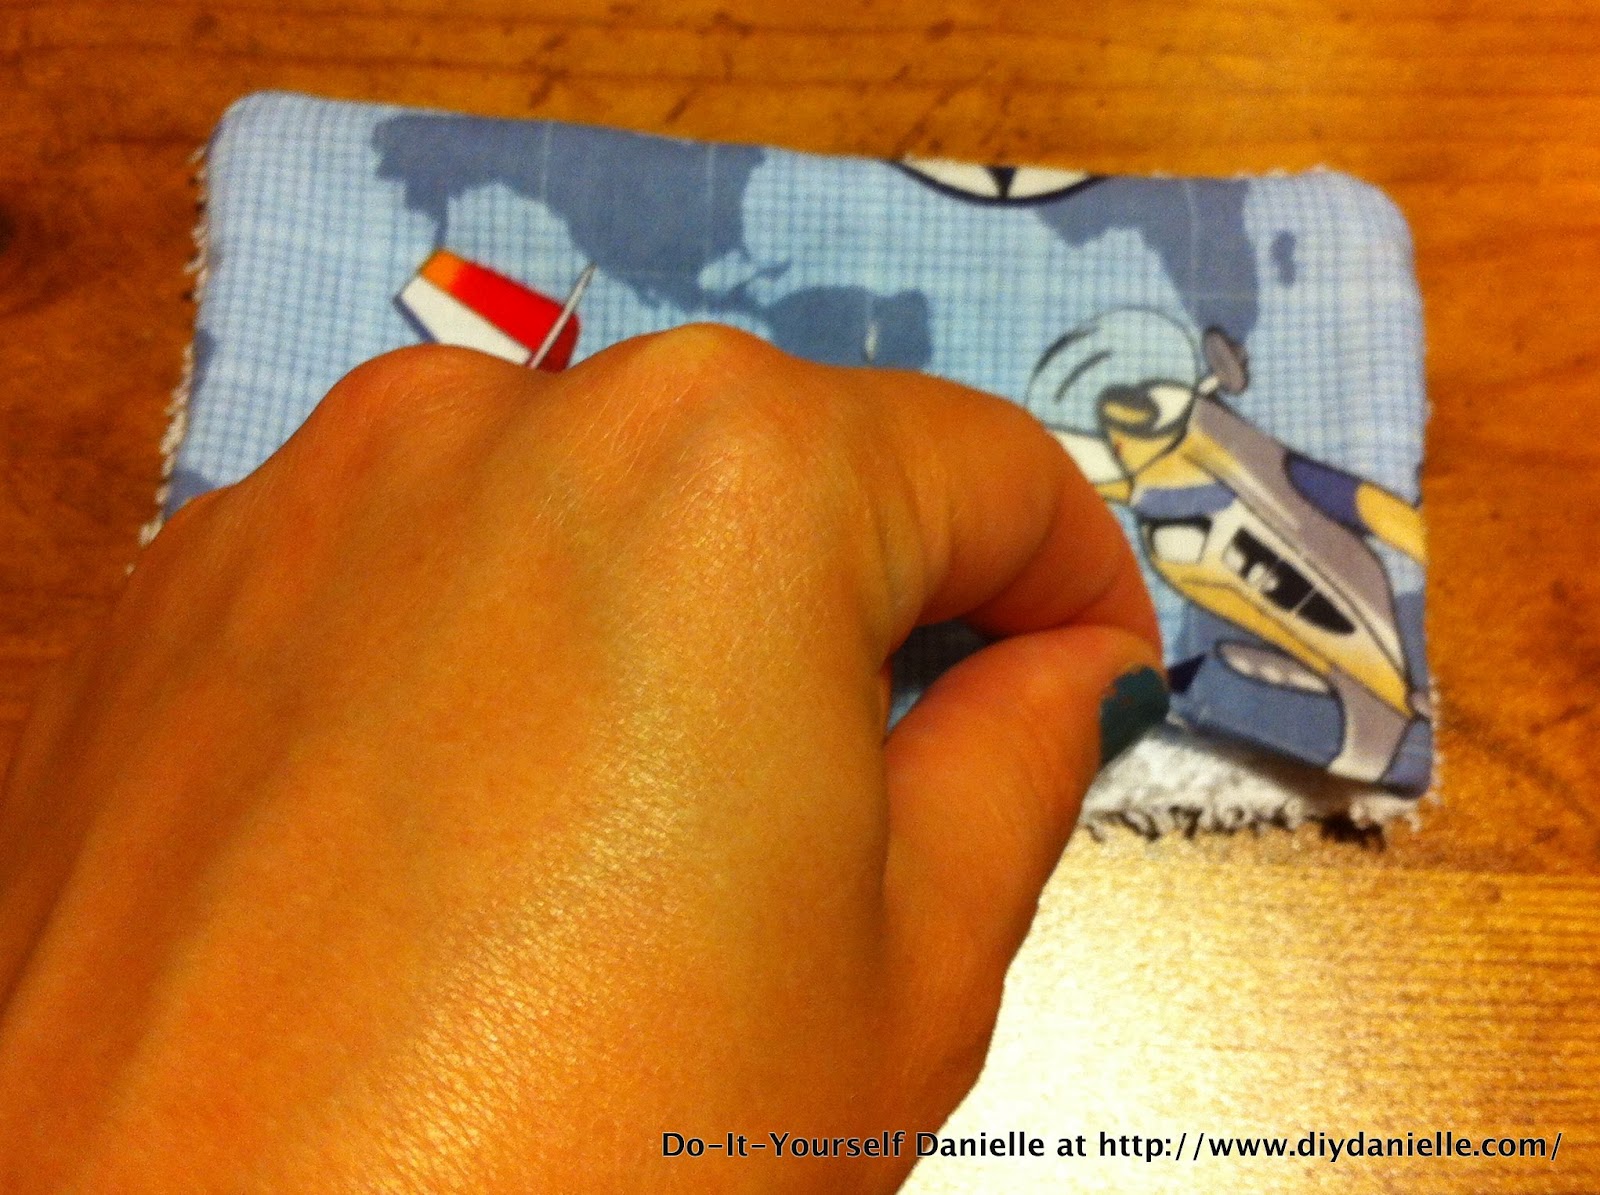
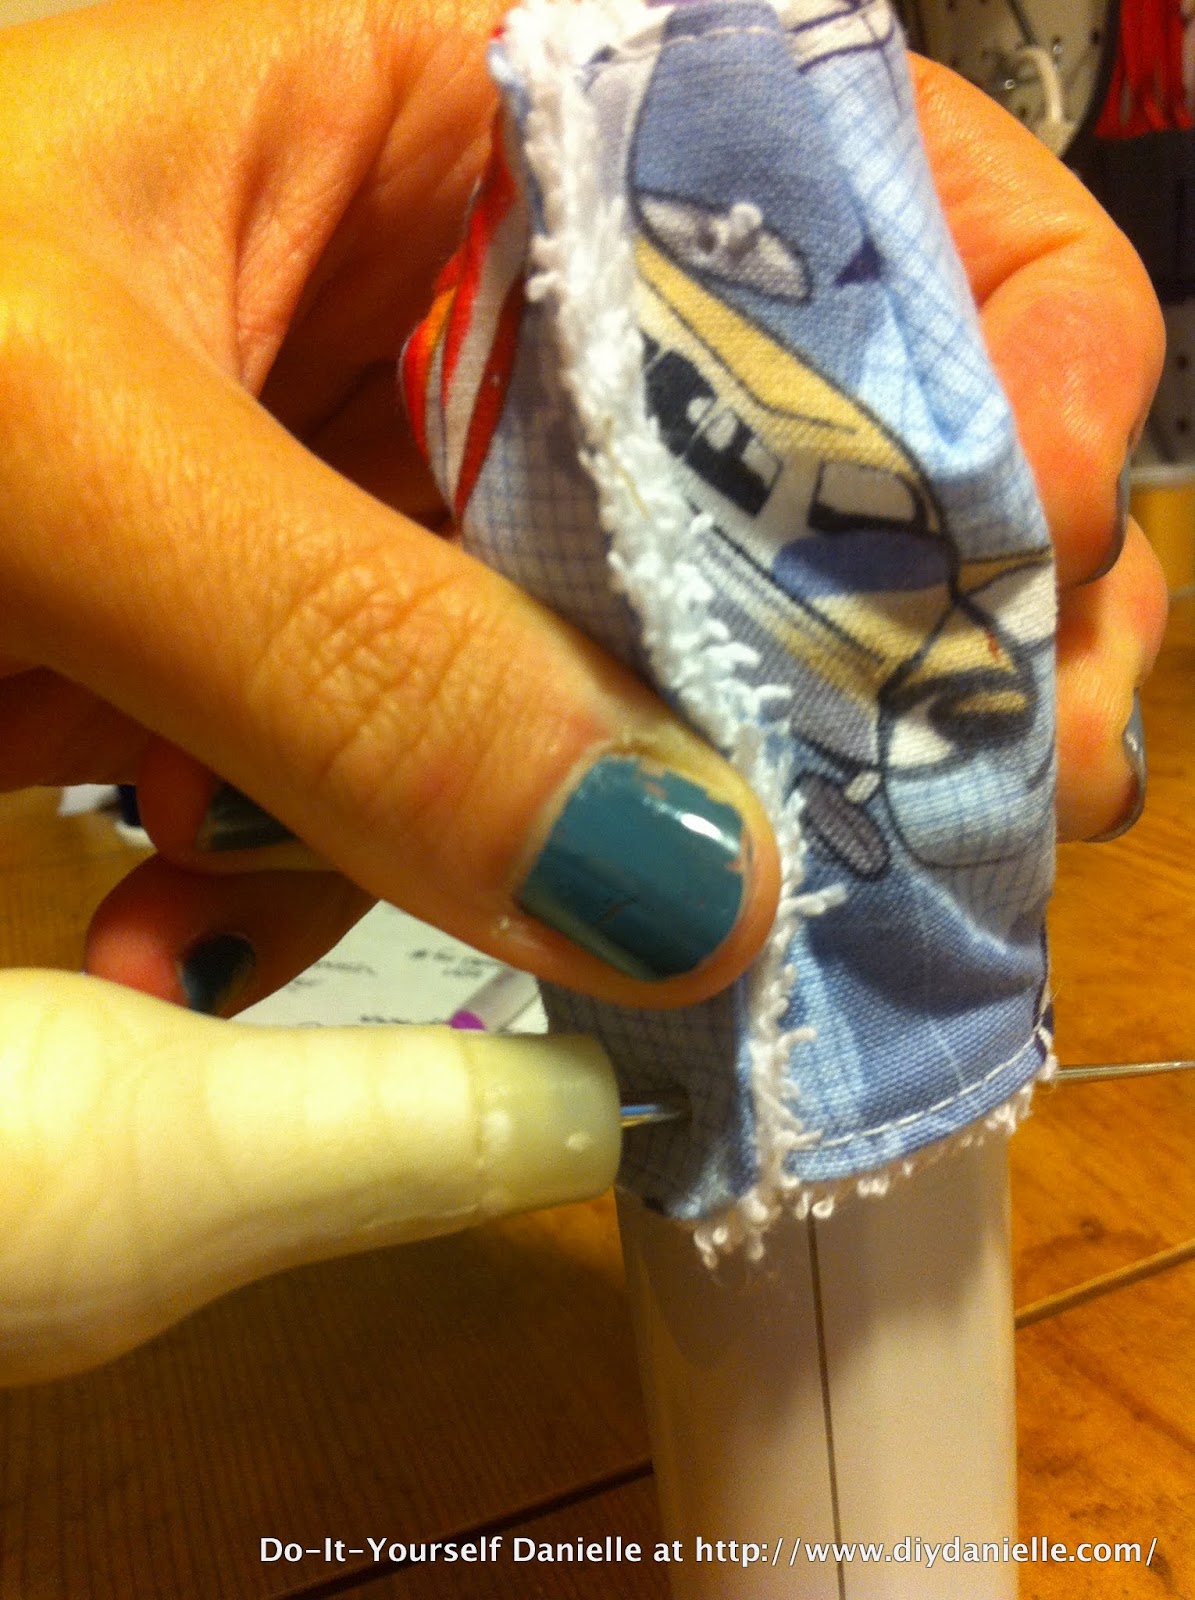
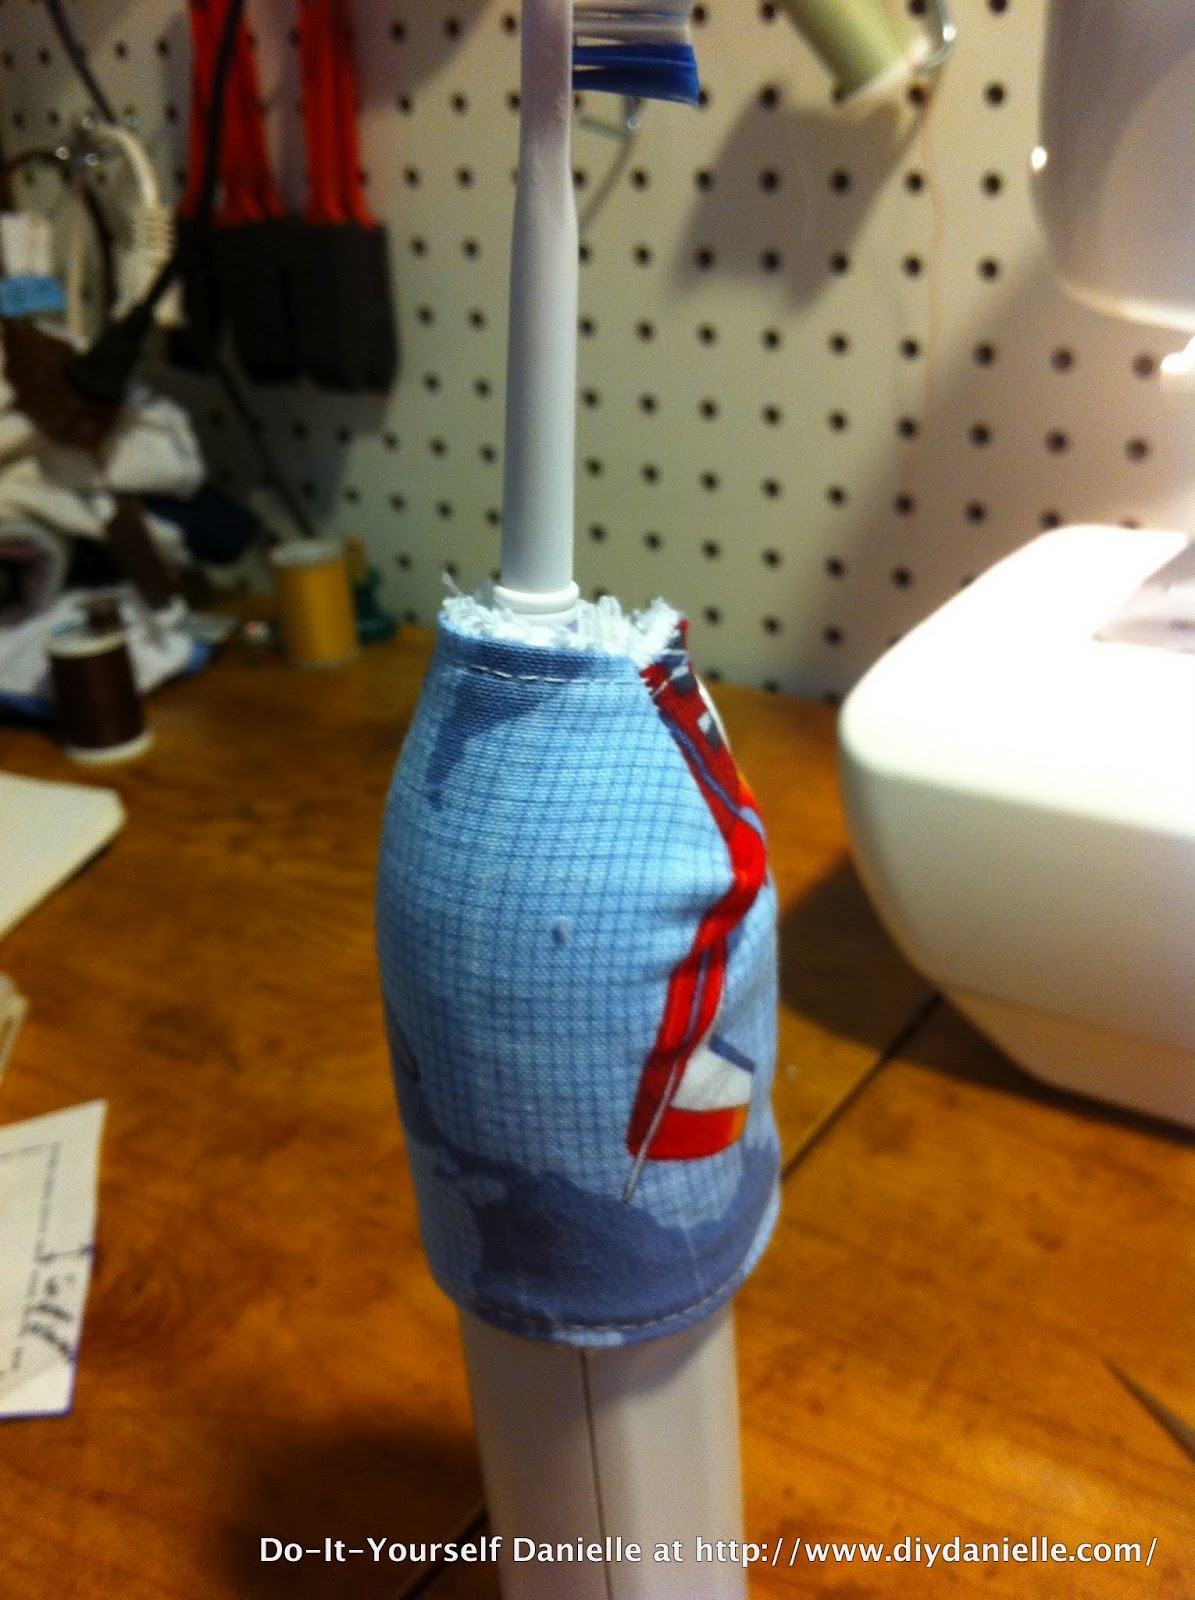
I pull my cover tight around the toothbrush…
I use my awl to poke holes through both layers of the cover (where it overlaps) where I want to add the closure. Don’t poke any important parts of your toothbrush. For a short cover, I add one at the top and one at the bottom. The longer covers have one in the middle as well. My goal when adding the snaps is to make sure that the cover is pulled as tight as it can go around the toothbrush as it’ll be less likely to slide around or let water inside.
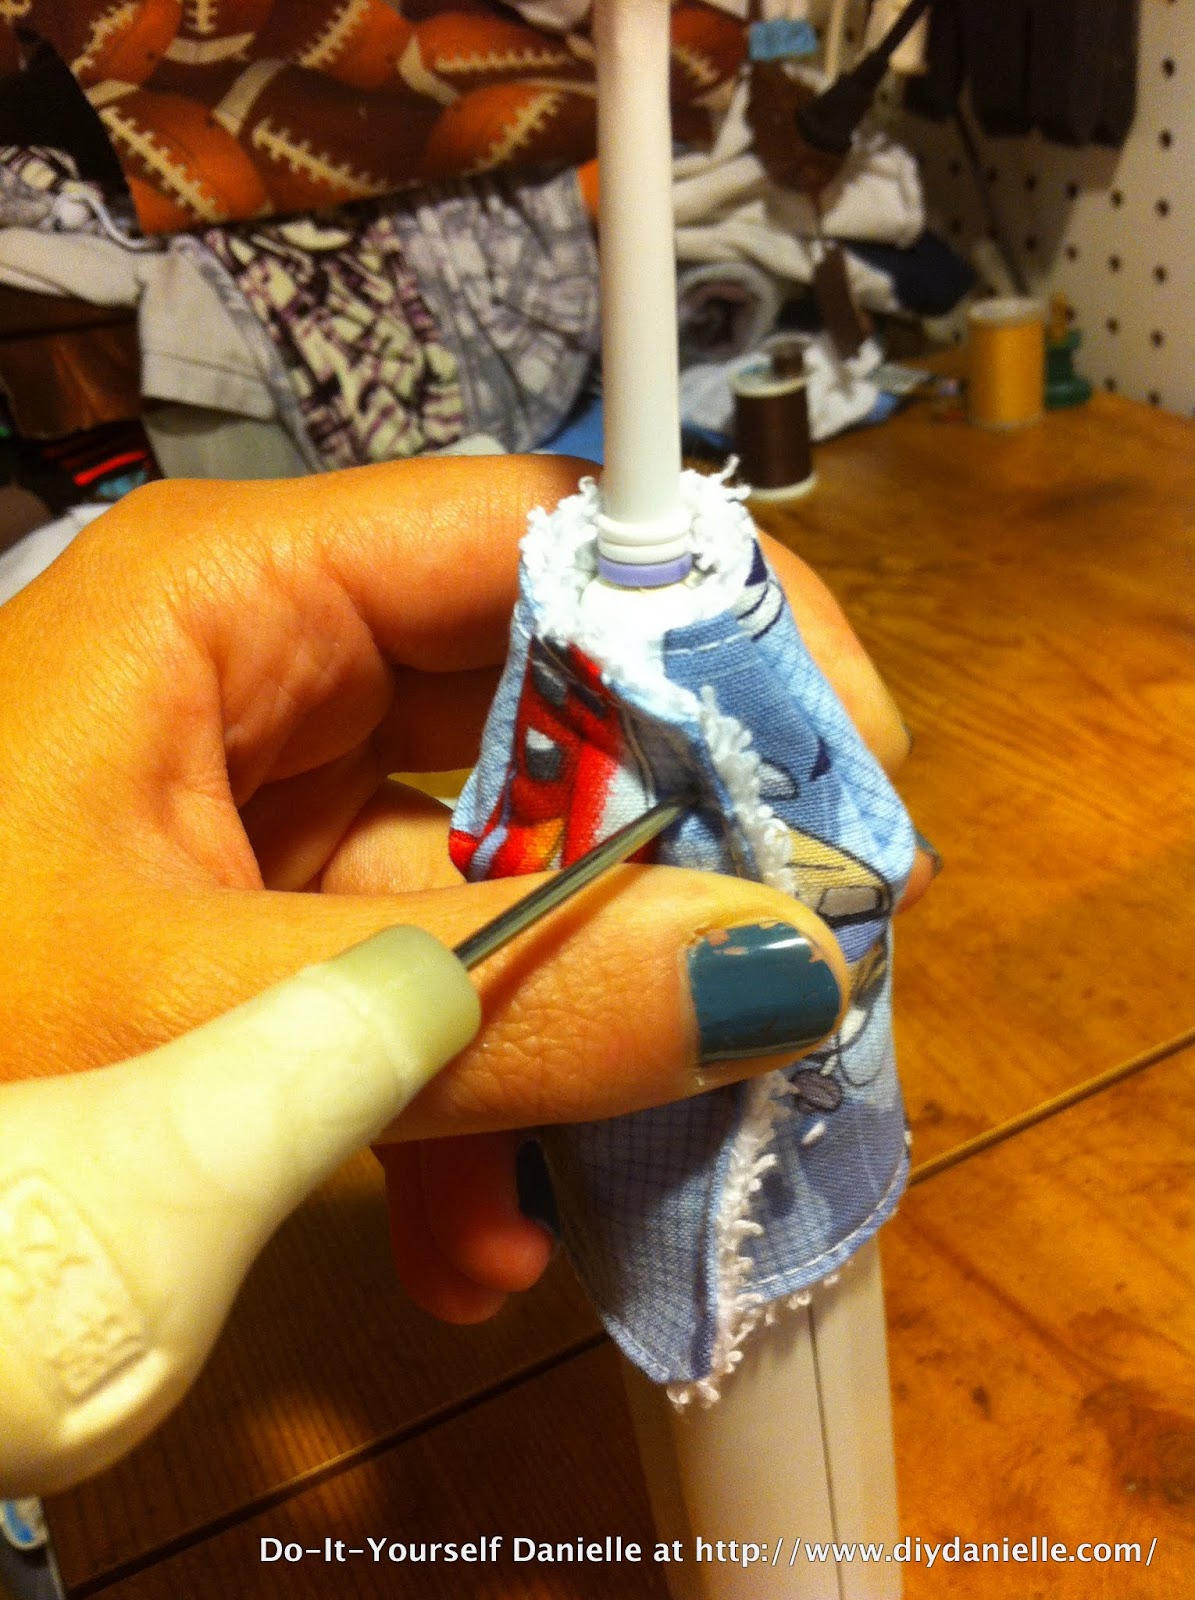
Once I make holes with the awl for each set of snaps, I take the cover off and add the snaps.
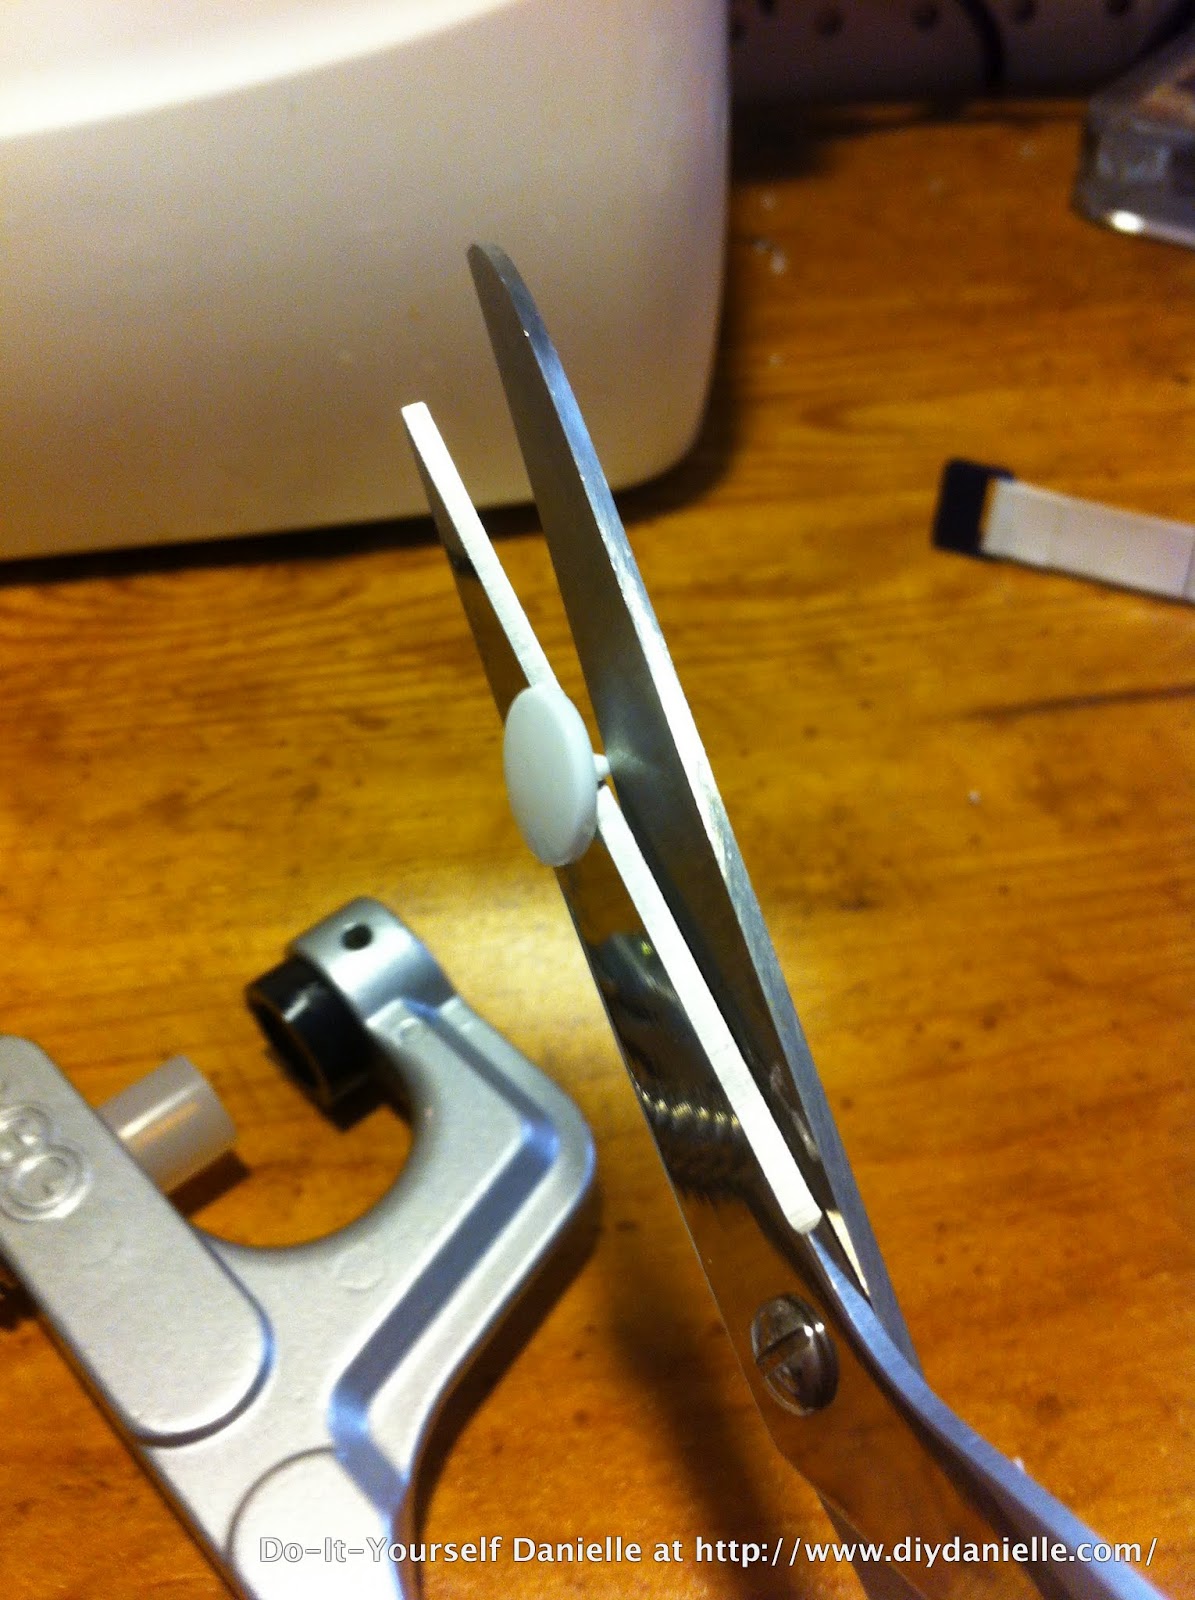 |
| I snip the prong on the snaps a little because otherwise I seem to have trouble snapping them together. Usually I do this while it’s through the fabric, just being careful to not snip the fabric too, but I couldn’t do that AND take the picture… |
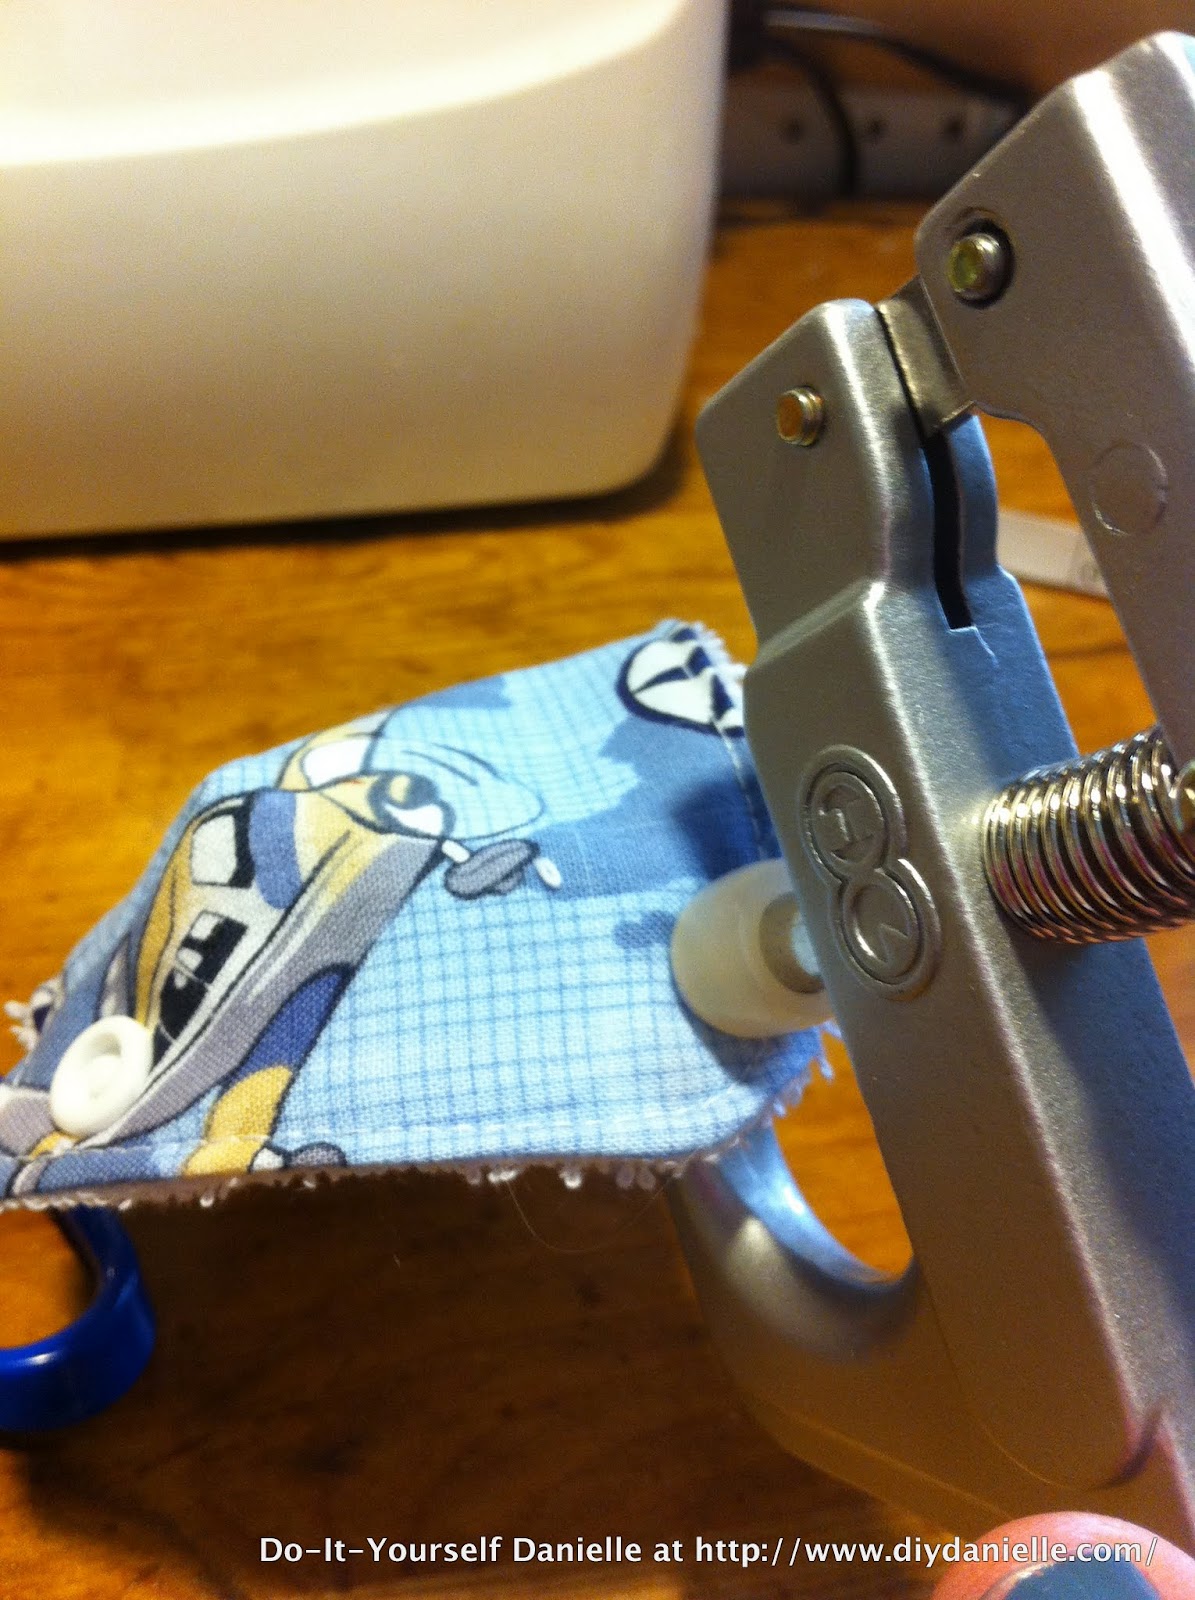
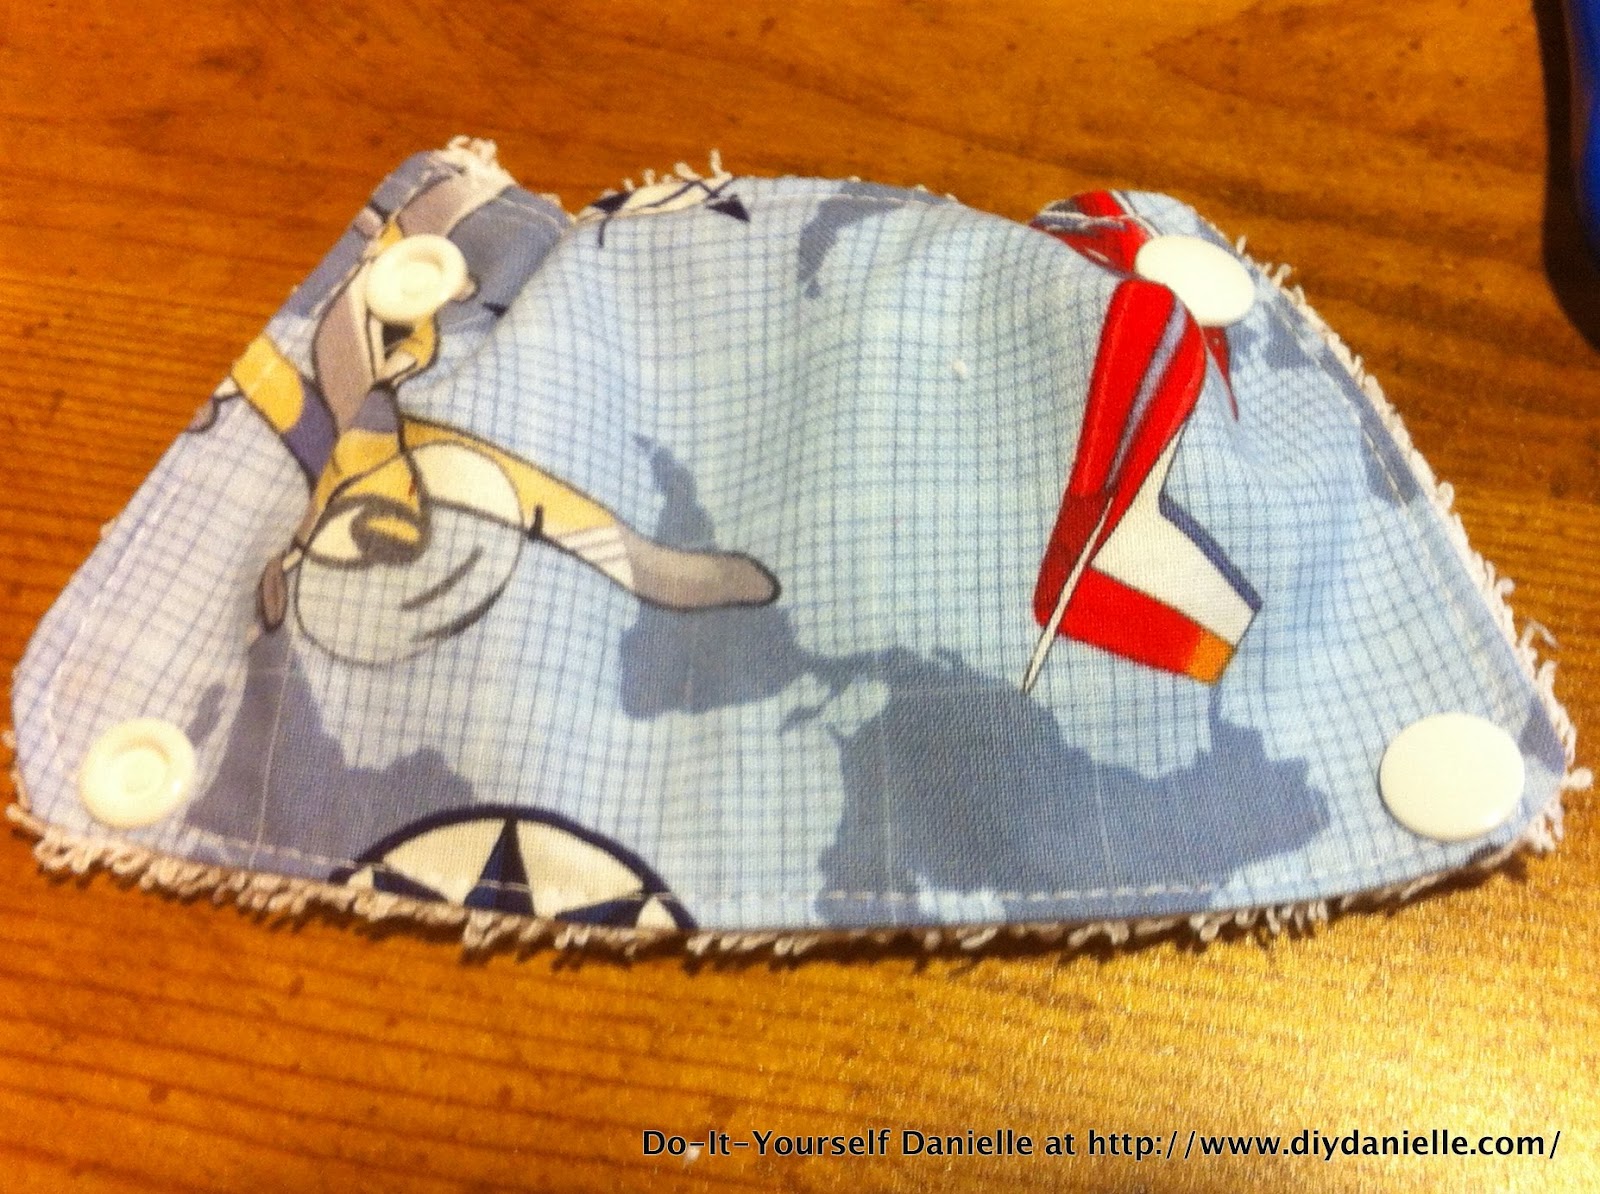

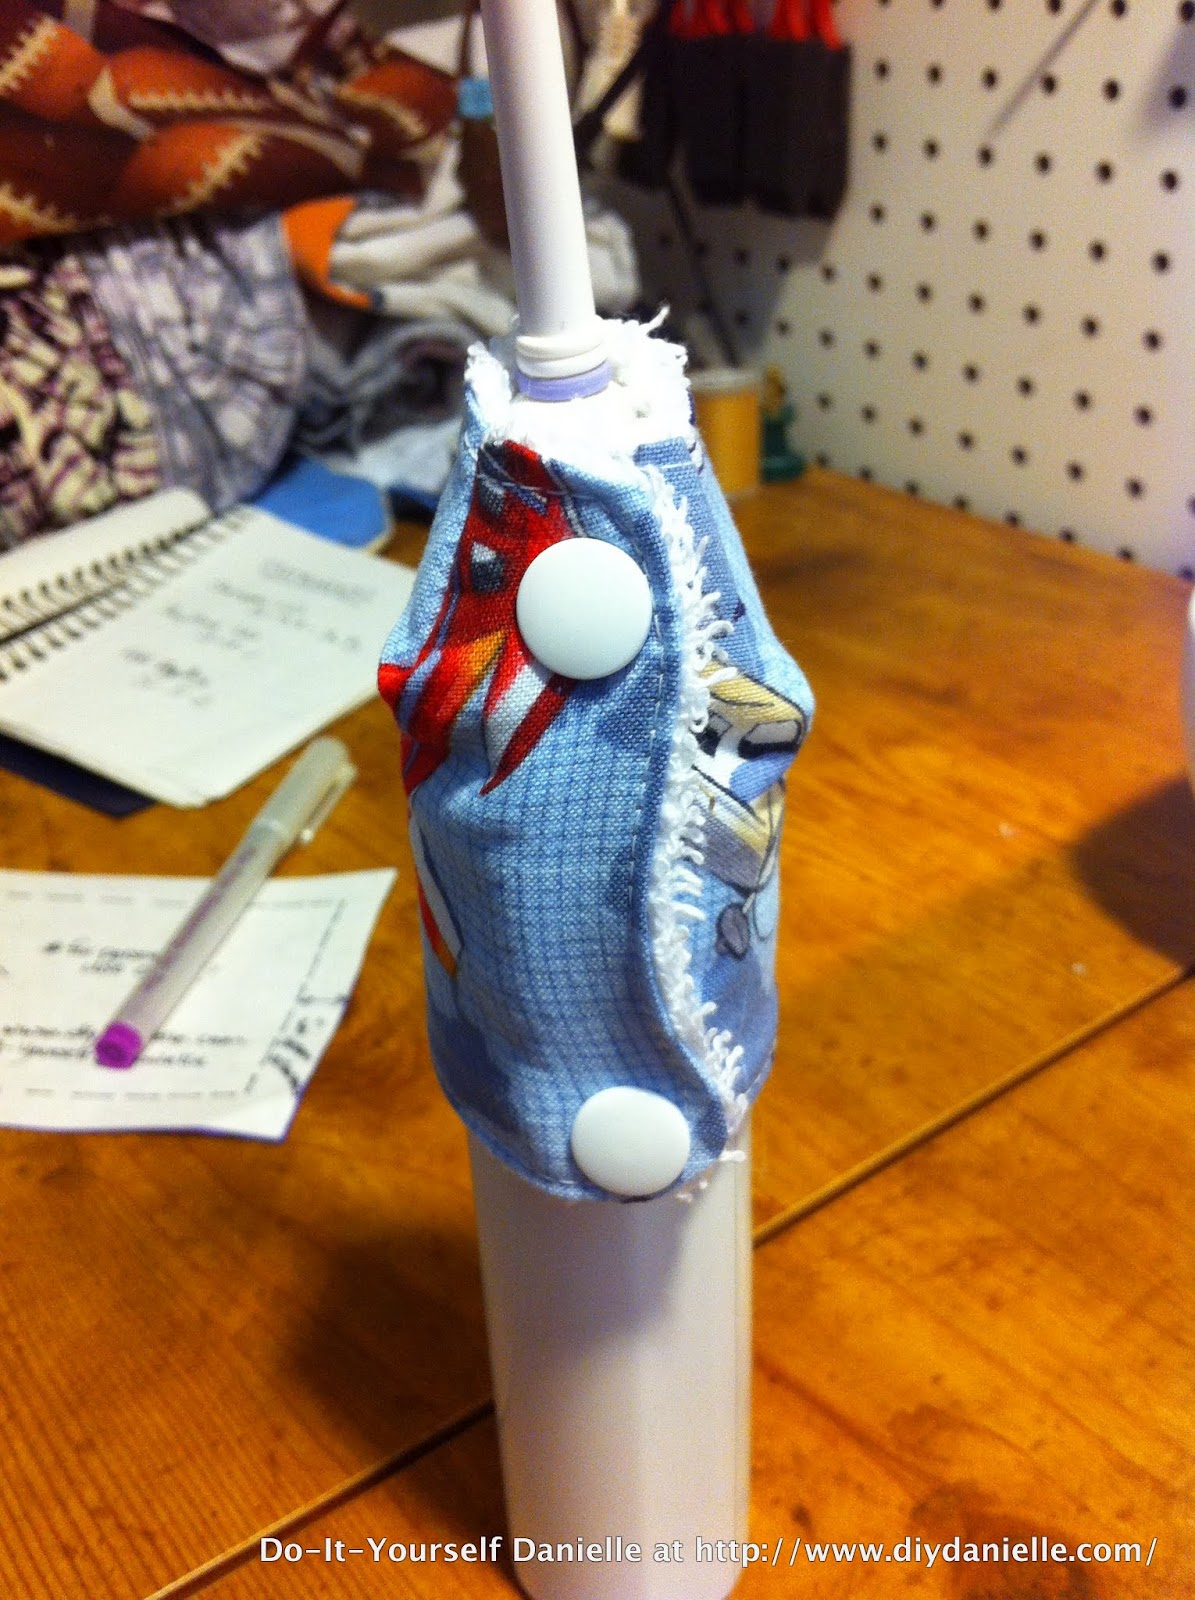

As you can see above, you want the two “male” studs on the inner fabric (both studs and sockets each attach to a cap) and two “female” sockets on the outer fabric.
Here is a FAQ on snaps that can be found on the kamsnaps website.
Now you can just snap your toothbrush cover on and enjoy! Thanks for reading!