
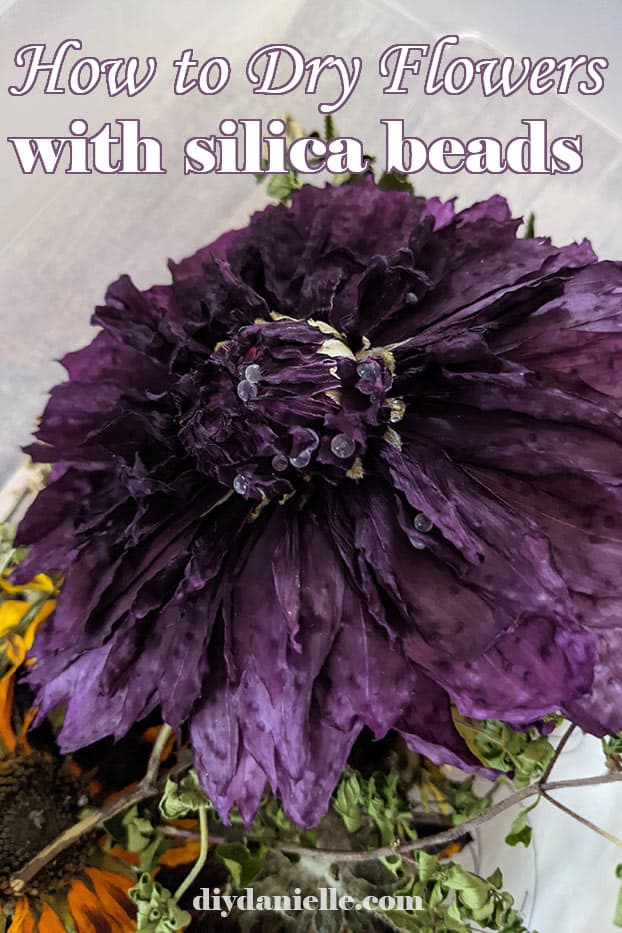
How to dry flowers with silica gel. Silica beads are a fast and easy way to preserve flowers for crafts!
This post may contain affiliate links which may earn me commissions should you click through them and take certain actions. As an affiliate for Amazon, Cricut, xTool, Home Depot, and other sites, I earn from qualifying purchases. Please DIY carefully. View my full legal disclosures here.
The majority of my content is generated by me, as are 99% of the photos and videos, but I utilize technology for titles, descriptions, video editing out all of my ums, and occasionally for text overlay on images.
Please read the whole post so you don’t miss any important information!
As I’ve expanded my gardens and included more flowers in my garden beds, I’ve really been keen to learn how to preserve flowers. We had some STUNNING flowers this year and I really wanted to keep some to use for resin crafts. I’ve seen some very pretty resin projects using flowers, but if you use the flowers while they’re still wet, they essentially burn up in the resin (something about the moisture, I believe?).
Benefits to Silica Gel vs. Dry Pressing Flowers
Drying in silica gel is a great option if you want the flower to retain its original shape. I find it’s easier to dry larger flowers with it and it’s less hassle than trying to flatten a larger flower, such as a sunflower.
The gel beads can be a pain though. They tend to get stuck in the dry flowers and usually shake loose when I’m moving the flowers to store.
I really love the look of dry pressed flowers. They don’t take a lot of work to press, particularly if they’re smaller flowers, and they have a unique look to the finished product. But I haven’t been able to successfully dry big flowers this way.
Where to Buy Silica Gel for Drying Flowers?
You can buy silica gel on Amazon or at your local craft store (Joann’s doesn’t seem to carry it though). You can also save the silica gel packets that you get when you buy sneakers and other items… tear the packs open and use them!
How to Dry Flowers in Silica Gel
Supplies
- Silica Gel
- A Shoe Box
- Fresh, Dry Flowers
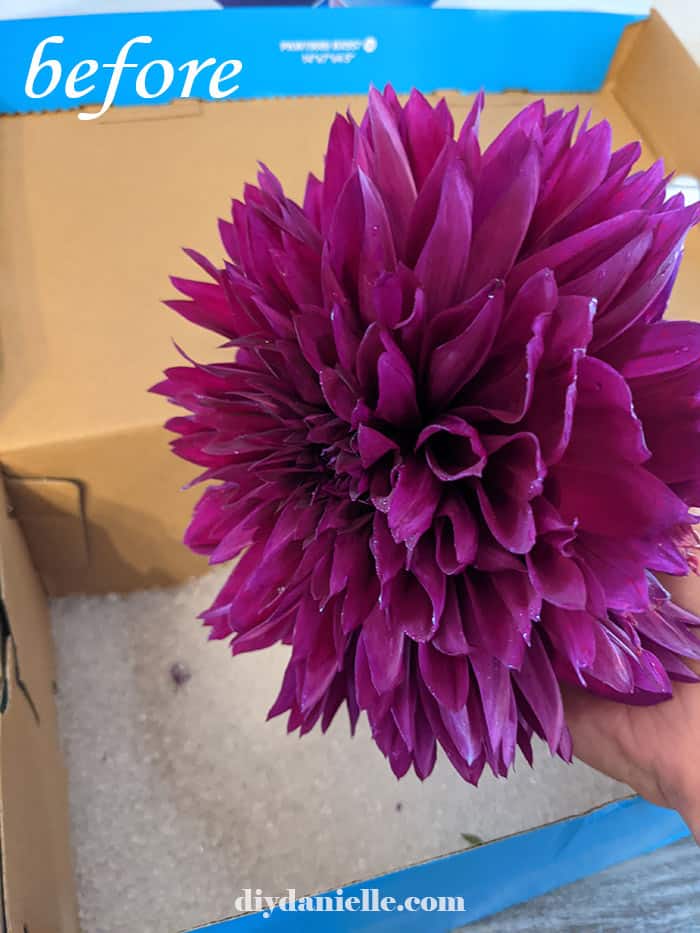
Step 1: Use fresh flowers that are mostly dry (not soaked from rain).
Step 2: Place the fowers in a box of silica gel. Make sure the petals are flat.
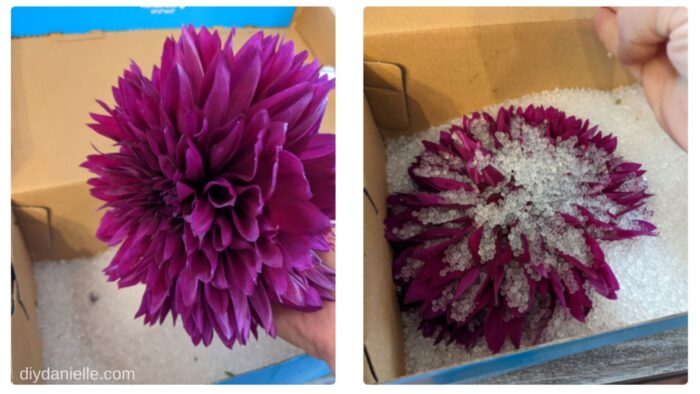
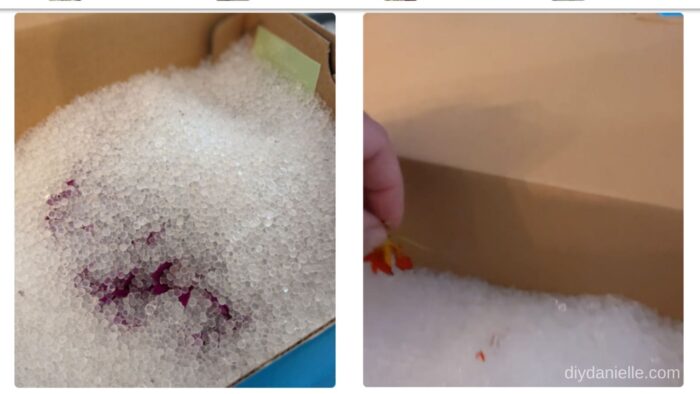
Step 3: Cover completely with silica gel. Wait 1-2 weeks.
Step 4: Remove from silica gel to see if they’re dry. If they have any moisture left, place back in the gel.
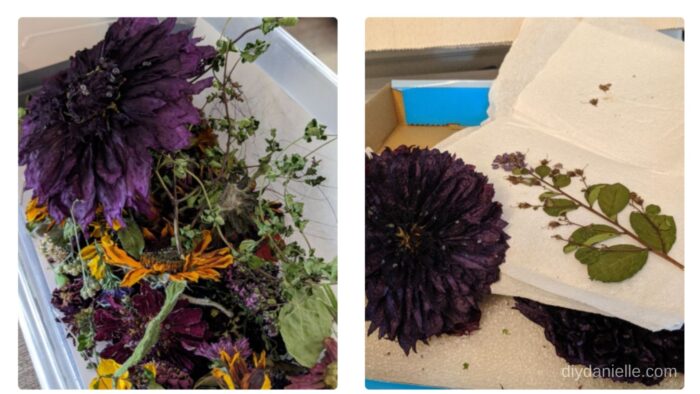
Step 5: Store dried flowers carefully or use for crafts immediately.
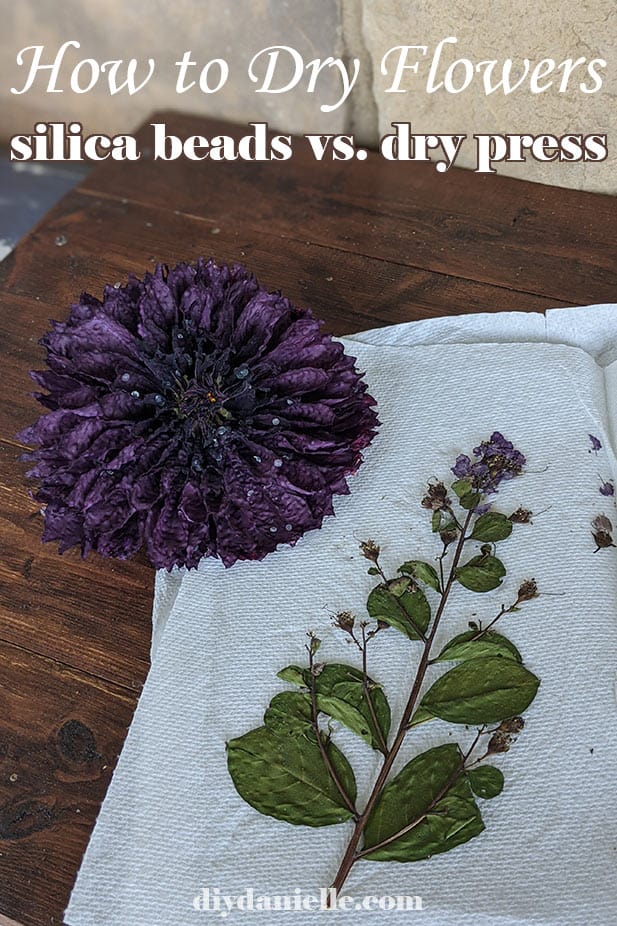
Last photos is of flowers dried in silica vs. pressed flowers.
Here’s the full video tutorial…
Please share and pin this post! You can also post your project and tag the DIYDanielle team on Instagram @doityourselfdanielle!
Love Sunflowers? Check out my other sunflower posts: hanging sunflower balls | sunflower wreath | sunflower Christmas Tree
How to Dry Flowers with Silica Gel
Learn how to dry flowers with silica beads. You can buy these in bulk or save them from purchases such as shoes.
Materials
- Silica Gel
- A Shoe Box
- Fresh, Dry Flowers
Instructions
- Use fresh flowers that are mostly dry (not soaked from rain).
- Place the fowers in a box of silica gel. Make sure the petals are flat.
- Cover completely with silica gel. Wait 1-2 weeks.
- Remove from silica gel to see if they're dry. If they have any moisture left, place back in the gel.
- Store dried flowers carefully or use for crafts immediately.
Google Web Story: How to Dry Flowers