
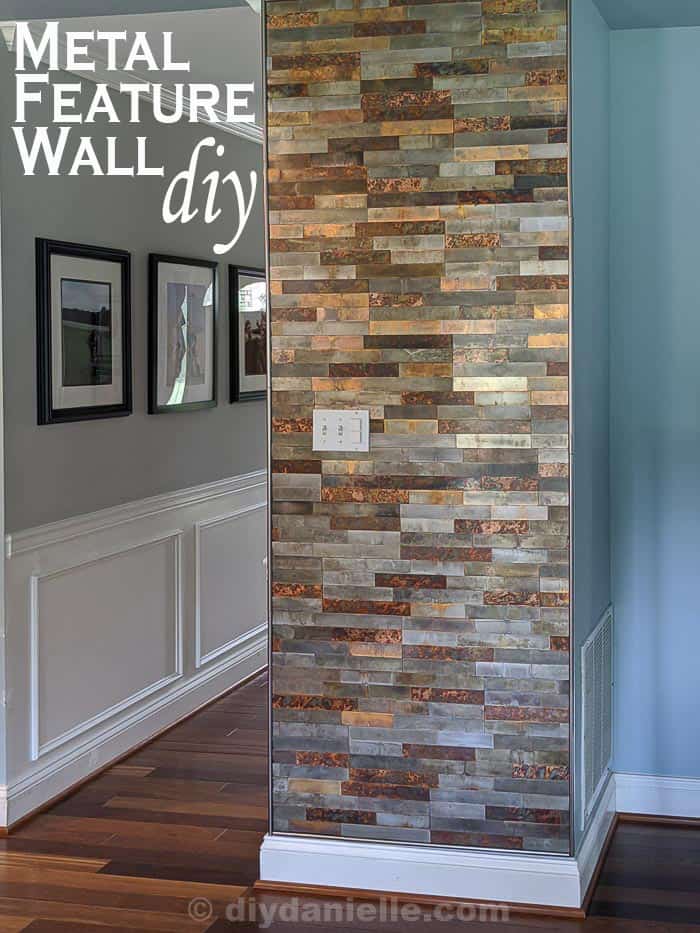
How to create a DIY Feature wall with metal tiles. These tiles are magnetic so they’re perfect for hanging kid’s art in the kitchen!
This post may contain affiliate links which may earn me commissions should you click through them and take certain actions. As an affiliate for Amazon, Cricut, xTool, Home Depot, and other sites, I earn from qualifying purchases. Please DIY carefully. View my full legal disclosures here.
The majority of my content is generated by me, as are 99% of the photos and videos, but I utilize technology for titles, descriptions, video editing out all of my ums, and occasionally for text overlay on images.
Please read the whole post so you don’t miss any important information!
When I renovated my laundry room, The DIY Decor Store sponsored the post and I did my laundry room with their distressed metal tiles (this isn’t quite the same color but it’s super pretty).
These metal tiles are super easy to install and you can cut them with a simple pair of tin snips on Amazon. No need for any high tech equipment which is PERFECT. I don’t like to mess with regular tiles because I’d need to buy or rent equipment.
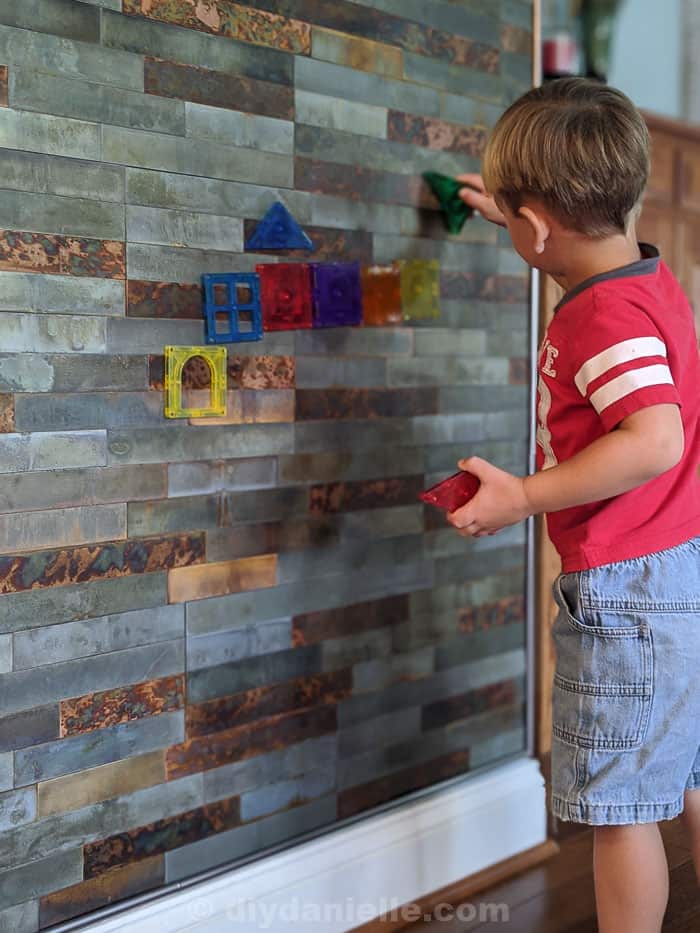
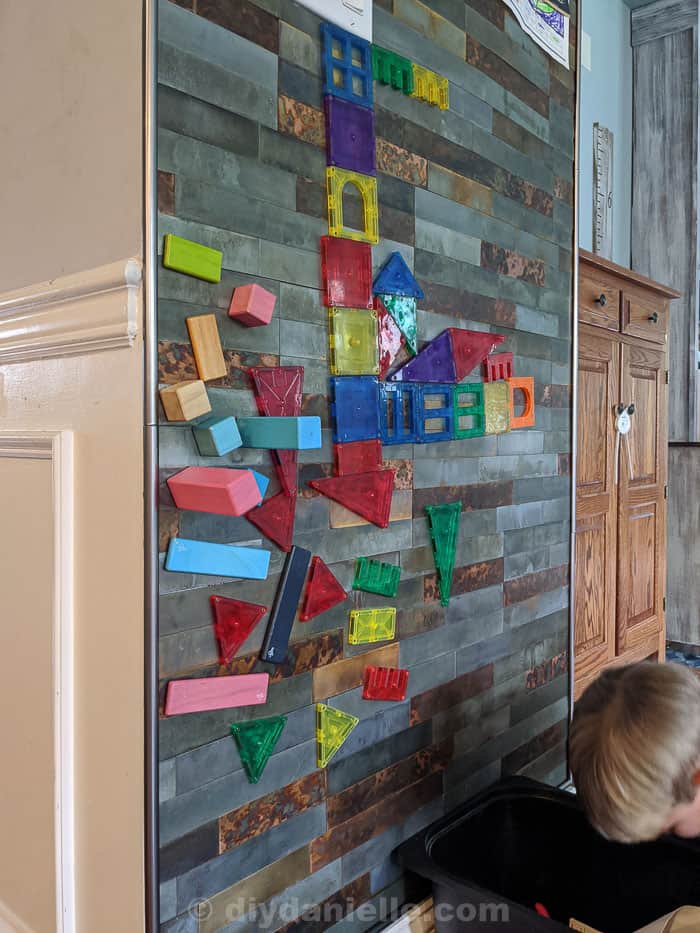
I got some of the wrong color though so I ended up creating a SUPER fun DIY feature wall using these metal tiles. Because they’re metal, magnets will stick to them which is a lot of fun.
DIY Kitchen Feature Wall
This wall is a small wall in our kitchen and dining area. Our refrigerator has no magnetic stick so we don’t have a great spot to hang the kids’ artwork.
This works really well and we get tons of compliments on it.
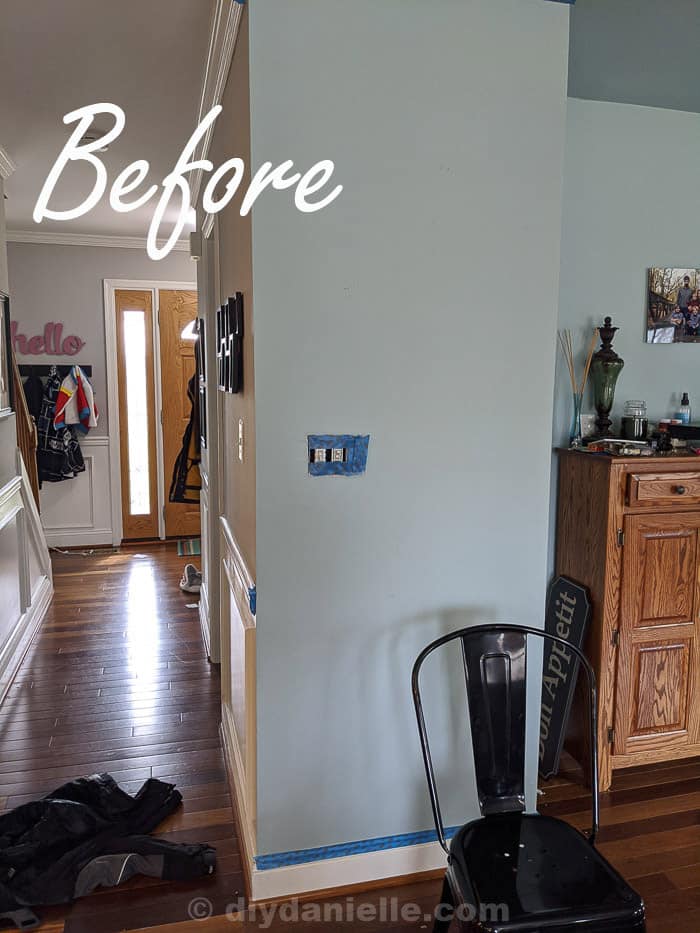
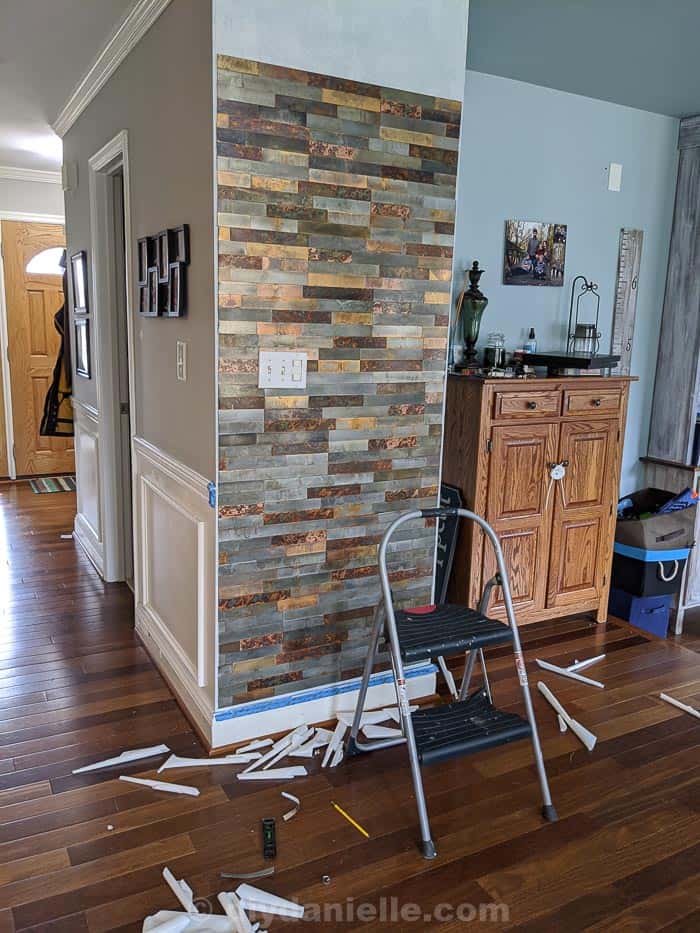
Here’s the before picture… yes my kiddo dropped his coat right there in the hallway for us to trip over. This is a project I did during the winter.
Things to consider…
Is your wall curved at all?
The one struggle we had… and thank goodness we still made it work… was that it turns out this wall is curved (bowed?) a bit. The tiles couldn’t sit nice and flat like they did in the laundry room. We ended up removing some of the tiles, bending them a bit, and using construction adhesive to get them to stick better.
Use good quality adhesive.
While these have an adhesive backing that sticks well on top of a primed wall, a good quality construction adhesive will help them stick better.
If you’re letting your kids use magnetic toys on the wall like we are, using the construction adhesive would be a good plan. I feel like the tugging on the metal with the stronger magnets coming on and off might impact the stick of the tiles… but who knows. I just prefer to do the job ONCE right so I don’t have to fix anything.
You CANNOT apply these to a painted wall WITHOUT priming first or using construction adhesive… the sheen of the paint, I believe, can cause issues with the panels sticking. My wall was primed.
Trim Options
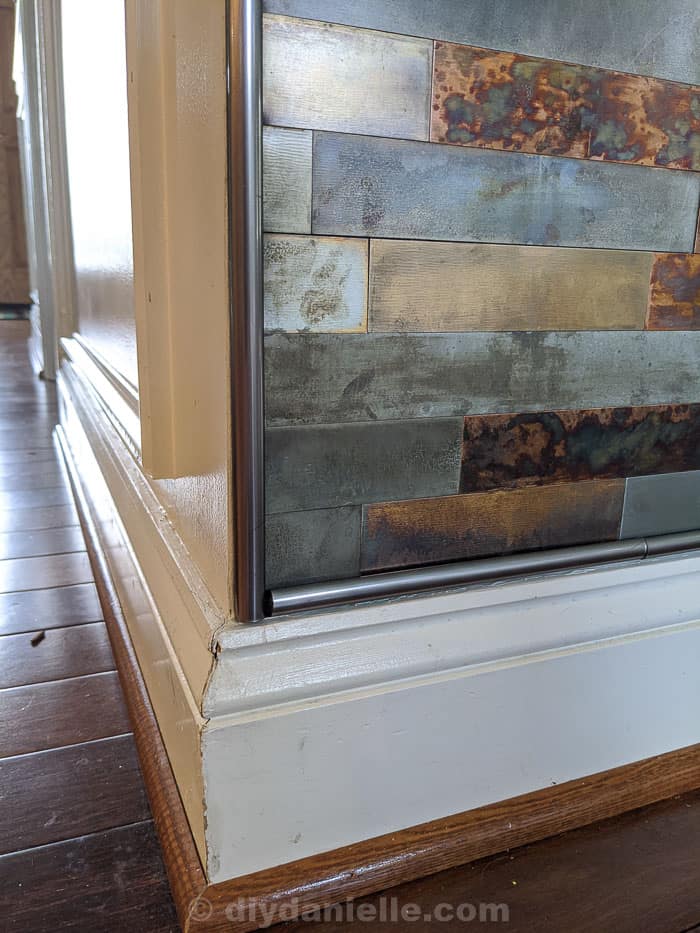
For this wall, I ordered (12) pieces of Aspect Stainless Trim-24 inch. It looks nice, but it isn’t flush to the tiles. You can see a bit of a gap… I asked Aspect about this and they said I could use a clear caulk in there if I wanted, but that it would work without. So far, we haven’t added caulk and we haven’t had an issue.
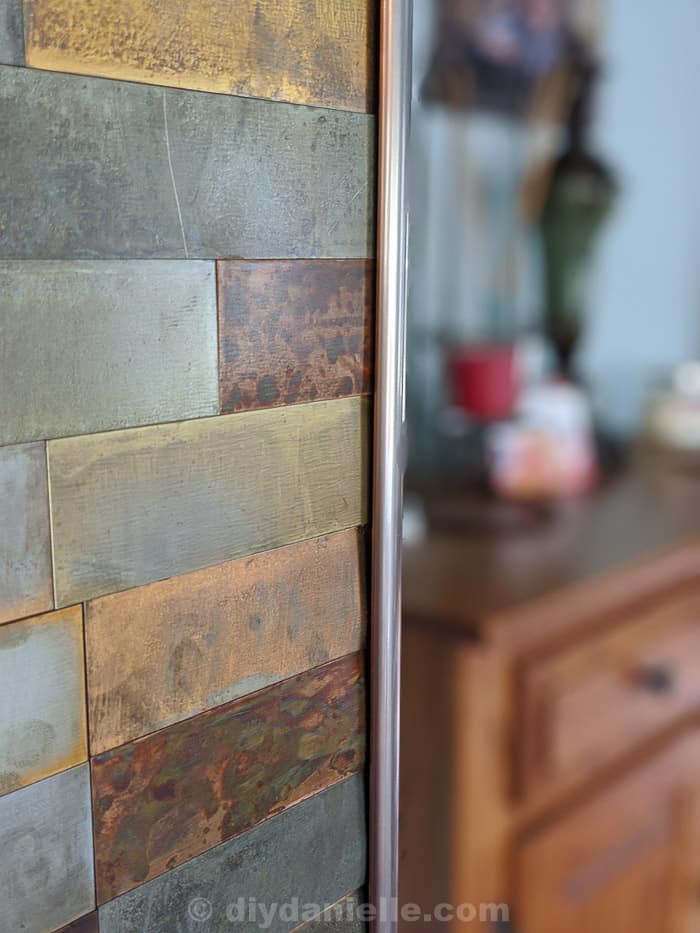
The trim, similar to the tiles, has a sticker backing that you can push on so it will stick. We left a small gap around the wall to put the trim. Make sure you leave enough space!
I did find that it was difficult/impossible to cut these with a mitered angle so I ended up doing the corners like this…
My friend Scottie at Saved By Scottie installed this metal tile in her son’s room. She used L Angle Tile Edging Trim which goes on before the tiles. I like the look of this trim so I’d probably try that if I did this again.
I see Aspect now has a J trim, similar to what Scottie used, that I would be tempted to try next time.
Scratching or Damage
The nice thing about these tiles is that if you install them carefully and save a few extra pieces, you can use a knife to cut away and remove any damaged tiles in the future. Then you can replace that tile with a similarly sized piece.
So far these don’t seem to be getting any damage, but I messed up a couple of tiles during the install so we got to try this out. It was SUPER easy relative to trying to remove a broken tile)
If you want to give these a try and create your own feature wall with these magnetic tiles, check out my post on How to Install Peel and Stick Metal Backsplash.
Please share and pin this post! You can also post your project and tag the DIYDanielle team on Instagram @doityourselfdanielle!
Google Web Story: Feature Wall with Metal Tiles
Hi Danielle.
This looks great!
I’m curious about the EXACT tile you used here??
I’ve been looking to do a creative magnetic board myself.
Thanks! Look forward to your response.
Michelle