
How to install a built in potty training toilet seat. These are GAME CHANGERS for potty training your kids as they help them transition to a regular toilet!
This post may contain affiliate links which may earn me commissions should you click through them and take certain actions. As an affiliate for Amazon, Cricut, xTool, Home Depot, and other sites, I earn from qualifying purchases. Please DIY carefully. View my full legal disclosures here.
The majority of my content is generated by me, as are 99% of the photos and videos, but I utilize technology for titles, descriptions, video editing out all of my ums, and occasionally for text overlay on images.
Please read the whole post so you don’t miss any important information!
I have been waiting for this day for three years. We used cloth diapers for years which I loved, but changing diapers isn’t my favorite thing. My son is now potty training on a small kid’s potty, but I LOATHE emptying the pot. He likes to help and empty it himself, but I’m pretty sick of cleaning pee off the floor.
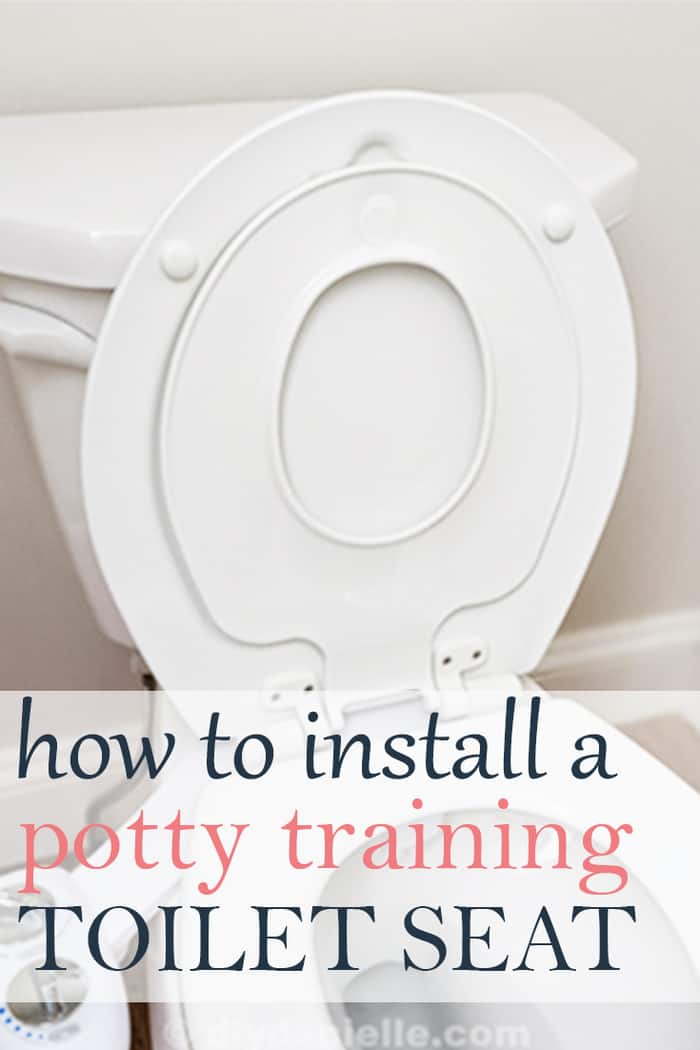
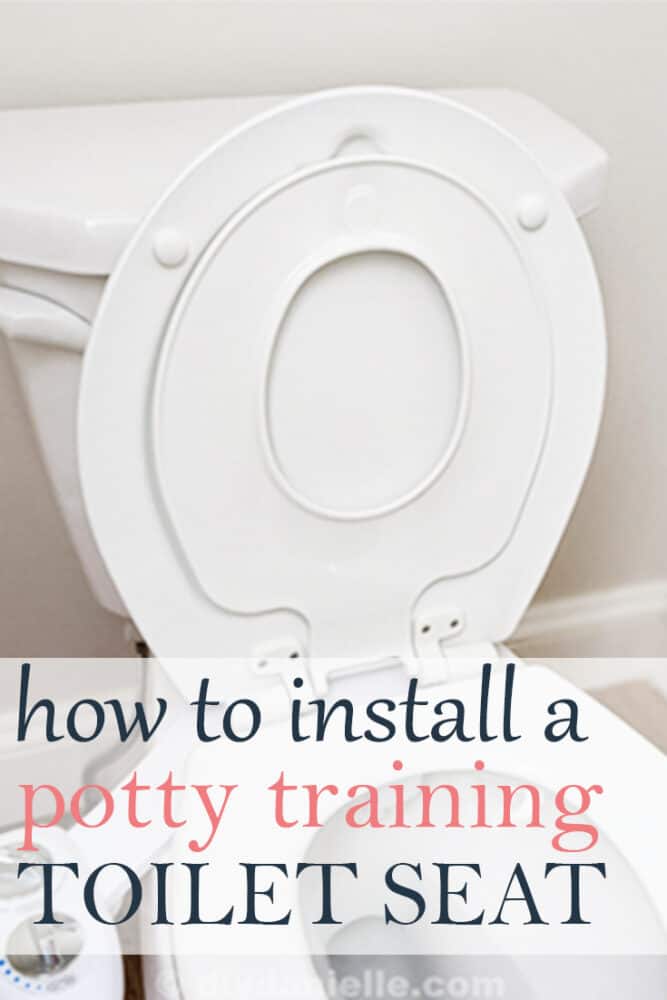
Our next step is, of course, to get him to use the toilet, but the toilet seats are pretty scary for little guys. They are pretty tipsy on them and the potential to fall in is real. We owned a couple of these built in potty seats for potty training the older boys so I wanted to pick up another one for Tristan.
These are a great way to transition the kids from the separate training potty to a normal toilet seat WITHOUT having to deal with moving everything off the potty every time an adult wants to use it.
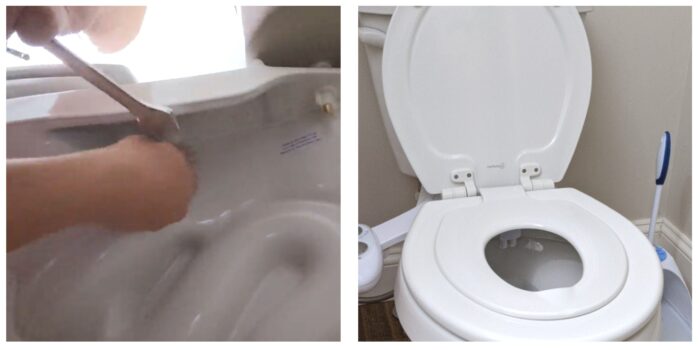
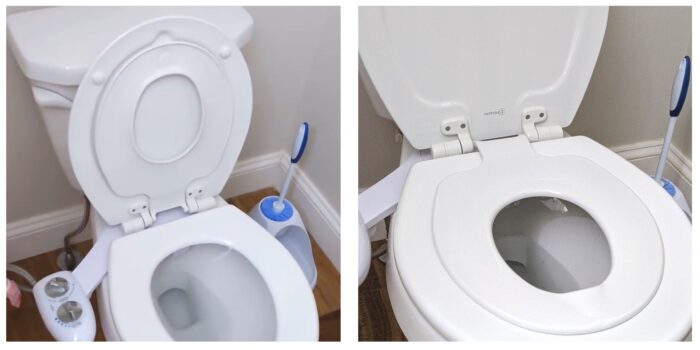
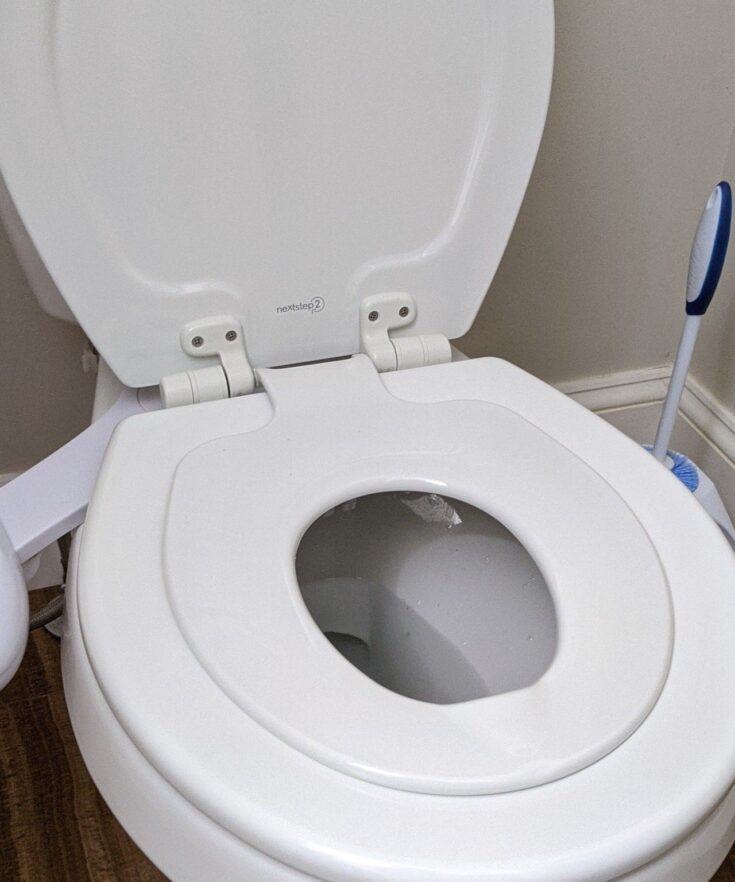
The smaller lid pops down when one of the kids want to use the potty, then you can flip it back up when they’re done. The small lid has a magnetic latch that will keep it from dropping down on the adults. It’s LEGIT the coolest potty training item. The only reason I didn’t potty train on this thing is that my kiddo was petrified of the big toilet.
Now I just need to get him to try this… I foresee lots of extra toilet training treats (lollipops are his favorite).
Here’s how to install these seats….
How to Install a Built In Potty Training Seat
Supplies
Make sure you buy the correct seat for your toilet. Elongated toilets use a different seat than a round toilet. You can measure the distance to determine which to buy. The elongated toilets measure 18.5 from the front of the toilet to the holes where the toilet seat gets placed and 16.5″ is a round toilet. MEASURE THIS or you may end up making returns.
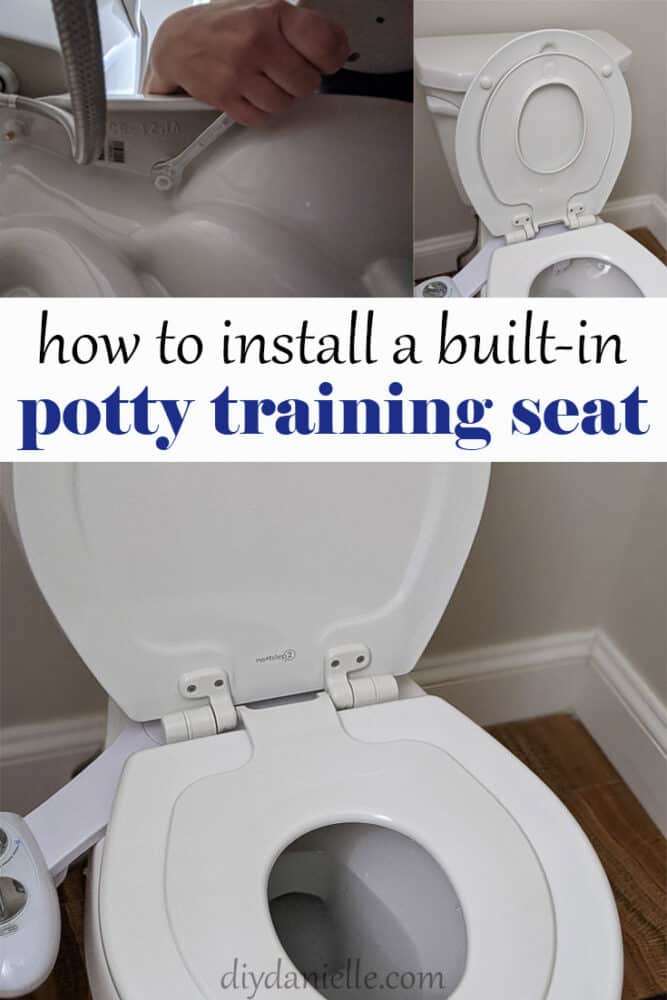
It’s hard to take pictures and video at the same time so I don’t have a lot of photos of the process. Fortunately, it’s VERY simple so you don’t need an in-depth tutorial.
There are a few plastic pieces. There’s (2) rectangular brackets, (2) plastic screws, and then (2) longer pieces. The screw goes through the bracket, then you can slide the bracket + screw, screw facing down, into the back of the potty seat. You need to flip up the tabs on the hinge area to do this.
Once those are on, you need to remove your old toilet seat. In the video, you’ll notice that we have a weird thing on the toilet. That’s our bidet sprayer. If you’re wondering what that is, it’s awesome and you should read about the bidet sprayer seat here.
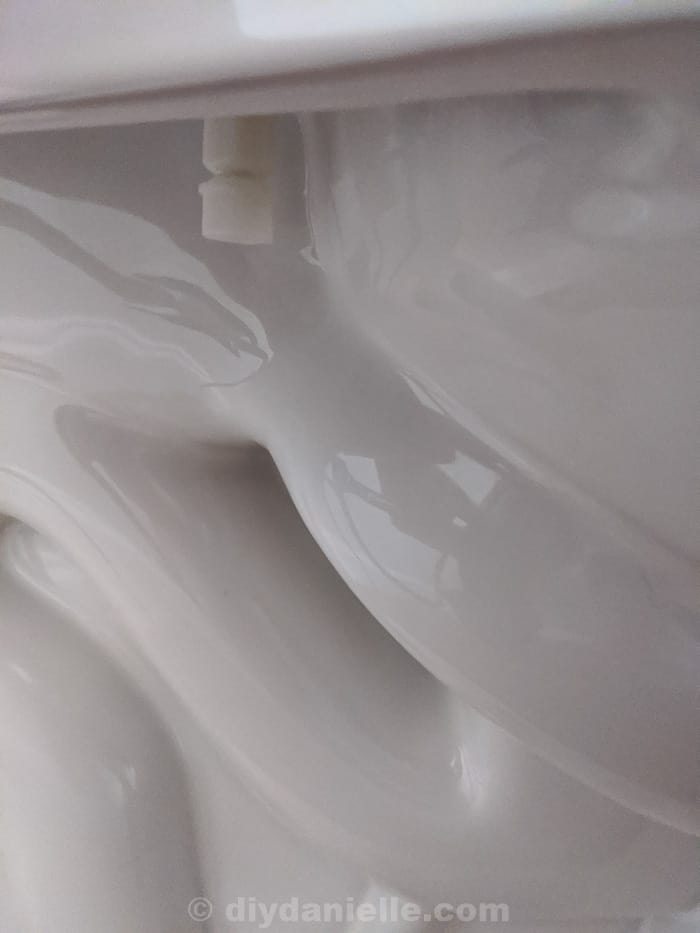
There are two holes in the toilet and your toilet seats attach using a screw of some sort through the hole. Under the holes, there’s a plastic nut, I guess you’d call it. Essentially it’s a piece that the screw gets screwed into, seeing there’s no way to screw into the toilet bowl itself.
Everything is made of plastic (at least on my toilet), probably to avoid damaging the porcelain toilet bowl.
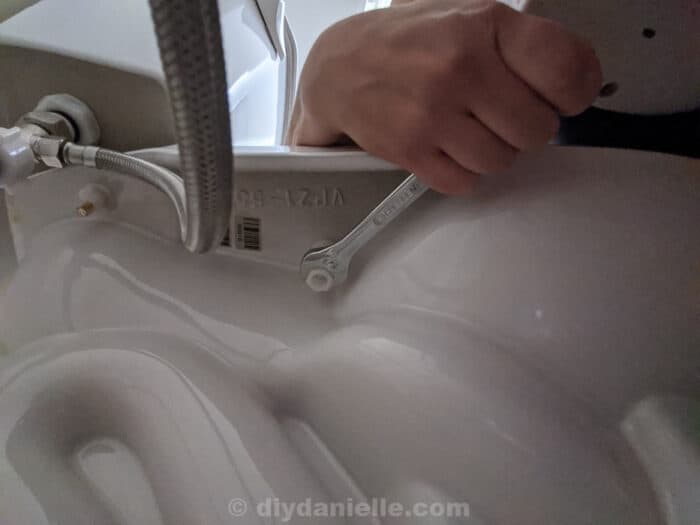
Once you unscrew those pieces on the old toilet seat and remove it, you can place your new toilet training seat. You insert the plastic screws through those same holes and finger tighten the plastic nuts underneath. Make sure your seat isn’t crooked.
The long plastic piece is the piece that goes under the toilet… it should look like this.
The bottom piece snaps off when you tighten the nut with the 5/8″ wrench. Once you have your seat positioned properly, you just tighten that bottom piece until it snaps off.
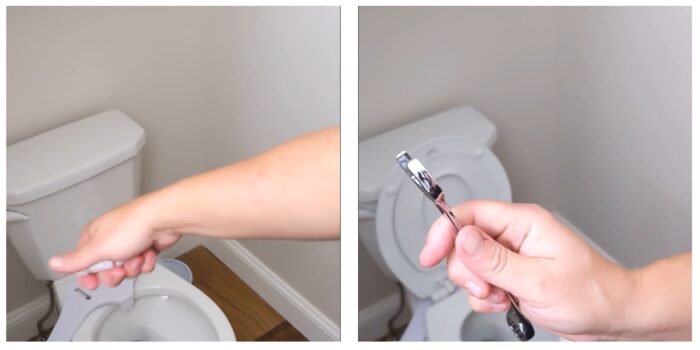
If you want to remove the toilet seat to clean, you DO NOT unscrew the plastic nut. Instead you flip up the hinge area and pull the toilet seat out. The original rectangular bracket with the screw stays in place while the seat pulls out. You can push the seat back into place after! Super easy.
I cannot recommend these toilet seats for potty training kids enough. They’re easy to install and work well. The lids are slow close which keep kids from slamming lids all day. The smaller seat will click in place with the magnetic latch when not in use, keeping it from hitting an adult’s back when they’re using the toilet.
We tried the seats with the ladders but they were just so much work to move around. We have boys so it’s not unusual for a little pee to get on the seat. You have to be careful when moving the ladder off the toilet that there’s no pee under the kid’s seat. Otherwise you’re getting drips on the floor. Moving the ladder to store beside the toilet was a tight fit in our bathroom and it felt kind of gross.
This is really a perfect option for us and I love that it doesn’t take up too much space. I save our old seat for once the kids outgrow this, but you could probably use these seats forever. The potty training section is removable.
How to Install a Built-In Potty Seat
Steps
1. Insert your plastic screw through the bracket.
2. Snap the bracket into the hinge.
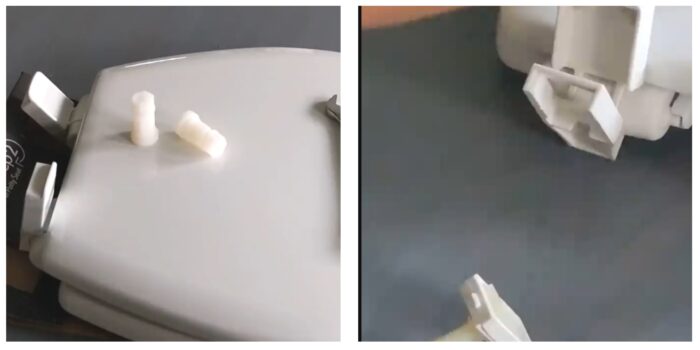
3. Close hinge caps.
4. Remove your old toilet seat.
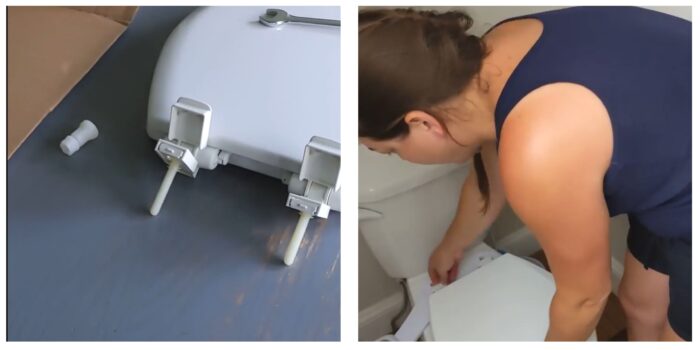
5. Insert seat with screws through the hole. The break off piece of the bracket should be facing down.
6. Make sure your seat is on correctly before you tighten. You need a 5/8″ wrench.
7. Tighten your plastic bolt underneath until it breaks off.
8. Here’s how the installed seat works!
9. If you need to remove it?
10. Yay! Finished!
This Alternative to Toilet Paper, family cloth, is fantastic for potty training. I also have a post on how to sew training underwear for boys.
Please share and pin this post! You can also post your project and tag the DIYDanielle team on Instagram @doityourselfdanielle!
How to Install a Built In Potty Seat
Learn how to install a built-in potty training seat to make it so much easier the kids.
Materials
- Toilet Seat
Tools
- Wrench
Instructions
- Insert your plastic screw through the bracket.
- Snap the bracket into the hinge.
- Close hinge caps.
- Remove your old toilet seat.
- Insert seat with screws through the hole.
- Make sure your seat is on correctly before you tighten.
- Tighten your plastic bolt underneath until it breaks off.
Recommended Products
As an Amazon Associate and member of other affiliate programs, I earn from qualifying purchases.
-
 MAYFAIR 883SLOWA 000 Toilet Seat with Built-in Potty Training Seat will Reduce Clutter, Slow Close and Never Loosen, ROUND, Durable Enameled Wood/Long Lasting Plastic, White
 -
MAYFAIR 883SLOWA 000 Toilet Seat with Built-in Potty Training Seat will Reduce Clutter, Slow Close and Never Loosen, ROUND, Durable Enameled Wood/Long Lasting Plastic, White