Tips for photographing a baby or toddler when you’re not a photographer and don’t want to learn.
This post may contain affiliate links which may earn me commissions should you click through them and take certain actions. As an affiliate for Amazon, Cricut, xTool, Home Depot, and other sites, I earn from qualifying purchases. Please DIY carefully. View my full legal disclosures here.
The majority of my content is generated by me, as are 99% of the photos and videos, but I utilize technology for titles, descriptions, video editing out all of my ums, and occasionally for text overlay on images.
Please read the whole post so you don’t miss any important information!
My second gift goal for Father’s Day was to get some great pictures of Baby G for Daddy and his Grandpas. I’m not a professional photographer and I have this crappy digital camera that I should probably replace soon. If I can get good pictures, almost anyone can.
The trick here is quantity… If you take enough photos, you’ll end up with a few quality ones (good photographers don’t probably need to take these drastic measures, but I do).
The problem with kids is that you have a very short amount of time to work with so you want to set yourself up well in advance.
Tips for Photographing Your Baby
1. Take pictures outside. A nice sunny day in a shady location worked well for me. If the area is too sunny, I find my pictures come out poorly…. Shadows, sun bleached photos, etc. If you’re dealing with shadows, make sure yours isn’t in the picture as you’re taking the photos. Overcast days, at dusk or dawn, tend to be good times to take photos.
2. Setup everything beforehand. Baby’s outfit, props, the blanket on the lawn, the camera and tripod, etc. I think nature makes the best backdrop, but a plain fabric cloth works too- don’t pick a busy fabric.
3. Wait to do this until you’re feeling particularly patient. It’s nerve wracking to have props fall over, babies cry, etc. Kids get grouchy when you’re grouchy.
4. Be prepared to put on a show. Think Barney… actually no, pretend you’re Baby Einstein. If you’ve never seen Baby Einstein, basically what I mean is that you shouldn’t DO drugs… but you should ACT like you do. The more entertaining you are while you’re taking the picture, the more likely you’ll get the kids to smile. I also like to use sound makers to get their attention… squeaky dog toys work.
5. Don’t be too entertaining for too long or they will relocate to where you are- haha.
6. Towards the end, I used my timer option and pushed the button for 10 sec… Ran to where Baby G was and fixed everything, danced around goofy, and he would smile. I’m exhausted. And there’s a few pictures that have my butt in them.
7. Learn how to crop your photos. You can crop your butt or hand out if it’s not too far into the picture. Cropping can make a big difference with a photo.
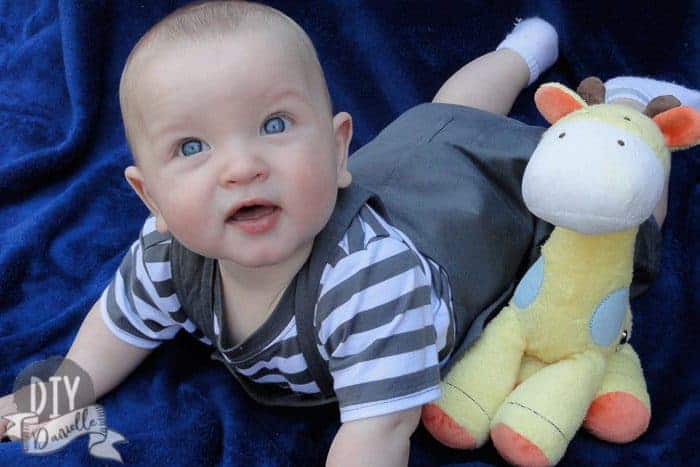
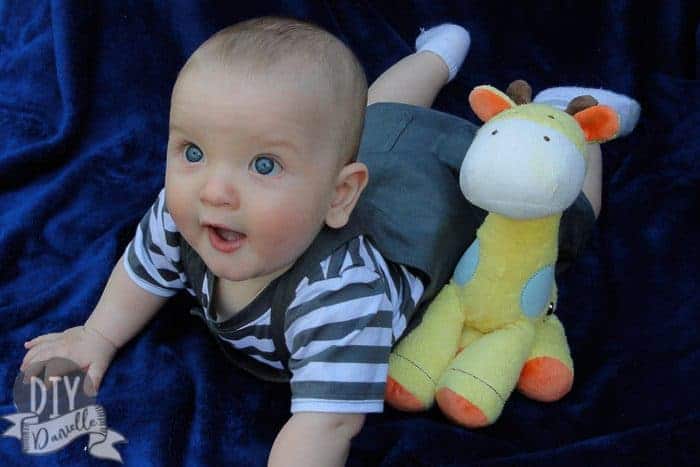
8. Pick your battles. Baby G is holding something in a lot of our photos. It was a matter of whether I wanted a happy baby in the pictures or an angry baby. That being said, you may want to chose specific items that you’d be okay having in the picture to use… (the baby undoubtedly will reject these, unlike all off limit items which hold their attention for hours… but it might work for a few). Remove all items that you don’t want them to hold.

9. Wait until after their nap. Or whenever they’re happiest. Baby G is such a happy morning baby so I like to take pictures earlier in the day. For this set, I waited until after his morning nap.
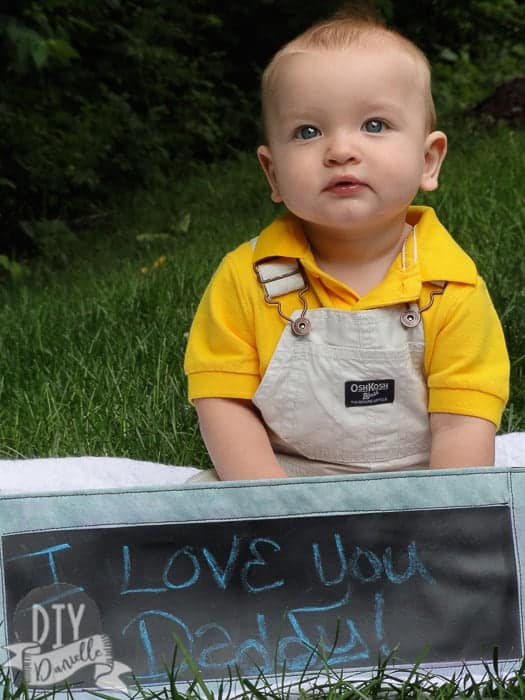
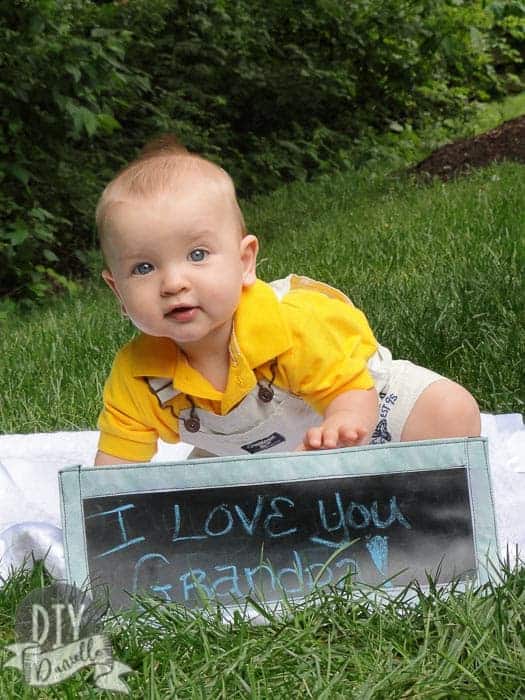
10. Be inspired. I love checking out photographs pinned on Pinterest and using ideas that I like. The chalkboard sign was an idea that I saw used by a lot of photographers so I made my own. Just remember that some photos- like the ones with the baby’s head posed in certain ways- are done using photo editing. DO NOT HURT YOUR BABY.
What to Do with Your DIY Baby Photos
I took about 80 photos and once I deleted the ones I definitely didn’t like I had 49 photos left. From there, I edited all of them, cropping them and then picked my favorites.
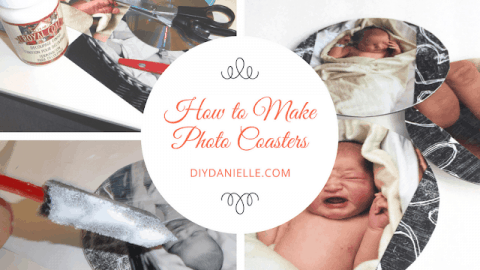
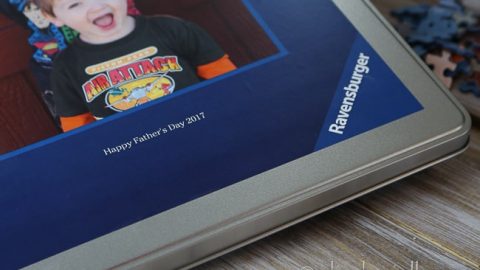
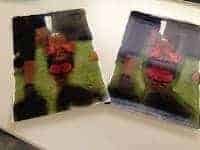
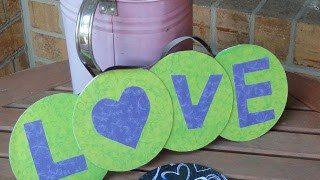
I can then upload to the a photo publishing site and have them make cute products with them (calendars, mugs, prints, etc) or I can get prints and do fun things with them myself.
Here are some great DIY projects to do with photos:
Photo Gifts on DIYDanielle
Photo gifts that I've featured on DIYDanielle.com

How to Create a Photo Slide Show with Microsoft Movie Maker
Make a slide show with Microsoft Movie Maker and then put it on a CD for family.
How to Upcycle CDs into a Banner
Upcycle CDs into a banner... you could even do a wreath of monthly baby photos!
Here are some of the first photo gifts I made.
Some tutorials that might be helpful for improving your photography:
- Shooting Indoors- Cheat Sheet
- Photography Cheat Sheet
- Newborn Pullbacks and Tips
- How to Take Great Overhead Photos of Your Baby
Here’s a couple of the photos that I took for Father’s Dad for my husband and the grandfathers. I just swapped out the wording on my DIY sign.