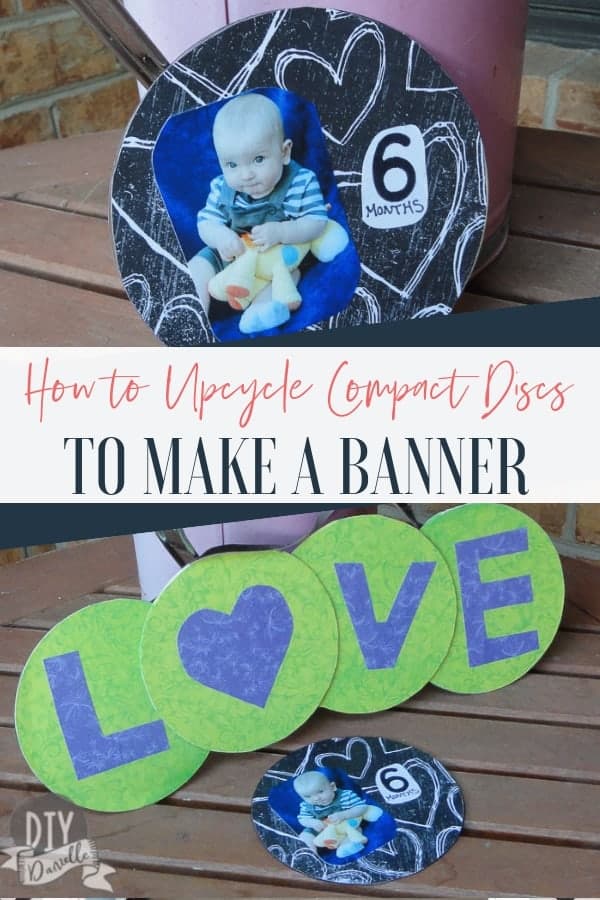
How to create a small banner using upcycled compact discs. This is perfect for decor or for a month-by-month baby photo wreath.
This post may contain affiliate links which may earn me commissions should you click through them and take certain actions. As an affiliate for Amazon, Cricut, xTool, Home Depot, and other sites, I earn from qualifying purchases. Please DIY carefully. View my full legal disclosures here.
The majority of my content is generated by me, as are 99% of the photos and videos, but I utilize technology for titles, descriptions, video editing out all of my ums, and occasionally for text overlay on images.
Please read the whole post so you don’t miss any important information!
I’ve been tackling an upcycle challenge to use CDs and someone gave me an ENORMOUS bag of CDs. I’m still not done with all of these CDs, but I think this will be the last post in this series. Interested in other CD upcycles? Check out my post on making CD Photo Coasters or learn how to etch letters onto the backs of CDs for decor.
How to Make a Banner with CDs
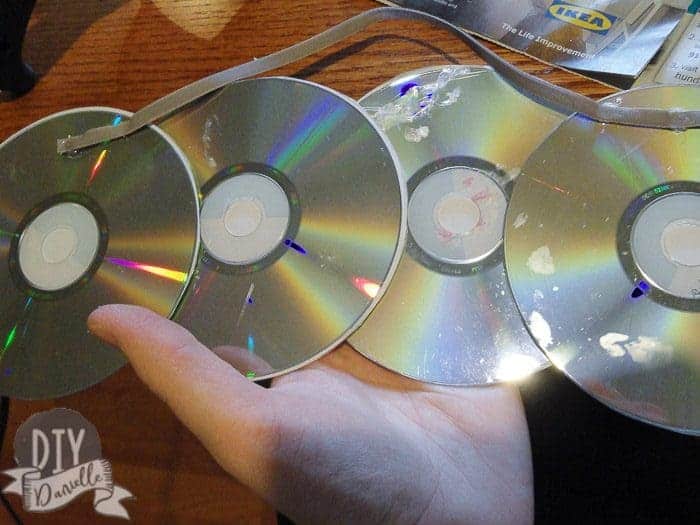
Start by taking your compact discs and laying them out. You want to figure out how many you’ll need for the size you want.
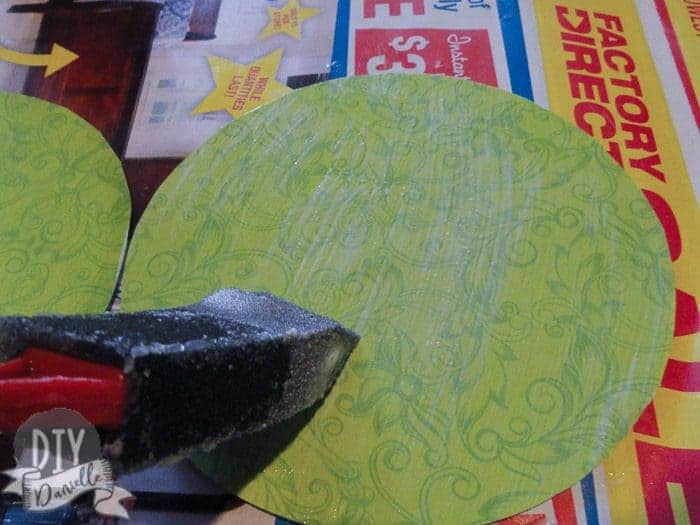
Use the CDs to draw out the circles on the BACK of your scrapbook paper. Then cut out the circles.
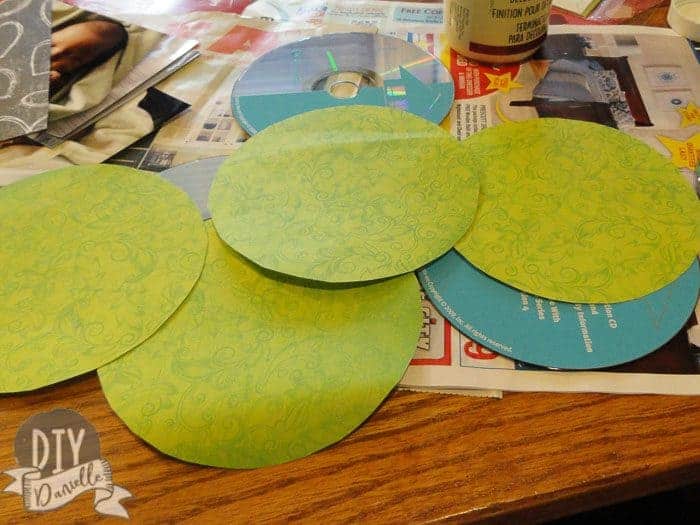
Use mod podge to cover the CD top with scrapbook paper.
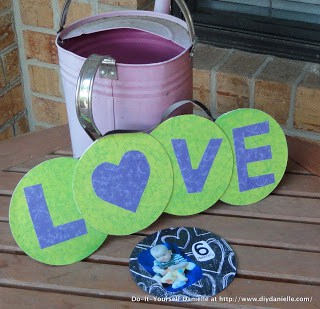
Glue can be used to attach the CDs together in the shape you want.
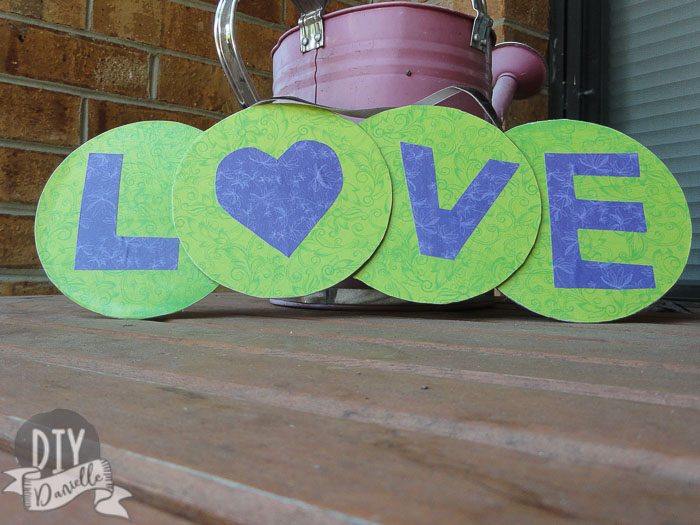
Once that is dry, you can use mod podge to put on individual letters for each CD.
Add mod podge on top once dry.
Use glue to add a ribbon or something to hang it with. I think 3M Command Strips would work well here.
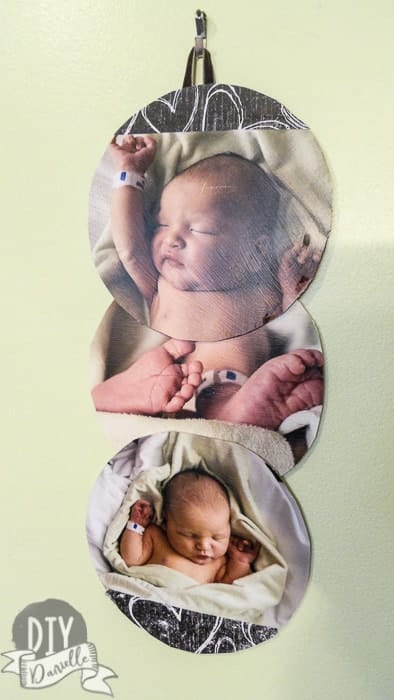
This is a great way to display month by month baby photos too! I think these would look good in the shape of a wreath to display at baby’s 1st birthday.
Here’s one I did…
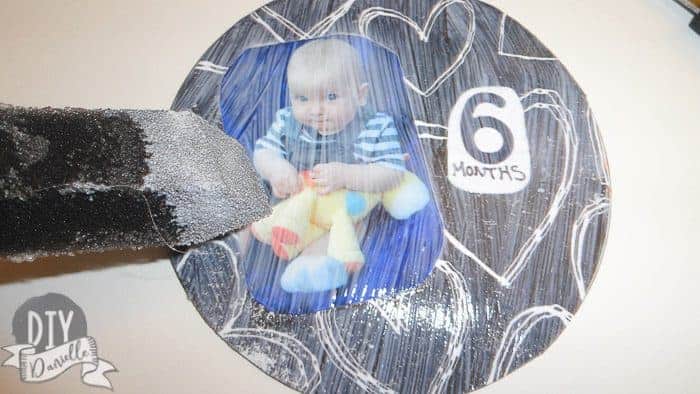
Cut out a circle of scrapbook paper to fit the CD. Mod podge it onto the CD (only the back of the scrapbook paper). Let it dry. Round the edges of your wallet photo. Mod podge the back of the photo and placed it onto the CD.
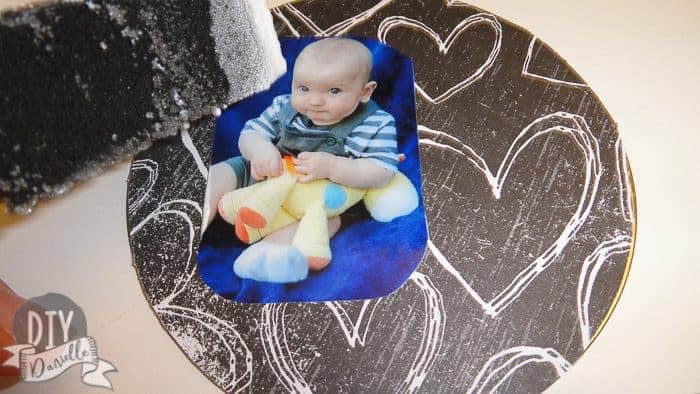
I used a blank sticker because I wanted to stick with black and white, and just used a stencil to make the “6.” I cut out the letters and rounded the edges a little.
Alternatively, you could cut out a “6” from scrapbook paper and glue that on. I didn’t like my options for scrapbook paper so I opted not to do that.
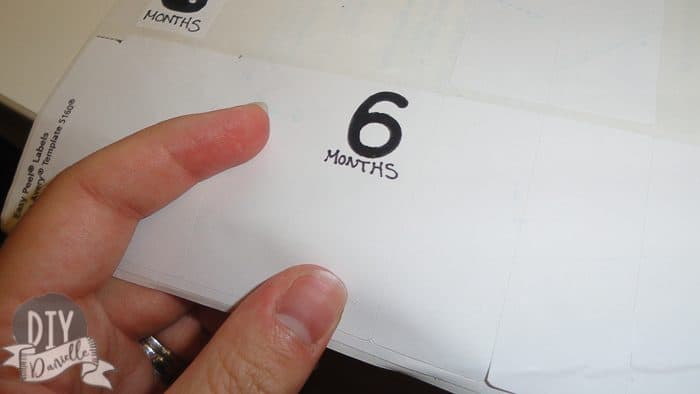
I stuck the sticker onto the CD here. Then I mod podged over it all.
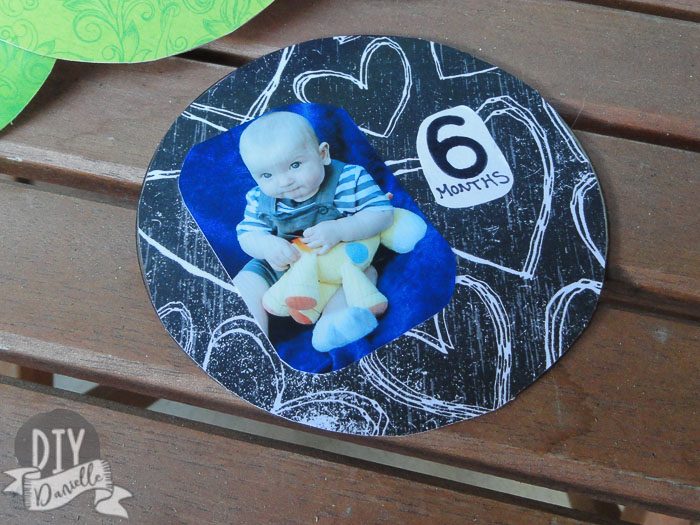
Final product… again, think this would be super cute in a wreath shape for displaying at a 1st birthday party!
Other CD Upcycling Ideas
- Baby Mobile: You can just tie a string to each CD to hang from the top of the mobile. The shiny side is really nice and sparkly. You could mod podge the side with the CD label or if you’re upcycling old CDs that you used to like, you could just keep the CD as is.
- Height Chart: If you glue enough CDs together then you could do the same thing that I did with the banner, but make a height chart.
- Thread Christmas lights through the CDs to see if it reflects off them nicely… we tried this and it does work a little, but we didn’t play with it enough.
- Use a CD on top of a large vase to hold a single flower if you don’t have a smaller vase.
Please share and pin this post!