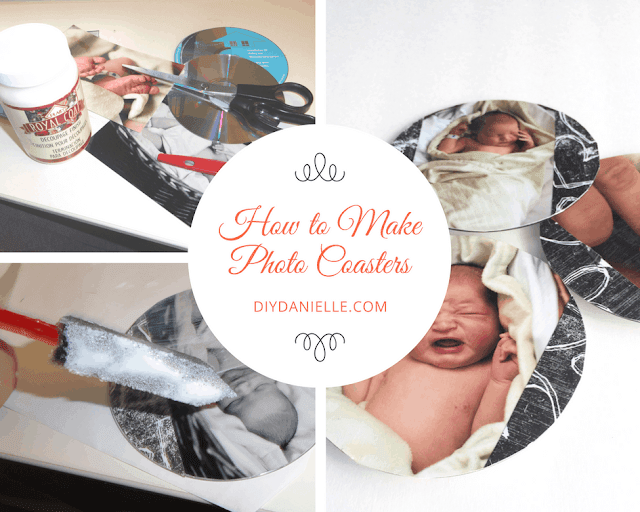
How to make photo coasters from CDs. This easy project is a great way to upcycle old compact disks.
As part of a project for my friend’s blog, I worked on a few upcycled compact disk projects. It was so much fun to be challenged to use an item in a new and unique way. I did a few different projects with CDs and my love for upcycling was born. This is one of my very first upcycling projects when I started blogging so I’m excited to share it with you today.
Supplies for Photo Coasters
- Compact disks that you don’t want anymore (anyone have old AOL disks?)
- Mod podge (I use matte)
- Scrapbook Paper
- Felt
- Hot glue gun
- Photos
- Scissors (paper scissors you heathens, don’t use your fabric scissors for this!)
How to Make Photo Coasters from CDs
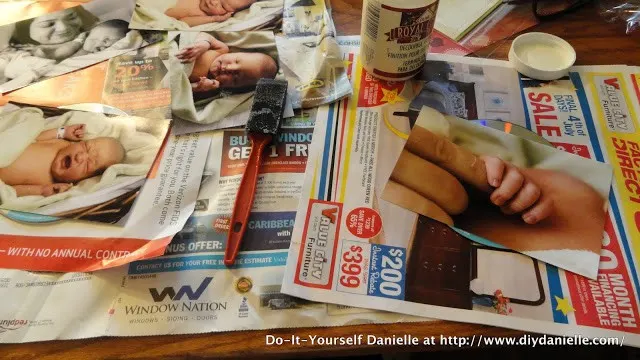
Step 1: Take your CD and lay it down on your photo. You want to center your photo to make sure the image will be where you want it. A 4×6 photo is wider than a CD so you need a photo that will work for this… for example, a photo of my whole family where my husbands head is in the far left corner might not end up on the CD. I just had a bunch of pictures and chose the ones that worked.
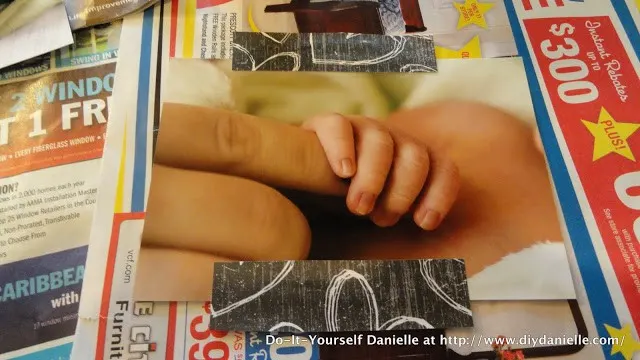
Step 2: I laid my photo down where I wanted it on the CD and then traced around the CD so I’d know where to cut. You can also just glue the picture onto the CD and cut off the excess after. A razor might work better than scissors, but I’m a dangerous woman with a sharp blade so I used my super dull office scissors for everyone’s safety. I also added my scrapbook paper to the top and bottom here because the picture wasn’t big enough for the entire CD. Alternatively, you could paint the CD before putting the picture on so you wouldn’t need the scrapbook paper (my follow up blog will cover this topic!). Personally, I think the scrapbook paper is the best looking.
Step 3: I used mod podge to glue it on, then figured out where I wanted to add my scrapbook paper, traced around the CD again so the edges would match up, cut it out, then mod podge it on.
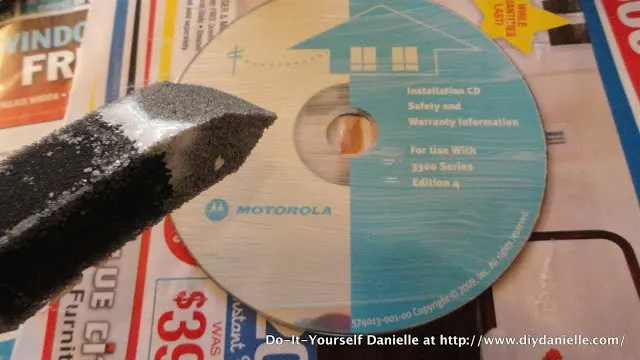
Once it all dried, I went over the top of the photo and scrapbook paper with another layer of mod podge.
Step 4: I took my felt (actually, I used a different type of material because I didn’t have felt) and cut a slightly smaller circle that my cd.
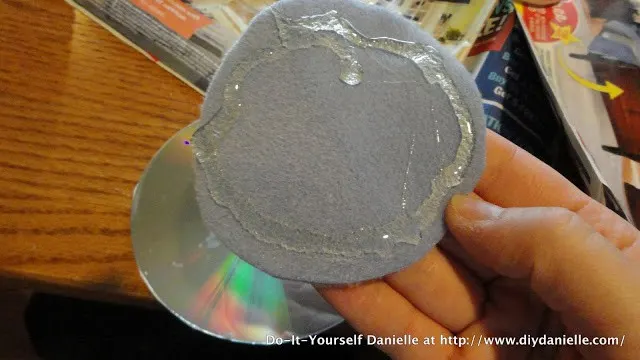
Step 5: Apply hot glue gun glue to the fabric. Don’t put it in the middle where the hole will be because then it’ll soak through to your picture! Glue to the back of your CD.
Congratulations, you’re done!
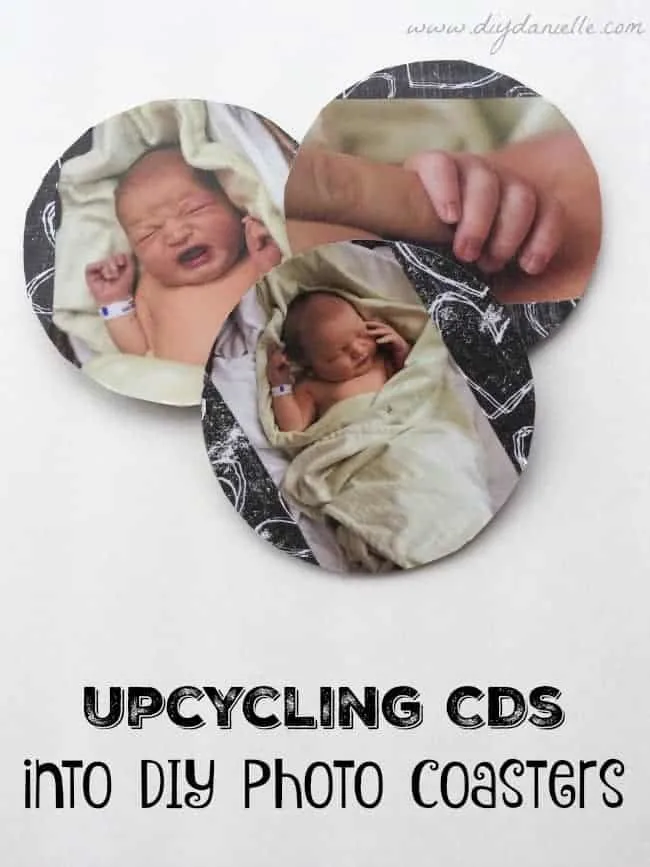
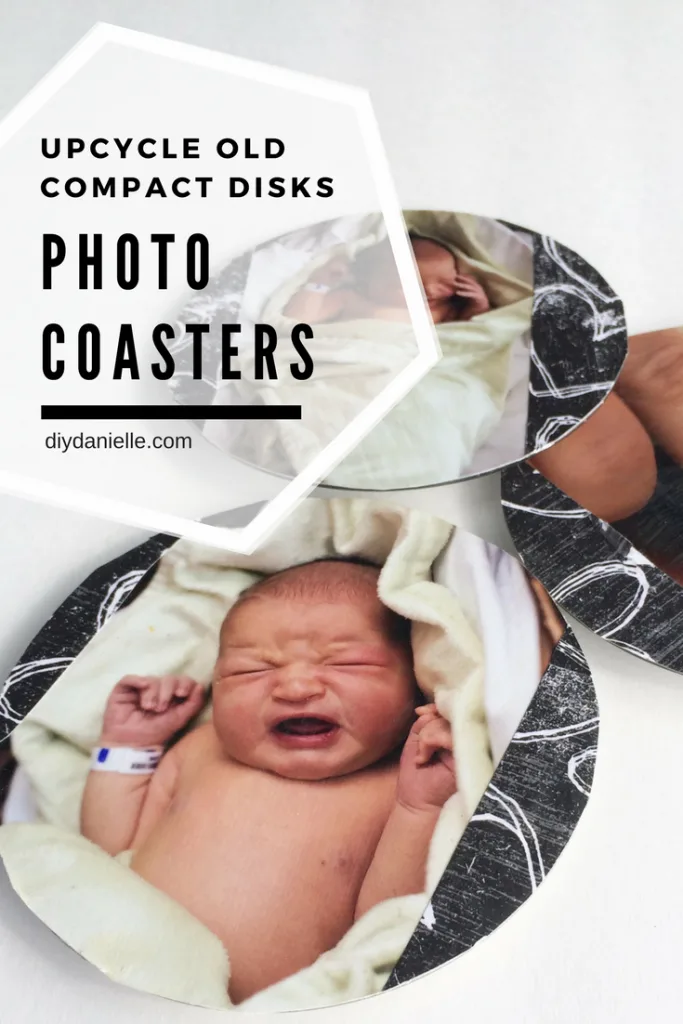
My husband says that he’d add something heavy to the CD to weigh them down- because otherwise the coasters will sometimes stick to the bottom of the glass if there’s a lot of condensation. This applies to cold, not hot beverages, and personally I prefer that they ‘stick.’
Here’s some other old posts about upcycling CDs… there were so many great ways to use them.

Elaina Newton
Wednesday 4th of November 2015
What a great idea! I have a pile of CDs that are scratched & sticky (they were in my car & someone spilled a drink on them), that I could clean and re-purpose into something cool that this. :)
Stephanie
Tuesday 3rd of November 2015
What a great idea! Good idea for Christmas gifts too!
Renz HomemadeZagat
Tuesday 3rd of November 2015
Great re purposing. Those pics are precious!!
Lynn@FernAvenueBlog
Tuesday 3rd of November 2015
Those are adorable!! We have 100s of old cds..