
 Who has an electric toothbrush? Does it get moldy or gross inside? Mine does. I’m on my second electric toothbrush and they all seem to have the same issue. Water (and toothpaste) drips down it, enters the seams of the head of the toothbrush, and then gets down into the electronics. It’s a PITA to clean… and impossible to truly get it all. We usually will take a few q-tips to the inside every month or so to clean it out. If it was just the head of the brush that got icky, it’d be okay because those need to be replaced regularly anyways. Unfortunately, it gets into the bottom part of the toothbrush too- the part that DOESN’T get replaced. Or shouldn’t be. I hate waste- I hate throwing old electronics out, I hate wasting over $100 on a toothbrush that just molds, and I hate that I keep things around way past their lifespan due to pure stubbornness over the first two issues. As such, I will spend more time and money to make sure those items LAST, rather than just buildup waste (in my home or in the landfill).
I decided one day that a cover might work to help keep the water and toothpaste out, therefore helping extend the life of my toothbrush. I looked everywhere… and looked again… because I thought that SURELY someone must sell a cover! No product, no tutorials, NOTHING. What the heck? I’m still not convinced there’s nothing out there… I periodically check using other vocabulary to see if maybe I entered the wrong search terms. This was genuinely driving me crazy. It seems impossible that no one else thought of this. Perhaps it’s just that the goal is to NOT extend the life of the toothbrush, therefore giving us all a choice between getting sick from mold or spending $100 more frequently than necessary to replace this toothbrush, thereby keeping the companies in business. Isn’t the cost of the replacement heads enough to keep them financed? For real.

Cleaning your electric toothbrush
Even if you plan to make a cover from my tutorial, you’ll want to clean the inside of your toothbrush first (unless it’s brand new). We don’t have any perfect solution, to be honest. I looked for tutorials for this and came up lacking so I’ll just explain what I’ve been doing.
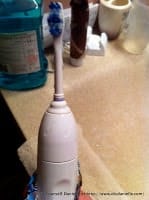
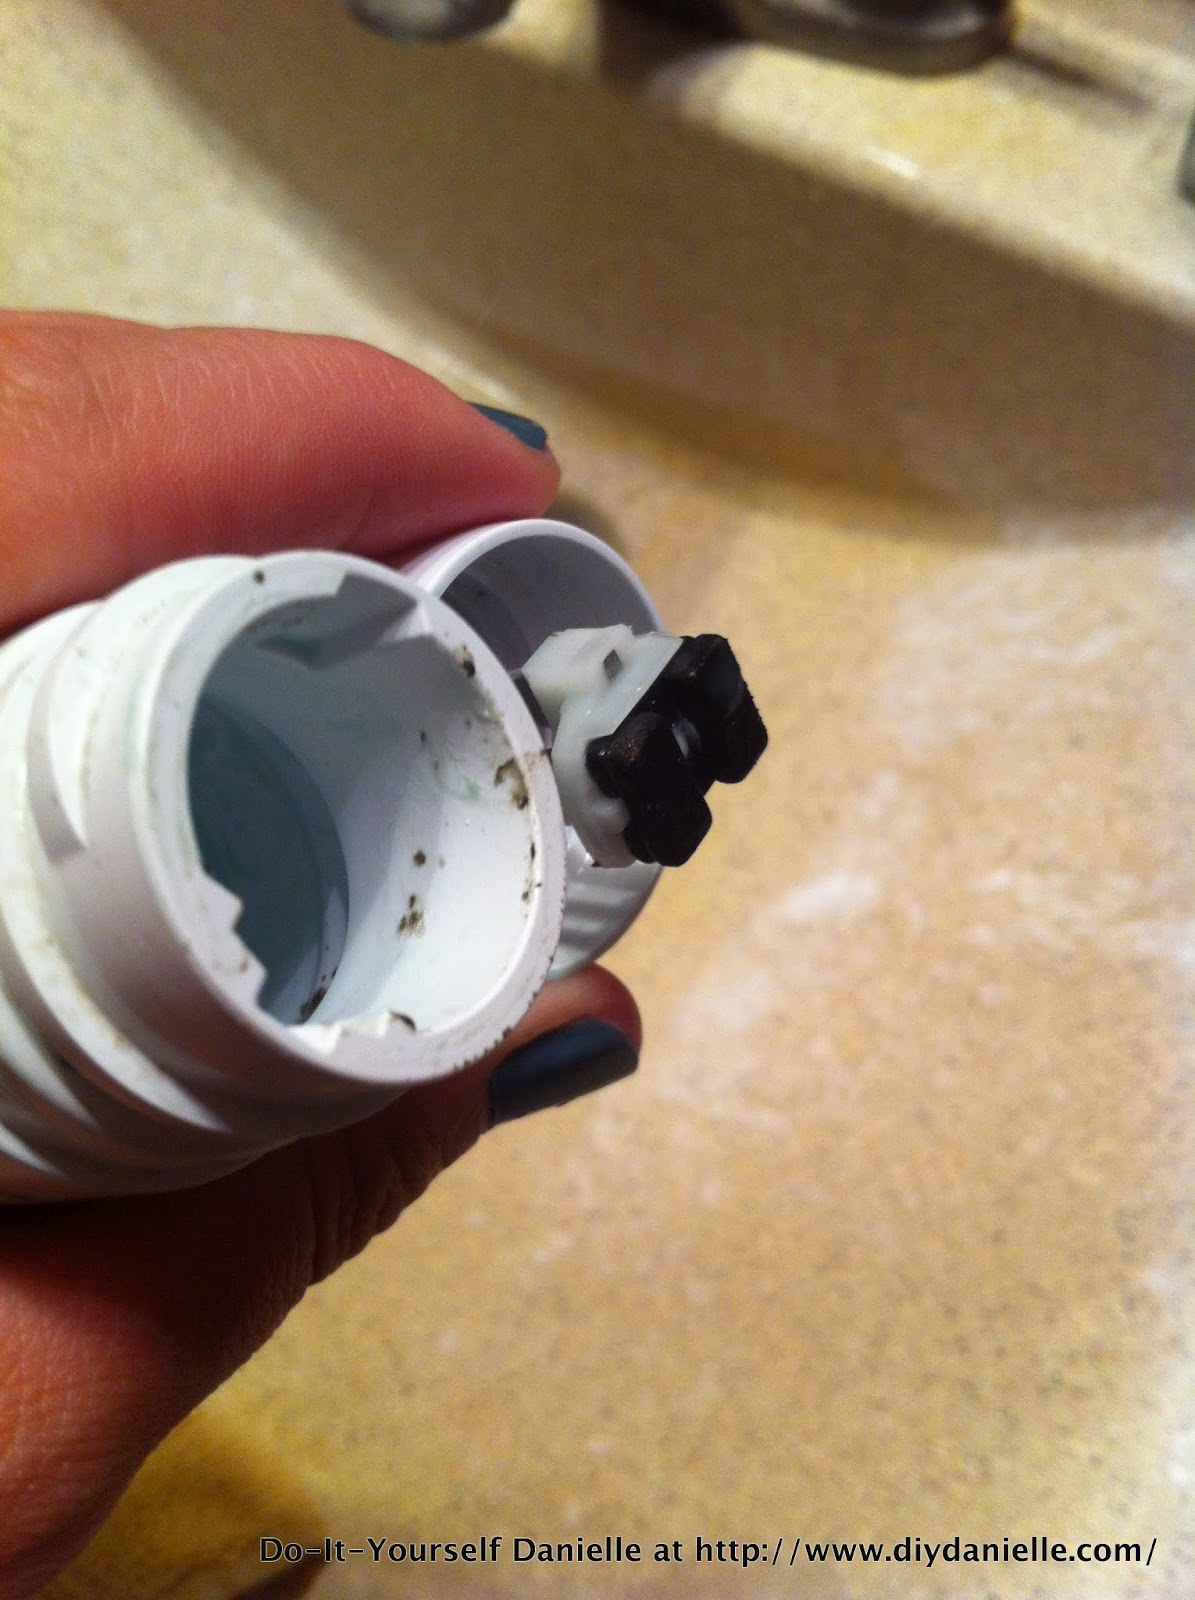
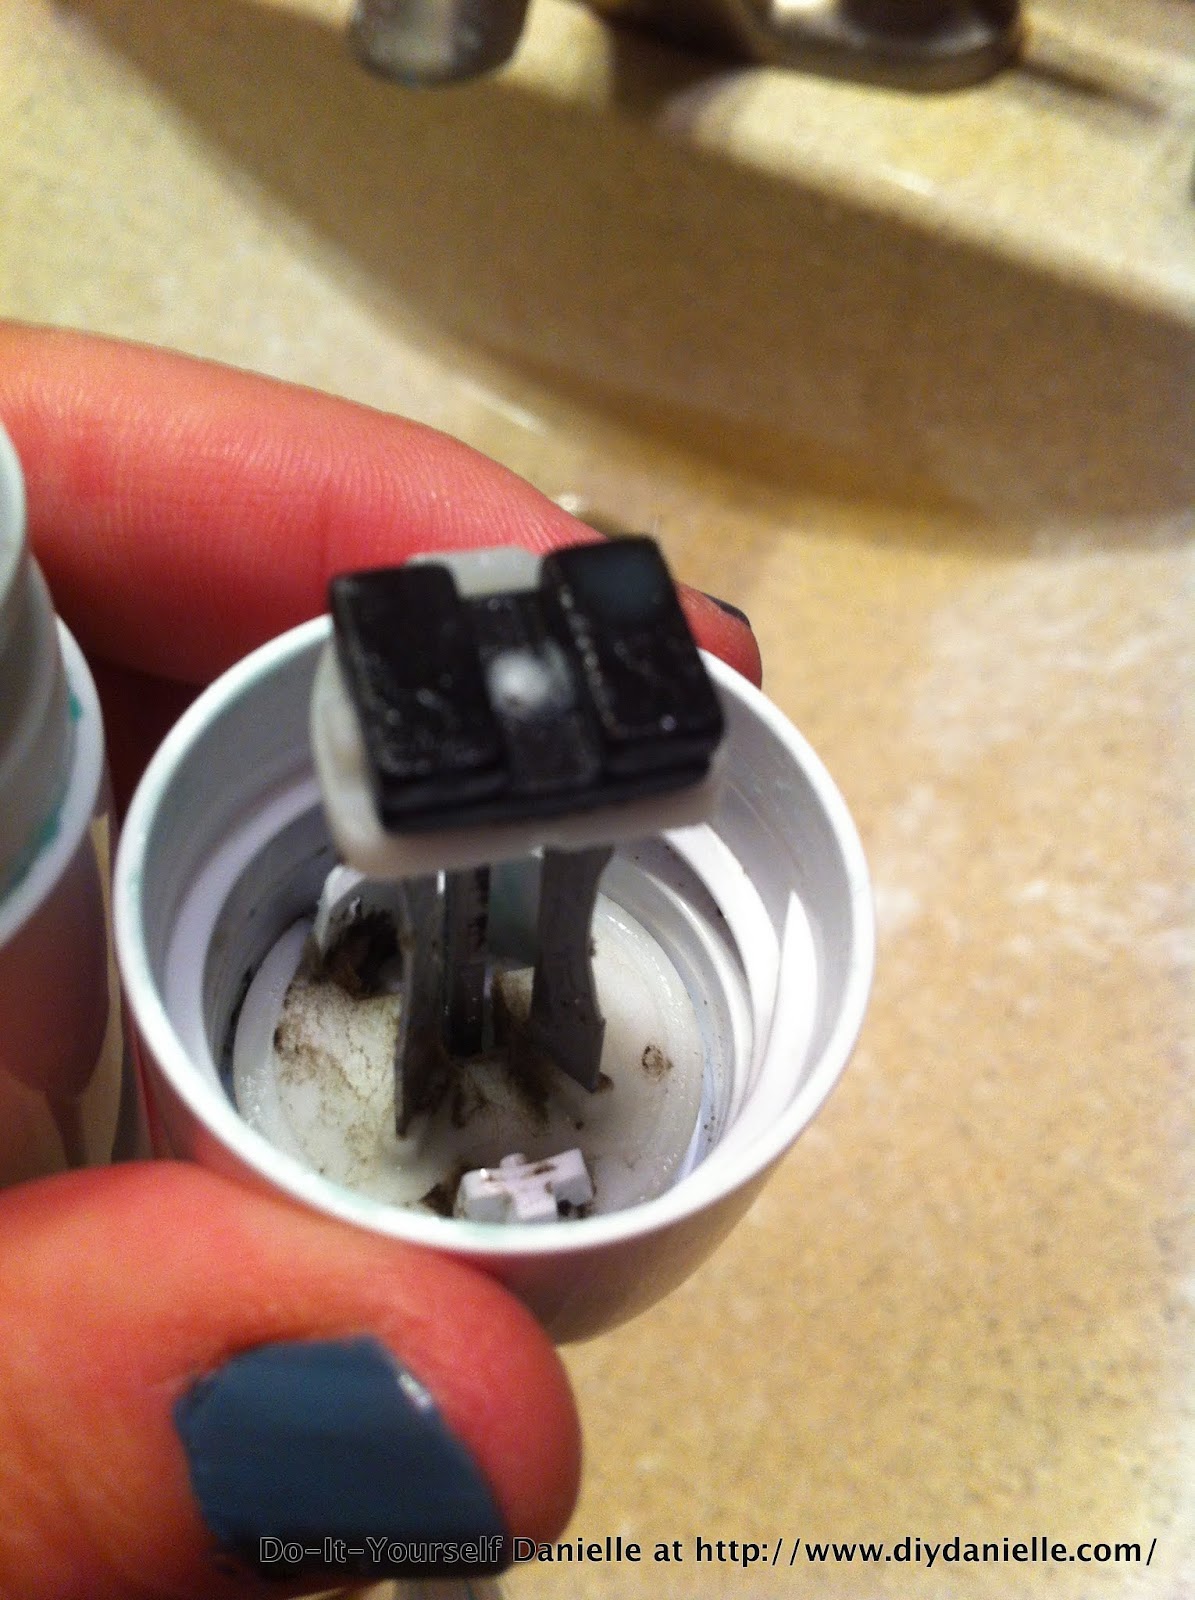
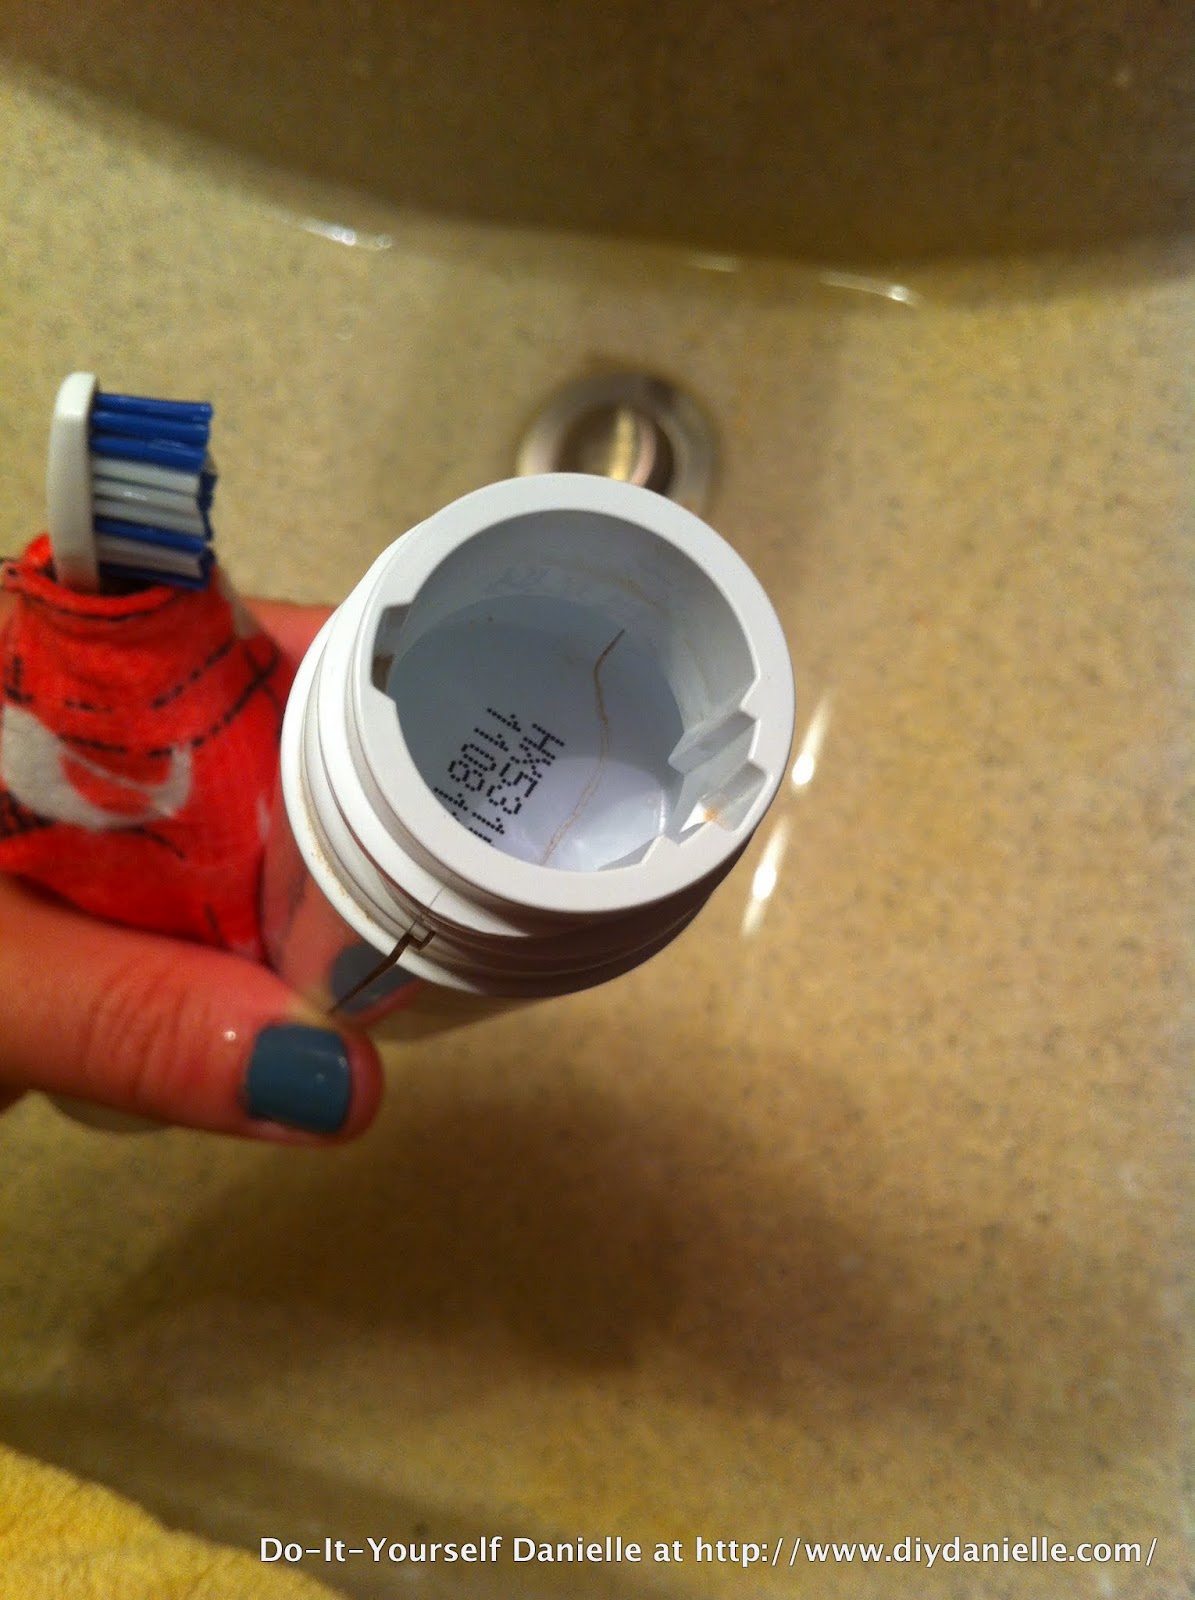
The picture on the left shows how my toothbrush comes apart (it’s a SoniCare). You can unscrew the head, such as you would to replace the head. Then you can also pop the top part off. Total = 3 different pieces. I usually rinse it and take a q-tip to clean out the areas that get gross. Stuff a rag inside to dry it all out after. Daddy B also soaked his in vinegar. What the heck right? Vinegar works for everything?
Ideally, you’d just want to make sure water and goo never get into the inside of your toothbrush. Hence the cover. But it happens.
Just to put this out there, all of the information provided here is for personal use only. It took me a pretty long time to figure this all out and I love to share tutorials for what I make, but it would “kinda suck” to have someone take my pattern/idea and actually profit from it.

 |
|
|

 |
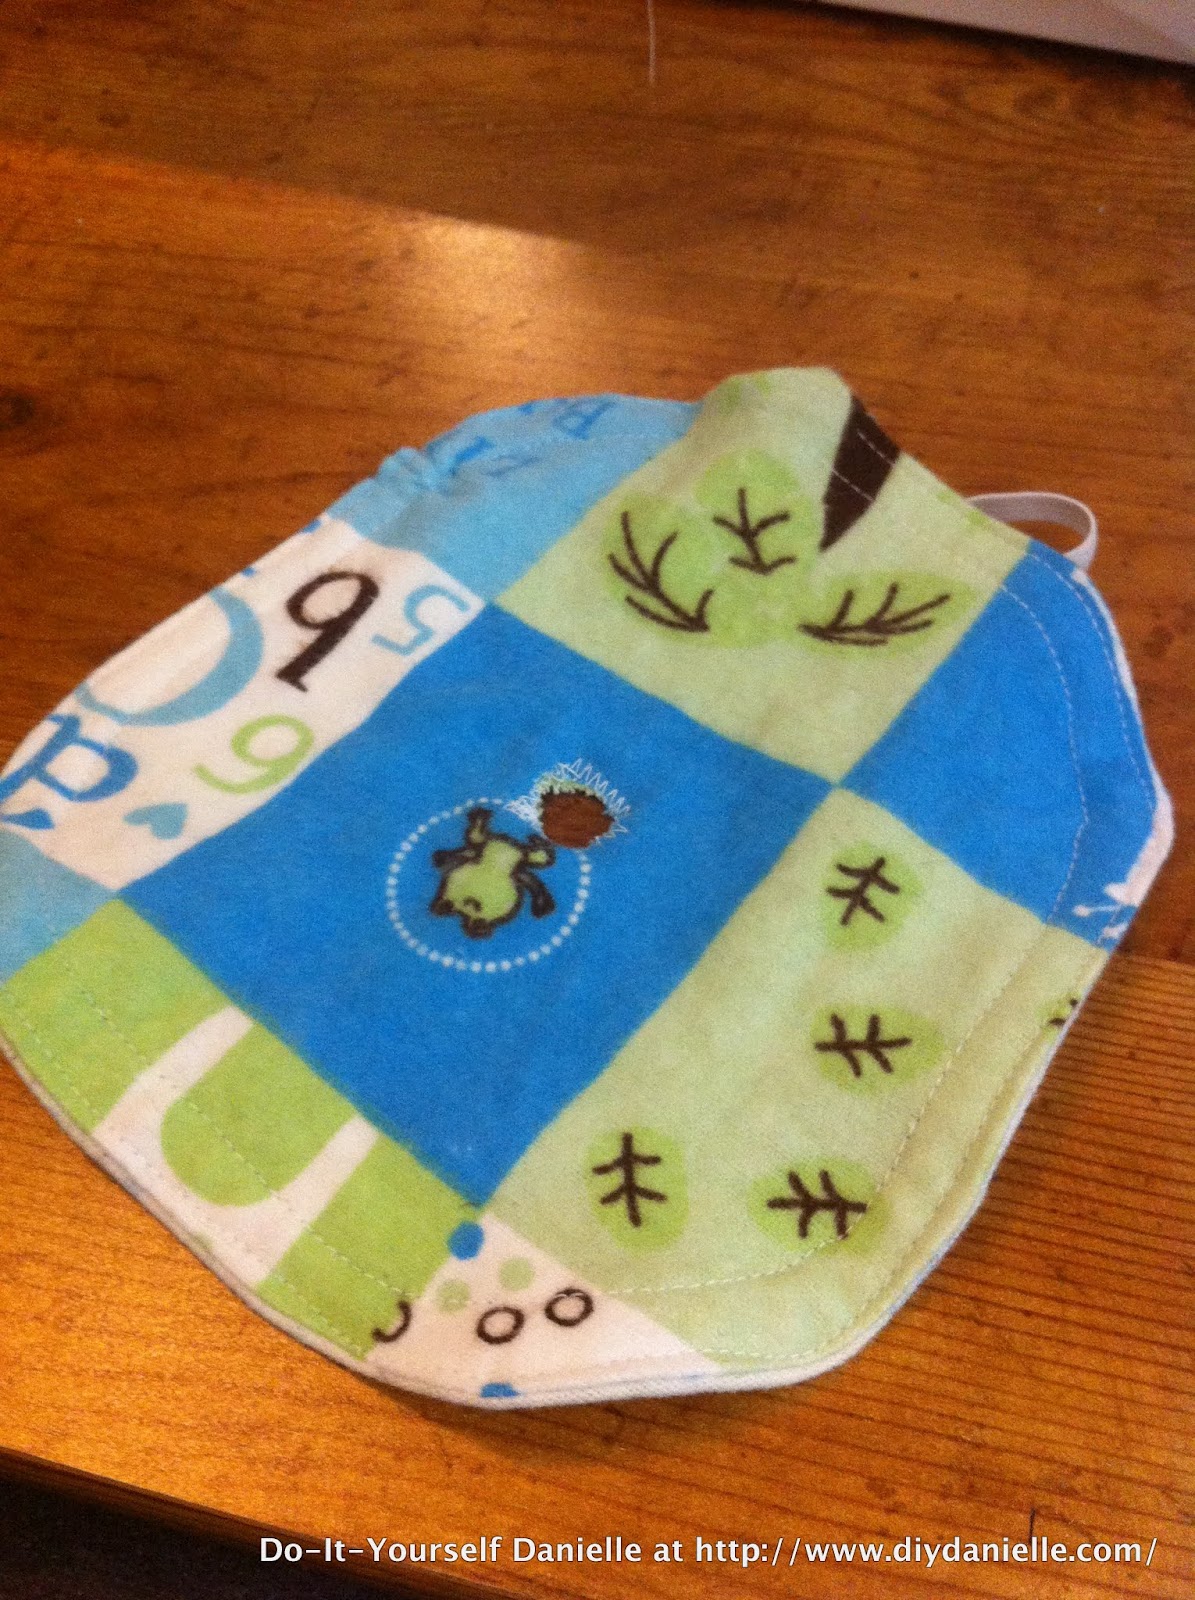
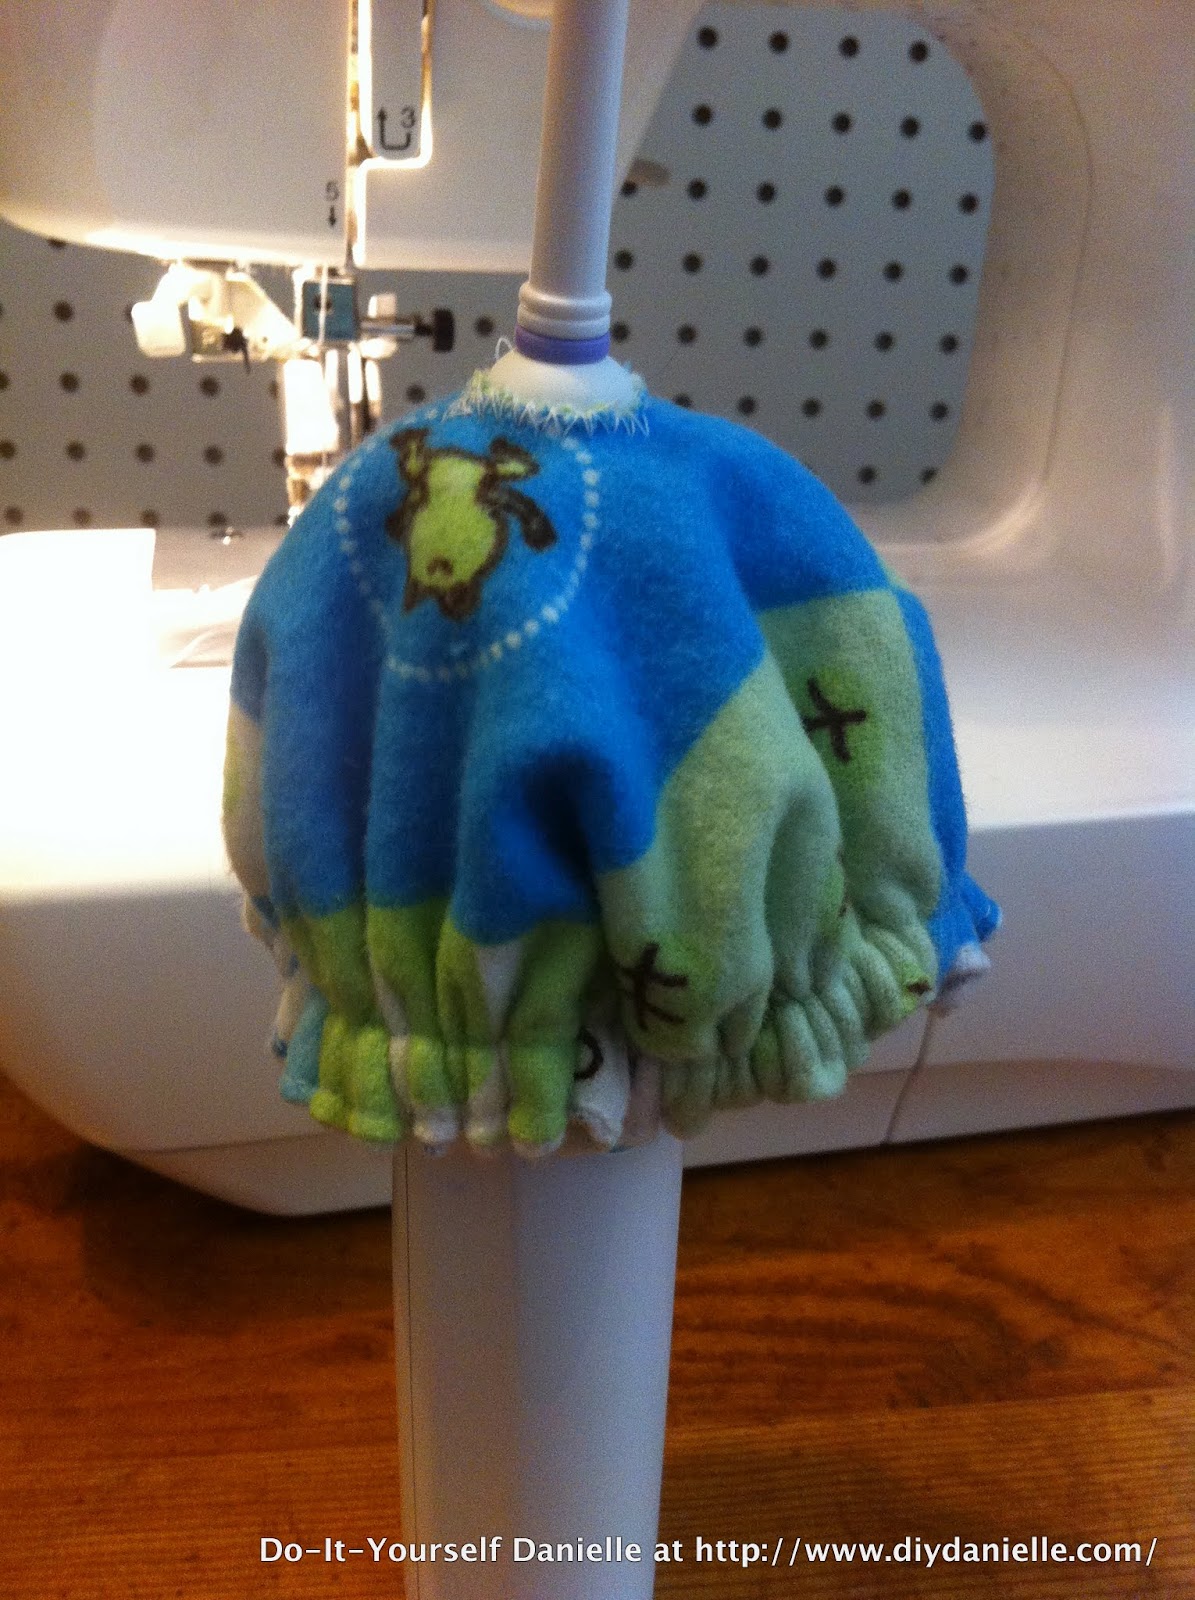
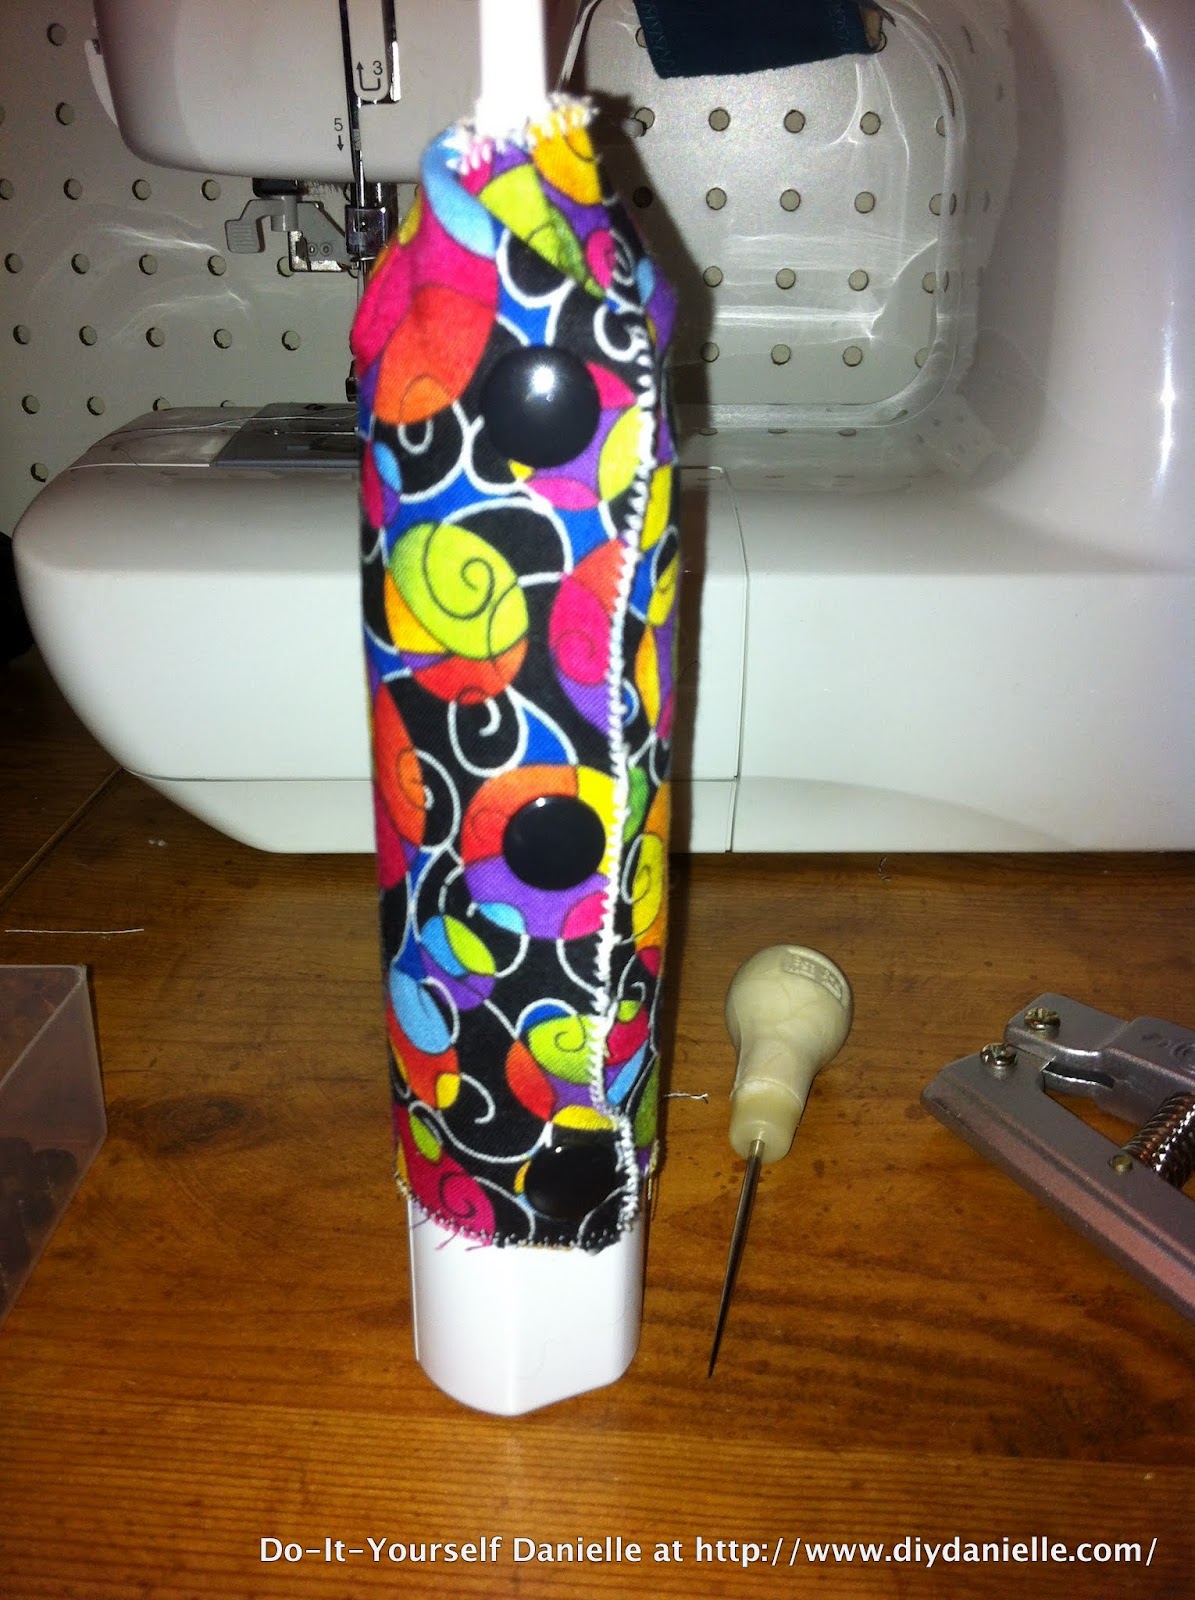
| As you can see, it’s not covering the seam. Again. I thought the elastic might do the trick. Wrong. I was getting aggravated with my failed attempts. |
This is the point where Daddy B helped me figure out how to do it. What I was doing prior was sewing every idea that I had to see if it worked. He suggested making one out of paper to experiment first, then using tape to put it together. Whole lot easier and I ended up left with a working pattern, minus a seam allowance. All I had to do was untape it (used Scotch tape so it came off pretty easy) and viola!
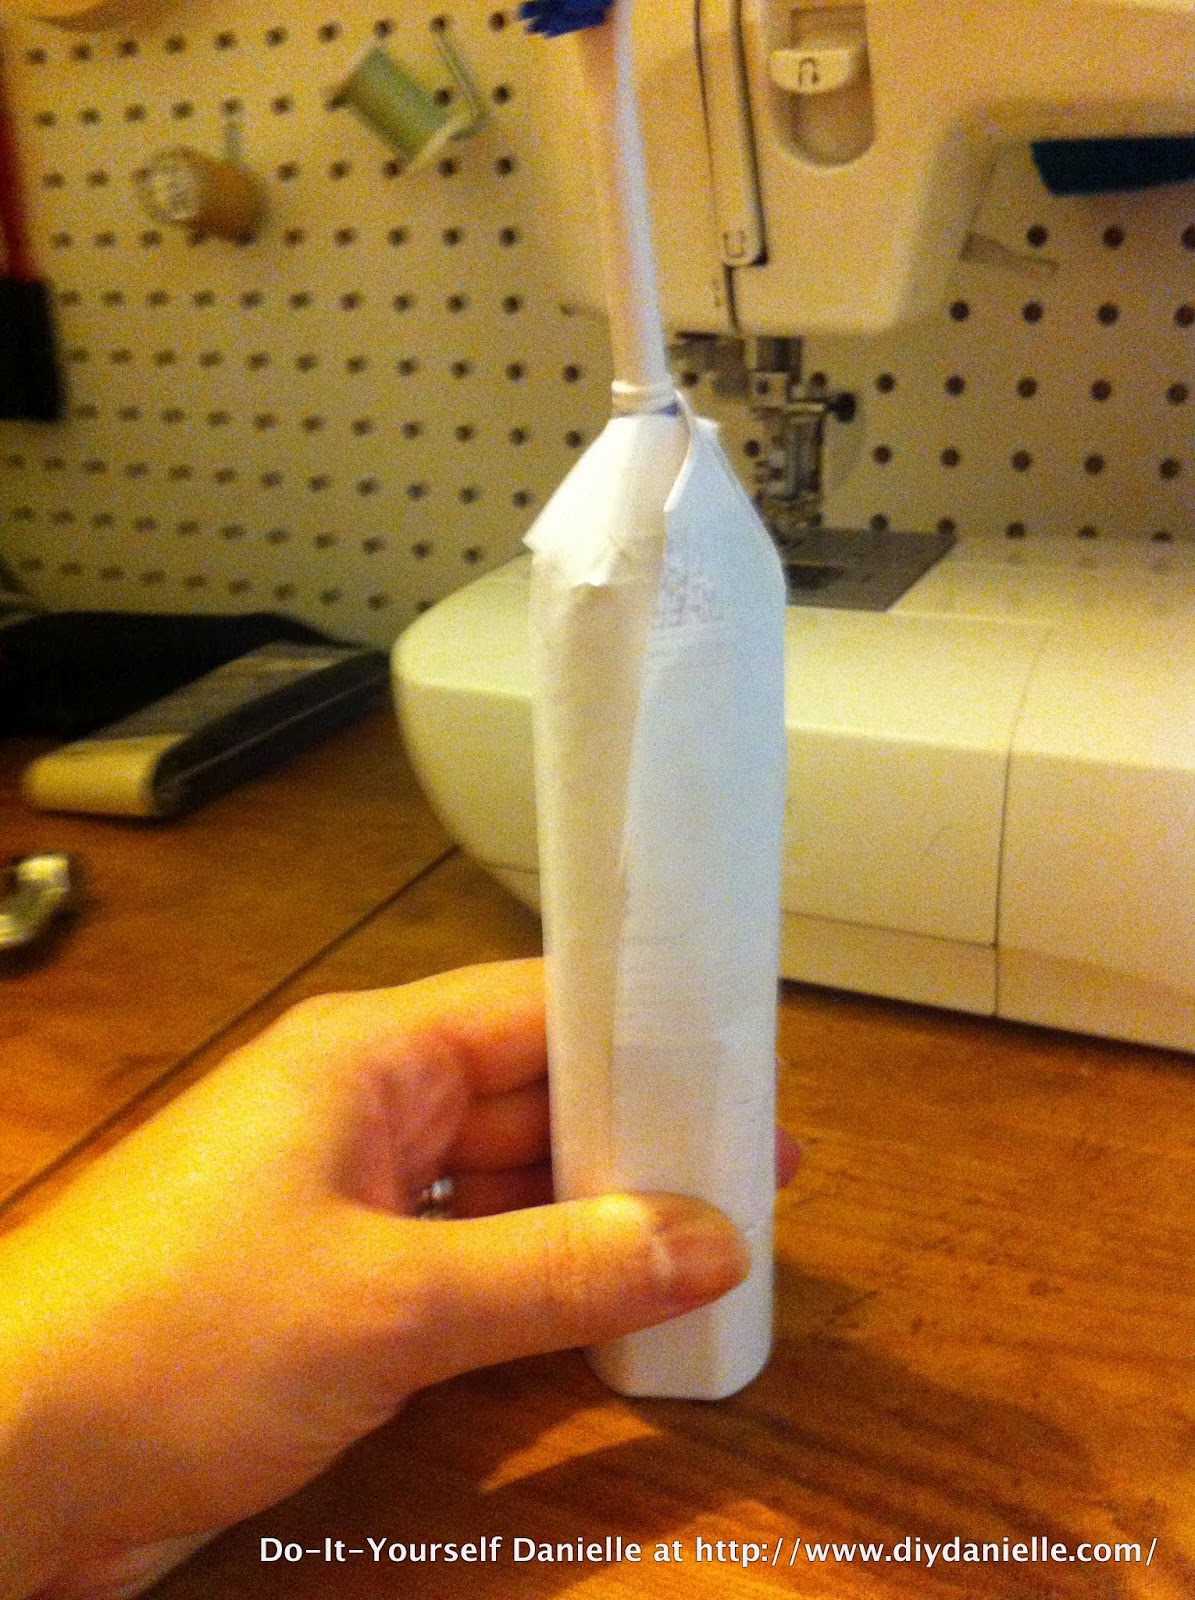 |
| Here’s Daddy B’s attempt to make a paper version of my toothbrush cover. I wish I’d thought of this… and sooner. He’s so smart! |
Version 4
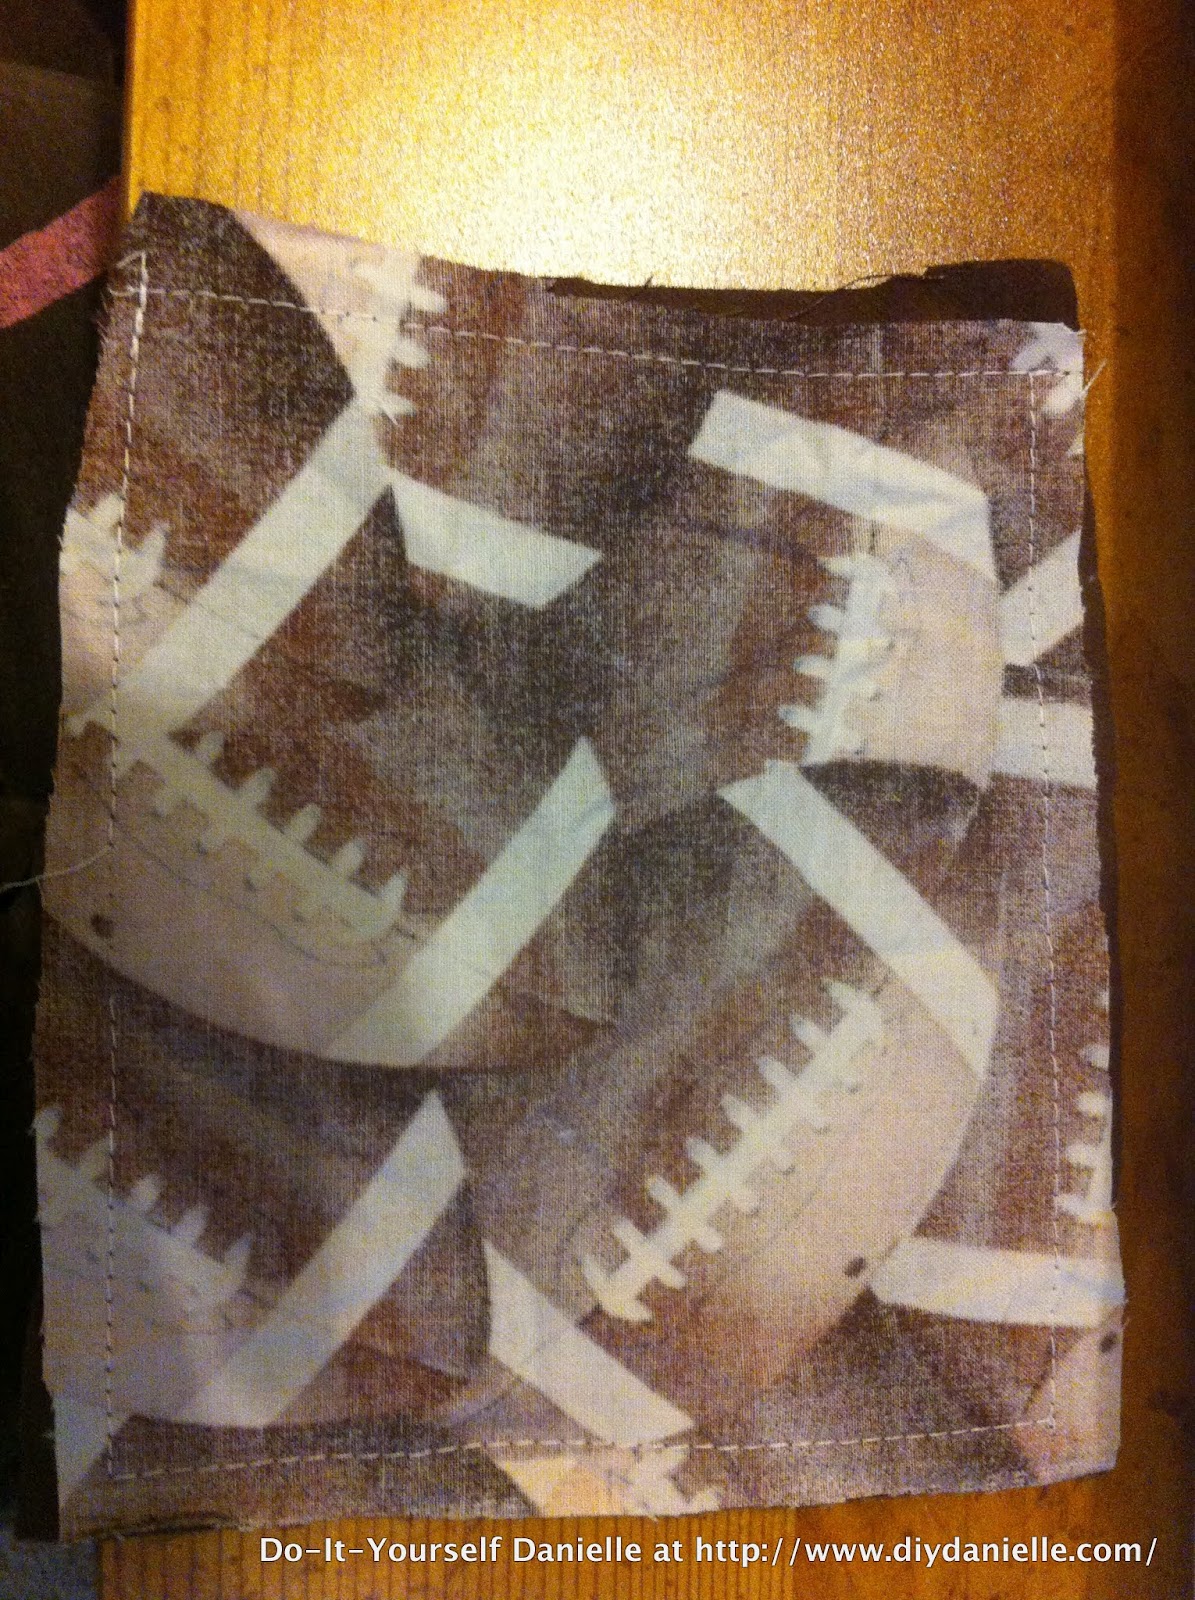
For this version, I couldn’t figure out how to do it via just turning and topstitching so I ended up just zigzagging the edges. If I recall, I also forgot to add the seam allowance which was the second reason that I zigzagged… oops. I’ll share the pattern on Part II of this blog. I need some time to get together a better looking pattern that I can upload and share.

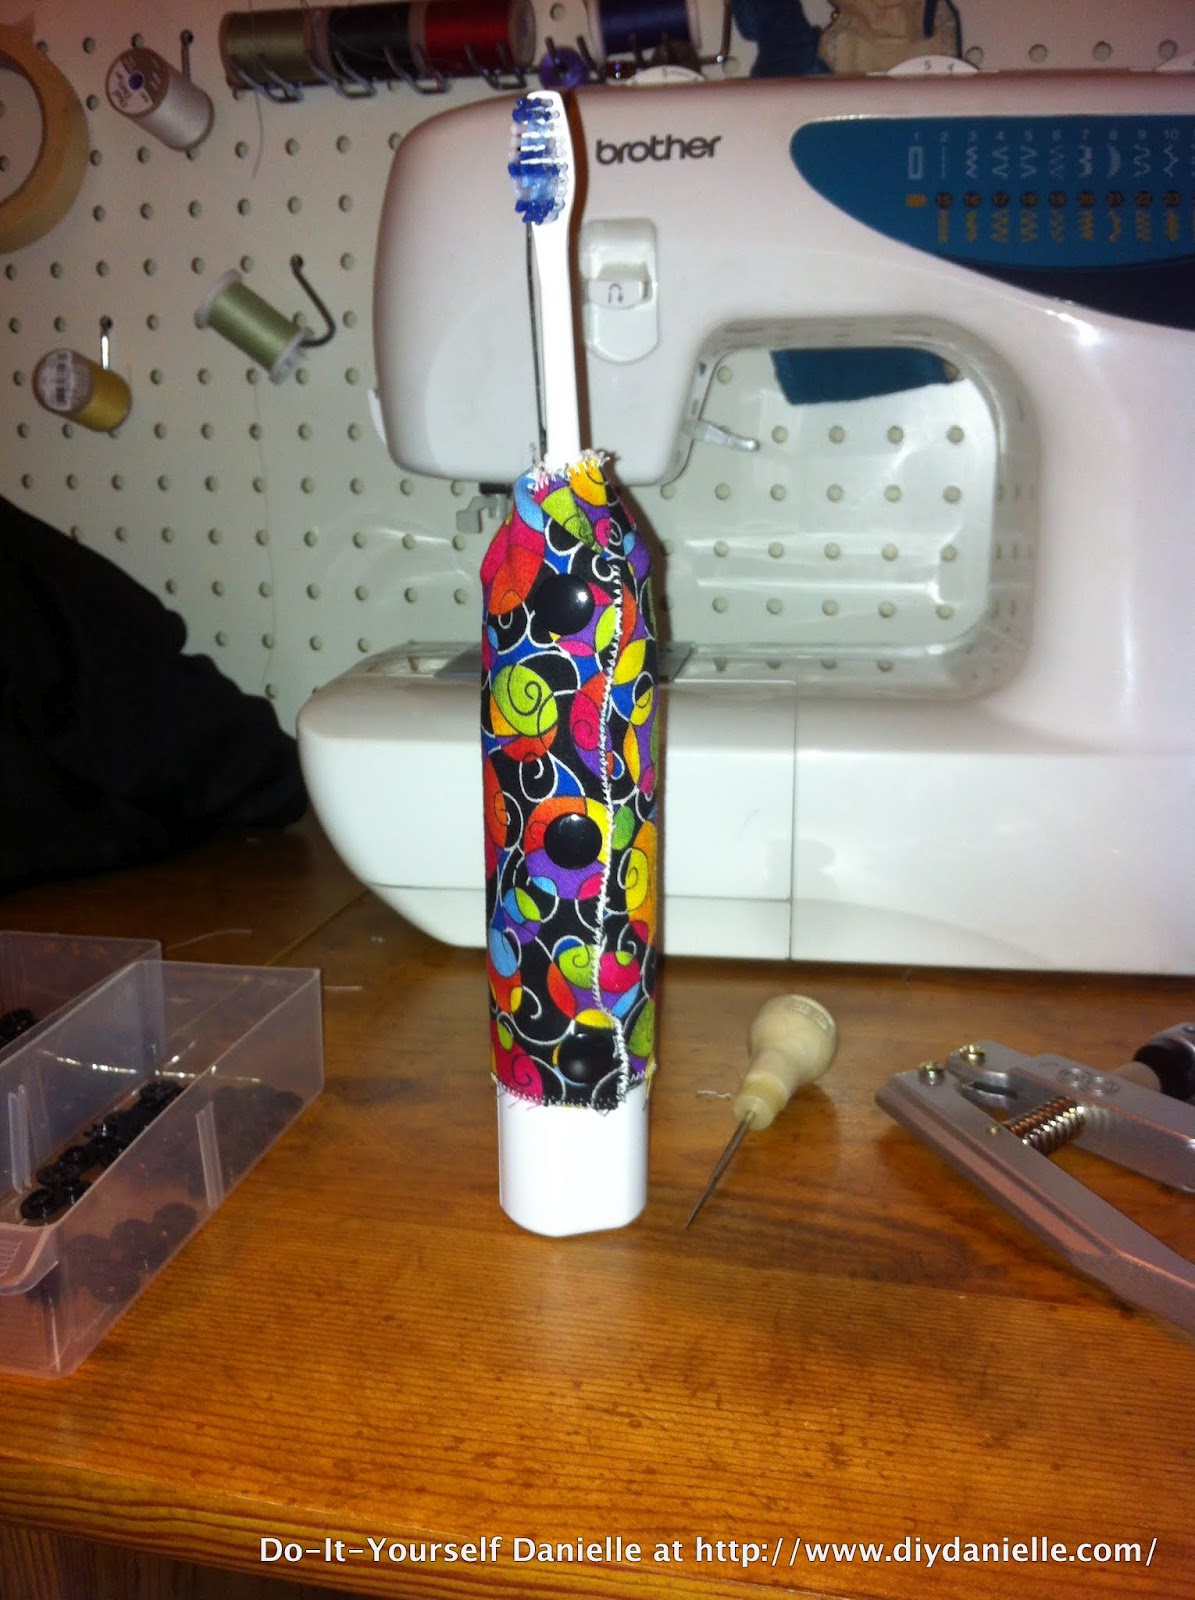
Pros: Works, looks nice, not too bulky, short enough length that it doesn’t cover up the button.
 |
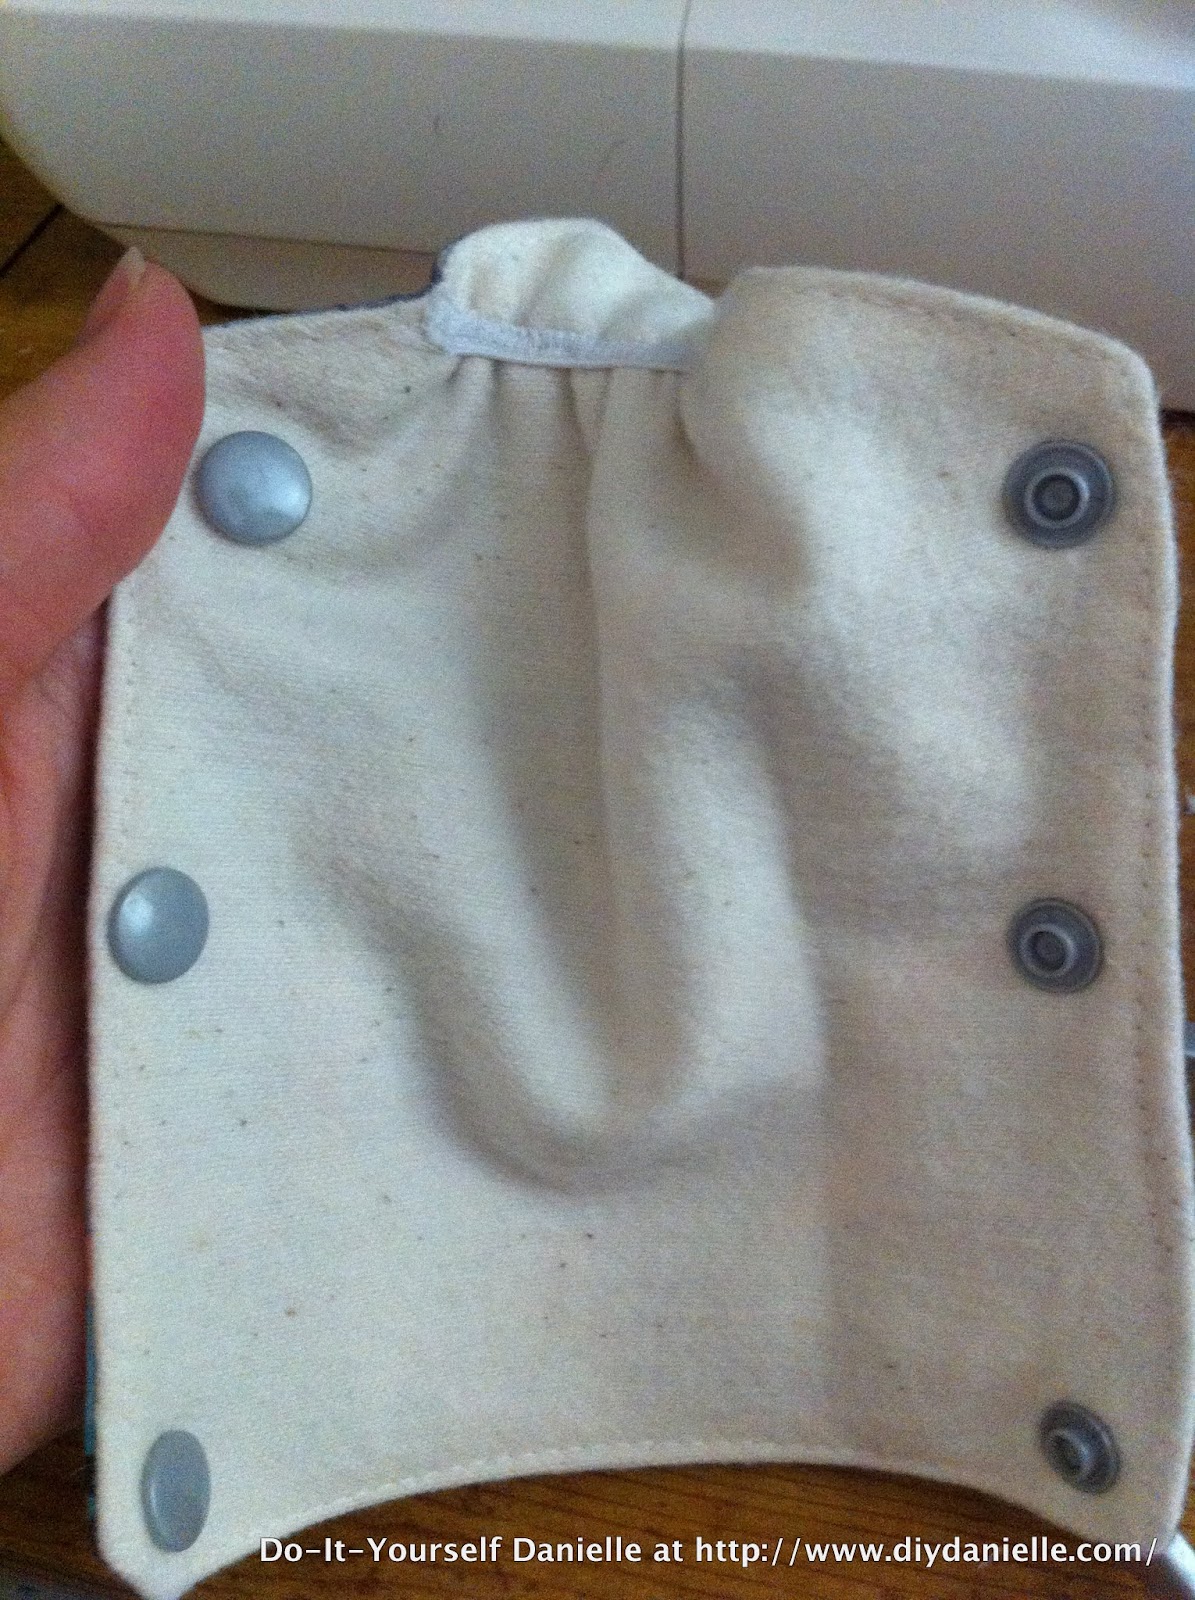
| This is the inside of my toothbrush since I’ve been using Versions 4 and 5 of the cover… MUCH better. It’s not perfect, but that’s because I was never able to clean it out perfectly from before. I can tell there’s a difference because I can check the inside of the brush for moisture before and after use, and it’s consistently dry. |
Next Step: Make your own!
I was going to put the blog together in just one version, but I think there are too many photographs. I’m going to split it up so that it will be easier to read through.
Do you sell the Version 5 of these?
I do not sell these. Thanks.