
Learn how to make your own Christmas party invitations using the Cricut Maker and cardstock. The Cricut makes this project easy!
This post may contain affiliate links which may earn me commissions should you click through them and take certain actions. As an affiliate for Amazon, Cricut, xTool, Home Depot, and other sites, I earn from qualifying purchases. Please DIY carefully. View my full legal disclosures here.
The majority of my content is generated by me, as are 99% of the photos and videos, but I utilize technology for titles, descriptions, video editing out all of my ums, and occasionally for text overlay on images.
Please read the whole post so you don’t miss any important information!
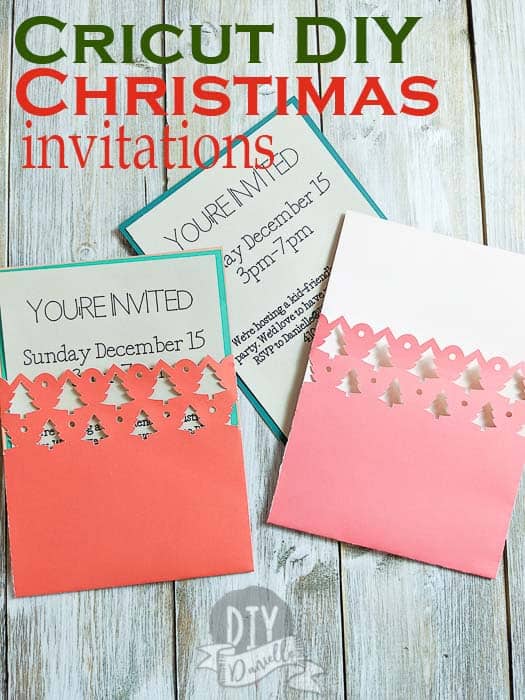
We’re having a small Christmas party this year and I needed to whip up a few invitations for the people who aren’t on Facebook to get an electronic invite. I decided to see what type of options I had on Cricut and I wasn’t disappointed.
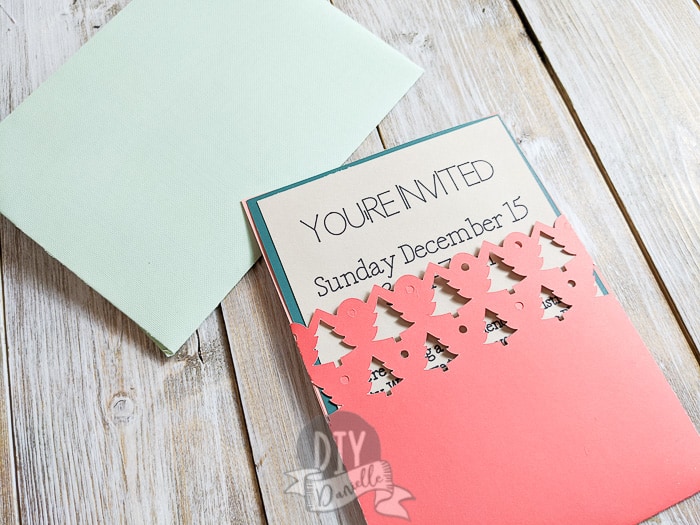
I found a Christmas invitation card template that worked perfect and I already had some cardstock to use! This wasn’t the quickest project as it required swapping out the scoring wheel and the regular blade, but it was easy! The finished project looks fabulous too!
DIY Christmas Party Invitations
Supplies
- Cricut Maker and Essentials
- Cricut has lots of free designs available like this Christmas Invitation Card template that I used. You may need a membership to Cricut Access to use these files free.
- Cardstock/Scrapbook Paper: Red, Green, and Light Brown
- Cricut pens
- Scoring wheel “blade”
Use the Discount Code DIYDANIELLE on cricut.com for 10% off any cutting machine or heatpress (no minimum). Excludes: materials/accessories/mystery boxes/etc. Applies to US/CA only, code expires 12/31/23.
How to Make Party Invitations with the Cricut
The Cricut is going to make this a bit less effort than if you were doing these on your own. You have a couple of blades- your normal blade for cutting around the design, and you have a scoring tool which indents the area where you’ll need to fold.
To begin, open the Christmas invitation design on Design Space. You don’t want to mess with things like the size. Just keep it all as is.
You’ll eventually want to add writing to your card- the card piece this goes on is the brown piece. Keep in mind that you need a beige or light brown if you want the black pen to show up well! You could always use white too.
You’re NOT restricted to using the colors that Cricut suggests for the project.
Cutting Your Card Pieces
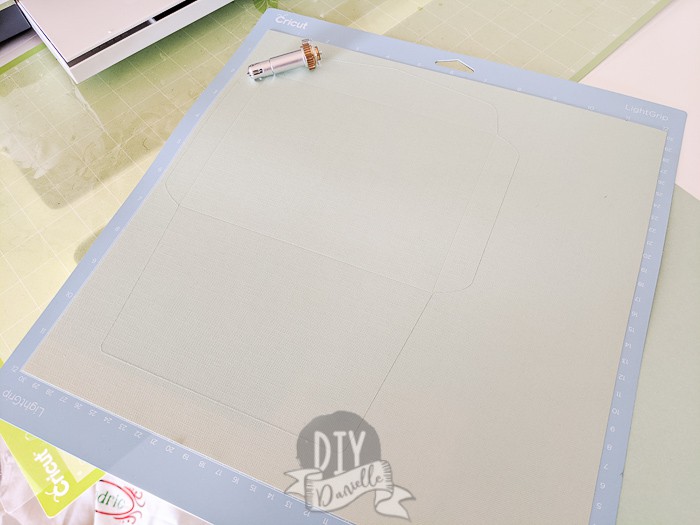
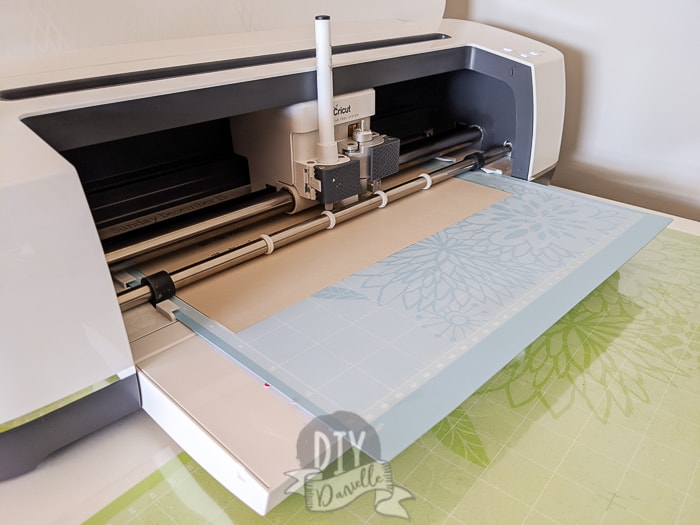
I cut my envelopes first using light green paper. This requires swapping out the scoring tool and the regular blade. The system will notify you. MAKE SURE YOU USE THE BLUE LIGHT GRIP MATS. The green mats will give you issues unless the glue is really worn off.
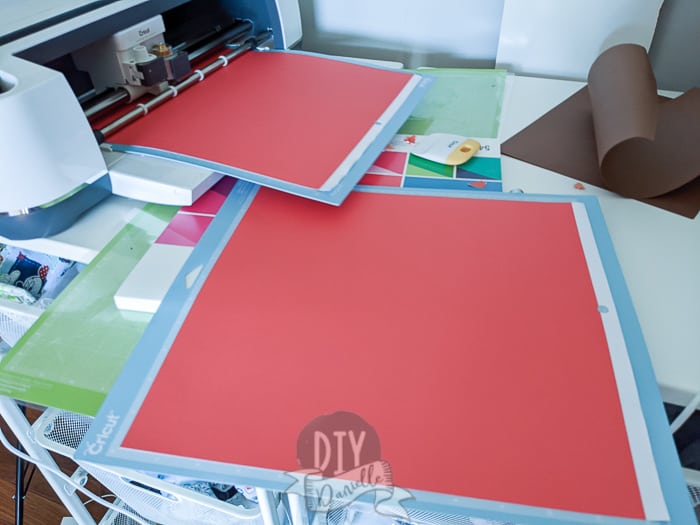
If you’re making more than one card, it is helpful to have two light grip mats so you can get another piece of paper setup while the first one cuts/scores.
Remove the paper when it’s finished by flipping your mat over and peeling the mat away from the paper. This helps keep the paper from curling.
Repeat with your other pieces EXCEPT the “brown” piece… save that.
Adding Your Invitation Text
Once everything else is cut, cancel your cut. Look in the side bar and delete all of the pieces EXCEPT the brown piece. This just helps keep you organized.
You can now use the text tool to add your text. Make sure you have the LINE TYPE set to DRAW. This option shows up above the font/style selections once you type your words. If you forget this step, the machine will CUT the words out which isn’t ideal (particularly if they’re very small).
Some fonts are better to use for writing. If you use bigger fonts, the pen will outline the letters instead of coloring them in… you’ll see what I mean if you choose one of these. Design Space will show you what you’ll get.
Once you have everything setup how you want, move the text around on the brown piece until it fits properly and is in the spot you want.
Want to center it on the brown card? Select everything and hit ALIGN –> CENTER HORIZONTALLY. This lines everything up.
You can, of course, just move everything around manually.
Once you’re ready to move on, you can select all of the items and click ATTACH (bottom right tool bar). This holds all of the individual pieces together for cutting/writing.
Click make it, insert your paper, make sure your pen is inserted, and you’re ready to go! Just follow the instructions the Cricut gives you.
Assembling the Invitation
Putting the invitations together is easy.

Start with your envelope and fold at the score marks. Use glue to attach the sides to the bottom piece. The top flap can be glued down (or use a sticker) after you insert your card.
Fold your red piece similarly with the folded edges going around the back to be glued. This gives you a pocket to insert your invitation details.
The last step involves your green and brown piece. You can glue the brown piece centered on the green cut. Or you can use double sided tabs to attach the brown piece.
The tabs look nice and create a 3D effect, but it makes slipping the card into the pocket a tight fit. But it looks PRETTY!
Once everything has dried, slip the card into the pocket, and the full set into the envelope. Address and mail!
Love this project? Check out some other fun Christmas projects like this 5 minute DIY Christmas Tree Watering System, make a Sunflower Christmas tree, or add Candy Cane decorations for your front porch.
Please share and pin this post! You can also post your project and tag the DIYDanielle team on Instagram @doityourselfdanielle!
Google Web Story: Christmas Party Invitations with Cricut