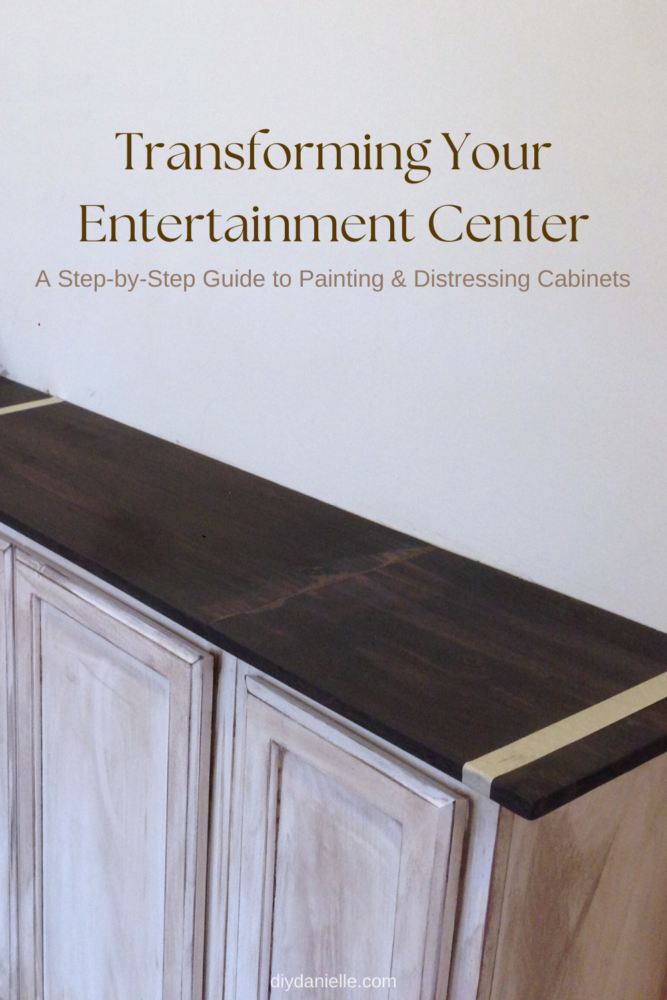
Discover how to transform your cabinets with this DIY guide to painting and distressing. Learn step-by-step techniques, including staining and sealing, for a beautiful, vintage look. Perfect for beginners. Get inspired and start your transformation today!
Embarking on a DIY project always fills me with excitement, especially when it involves personalizing my space and adding more storage space to my home. This time, my sights were set on transforming kitchen cabinets with a fresh coat of paint and a distressed finish into a custom entertainment center with plenty of storage for books, DVDs, and video games. This was my second time distressing furniture and I decided to use the same paint and stain color that I used on my bureau/tv stand. I LOVE how it came out!
This post may contain affiliate links which may earn me commissions should you click through them and take certain actions. As an affiliate for Amazon, Cricut, xTool, Home Depot, and other sites, I earn from qualifying purchases. Please DIY carefully. View my full legal disclosures here.
The majority of my content is generated by me, as are 99% of the photos and videos, but I utilize technology for titles, descriptions, video editing out all of my ums, and occasionally for text overlay on images.
Please read the whole post so you don’t miss any important information!
Step-by-Step Guide to Painting and Distressing Cabinets
Supplies
The project’s cost was minimal, thanks to using leftover supplies from my previous bureau project. Here’s a breakdown for those curious about the potential costs:
- Unfinished kitchen cabinets: Removing old finish is a LOT of work, but feasible. I opted to go with unfinished cabinets to avoid extra steps, however, it may be more economical to start with used cabinets if you can find some for a good price and the right sizes.
- Old scrap cloth (I upcycled a tshirt)
- Paint Brush: $0
- Sponge Brush: $0
- Electric Sander: $0
- Assortment of different grit sheets of sandpaper for your mouse sander: I used 120 Grit Sheets ($5.97) and 80 Grit Sheets ($4.97)
- Drop Cloth: $0
- Plastic gloves: $0
- 1 Gallon of Behr Swiss Coffee Satin Paint: $27.96 (I think a pint might have been sufficient)
- Staining Pads: $3.98
- 1 Pint of Minwax Wipe on Polyurethane: $11.97
- 1 Pint of Minwax Wood Finish Dark Walnut: $7.77
Total Cost: $62.62
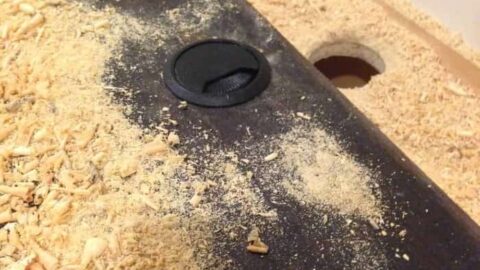
The Journey Begins: Staining the Countertop
My initial step was to stain the countertop, aiming for a seamless look with the cabinets. I opted for the same stain used in my bureau project.
We applied stainable wood filler to merge the wood pieces smoothly. However, I learned a valuable lesson: stain first, then apply the wood filler. It was NOT seamless when we did the wood filler first, and we needed to sand and re-stain to fix the appearance.
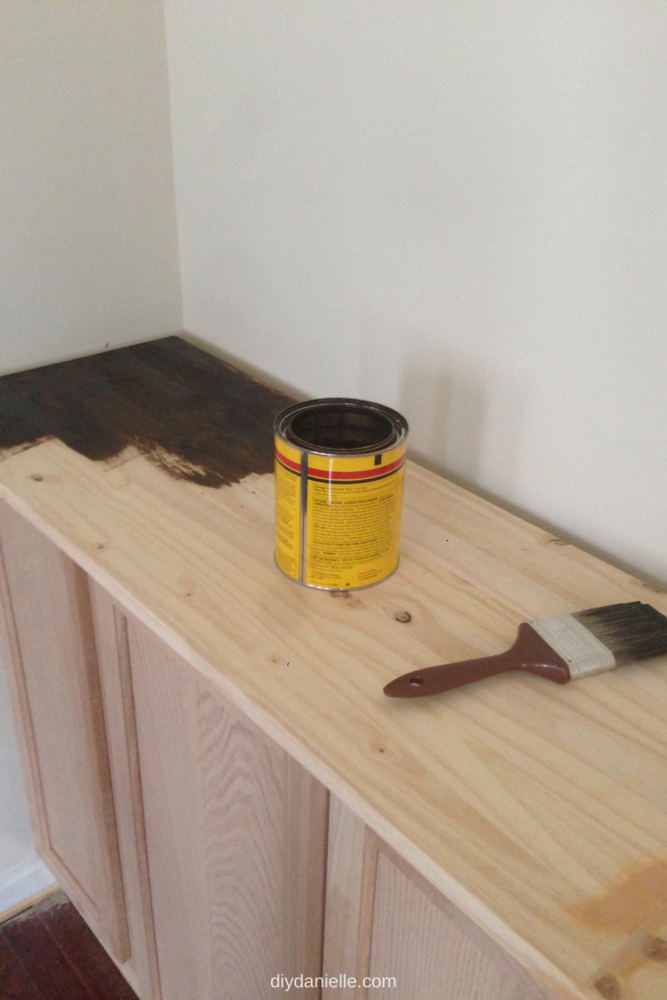
Make sure to do all of the sides that show: Your countertop and then the area underneath the “lip” of the countertop that peaks out from the cabinet.
Preparing to Paint and Distress the Cabinets
- Take off any hardware on your cabinets: drawer pulls need to be removed.
- You can paint with the doors on or off. Taking them off may make the process quicker and easier, but it adds an extra step.
- If you remove the doors, remove the hinges so you don’t get paint or stain on them.
- Lay down a drop cloth to protect your floors.
- Ideally, paint outdoors in a protected tent and with a paint sprayer to speed up the process substantially and cut down on the mess inside your home.
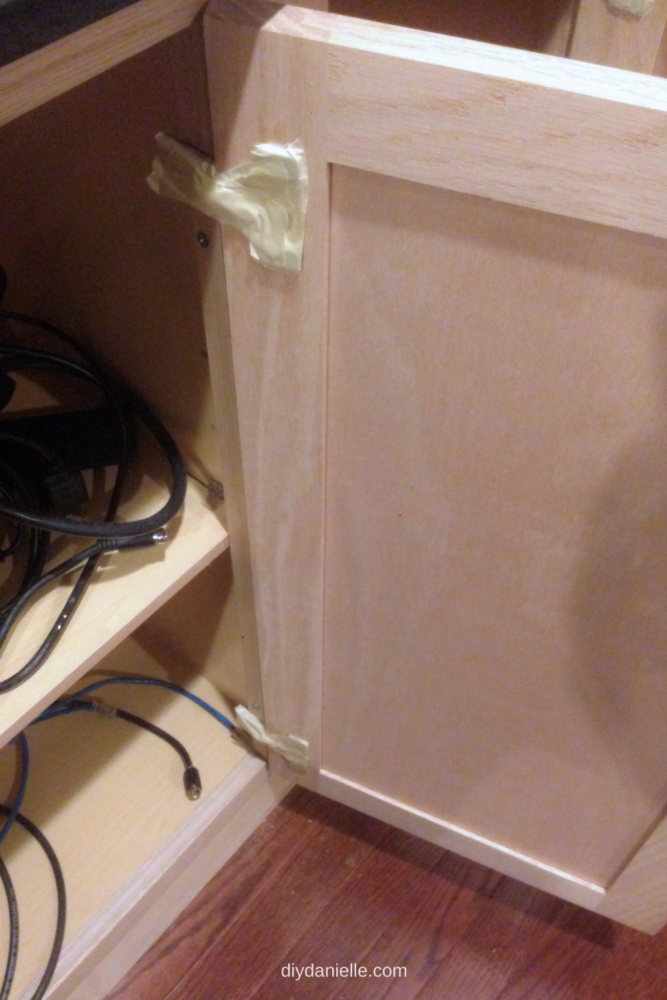
These are the cabinets before I started working on them. Fortunately, I didn’t need to worry about drawer pulls yet.
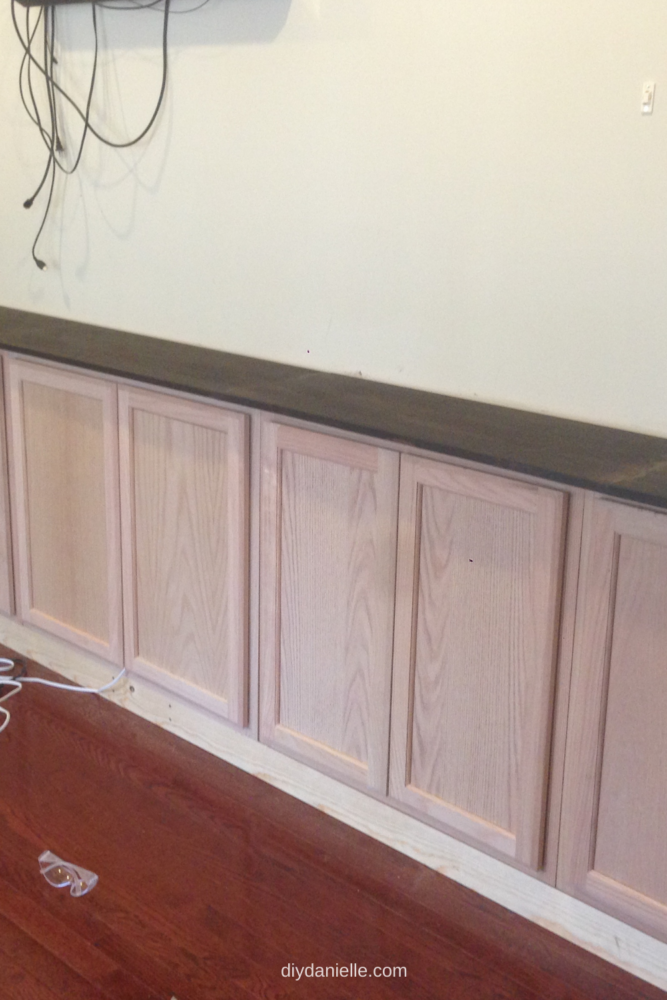
I always think I’m going to save time by keeping doors on the cabinets, but I doubt that I do. It DOES however help if you don’t have a lot of space to paint… laying this many cabinet doors out on the floor to paint is difficult if you don’t have an enormous shop to work from.
Diving Into Painting and Distressing
Next, I turned my attention to the cabinets. Painting and distressing them was more labor-intensive than anticipated. Despite my initial enthusiasm, the reality of painting quickly set in. Painting cabinets is VERY time intensive. Distressing them just adds extra steps.
For the cabinets, I followed these steps:
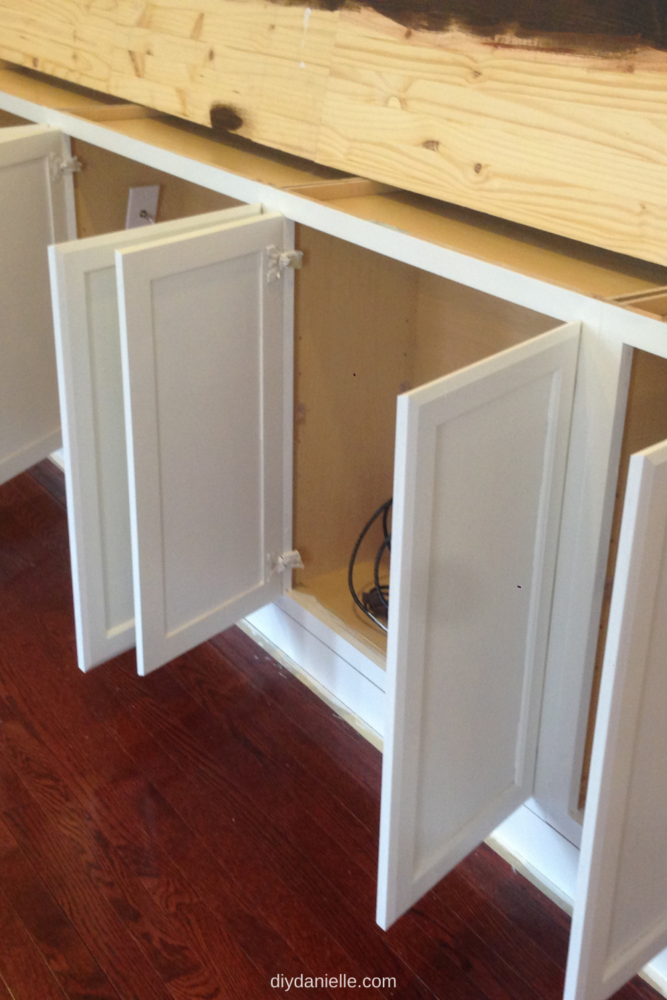
1. Apply Two Coats of Paint, letting each coat dry before moving onto the next step.
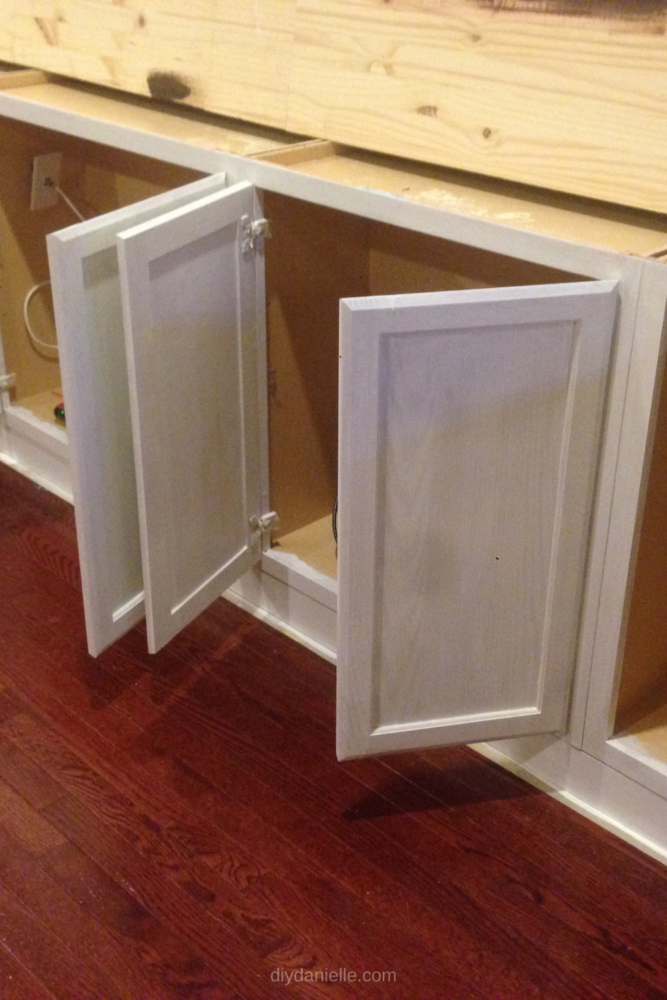
It always amazes me how much of a difference the second coat of paint makes! I love it.
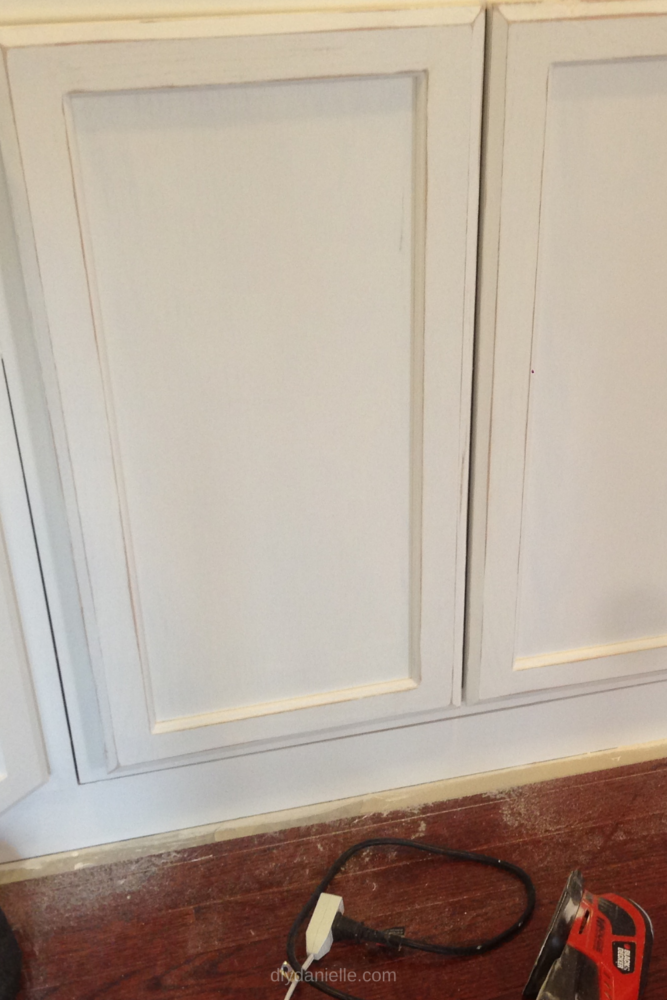
2. Sand to Distress: Focusing on the cabinet exteriors, I sanded along the grain, mainly targeting the edges to achieve that distressed look.
Sanding peels away paint from areas that might normally see a lot of wear and tear from long term use.
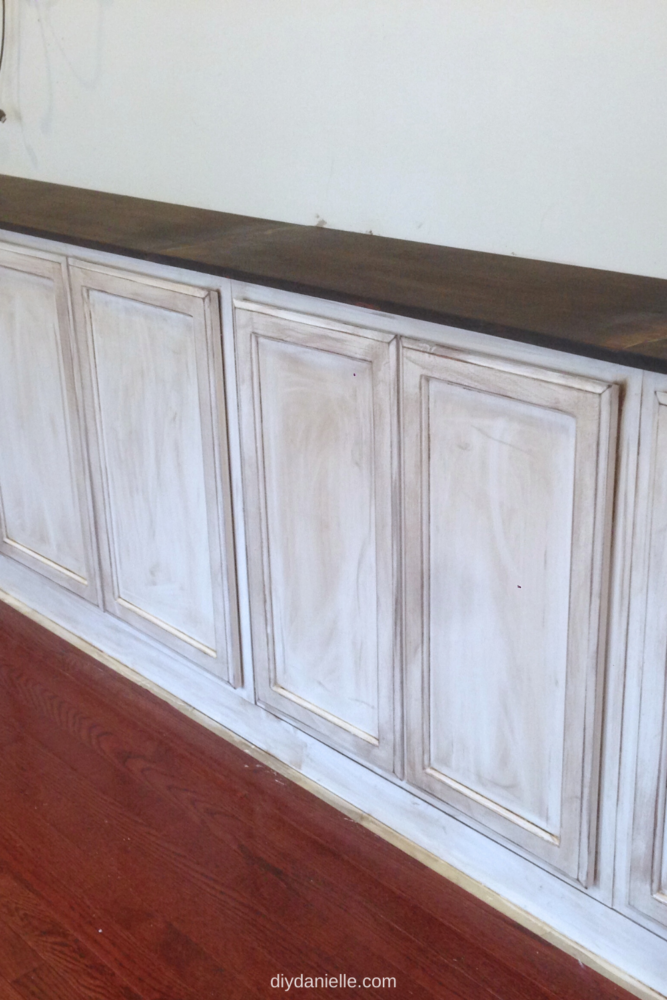
It’s hard to tell in the photo below, but if you look closely, the edges of the cabinet trim are sanded down and you can see the raw wood peaking through.

You may be able to see it better in this photo.
3. Stain Over Paint: Using an old T-shirt, I applied the stain, wiping as I went to blend the distressed areas.
The stain is essentially covering all of those now-raw areas.
4. Seal with Polyurethane: To protect the finish, I applied a coat of wipe on polyurethane, allowing it to dry for 24 hours. I only used one coat of polyurethane, but typically you want to do multiple coats, allowing each coat to dry between applying. The first coat or two should be lightly sanded before the next coat is applied.
Pro Tip: When painting the cabinets, consider whether to remove the doors. Painting with the doors on may save time, but removing them ensures you cover every nook and cranny.
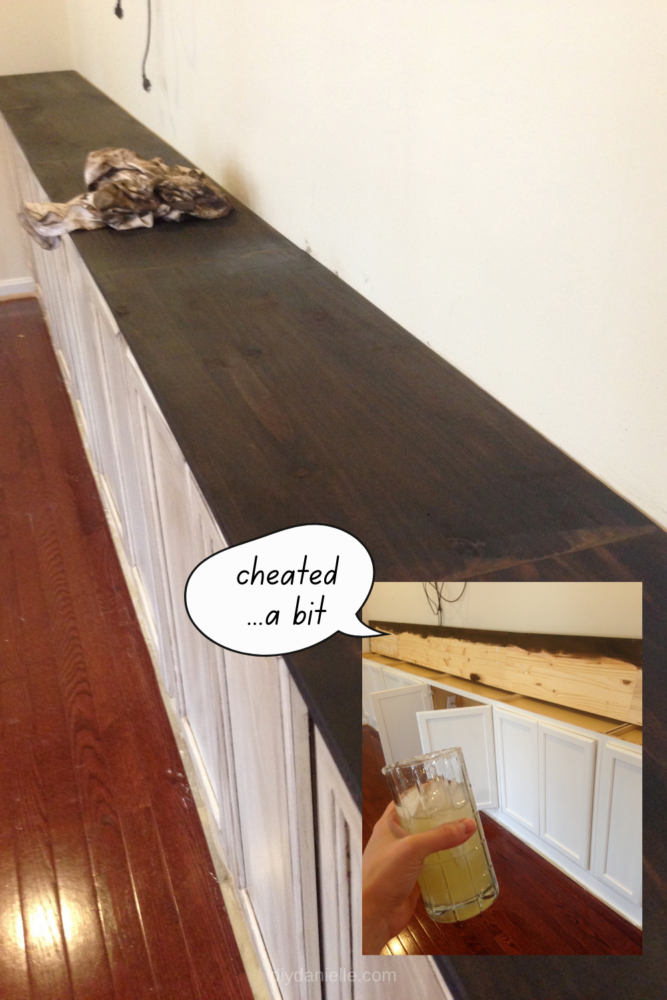
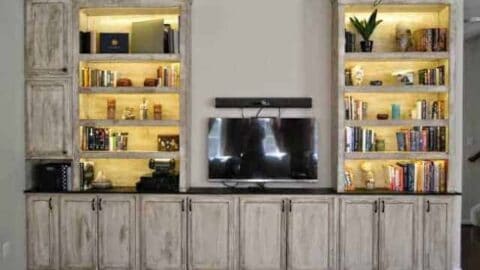
The Finishing Touches
With the sanding, staining, and sealing complete, my cabinets had transformed.
Now that I have a bit more experience with this, I can see the areas where I was a little too enthusiastic and didn’t sand with the grain. I sanded a bit in a circular motion, I believe.
I also found that wipe-on poly made me prone to doing a “wipe on wipe off” motion that may have created some odd streaks. Painting polyurethane on is easier if you struggle to stick with moving in the direction of the wood grain.
Inspiration and Further Reading
This project was inspired by Addicted2Decorating.
Conclusion
Transforming cabinets with paint and a distressed finish is a rewarding DIY project that can customize your entertainment center or kitchen cabinets. While it requires patience and effort, the result is a personalized space filled with character and charm. Remember, the key to a successful DIY project is not just the transformation but the lessons learned along the way.
More Posts from the Built-In Entertainment Center Build
Built-In Entertainment Center Project
The built-in entertainment center project that we did in our last house. These are the individual blog posts that cover the whole project in detail.
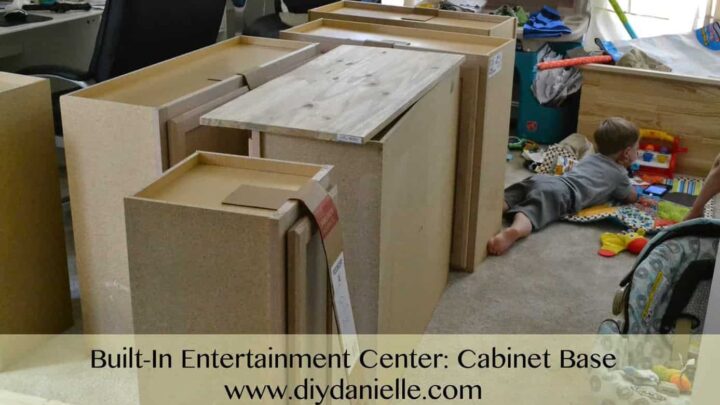
How to Build a Cabinet Base for an Entertainment Center
Step 1 was to build the base for the cabinets to rest on. This allowed us to use wall cabinets for the bottom of the entertainment center which don't take up as much floor space and keep the entertainment center more flush to the wall.
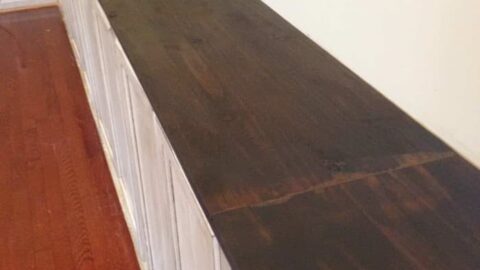
Built-In Entertainment Center: Countertop
The countertop is step 2. This was accomplished by using wood and staining it.

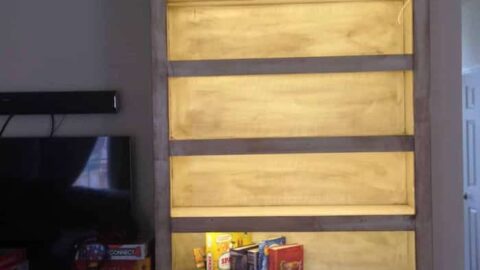
DIY MDF Bookshelves for an Entertainment Center
MDF Bookshelves framed the TV and gave us a beautiful way to display games and books.
DIY Under Cabinet Lighting for Bookshelves
We added under cabinet lighting to highlight the books on the shelves of the entertainment center.
Built-In Entertainment Center: Electronics
Here's how we hid electronics and made everything easy to access.
DIY Entertainment Center with Farmhouse Appeal
Learn how to build your own distressed DIY entertainment center with bookshelves, under cabinet lighting, and storage space.
Please share and pin this post! You can also post your project and tag the DIYDanielle team on Instagram @doityourselfdanielle!