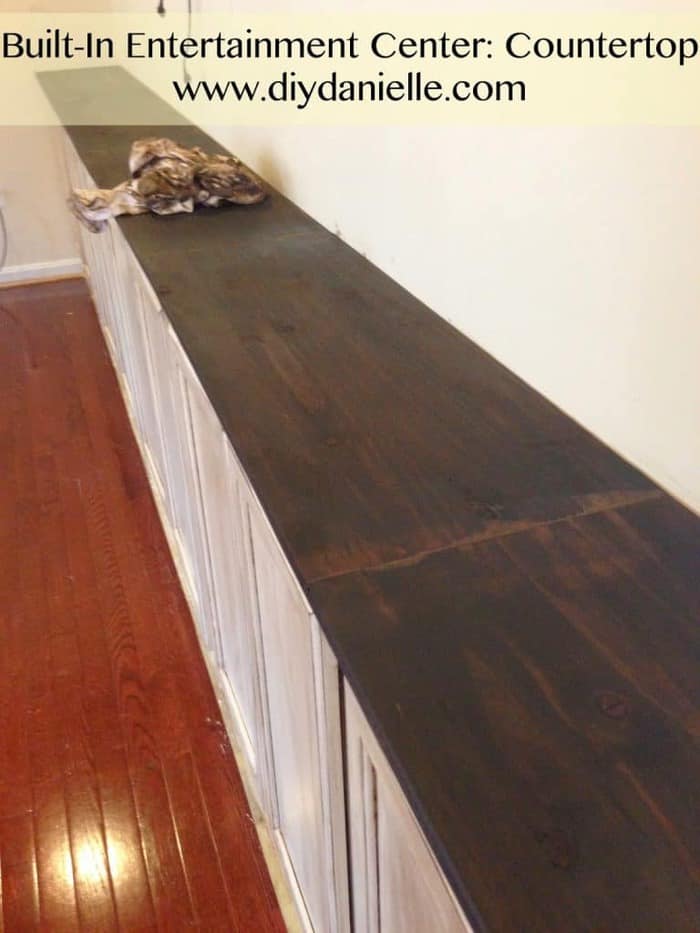
This is Part II of the Built-In Entertainment Center DIY… Part I was installing the cabinets and making a base.
For this, the cabinets were obviously already setup and installed. Daddy B used the cabinets to hold the countertop for most of the work he did. It was a bit easier on him to do it like this because the countertop is long and we don’t have a lot of space to cut and work with in the “construction area” in our basement.
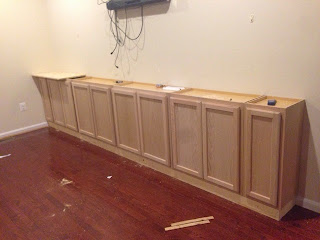
We had to combine several cuts of wood to make the countertop. Here we are, beginning to line them up.

My husband used dowels (see my previous post for more about how he did this and the tools used) to combine the pieces of wood for the countertop, glued them when he put them together, and then he used his TOOL (LINK) to cut the width to the correct width.They were 16″ originally, I believe, and he drew a line to mark where 14″ was and cut along it so there wouldn’t be too much counter hanging over.
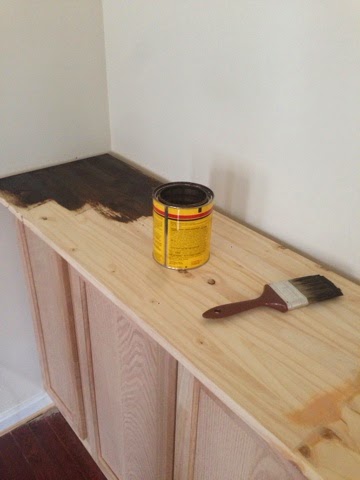
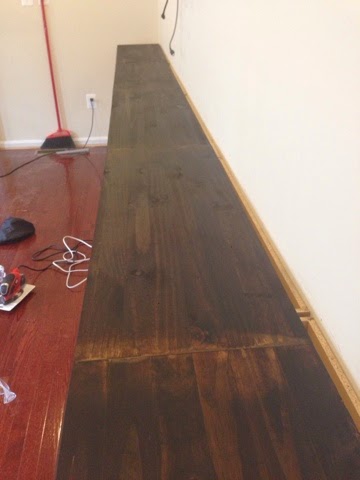
So… we used stainable wood filler at this point where the pieces of wood combined. DO NOT DO THIS. First, stain your wood. THEN use the wood filler. You can see the seams in our wood way worse because we did this in reverse. As you may be able to see in the right photo. I ended up going over it a few times with stain, sanding some more, letting it sit a really long time… in the end, it looks okay but I wish I’d done it the other way.
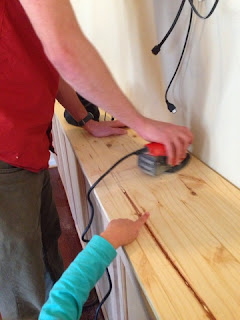
The wood filler will fill in the cracks between the boards he’d combined. After the wood filler dries, sand down the wood filler so you can see the grains of your wood again.
This project was initially inspired by the one done by Addicted2Decorating. My other posts on this project can be viewed here:
