
This post may contain affiliate links which may earn me commissions should you click through them and take certain actions. As an affiliate for Amazon, Cricut, xTool, Home Depot, and other sites, I earn from qualifying purchases. Please DIY carefully. View my full legal disclosures here.
The majority of my content is generated by me, as are 99% of the photos and videos, but I utilize technology for titles, descriptions, video editing out all of my ums, and occasionally for text overlay on images.
Please read the whole post so you don’t miss any important information!
We used a baby carrier a lot to carry our first son when he was a baby and it was AWESOME. We had a Moby, but my kids all preferred the Ergobaby carrier. They’re easy to get on and off, and easy on my back. It’s nice to be able to keep baby close up where you can just peek down at them easy and it leaves both hands free.
When we were pregnant with our second son, I decided to make Godric a doll carrier. Encouraging play with dolls and teaching him how to be gentle with the dolls seemed like a good way to introduce him to being a big brother!
It worked! I’m updating this post in 2020 and we’ve had three kiddos now… they learn to be nice and how to handle babies before they are around the baby when you practice ahead of time!
I made a pillow and blanket for the doll cradle I found used, made this doll carrier, and washed some of my old Cabbage Patch Dolls to give them dolls to play with.
When I first made this, I wasn’t as experienced at sewing. I got creative and experimented with what worked for me! If you’re new to sewing or want to save yourself a TON of time and aggravation, you should consider using a sewing pattern.
I recommend the Sew Toot Mini Doll Carrier Pattern as it looks very similar to an Ergo carrier.
Because I’m updating this and think some of y’all might want to see the old tutorial, I’m going to leave it for now. I may eventually show you how to sew the pattern!
Buy the Sew Toot Mini Doll Carrier Pattern on Etsy!
The original DIY Doll Baby Carrier Tutorial

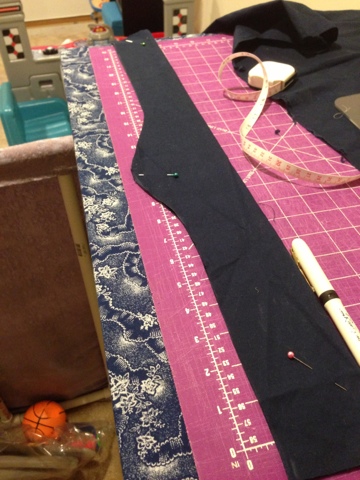
Cut out fabric for the main part of the carrier- straps, body, and pocket.
Sizes:
- Pocket (2): 3×5″ (I think I trimmed this further once I cut it out because it seemed a bit big)
- Main Piece (2): 8″W x 7.5″H
- Straps: I made them too short originally and I had to made an extension for them. They ended up being 18″ at the smallest setting with the extension or 20″ at the longest setting with the extension. I think this should be good for a toddler plus the doll inside the carrier, but I’ve had some struggles with G getting him to try it out so I’m not positive. The width on the straps is 2.5″

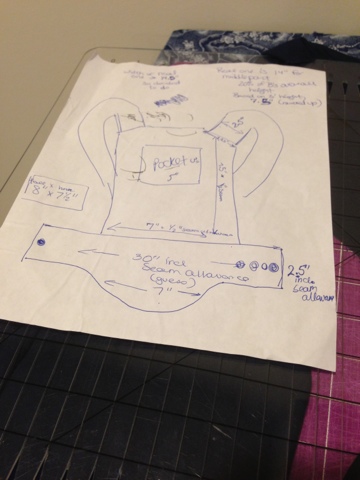
Top Right: I drew a basic sketch of what I wanted to make and add my little notes. Some of measurements changed from what I wrote on the paper though so keep that in mind. I did make my straps slightly too short. It worked as a backpack, but they weren’t long enough to squeeze the baby in there too. I just added a strap extension so I didn’t have to fix the whole thing.
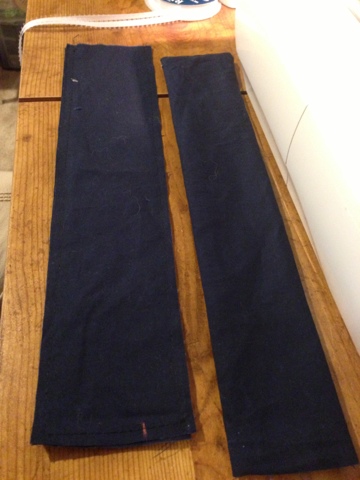
I sewed my pocket and two straps, right sides together, turned, and topstitched.
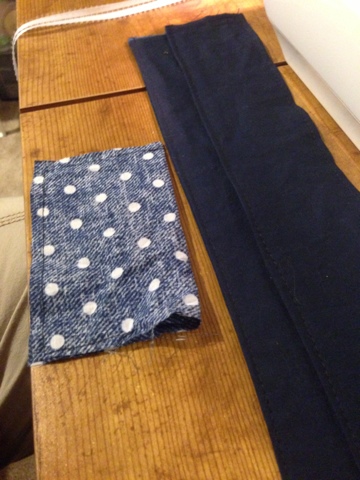
Below Left: Then I took my front main piece and sewed the pocket on (sew as a “U” so your pocket is open at the top of course).
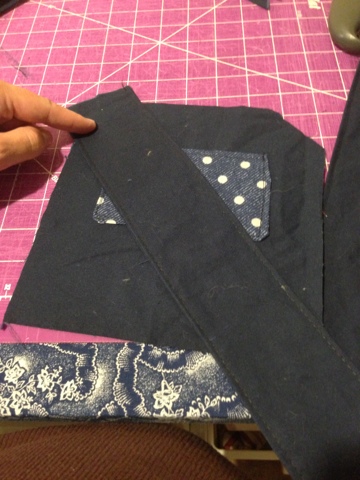
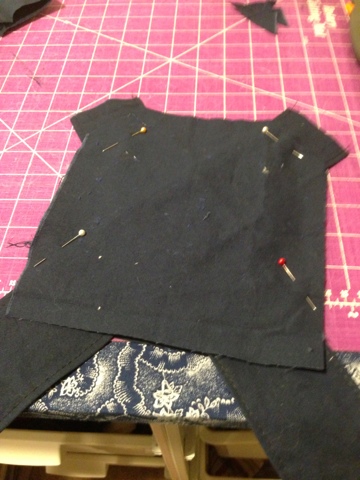
Below Right: Afterwards I folded both of my main pieces in half and figured out where I wanted to cut the triangle edge off… then I made sure they matched perfectly. You could probably keep this square and skip this part, but I wanted it to look more like my carrier.


At this point, I laid my front main piece right sides up and then figured out how I wanted to lay my straps. See how they criss cross?

I laid my back main fabric piece right side down on top of the straps and pinned everything together. I sewed the pieces right sides together along the sides and top, leaving the bottom unfinished. Make sure to ONLY catch the straps at the very top.
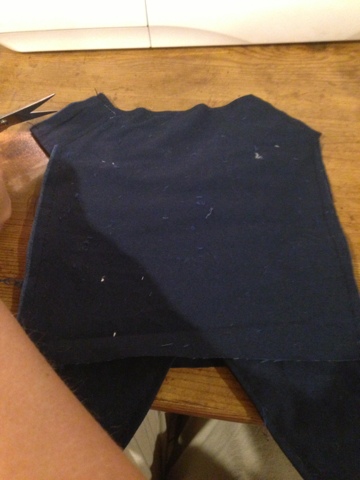
Turn right sides out and iron. I had to adjust the straps a little to make them look nice, then I topstitched. The bottom of the carrier is still open.


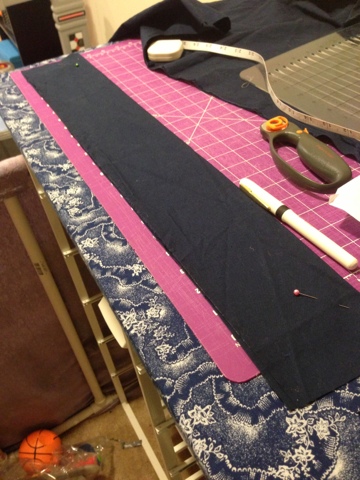
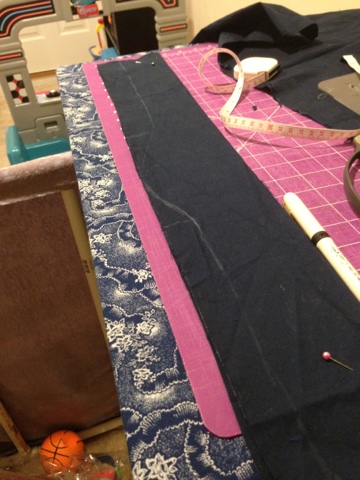
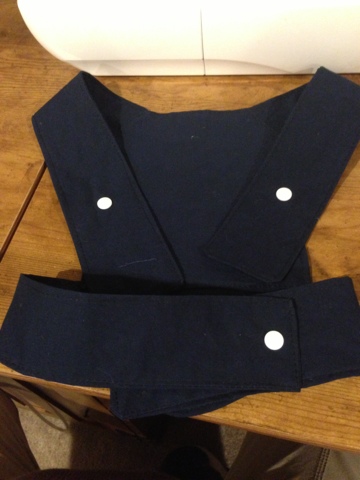
Now I needed to cut and sew the waist band. I took a piece of fabric folded over which ended up being 2.5″ tall. LENGTH WAS????? I pinned right sides together so I could draw out and cut where I wanted the band to scoop down. I made the scoop a width of 7″ so I figured out where my middle point was on the waistband, then marked 3.5″ on each side. Then I just drew out the scoop and then cut along the line.

Bottom Left: Sewed right sides together, turned right sides out, iron, and top stitch.
Bottom Right: I folded the bottom pieces of my main piece under so the edges would be finished. I laid the waist band over this and pinned, stitching along the top to combine the pieces. This closed up the bottom of the main piece.


Added snaps to the straps. Like I said at the beginning of the post, I didn’t have long enough straps so I ended up making extenders for the straps. My son “helping” model the carrier before I extended the straps; he doesn’t like doing anything that’s not his idea. I have yet to get him to model this so I decided to post this without any great pictures of him wearing it (booo)… hopefully once K is born he’ll understand what it’s for and want to wear it!

Here’s how I added the extra length to the strap- or rather, added an extra extension strap. At the tightest setting, the straps together are 18″ and they’re 20″ long at the loosest setting.


Please share and pin this post! You can also post your project and tag the DIYDanielle team on Instagram @doityourselfdanielle!
Originally posted October 13, 2013. Updated April 2020.