
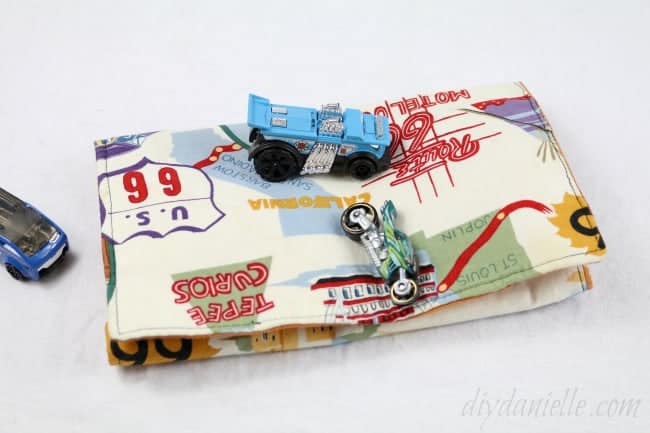
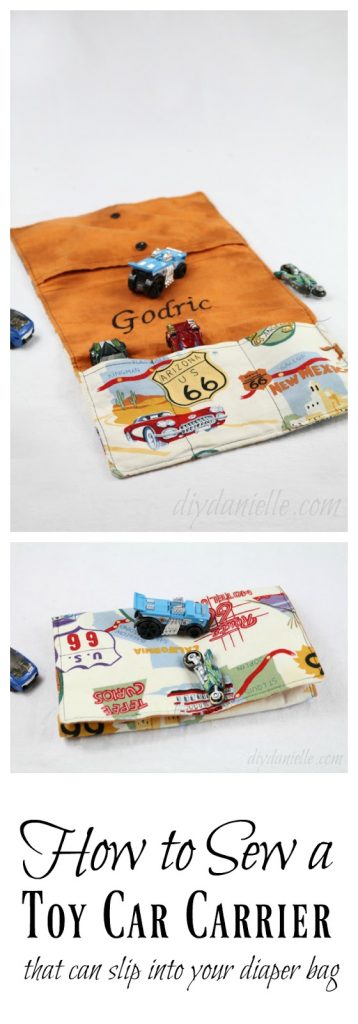
How to sew a toy car carrier with pockets for Matchbox cars. This slips into your purse easily for entertaining kids at doctor’s appointments or when traveling. Embroidering a name or using heat transfer vinyl to add a name is a perfect way to customize these.
This post may contain affiliate links. Using these links helps support my blog. Thank you!
Do you ever find toy cars in your purse and wish you had a place to store them? Toy car carriers are a great way to organize them and they’re easy to sew.
I decided to make these cool little toy car carriers for a birthday gift, as well as for my son. They came out so cute. I initially looked around the interwebz for inspiration and found these two ideas: A Toy Car Wallet or a Car Caddy.
Neither was quite what I wanted so I decided to create something a little different. This is a flat version for a car carrier, but if you want something even smaller, check out my toy car roll which only uses one cut of fabric. I added some toy cars to the gift as well.
Supplies to Make a Toy Car Carrier
Supplies listed below may include affiliate links to the products.
- Interior Fabric: 9.75″ x 18″
- Exterior Fabric: 9.75″ x 18″
- Stabilizer: 9.75″ x 18″
- Fabric for the pockets: 7″x10″, 5.5″ x 10″
- Optional: Embroidery machine or a Cricut/Silhouette if you want to add the name
- Snaps or buttons
How to Sew a Toy Car Carrier
Wash and iron fabric.
Cut out your fabric.

Hem the top (inside) edge of both pockets.
Add Velcro or a snap to the “whatever” pocket. I actually added the snap after I sewed the pocket on, but that will only work with snaps.
Add the matching Velcro or snap to the inner fabric, making sure you put it in the correct spot so they match up. Reinforce your snaps with a small additional piece of fabric- otherwise the snaps may rip through a single layer of fabric.


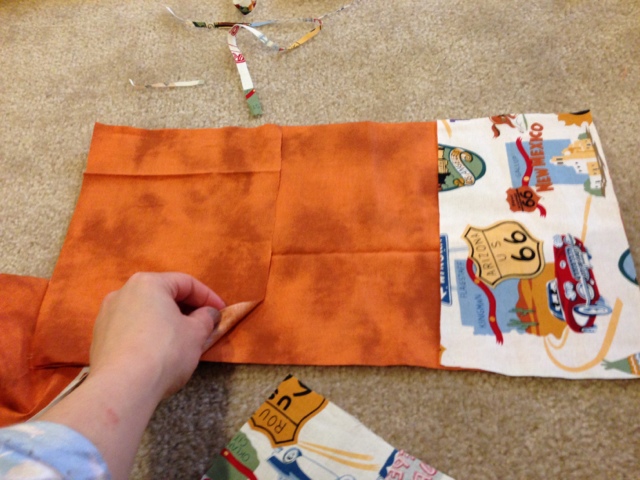
Put pockets right side up onto the inner pocket, pin, and sew them together on the sides.
Mark the car pockets and sew a straight stitch where each will be separated. Make sure the cars will fit, even once the whole piece is finished. I made each pocket 3.5″ apart. I think they could be a little more snug though to hold them in tight.
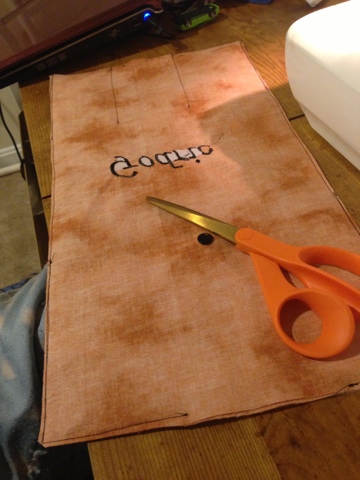
Embroider name in middle section.
Iron on stabilizer to the outer fabric. Mine wasn’t iron on so I pinned my fabrics altogether and sewed. Stabilizer-outside fabric right side up-inside fabric right side down. I sewed a straight stitch all around, making sure all 3 layers were sewn. I recommend leaving a large opening in the middle at the end with the large pocket. I did it on the car end which made it more difficult to add my snaps on after.
Trim.
Turn fabric right sides out, carefully. Iron.
Fold your carrier in thirds with the car side being the furthest inside. Add snaps to close the case once you fold it into thirds. You want your snap to go through two layers (the layer you need your snap to be on and your stabilizer). Here I am marking where I want my snaps.
Top stitch.
Love it? Pin it!
Thanks for taking the time to read this post! I really appreciate the time you’ve taken. Please share, like, and pin my post if you enjoyed it. Follow me on social media and subscribe to my email list to keep up to date on all of my latest projects!

1 thought on “How to Sew a Toy Car Carrier”