How to make a reversible bag for Halloween and Easter. This easy to sew project is perfect for cutting down on seasonal storage.
This post may contain affiliate links which may earn me commissions should you click through them and take certain actions. As an affiliate for Amazon, Cricut, xTool, Home Depot, and other sites, I earn from qualifying purchases. Please DIY carefully. View my full legal disclosures here.
The majority of my content is generated by me, as are 99% of the photos and videos, but I utilize technology for titles, descriptions, video editing out all of my ums, and occasionally for text overlay on images.
Please read the whole post so you don’t miss any important information!
I made my older sons their own Easter baskets and Halloween bags a long time before my third son came along. For Easter this year. Tristan used this braided Easter basket, but the basket was really better for decor as it’s a bit small.
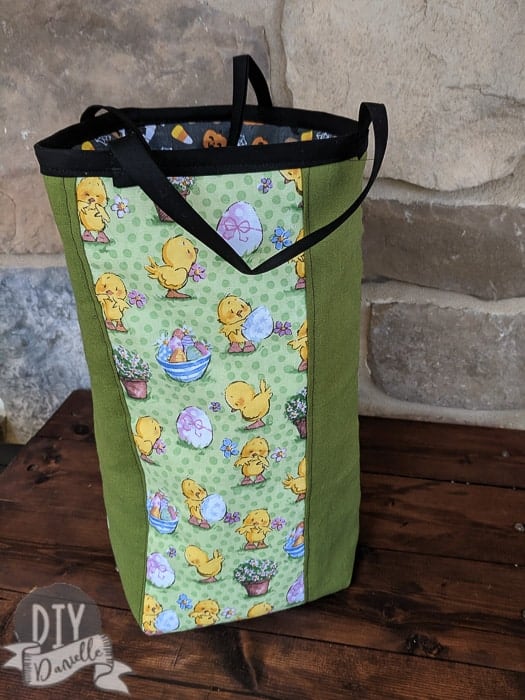
Seeing as his first “real” Halloween is coming up, I figured it was time for him to have his own Trick or Treat bag. When I was trying to decide on a design, I realized that it would be AWESOME if the bag could reverse so he could use it twice a year. It seems like otherwise it’s a lot of extra stuff to store separate bags and baskets.
This is PERFECT. I love how it came out and it was a quick and easy sew.
How to Make a Reversible Halloween Trick or Treat Bag and Easter Basket
Supplies
- Coordinating bias tape: (2) 12″ pieces for the handles and a long piece for the top
- Easter fabric
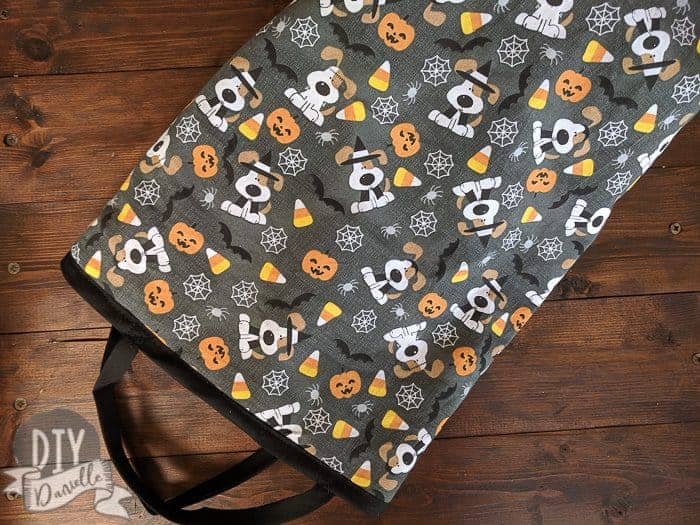
- Halloween fabric: This is “I Woof You Dog Halloween”
- Batting
Making Your Bag
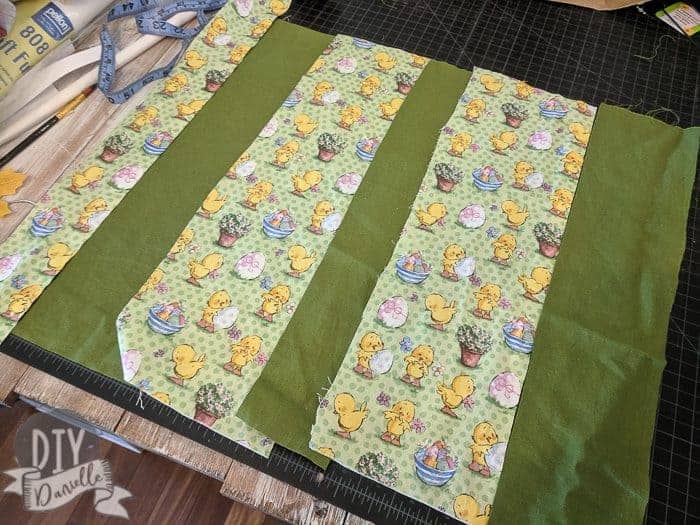
Cut your Halloween fabric 17.25″ tall x 22″ wide. Repeat with Easter fabric. My Easter fabric is a mix of fabrics because I didn’t have enough of the Easter design for the whole bag. I simply sewed coordinating pieces of fabric into one long piece of fabric that was 17.25 x 22.”
I quilted a piece of batting onto the Easter fabric.
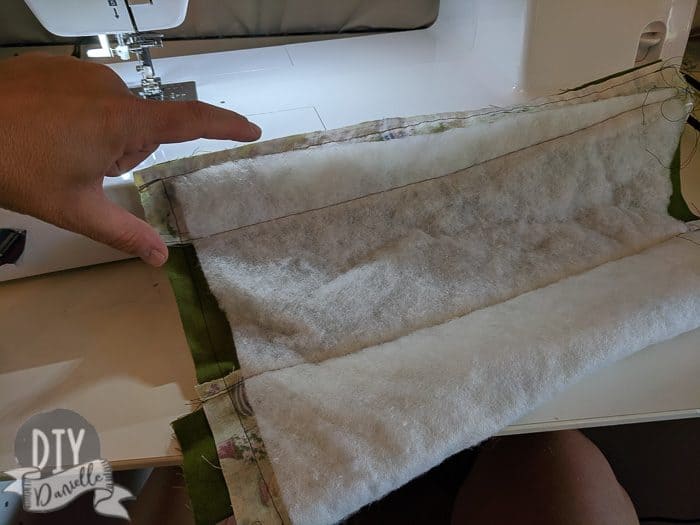
Fold you fabric right sides together and sew along the long side and bottom.
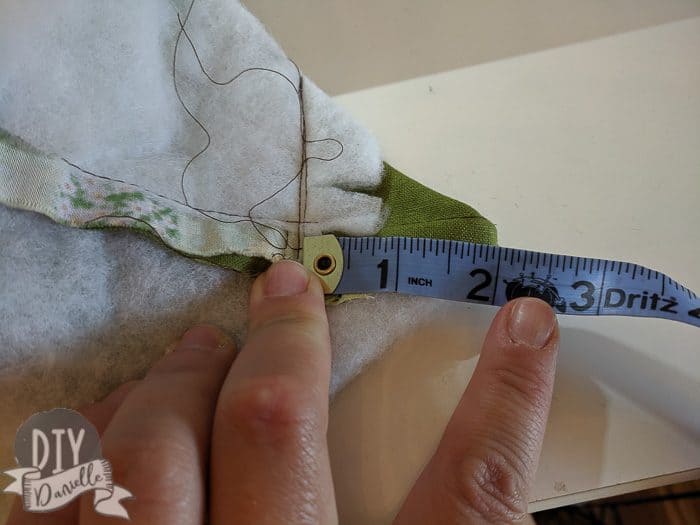
Once you create the bag shape, you need to pinch each side of the bottom. Then sew across at the 2″ mark. This is how you create the boxy style bottom of the bag.
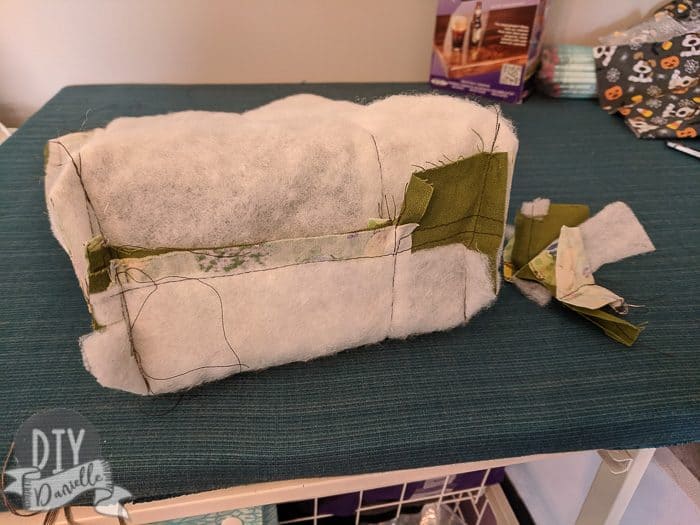
Cut off the excess from the triangle. Repeat with the other side… the bottom will look like this.
Repeat with the other fabric.
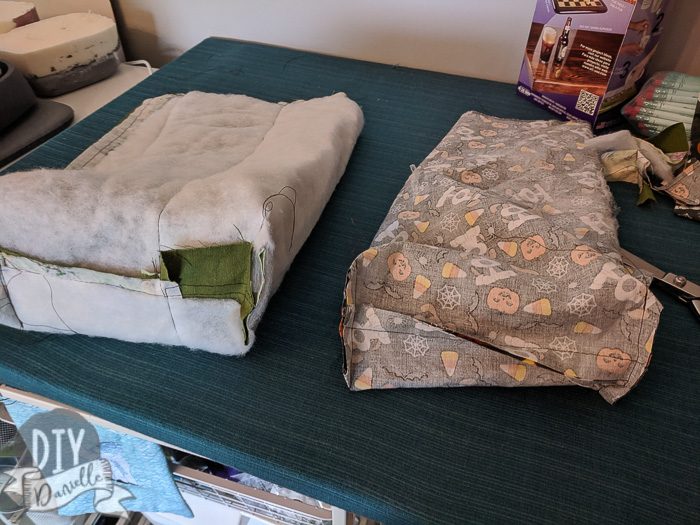
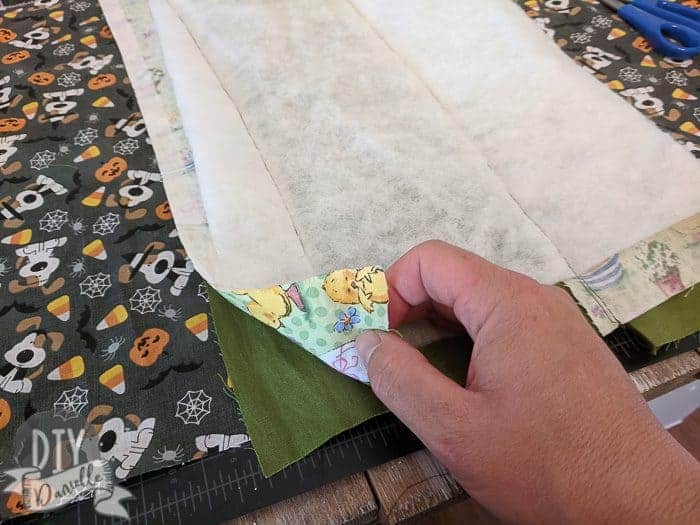
Turn one bag piece right sides out, then sandwich the other bag piece inside it. This puts their wrong sides together…. just like they’ll be in the finished bag.
I had to trim a little off both tops so they were perfectly even.

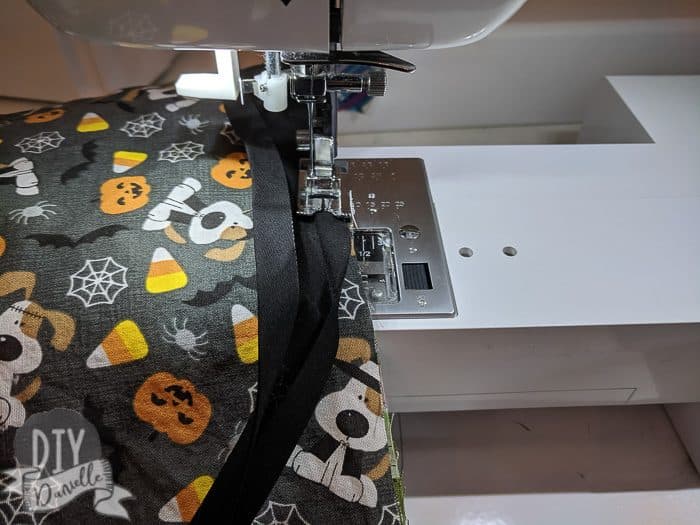
At this point, you want to sew your coordinating bias tape on the top. This bias tape goes over both the inside and outside. Here’s a tutorial on how to sew on bias tape properly.
As you can see in the photo below, you aren’t just folding it over and sewing it on. You start by placing the one edge against the raw edge and sewing along the fold. Use a straight stitch.
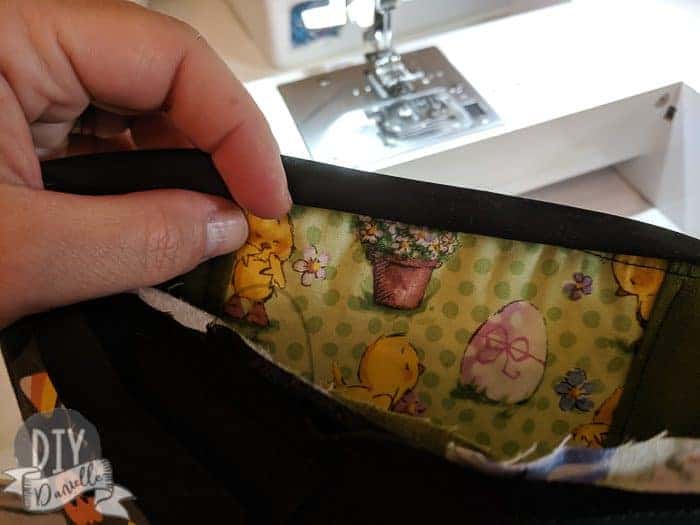
You want to fold over the first edge. Then when you finish going all the way around, your end of the bias tape will be tucked behind the front.
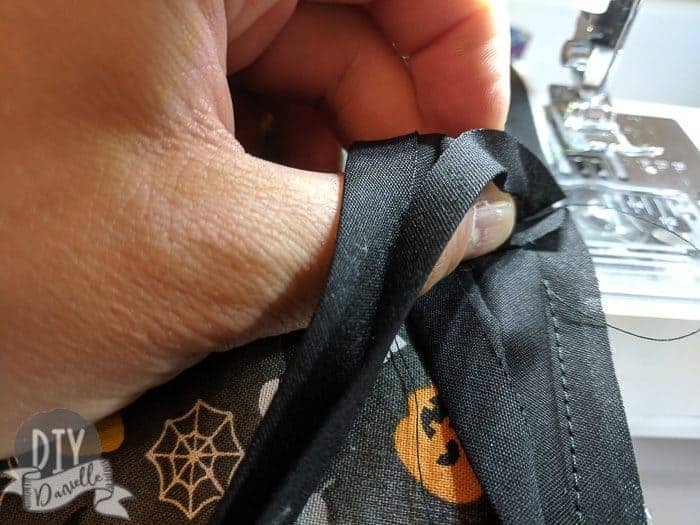
Now you can fold the bias tape over the other side and sew a straight stitch around.
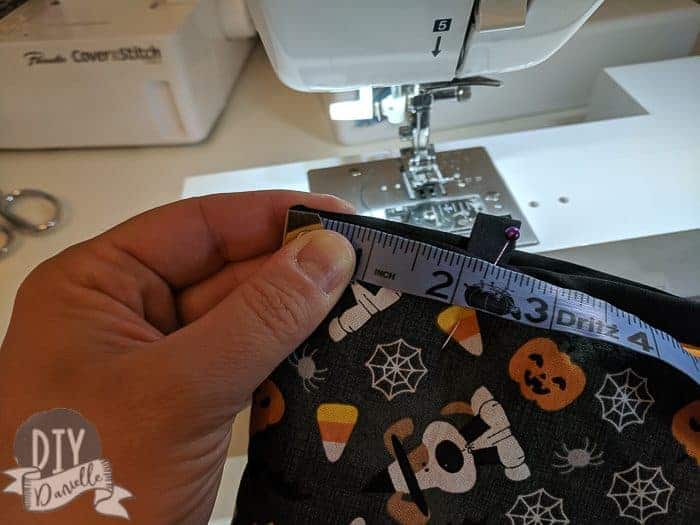
You want to cut two pieces of bias tape that are 12″ long. These are your handles and you want one on each side. I placed each side of the handle about 2.25″ from the side seam.
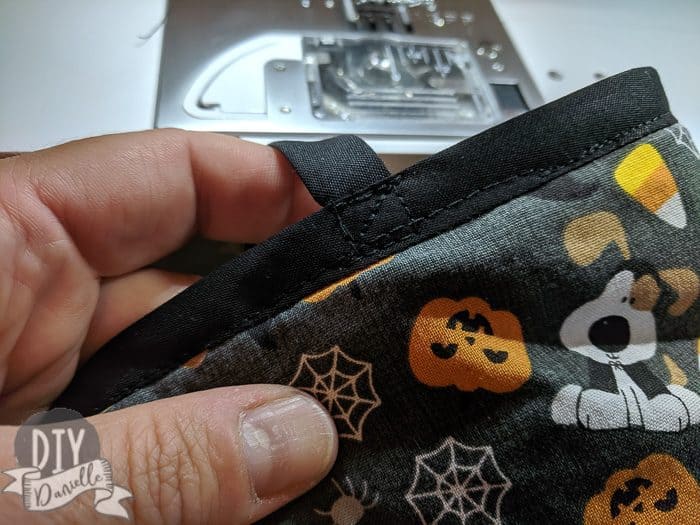
Sew the handle on… I did a little half X with a rectangle around it.
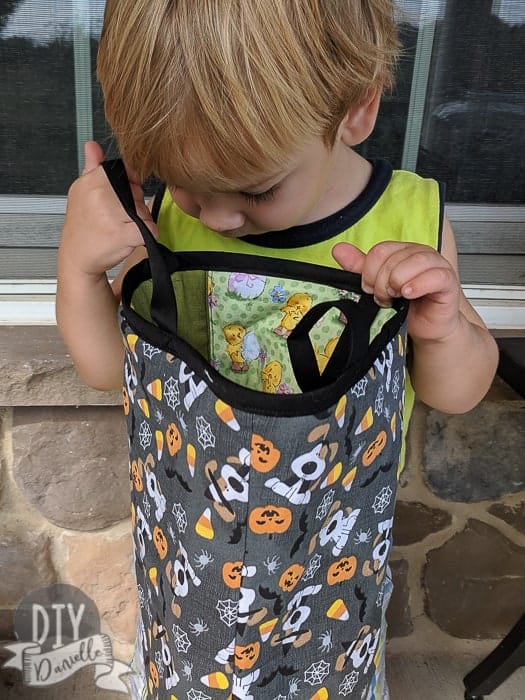
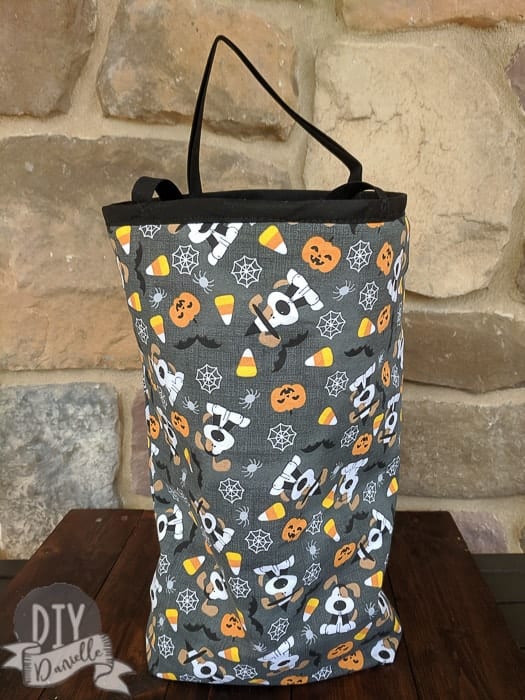
Now you are done. You can flip the bag Easter side or Halloween side out! Perfect for doing double duty for both holidays and there should be enough time between the holidays for you to polish off the last of the candy that the kids didn’t like.
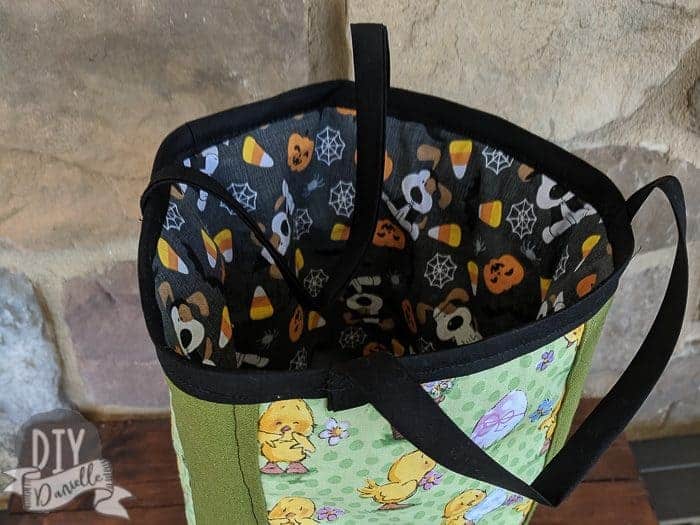
I worried that the bag was a bit tall, but my experience has been that a tall bag is good for collecting Easter eggs. The kids are also less likely to spill candy out of a taller bag.
Make these easy pumpkin oranges for your child’s class or Halloween party.
Please share and pin this post! You can also post your project and tag the DIYDanielle team on Instagram @doityourselfdanielle!