
Learn how to thread a sewing machine with this photo and video tutorial. Great tutorial for beginners who are just learning how to sew!
This post may contain affiliate links which may earn me commissions should you click through them and take certain actions. As an affiliate for Amazon, Cricut, xTool, Home Depot, and other sites, I earn from qualifying purchases. Please DIY carefully. View my full legal disclosures here.
The majority of my content is generated by me, as are 99% of the photos and videos, but I utilize technology for titles, descriptions, video editing out all of my ums, and occasionally for text overlay on images.
Please read the whole post so you don’t miss any important information!
If you’re lucky, your sewing machine will come out of the box threaded, but eventually you’re going to need a different color thread or else that you’ll run out of thread and need to replace it.
Incorrectly threading your machine can lead to all kinds of issues like tension problems, broken stitches, or even broken needles.
Have no fear! Threading your machine is easier than it looks. Below you’ll find step-by-step instructions.
Threading the Top/Upper Thread
Threading Your Sewing Machine
Step by step guide to how to thread the top thread of your sewing machine. Before you start threading your top/upper thread, you need to wind your bobbin (see next section). Otherwise, you’ll have to unthread your machine to wind the bobbin.
Materials
- Thread
Tools
- Sewing Machine
- Small pair of scissors
Instructions
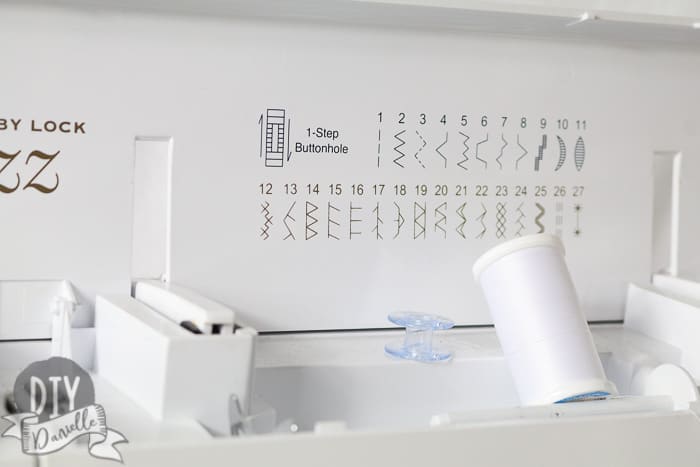
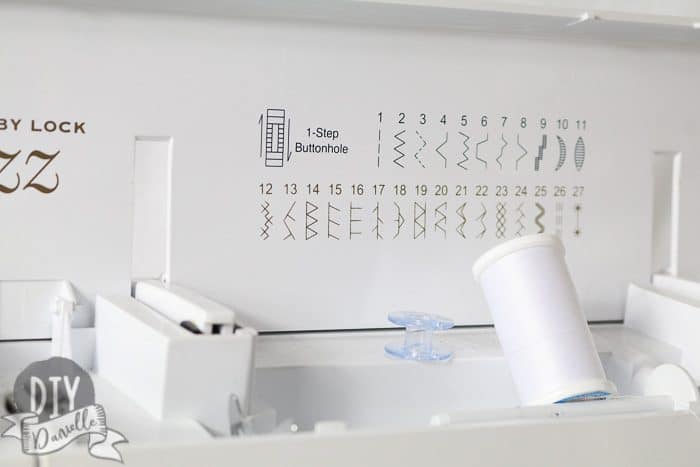
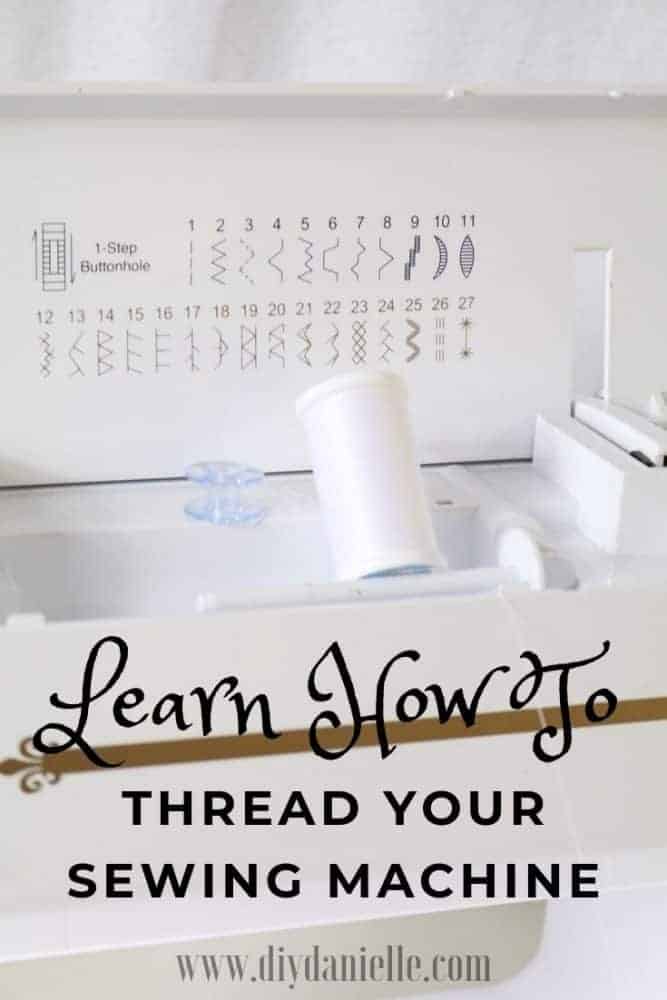
- Place your thread spool on the spool pin. This is the skinny piece of plastic on the top of your machine. The end of your thread should unwind from the back, over the top toward you.
- Put the spool cap on the pin to hold the spool in place. You don’t need to press the cap up tight against the spool, it’s really just there to keep the spool from flying off as you sew. Make sure the spool still spins easily with the spool cap in place.
- Your machine probably has small pictures, arrows, and/or numbers to show you how and in what order to thread the various thread guides. Most machines will have one to three thread guides on the top of the machine, to the left of the spool pin.
Follow those guides in order according to the numbers or the arrows, paying attention to the direction your thread passes through the guide.
You never want your thread to create a loop around a guide. In other words, if your thread is coming from the right, pass it through the guide from right to left. - Follow the arrows and numbers and pull your thread down the front of the machine.
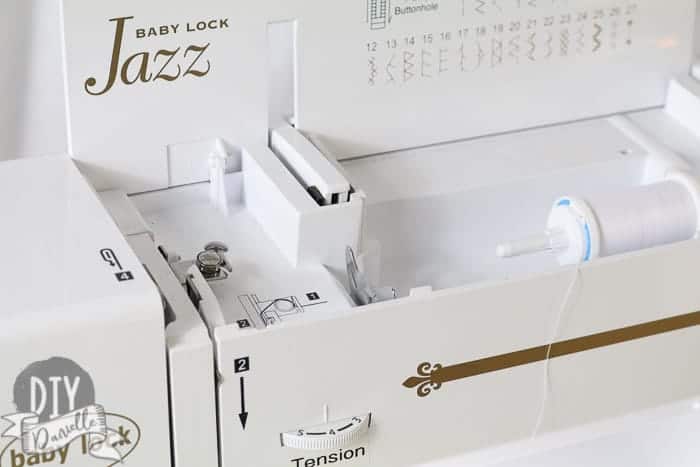
- Next, you’ll either pass your thread below the plastic body of the machine toward the left and back up through a vertical slit, or you’ll wrap your thread around the tension knob.
The tension knob should have numbers or small tick marks on it, and a spring behind the plastic knob itself. Follow the arrows and make sure your thread is going clockwise around the knob, if there is one. - There is likely a small metal loop on the left side of the knob. Hold your thread taut between your hands and wrap the thread around the knob so that it presses that small metal loop up.
The thread should pop into place inside the loop. Your thread should now be pointing up toward the top of your machine. - Next, you’ll again need to bring the tail end of your thread down. Some machines have you wrap your thread between two plastic pieces and then back down, while others have you thread it through a small metal guide that sticks out of the plastic body of your machine.
If you have the metal guide and you can’t see it, turn the hand wheel toward you until it appears, usually toward the top of the machine. - Your thread should now be at the bottom of your machine, right near the needle. You’re in the home stretch!
Right above your needle, where the needle goes into the machine, there should be small thread guide. Pass your thread through this guide from top to bottom.
Note that you probably don’t need to strain your eyes and test your fine motor skills by threading the guide like a needle; you can probably just “push” the thread into the guide from the side.
Hold the thread in two spots to pull it taut, and move the thread into the side of the guide and it should pop right into place. - Finally, thread the needle from front to back. Leave a tail maybe six to eight inches long.
Notes
Note that unlike a hand sewing needle, the hole for a sewing machine needle is in the tip/pointy end of the needle.
Recommended Products
As an Amazon Associate and member of other affiliate programs, I earn from qualifying purchases.
-
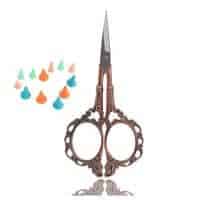 Small Scissors Vintage Embroidery Scissors for Dressmaker Needlework Crewel Sewing Crafting Fabric Shaping Art Work DIY Everyday Use Sharp Scissor Great Gift Pack of 12pcs Safe Protective Caps Copper
 -
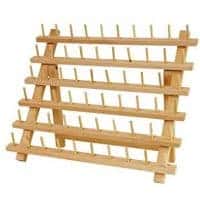 US Art Supply Premium Beechwood 60-Spool Sewing & Embroidery Thread Rack
 -
 Dual Duty XP General Purpose Thread 250yds Natural (S910-8010)
Winding Your Bobbin
How to Wind a Bobbin
Tutorial for how to wind your bobbin with your sewing machine.
The first step to threading your bobbin is winding the bobbin. Make sure you have the correct bobbin for your machine as they’re not all the same size.
Materials
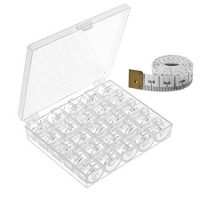
- Bobbins: Make sure they're the correct size for your machine
- Thread
Tools
- Sewing Machine
- Scissors
Instructions
- Put your thread on the spool pin and place the spool cap on.
- Following the arrows and numbers, pull your thread through the thread guide on the top of your machine. These may or may not be the same thread guides as you use when threading your top/upper thread. The diagrams on the machine should tell you which to use for winding the bobbin, but if not, consult your manual.
- If your bobbin has a little hole in the top of it, pass the end of the thread up through that hole and leave a tail an inch or two long.
- Put the bobbin onto the small bobbin spool on the top right of the machine. If your bobbin doesn’t have a hole, or if your instruction manual doesn’t say you need to pass the thread through the hole, put the bobbin on the small bobbin spool and then wrap the thread around the bobbin four or five times in a clockwise direction.
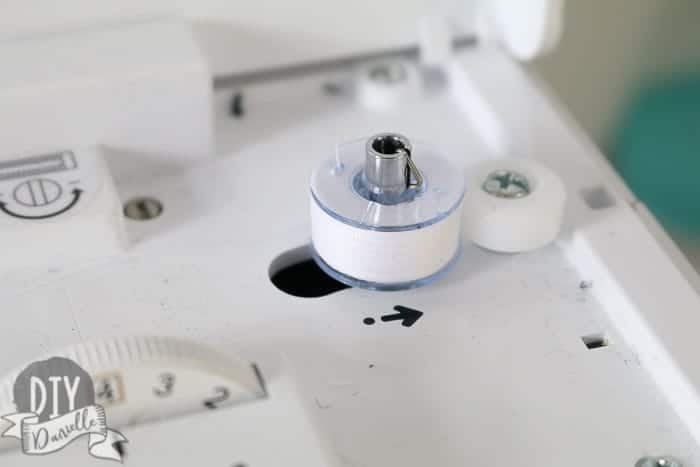
- Push the bobbin spool, with the bobbin on it, to the right. You have to apply a bit of force here and it will pop into place. Start gently but don’t be afraid to push harder if the bobbin spool isn’t moving or doesn’t stay in position.
This is the step that turns on the bobbin winding function and stops your needle from moving up and down while you wind. - Turn on the machine and start it running, either by using the pedal or the button.
- Your bobbin spool should stop spinning when the bobbin is full, but I like to watch it and make sure it stops.
Also, it is possible for the thread to wind around the bobbin spool instead of the bobbin, or to create a bit of a bird’s nest around the bobbin, so keep an eye on it and stop the machine if this happens. Then, remove the thread from around the bobbin or bobbin spool and start the process over, making sure you’ve used the correct thread guides. - When your bobbin is full, push the bobbin spool back to the left and remove your bobbin.
- Cut the thread, leaving a tail a couple of inches long. If you passed the thread through the hole in the bobbin, cut this thread as short as you can.
- Turn your machine off.
Notes
It is VITAL to look through your manual to figure out what type of bobbin you need. Make sure to order that particular one. If you use the wrong bobbin type, you may find your machine acts up. It's a very common beginner mistake. I like to keep quite a few bobbins on hand for my machine so I can wind a bunch at once (particularly for the main colors like black, brown and white).
Recommended Products
As an Amazon Associate and member of other affiliate programs, I earn from qualifying purchases.


Inserting Your Bobbin
How to Insert a Bobbin Into a Sewing Machine
How to insert a bobbin into a sewing machine correctly so you won't have problems with your machine.
Materials
- Bobbin that is already wound
Tools
- Sewing machine
- Scissors
Instructions
- Turn your machine off.
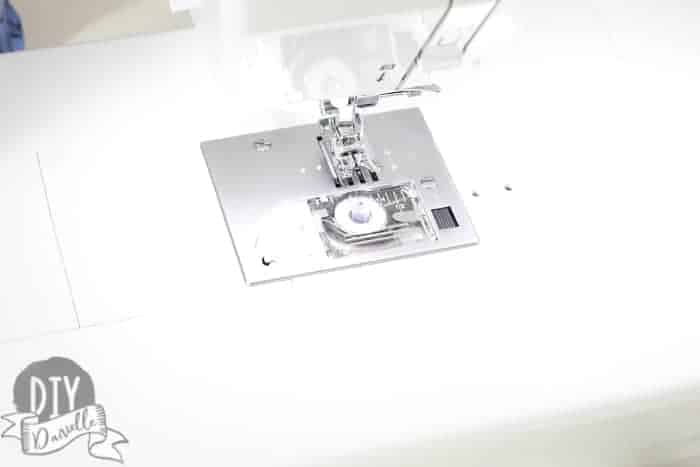
- Remove the plastic cover in your needle plate that covers the bobbin case.
- Drop your bobbin into the case, making sure your thread is unwinding in a clockwise direction.
- If your machine has numbers, arrows, or diagrams to show where to pull the end of your bobbin thread, follow those directions. Most of the time, this means you don’t need to manually raise your bobbin thread through the needle plate.
If your machine doesn’t have any further directions on the path for the bobbin thread, make sure you have a tail a few inches long. Then hold your top/upper thread taut (make sure it’s threaded through the needle), and turn the hand wheel toward you. This will lower and raise your needle. You only need to lower and raise it once. As you lower and raise it, the top/upper thread will pass over the bobbin case and pick up the end of the bobbin thread.
Use a small, skinny or flat object (I use a closed pair of scissors) to pull the bobbin thread all the way up by passing the object underneath the presser foot. It should catch the threads. If it doesn’t, try lowering and raising the needle again. - Pull your needle thread and your bobbin thread toward the back of the machine.
Notes
You’re ready to sew!
Watch the Video
Please share and pin this post! You can also post your project and tag the DIYDanielle team on Instagram @doityourselfdanielle!
How to Thread a Sewing Machine
Great tutorial on how to thread a sewing machine. Perfect for beginners who are just learning how to sew!
Materials
- Bobbin (already wound)
Tools
- Sewing Machine
- Scissors
Instructions
- Turn your machine off.
- Remove the plastic cover in your needle plate.
- Drop your bobbin into the case. Be sure your thread is unwinding in a clockwise direction.
- Hold your top/upper thread taut and turn the hand wheel toward you.
- As you lower and raise it, the top/upper thread will pass over the bobbin case and pick up the end of the bobbin thread.
- Use a small object to pull the bobbin thread all the way up by passing the object underneath the presser foot.
- Pull your needle thread and your bobbin thread toward the back of the machine.
Recommended Products
As an Amazon Associate and member of other affiliate programs, I earn from qualifying purchases.


This post was written for DIYDanielle by Becky McGill-Wilkinson. Google Web Story: How to Thread a Sewing Machine.