
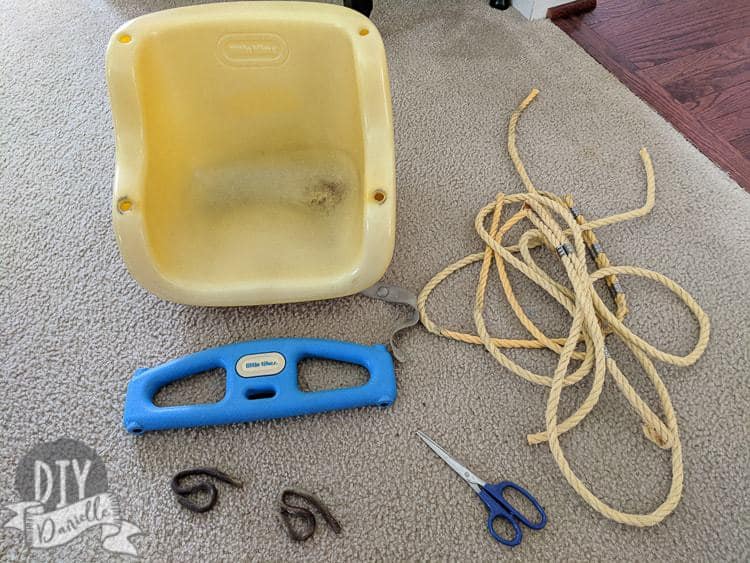
How to replace the rope on an outdoor baby swing. A quick paint job and new rope can turn an old Little Tikes swing from the 1980’s into a brand new swing.
This post may contain affiliate links. If you make a purchase using these links, I might receive a commission from the sale. This does not impact the price of your purchase. Thank you.
My in-laws gave us the baby swing from the 1980s that my husband and his siblings used. It was old and faded. This wasn’t a problem and we’ve been using it for the two older kids. I even made covers to go over the scratchy rope. They’ve worked great, but I kept thinking that it would be nice to replace the rope. That rope is OLD and I hate how it pricks my skin if I rub up against it. Plus I figured it would be a fun project.
It ended up being pretty quick, once I figured out how to get the rope through the holes.
Supplies to Replace the Rope on a Baby Swing
- Rope
- Rope Clamps
- Something to pinch the clamps shut with
- Old hanger
- Duct tape
- Optional: Paint
- Gloss, Brilliant Blue for the front piece of the swing
- Satin, Lagoon for the rest of the swing
Video of How to Update an Old Little Tikes Baby Swing
I have a full photo tutorial below, but for those of you who like video, here’s a video showing how we fixed this baby swing up- including how we painted it, removed the rust, and added the rope.
How to Replace the Rope on a Little Tikes Baby Swing
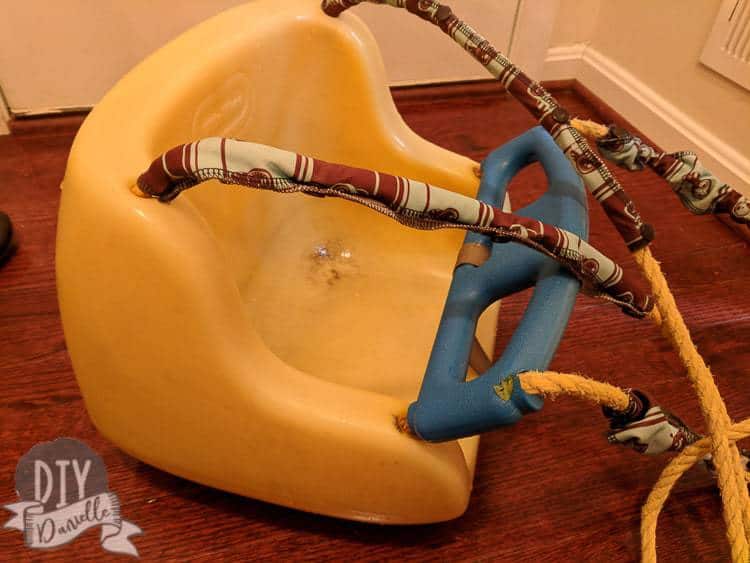
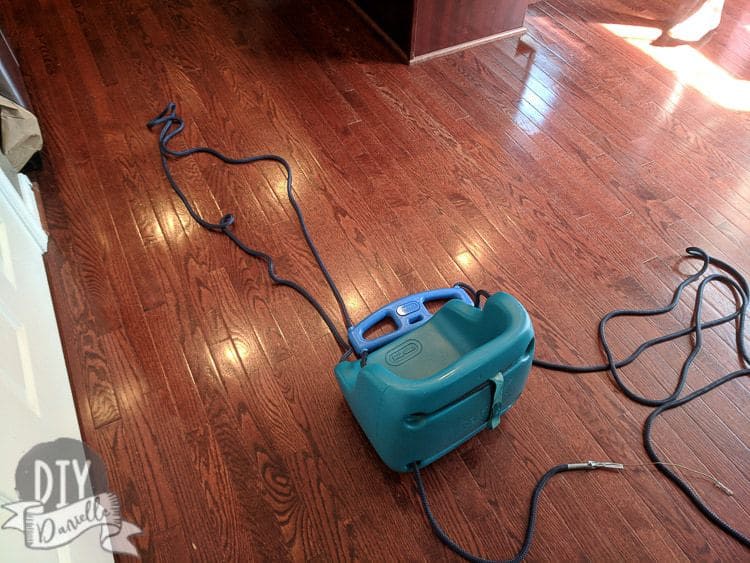
To begin, I took a photo and video of the original setup for the rope. I like to be able to see how things were put together originally before I start disassembling them. Otherwise I’m apt to end up with a pile of stuff I don’t know how to fix.

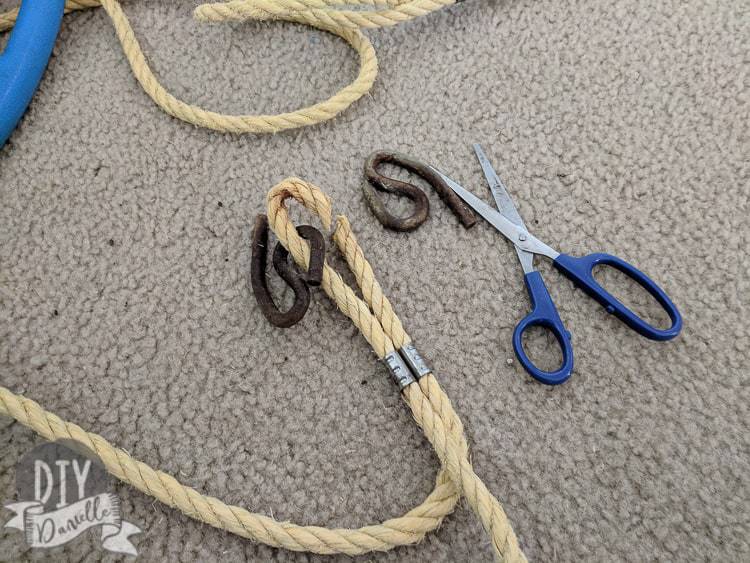
Once I did this, I cut off the rope. I tossed the rope and the metal clamps. I took the metal S pieces that attach the swing to the swing set and put them to the side to remove the rust. Learn more about how to remove rust from metal here.
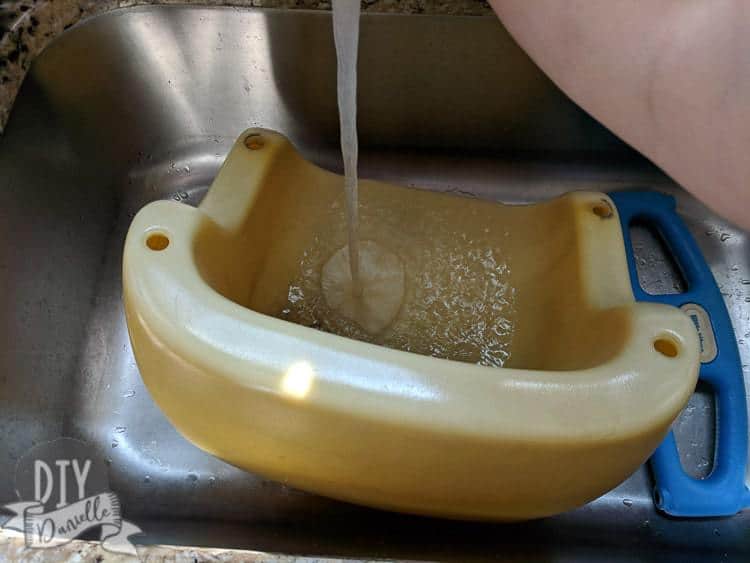
When the S pieces were de-rusting, I set to work on painting the swing. I started by doing a good job washing the swing. It was really gross. The inside of the swing was pretty dirty (inside the holes) so I did my best to flush those out and also to make sure no water got stuck inside.
I tore apart paper bags to put under the swing while I painted to protect my floor. I used a couple of layers of spray paint on each piece. Make sure to check out my posts on painting plastic: Tips for Painting Plastic | How to Paint a Plastic Playhouse
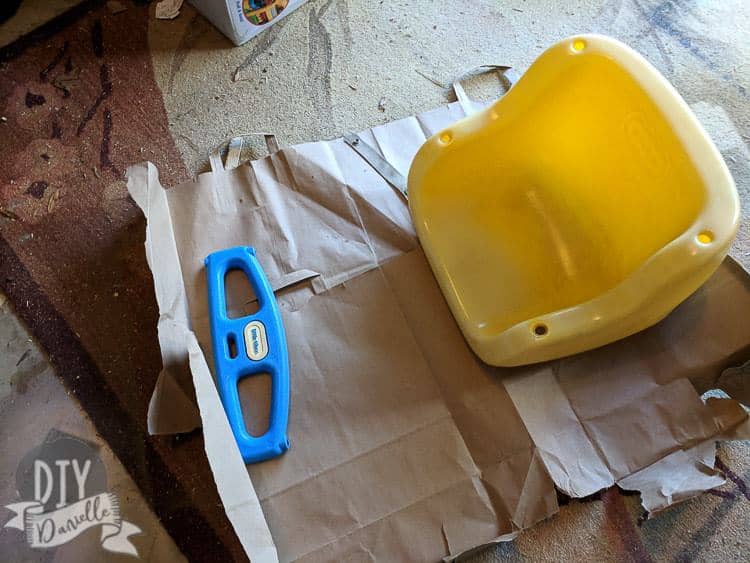
I won’t get into the details of painting here. It’s just spray paint. Ideally you want a dust and dirt free surface to spray paint on. My garage is so gross (sigh).
Once you’re finished and the paint has dried, you need to feed your new rope back through the swing. I cut off a piece of a wire hanger and duct taped it to the rope to make it easier to feed through the holes.

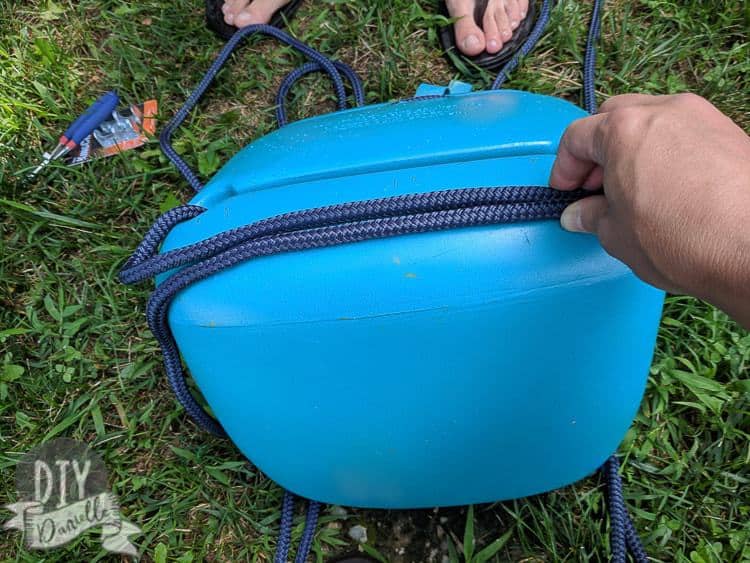
What you’re doing is putting the middle half of your rope on the front bottom. So you feed one end of the rope through the safety bar and the left side… then it goes in the track underneath, through the right side and up through the bar on the other side.
Once you get it through the front side, you need to make sure it’s even on both sides.

Now the ends of the rope on each side are fed down through the back holes, creating your loop… BUT FIRST…
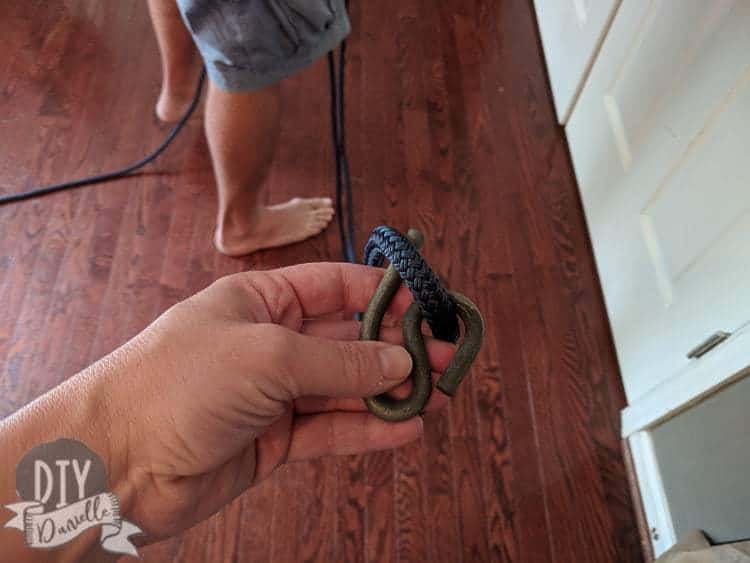
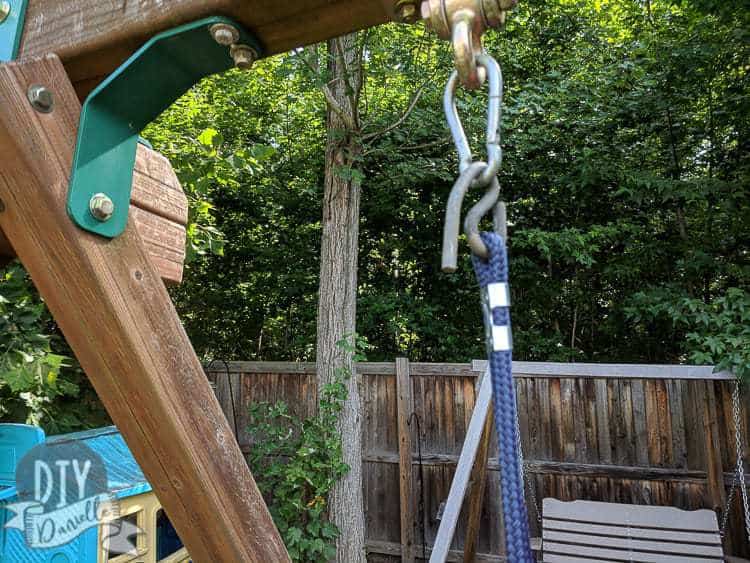
Make sure to attach your de-rusted S pieces through the tight side FIRST. You can’t just squeeze this through afterwards and you need the open side to go through the brackets on the swingset.
Now the two ends of the rope should be coming out the back bottom holes. You need to take your swing to the swingset now. Grab a helper. You need to make sure it’s even and a second set of eyes is helpful. We started by hanging the swing- someone needs to hold the ends to make sure they don’t come back out!

Figure out what height you want the swing at then cut your excess rope. The rope will be side by side like this on the bottom (but in the groove).
Once you have each side mostly even, you can use your clamps to hold the ropes together. Make sure to carefully burn the ends of your rope so it won’t fray.

At this point, you need to… again… make sure your swing is even. You still have wiggle room at this point to make adjustments.
Once you have it even, go ahead and add your clamps right below where each S piece is.
And you’re done. Make sure to test it out yourself before putting a baby in it. We made sure to add our weight to the swing during the installation process to make sure the swing and clamps would hold.
Please pin this!

What size, length and type of rope did you replace it with? That’s really a key Point of information.
@Erika, i am wondering the same!