
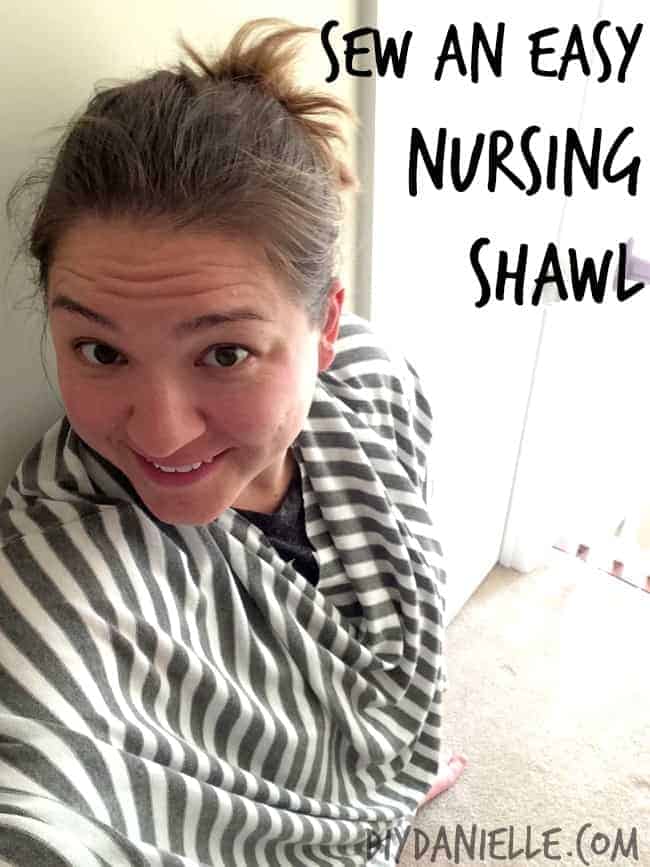
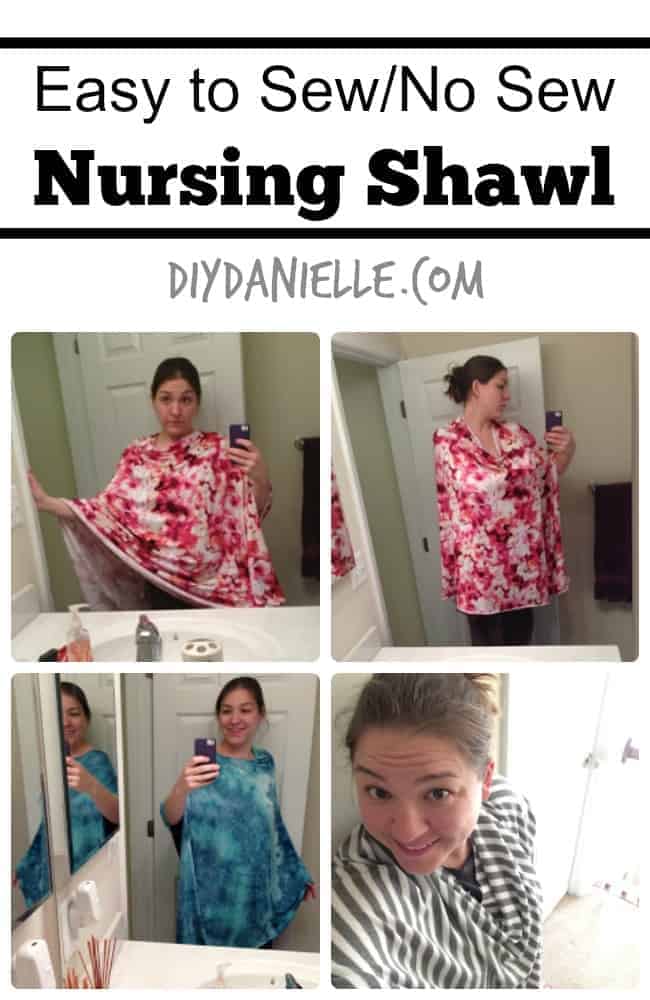
How to make an easy nursing shawl. These are an awesome and attractive alternative to nursing cover. Even the novice seamstress can sew one. Can’t sew? You can even make this without a sewing machine!
It is baby season and I have a lot of friends pregnant right now. I love to give thoughtful, handmade gifts so I decided to make nursing covers for my friends who were planning to breastfeed. I found a great pattern for a nursing shawl and made one for everyone I knew. I used to have the pattern linked, but the original blog has since been shut down. So I updated my post so you can all make one of these for yourselves!
This is one of the simplest items I’ve ever made, it’s super soft, light, and comfortable, and it is unique. I think these could easily double as a cute cover up for cooler weather, even if you don’t breastfeed!
I’m putting my photo tutorial first, but there’s a video tutorial at the end if you prefer!
Supplies for a Breastfeeding Shawl
This post may contain affiliate links. Visiting these links helps support my blog. Thank you!
- Knit Fabric
- Pins or Wonder Clips
- (Sew) Sewing machine
- (No Sew) Hem Tape and iron
Tutorial: Nursing Shawl
Cut your fabric. I folded my fabric right sides together, cutting the fabric 32″ Long x 38″ Width. This makes the overall cut of fabric 64″ x 38″ (because it’s folded in half). This size is fairly large so you could definitely size this down if you wanted.
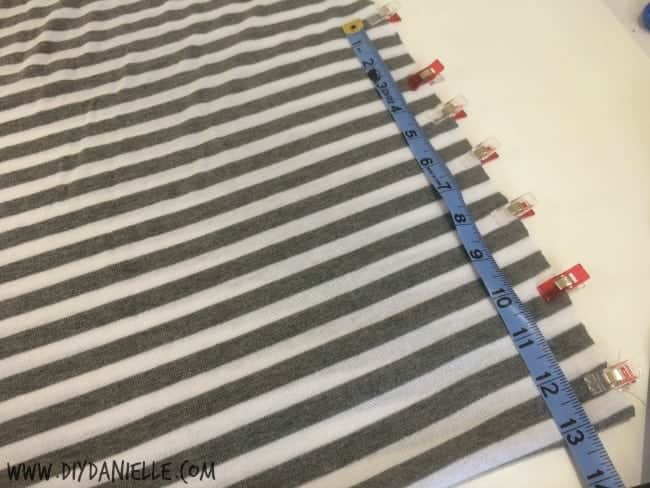
At this point your fabric should be folded right sides together. On the right side, started at the fold, pin 13″ up from the fold. This is where you neck opening will be. YOU DO NOT SEW HERE.
Option 1: Sewing
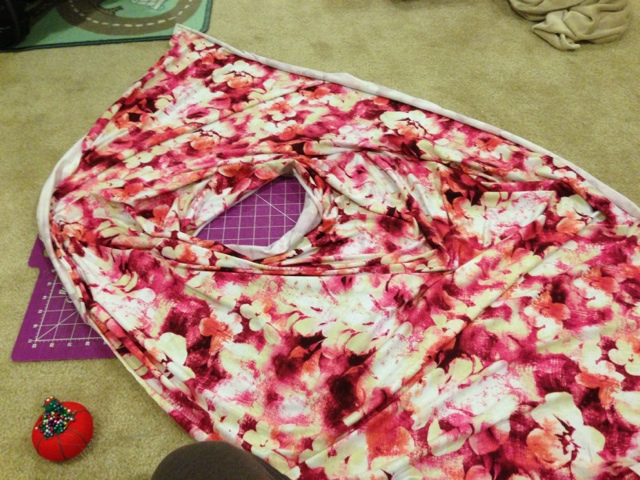
Sew the area from the last pin, all the way to the end of that side. This is it. You only sew the 19″, leaving the 13″ open (32″-13″= 19″ of sewing).
You can sew a straight stitch or use a serger to make it look pretty. It doesn’t matter because knit fabric doesn’t fray. No worries!
Option 2: No Sew
Instead of sewing, you could also use hem tape or an iron on fusing material. Or fabric glue. Or iron on hook and loop. Whatever you use to close it, you will just use it to replace the sewing to close the material off for those 19″.
Once you’re finished, you just flip the cover right sides out and you’re done! Very very easy!
Video Tutorial for a Breastfeeding Cover
Not quite sure you understood the pictures and description? Check out this video to explain it more thoroughly.
I also made some nursing pads to go with the gift. The tutorial for the nursing pads can be found here.
Thanks for reading!
Danielle
Pin me!
You are also going to LOVE:


Hi I like how you didn't cut the fabric. I am plus sized and want to make it larger then the tutorial you got this pattern from. Just one quick question….How much fabric did you buy?
Mine was the same amount as hers (1 yd) if I recall, but I just didn't cut the fabric like she did. 🙂
Sorry, but I'm confused.
Your length was 32" after you folded it, then was your starting length was doubled—64" right? So, then I'd need at least 1.5 yd at the store.
Just to make sure your starting dimensions then are 64" by 38" ?
Thanks ahead of time!
That sounds right, but I'm not positive where the mistake is. I just bought two more yards of knit to make two more of these and so I measured one of the fabrics (Joann's cut each fabric for me at 1 yard apiece)… the one piece measured roughly 61"x36".
What I think is the confusion is that different bolts of fabric may be different widths. I think that the bolt width is usually listed on the end of the bolt and that when I look at Fabric.com, I see widths of like 56" or so for jersey knits so they may just have a wider bolt. When I went to buy these, I just bought a yard and didn't really think about the width, although it DOES make a difference of course.
I hope this makes sense… again, not positive this is where that math issue is, but I think that's the only plausible explanation unless Joann's has cut my fabric incorrectly a couple times.
And sorry about my terrible math 😉
I'm headed to JoAnn's myself, here in a bit and I bet you're right about the bolt width. I'm just getting my feet wet with all this anyways. Thanks for the heads up! I can't wait to make this.
Awesome! Good luck! I think it's among the easiest coolest things I've made… which is why EVERYONE may be receiving one of these for baby showers! 🙂
i made one… so quick and easy. cost me $5. wish i could post a picture. i couldnt find a knit material so i found what i thought might be knit. its see through some but not enough to matter and its sooo thin and light and breezy. and soft and comfy.
Awesome! Feel free to post a link to the picture, I'd love to see it! :0)
Hi Danielle,
Just to confirm… On one arm hangs the folded edge of the fabric & next to it is the neck hole. What about the fabric on which hangs on the other arm. Does that too get stitched? If not, does it provide the required privacy?
Your head goes between the folded edge and the sewn part. 🙂 The folded edge provides the privacy on that side.
That being said, there's a little more that shows on one side than the other I think.