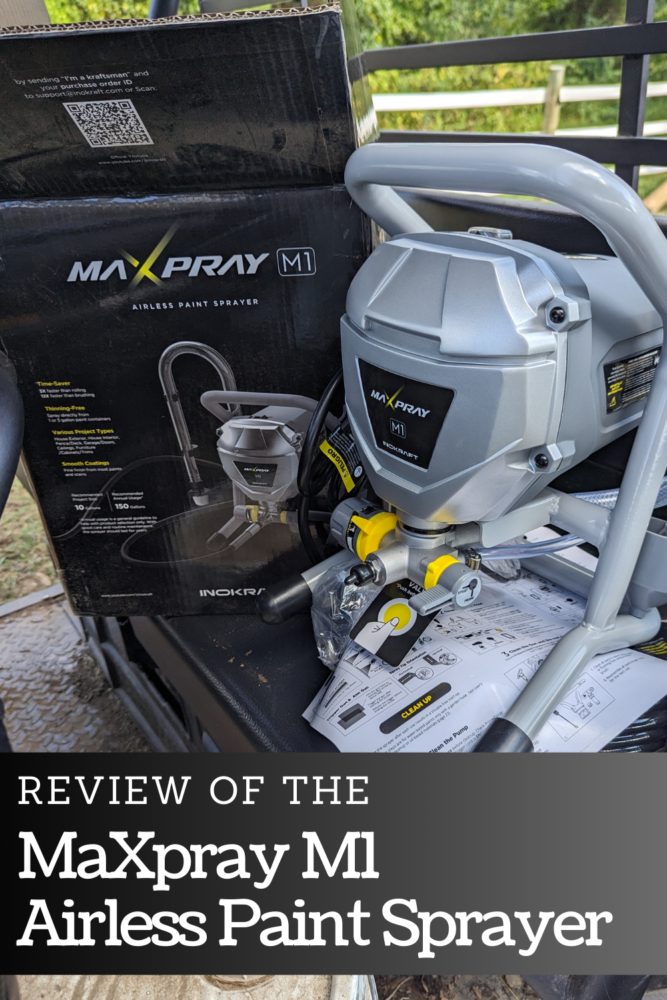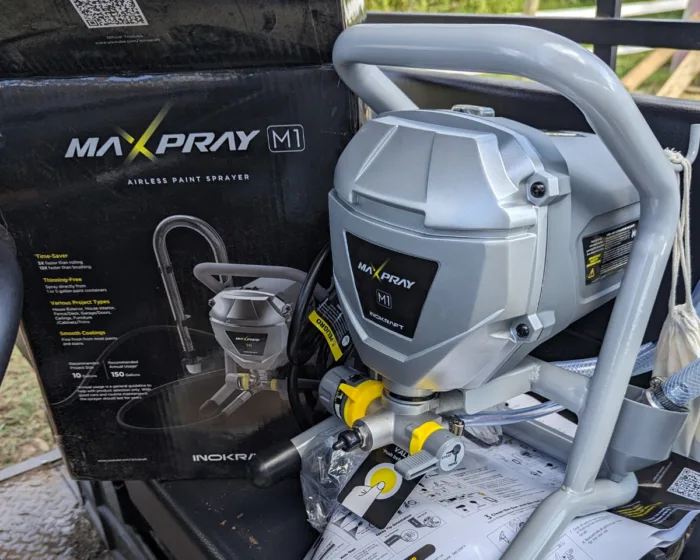
Review of the InoKraft MaXpray M1 Airless Paint Sprayer. This is my first time using a paint sprayer that’s made for larger paint jobs and I LOVE IT.
InoKraft contacted me to ask me if I’d like to review their airless paint sprayer. Knowing that I have several outdoor paint jobs to complete, I decided to say yes. I’m SO glad I did. I have only used a small scale paint sprayer before that’s intended for furniture projects- it never felt worth it to get it out. But this? AMAZING. It made painting my goat shed SO much easier, and I’m looking forward to working on my compost bins, sheds, and house next. I’ve been trying to get everything to match- it drives me nuts that they’re all different colors.
This post may contain affiliate links which may earn me commissions should you click through them and take certain actions. As an affiliate for Amazon, Cricut, xTool, Home Depot, and other sites, I earn from qualifying purchases. Please DIY carefully. View my full legal disclosures here.
Please read the whole post so you don’t miss any important information!
MaXpray M1 Airless Paint Sprayer Use
Supplies Needed to Use an Airless Paint Sprayer
- Product: InoKraft MaXpray M1 Airless Paint Sprayer, High Efficiency, Thinning-Free, Minimal Overspray, for Home Exterior & House Interior DIY Painting Projects, with Paint Sprayer Accessories
- Paint used: Lexington 5 gal. Black Fence Pro Black, Acrylic Latex Fence Paint ($50-52)
- Apron
- Painting clothes. The kind you don’t mind getting paint on.
- OV/AG P100 Pro Multi-Purpose Reusable Respirator with Quick Latch, Size Medium https://homedepot.sjv.io/KjgDjA
- Black Disposable Nitrile Gloves https://homedepot.sjv.io/Y9LJ9m
- (2) 6 in. Adjustable Wrench https://homedepot.sjv.io/LXgQXL
- Empty 5 gallon bucket (preferably a bucket you don’t mind getting dirty)
- 6 ft. x 2.5 ft. x 3.4 ft. Steel Scaffold Guardrails System, Parts/Accessories for Baker Scaffolding Towers https://homedepot.sjv.io/eKa61D
- Safeclimb Baker Style Scaffold Rolling Platform, 1250 lbs. Load Capacity, 6 ft. W x 6.25 ft. H x 2.5 ft. D, Steel https://homedepot.sjv.io/q4V7z5
- Ear protection
- Cooking oil
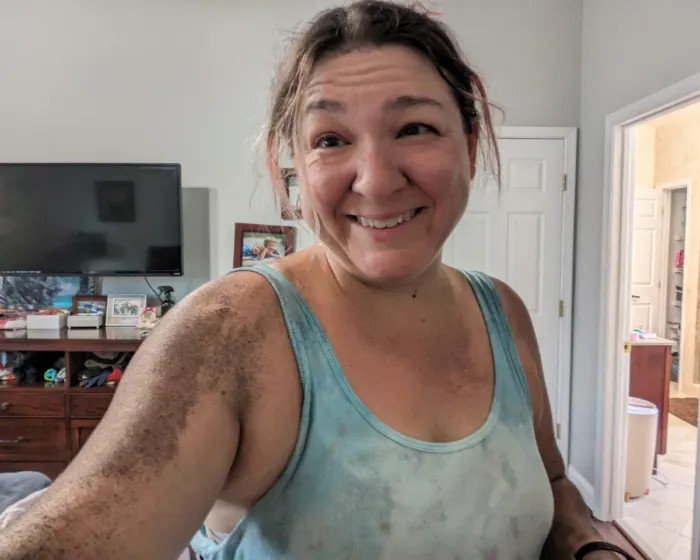
First, you really need to prepare to get VERY dirty. I was covered in paint when I was done because of wind blowing spray back at me and just overall lack of expertise. Maybe someone with more expertise can keep their clothing clean, but I wore an apron, goggles (included with the sprayer) and respirator. I WISH I’d worn disposable gloves… my fingernails still have black paint around the edges, many many washes later.
You may want ear protection as well. The machines are pretty loud- I haven’t use any other brand, but our neighbors had someone paint their fence the other day and I could hear it all the way over in my yard. We all have 5+ acres sooooo yes, they’re probably all loud. I’m thinking I might go out with a shower cap over my headphones next time I use this… my neighbors probably already think I’m the crazy neighbor so it’s fiiiine.
The extra bucket is necessary. You’ll be running spray through the machine into the extra bucket so it WILL get dirty.
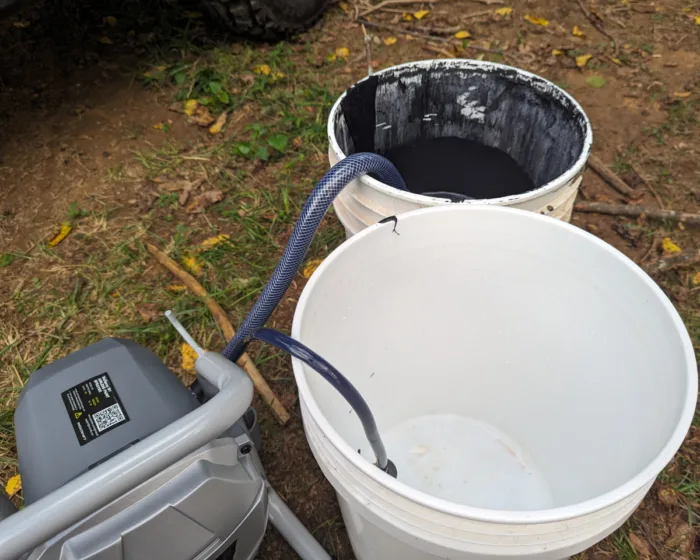
You need 2 wrenches to tighten the nuts on the sprayer connections. I ended up with a ton of paint leaking out on me at one point but the fix was simply tightening the connection. I think it just gets loose in the process sometimes, and you’ll need to disconnect pieces to store/wash.
Cooking oil is used after you clean it. You pour 1/4 cup of cooking oil in there… I assume that helps keep everything oily after you clean it thoroughly. No idea. I just followed the directions.
Scaffolding– buy this. I have never used scaffolding before, but it made ALL THE JOBS easier with this project. I’m debating painting my house black and I may need to get another level for my scaffolding if so. I started out super nervous about getting on it, but by the time I got around to putting the roof on the shed, I was scrambling up the side of it without blinking.
Pros of the Airless Paint Sprayer
- It’s SO much faster than hand painting.
- It’s fun to use.
- You don’t need extra supplies- ie. paint brushes, rollers, etc. It feels like I wasted less as a result, seeing brushes and rollers often end up in the garbage after a few uses. Also, that’s fewer items to clean.
- It’s relatively easy to clean.
- Applies paint smoothly, unless it gets clogged.
- Easy to unclog without disassembling.
- You save time.
- It’s fairly easy to hit areas that are a bit higher with the sprayer without using a ladder. The downside is that the excess spray comes back down on you.
- You can store it for 1-2 days without fully cleaning it if your project takes a couple of days.
- With the barn paint, I found it only took one coat to get good coverage with the sprayer. I needed two coats in a few spots, but I think this was because I was struggling to see in the sun as I was painting.
Cons of the Airless Paint Sprayer
- It’s loud. I think they’re all loud, but ear protection is a good idea. I usually wear headphones, but I was struggling to keep mine clean while spraying.
- If you’re painting something that needs a lot of taping off, it would be a bit frustrating to do that. It’s not my favorite part of painting.
- It’s messy. You have a bit less control that you do with a paint brush.
- Cleaning it sucks. It’s easier than many sprayers, but it still sucks.
- You probably waste a bit more paint than if you paint with a brush.
Overall I’m SO glad that I have this. Like I said, I can see a lot of painting projects in my future. We bought a beautiful black barn a couple of years ago and I’m on a mission to match the sheds and house to the barn.
Here’s some photos of my final paint job. Like I said- it’s not perfect. But I think this is predominantly due to having the sun in my eyes in a few spots and being unable to see that I needed a little more spray in those areas.
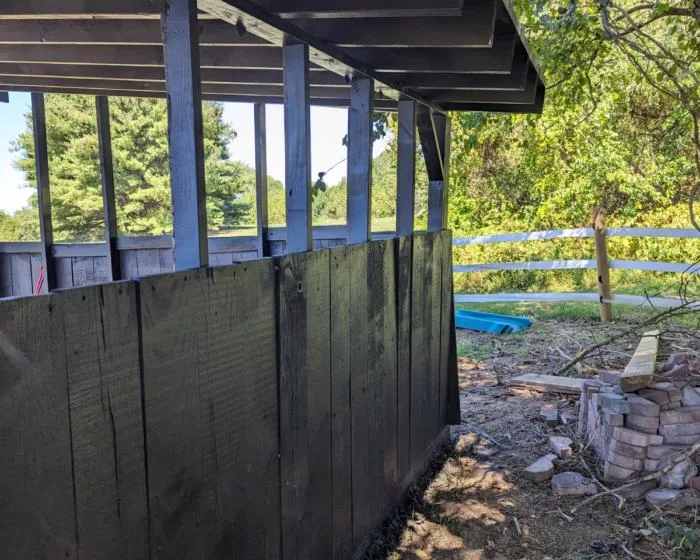
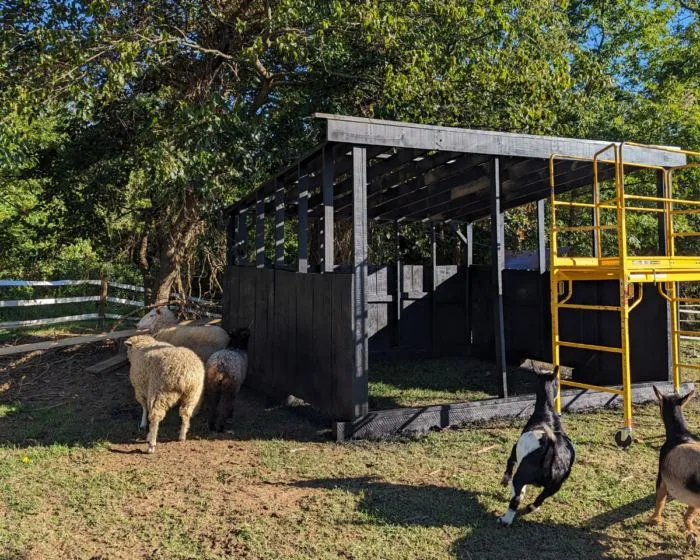
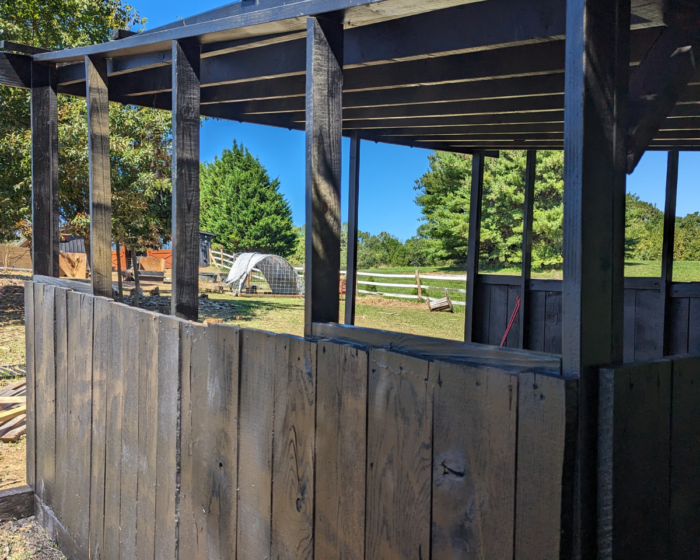
I have a small front area of my house that I’m going to try first to see if I like the black with the stone on the front of the house- but I’m waiting on the brush to die back for the winter first. I also am not looking forward to taping off all of the windows and stone siding.
Please share and pin this post! If you make this project, share it in our Stuff Mama Makes Facebook Group. We have regular giveaways for gift cards to craft stores. You can also tag me on Instagram @doityourselfdanielle; I love seeing everything you make!
