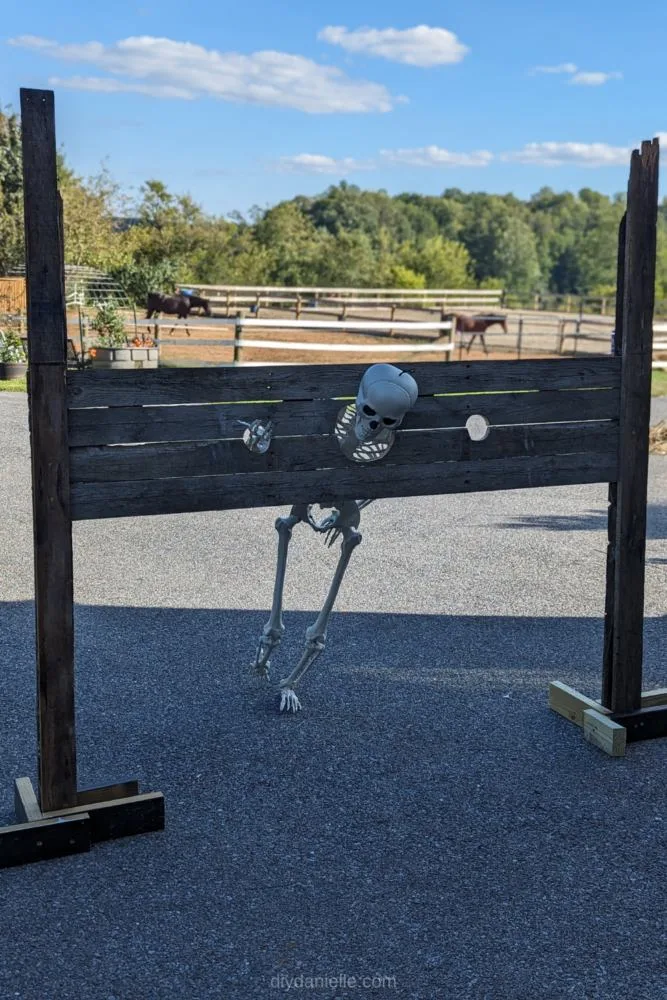
How to make medieval stocks for Halloween decorations using old pallets. This is such a fun and easy project!
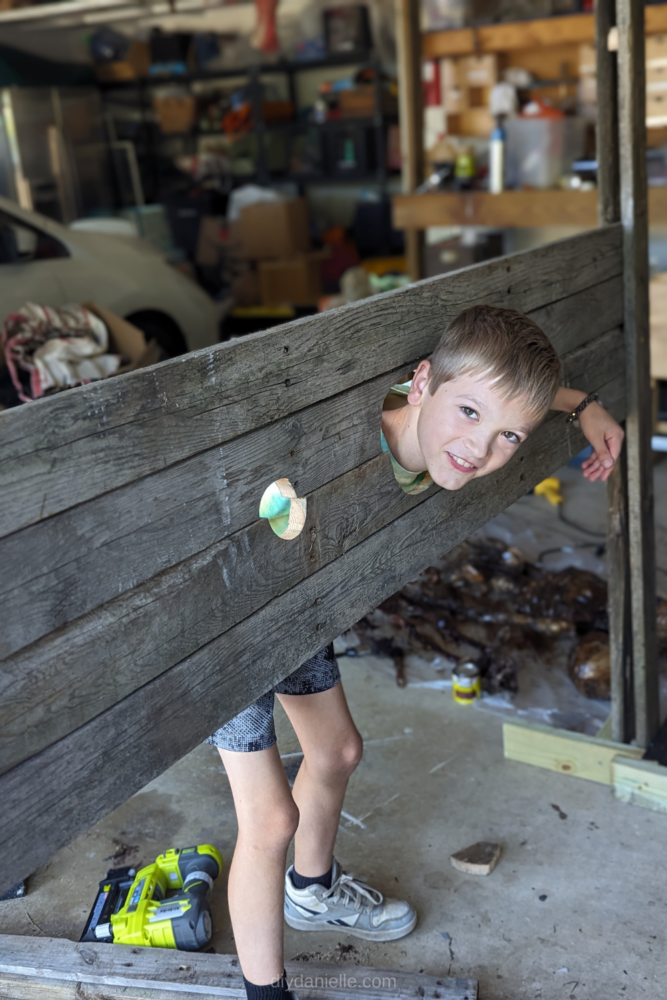
I have a bunch of old pallets that I’ve been saving for projects for our annual Halloween trail. They work well because they look rustic and they’re free… and the older, the better. So today I made some medieval stocks (you know, the things that they’d put in the town center, put criminals in with their head and hands locked in place, and toss rotten tomatoes at!). This will go in our jail section of the trail this year. It’s 100% scraps and supplies that I already had on hand. Yay for FREE!
This post may contain affiliate links which may earn me commissions should you click through them and take certain actions. As an affiliate for Amazon, Cricut, xTool, Home Depot, and other sites, I earn from qualifying purchases. Please DIY carefully. View my full legal disclosures here.
Please read the whole post so you don’t miss any important information!
DIY Medieval Stocks for Halloween
Supplies
- Old pallets, disassembled
- Wood Glue https://homedepot.sjv.io/5b4JQo
- Ryobi Airstrike https://homedepot.sjv.io/qn7Zbj
- Ryobi Jig Saw https://homedepot.sjv.io/doqDEW
- Screws/screwdriver
Tutorial
Step 1: Take (4) long boards from old pallets. You want to connect two together using small pieces of scrap pallet wood. Connect the other two together as well. You can use wood glue and brad nails to attach them.
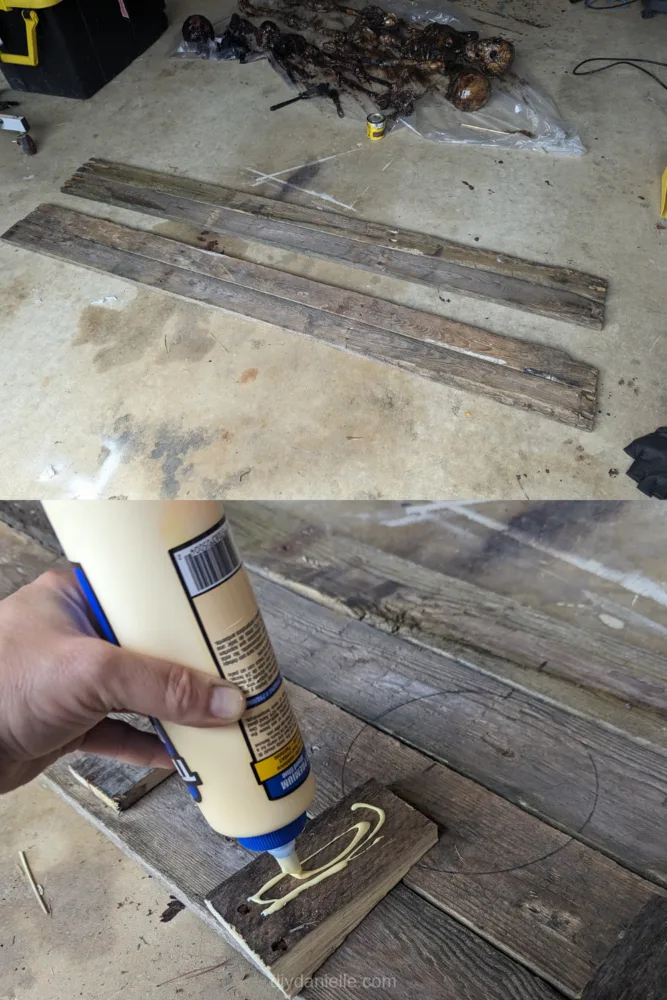
Step 2: Place the two sets of wood planks above and below each other, and draw the circles for a head and two hands. These sections form the center of the stocks.
Step 3: Cut out the circles with a jig saw.
Step 4: Take 2 more long planks for either side of the stock area. Place the stock pieces on top, around standing height. You want to attach the BOTTOM of the two pairs of boards to the sides… but not the top. The top stays loose in the channel that you’ll be creative.
In the photo below the top part of the stocks is upside down. I flipped it later.
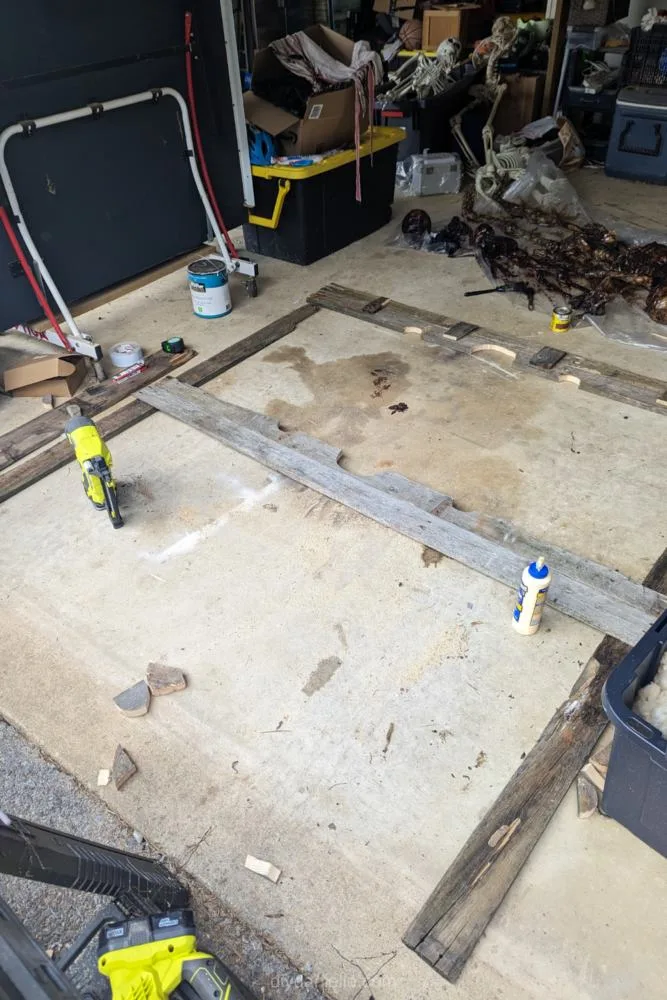
Step 5: Add an additional 2 planks on top of the stock pieces. This sandwiches the two stock sections between 2 boards on each side. Again, you’re attaching the top board to the bottom of the stocks.
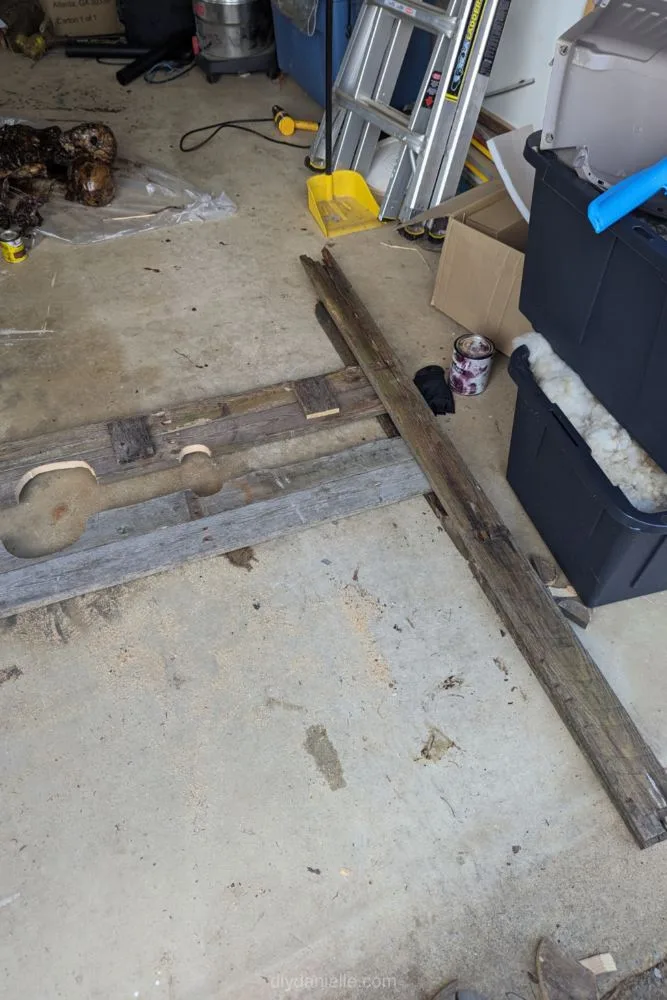
Step 6: I added small scraps of wood at the bottom and top, sandwiched between each pair of side pieces. This just was to help add stability.
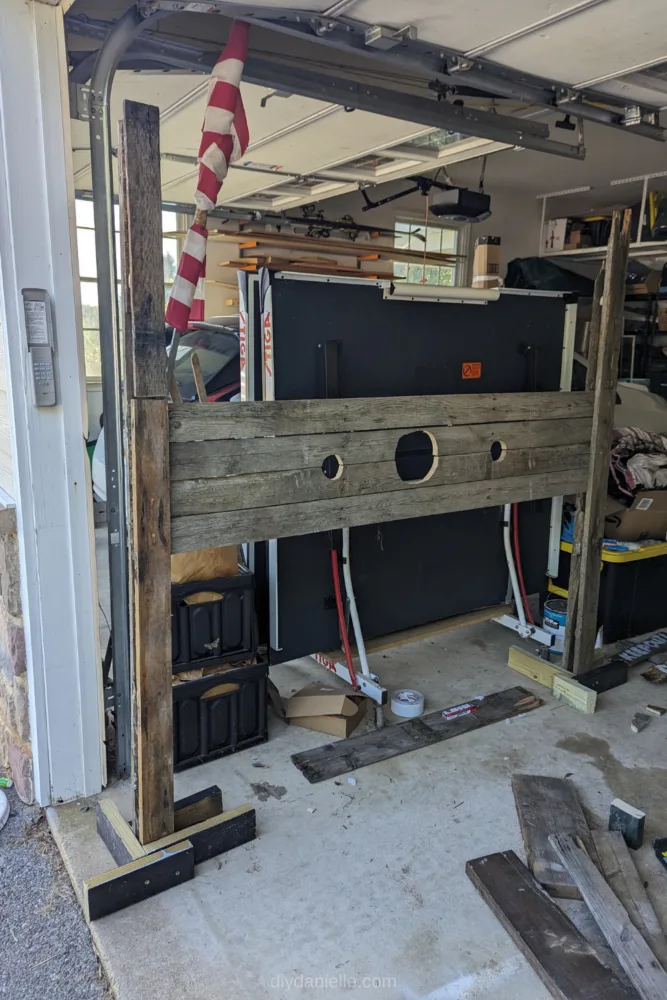
Step 7: Add ‘legs’ using scrap 2x4s (either from the pallet or scraps from your wood collection. I used screws for this.
Video Tutorial
Please share and pin this post! If you make this project, share it in our Stuff Mama Makes Facebook Group. We have regular giveaways for gift cards to craft stores. You can also tag me on Instagram @doityourselfdanielle; I love seeing everything you make!
