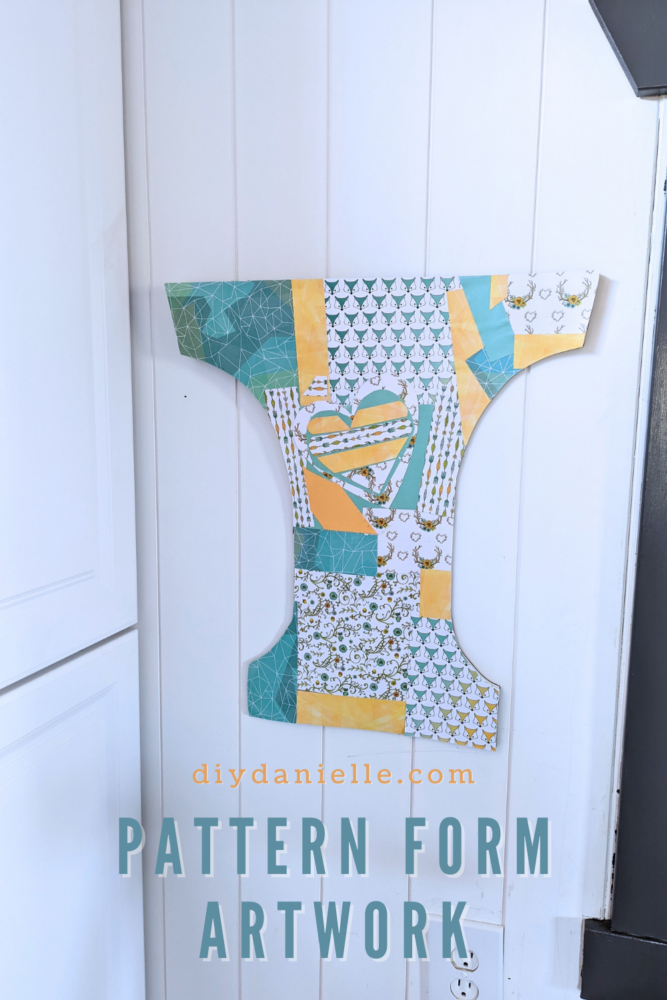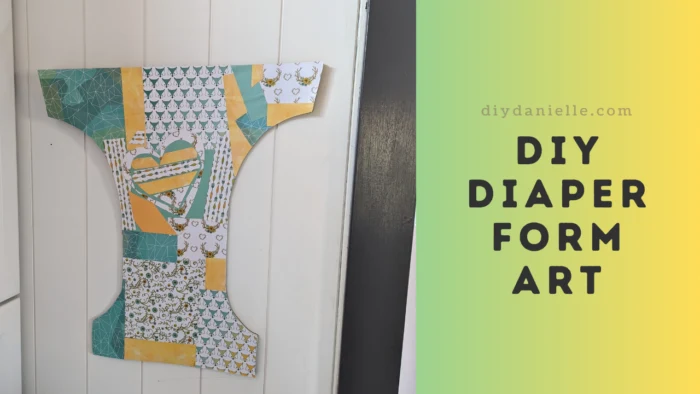
Quick upcycling project where I used an old wooden sewing pattern form from making diapers and turned it into art for my sewing space.
As our cloth diapering journey came to an end, I was left with old wood diaper forms that I made to make cutting fabric for cloth diapers faster. While I’m glad to put diapering behind us and I’ve sewn so many diapers that I’d RATHER NOT ever again, this diaper form has a special place in my heart.
Cloth diapering is what got me started on this journey- from sewing to blogging about it. I wanted cute cloth diapers, but we were on a limited budget so I couldn’t get the diapers that I wanted. I decided to make my own to save money and it just escalated from there.
Now I sew, craft, and do woodworking projects that I NEVER would have imagined I could ever do. So this means something to me- it represents what I can do when I put my mind to something, and it represents my aim to help others get there too.
This post may contain affiliate links which may earn me commissions should you click through them and take certain actions. As an affiliate for Amazon, Cricut, xTool, Home Depot, and other sites, I earn from qualifying purchases. Please DIY carefully. View my full legal disclosures here.
Please read the whole post so you don’t miss any important information!
Wall Art from an Old Diaper Form
Supplies
- Old wood diaper form
- Mod podge
- Scrapbook paper
- Command Strips
Tutorial
Step 1: Cut some pieces of scrapbook paper into a variety of small squares and rectangles (or whatever shape you want).
Step 2: Ideally, you should either sand the front of the wood (if it’s like mine and shiny) or use some primer on it (and let it dry) first. This will help the paper adhere better with the glue. The shiny finish on my form made it not stick well.
Step 3: Paint your diaper form front with mod podge.
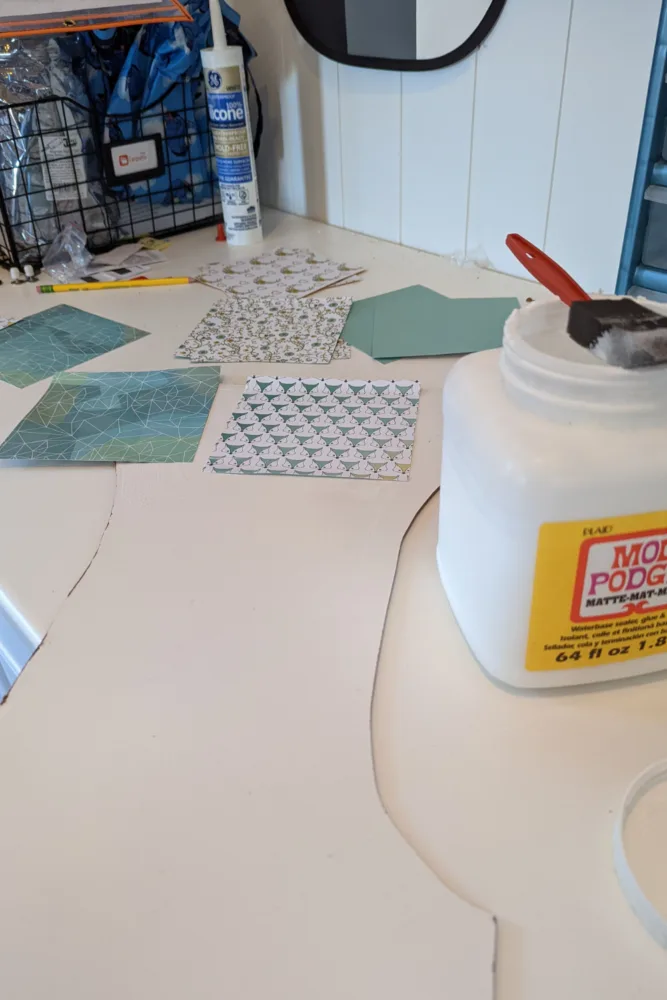
Step 4: Layer your pieces of paper on top of the diaper form, overlapping wherever you wish.
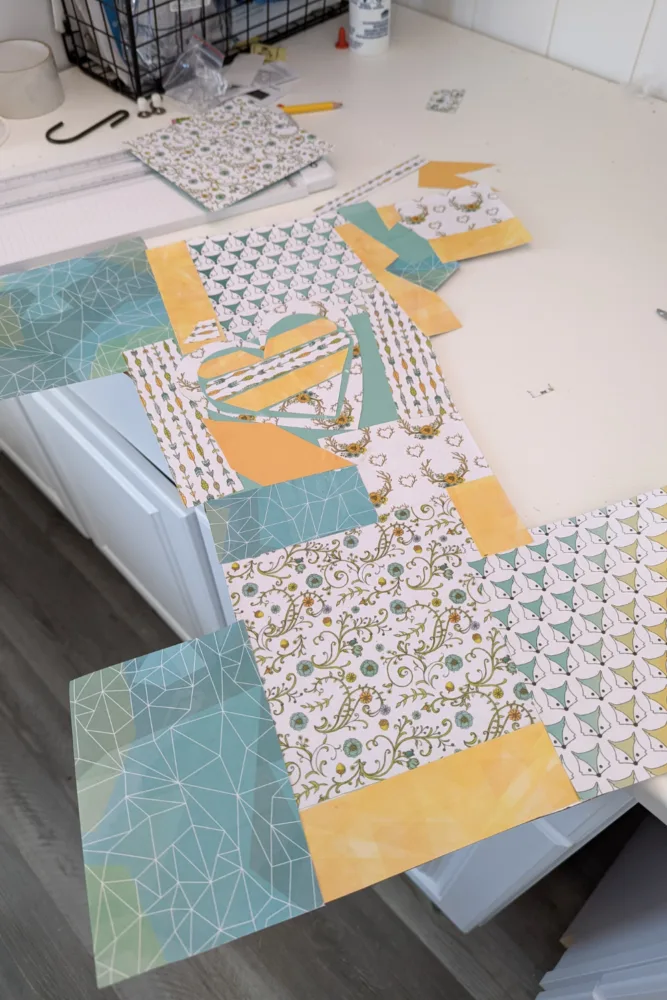
Step 5: After completely layering the paper, you can mod podge on top of the paper to seal it. If desired, you can layer more paper on top to form shapes such as the heart. Let dry.
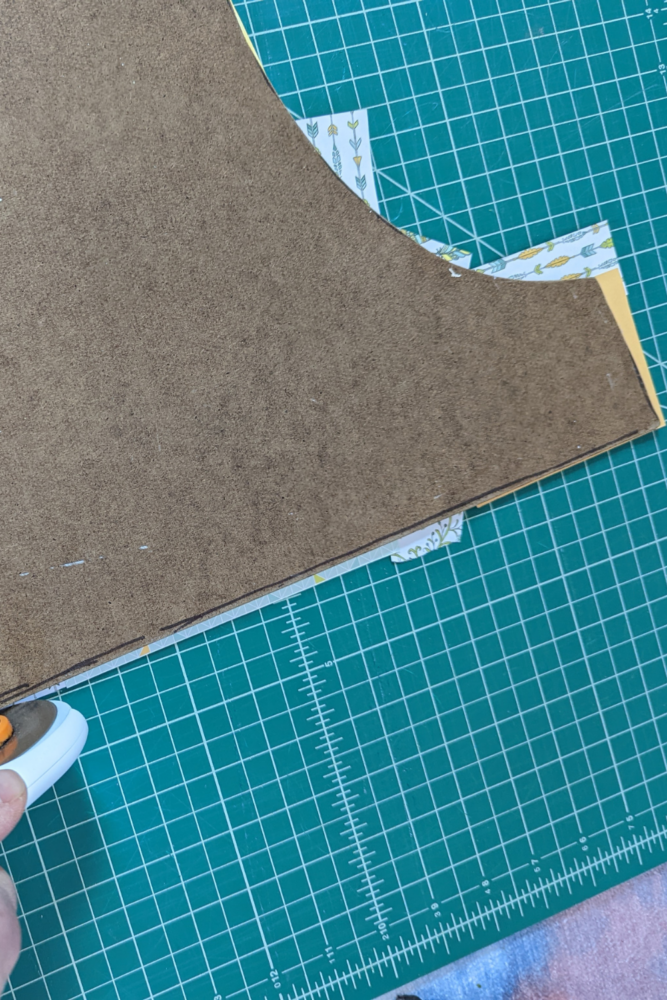
Step 6: Once dry, flip the sewing form over and use scissors or an exacto knife to cut off the excess paper in the shape of the form.
Step 7: Hang with command strips!
Please share and pin this post! If you make this project, share it in our Stuff Mama Makes Facebook Group. We have regular giveaways for gift cards to craft stores. You can also tag me on Instagram @doityourselfdanielle; I love seeing everything you make!
