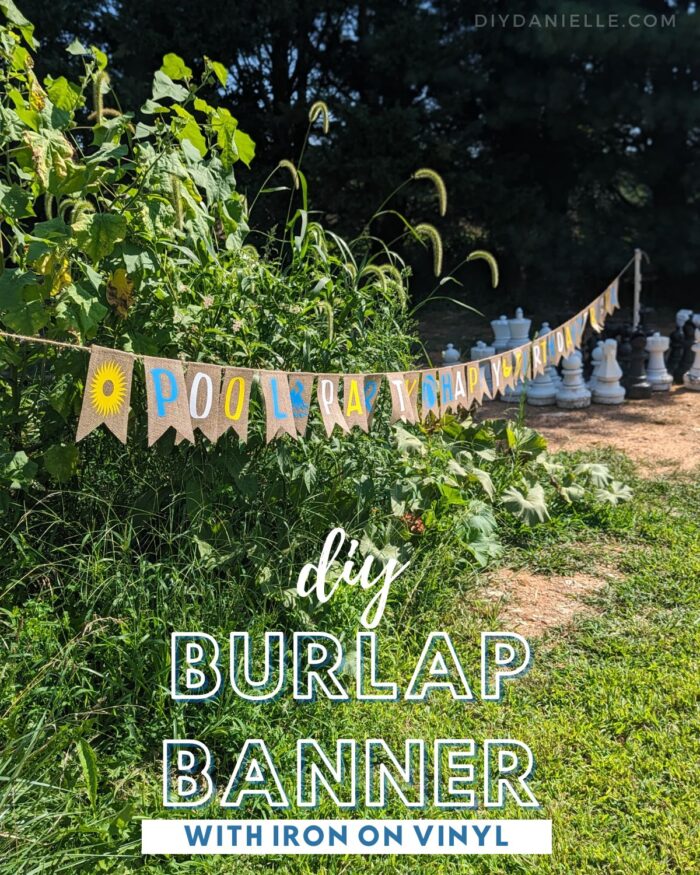
Create a stunning and unique burlap banner for a pool party birthday with Iron On Vinyl and your Cricut Maker. Get the instructions here!
For my son’s birthday, I was going to make another birthday banner using Smart Sticker Cardstock, but I decided to do a burlap banner instead. I like both styles, but the burlap banner is easier to reuse. Even if I don’t need it again, I can remove the pieces with my son’s name and gift it to someone else who is hosting a pool party. This was a VERY easy project with Cricut Iron on Vinyl, EasyPress, and my Cricut Maker.
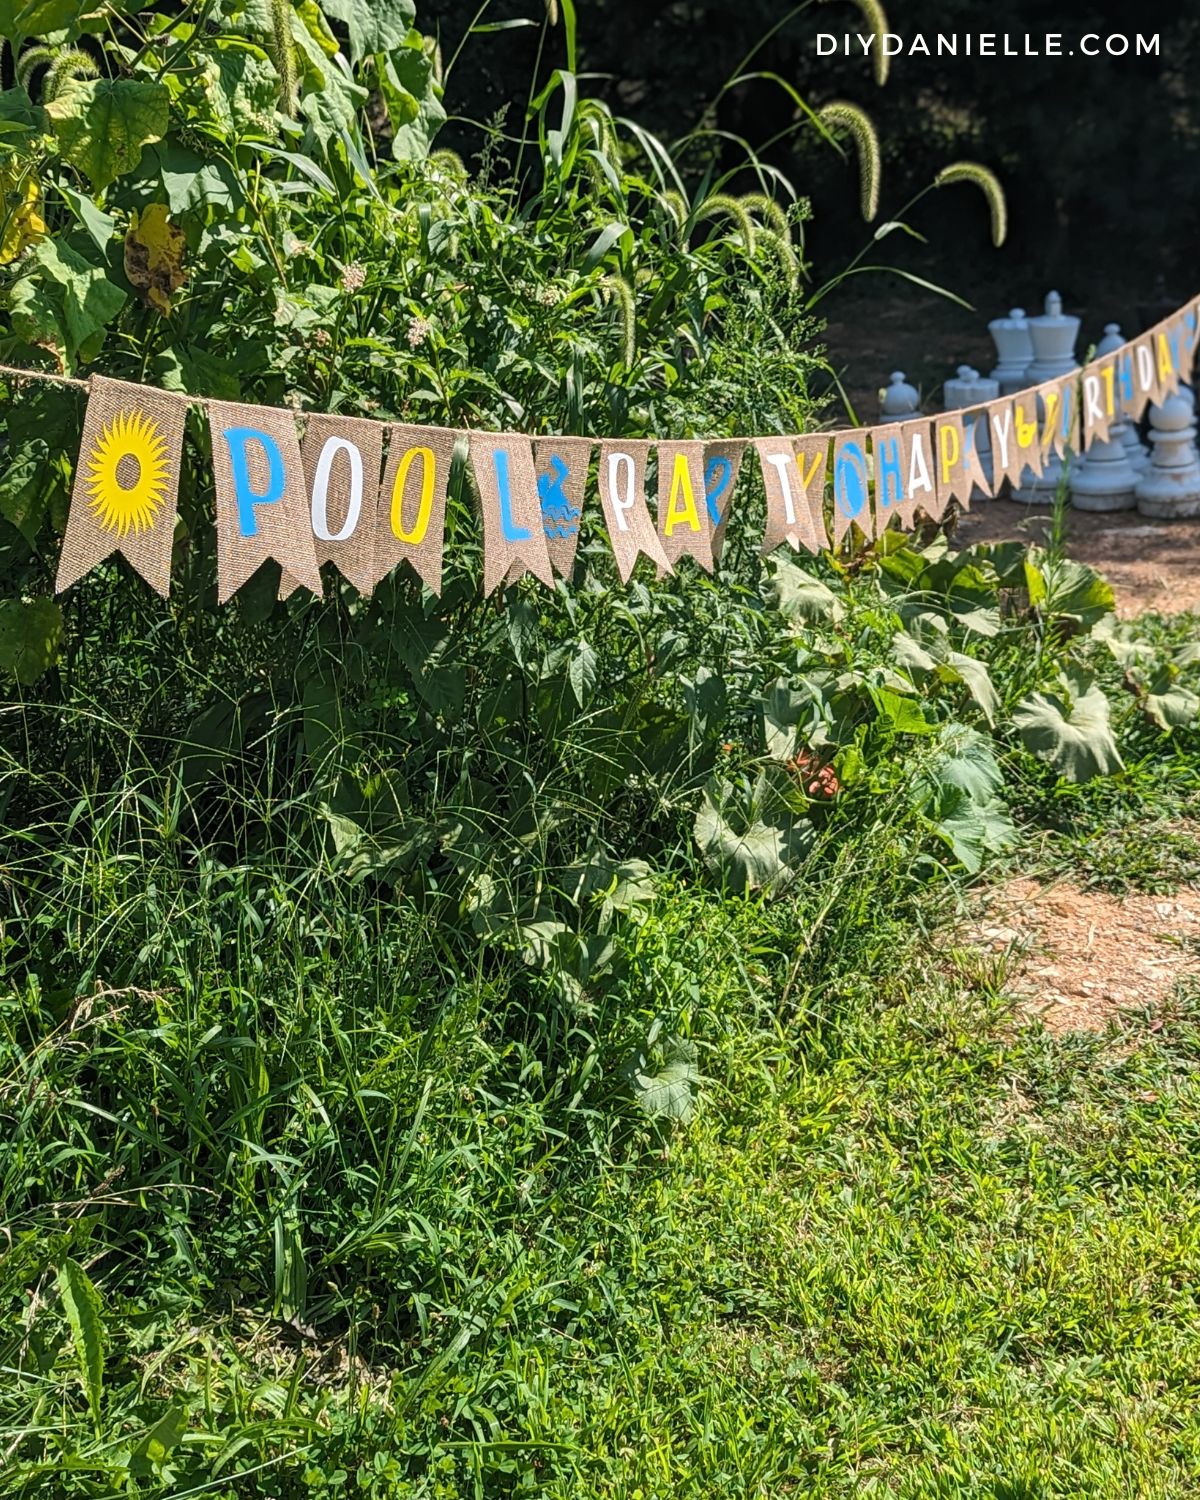
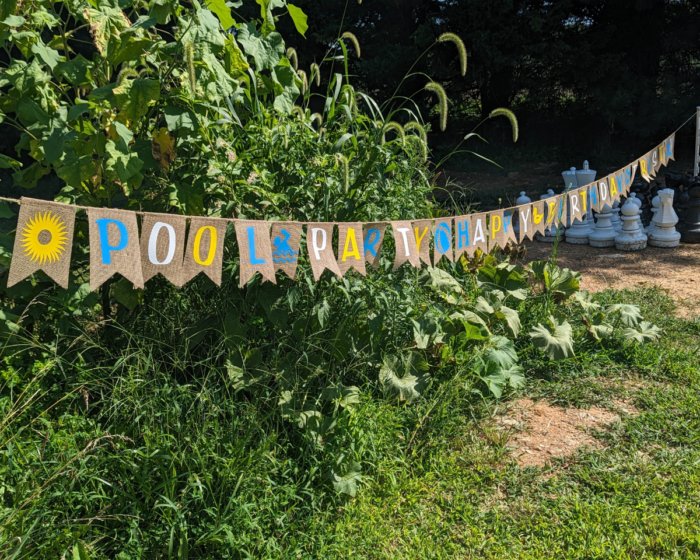
Just… please excuse the fairly shoddy photos. One day I won’t make my banner so impossibly long to photograph, but apparently… not this year.
This post may contain affiliate links which may earn me commissions should you click through them and take certain actions. As an affiliate for Amazon, Cricut, xTool, Home Depot, and other sites, I earn from qualifying purchases. Please DIY carefully. View my full legal disclosures here.
The majority of my content is generated by me, as are 99% of the photos and videos, but I utilize technology for titles, descriptions, video editing out all of my ums, and occasionally for text overlay on images.
Please read the whole post so you don’t miss any important information!
DIY Burlap Banner for a Birthday Party
Supplies
- Cricut Maker 3
- Cricut Roll Holder
- Cricut Heat Press or EasyPress
- 34Pcs Burlap Banner Adjustable Flags DIY Banners: https://amzn.to/3rYgwHH
- Smart Iron On Vinyl
- Design from DesignSpace: https://design.cricut.com/landing/project-detail/64bea684f80c993056be44de
Use the Discount Code DIYDANIELLE on cricut.com for 10% off any cutting machine or heatpress (no minimum). Excludes: materials/accessories/mystery boxes/etc. Applies to US/CA only, code expires 12/31/23.
While I could have cut my own burlap, buying the DIY banners was WAY easier and *probably* cheaper. And it saved me a lot of time. I also dislike all of the fluff that burlap leaves behind when cut so I wasn’t keen on dealing with that.
Tutorial
Step 1: Grab the design from Design Space and substitute your child’s name, or leave the name off altogether. You can also leave off the pool party piece or change out the designs if you’re not having a pool party. The sky is your limit. Make your adjustments and ensure that the letters are each sized so that they will fit horizontally and vertically on your banner flag.
Step 2: Set your Cricut up to cut your iron on, making sure to mirror the design. You want to load the Smart Iron On shiny side down into the machine. I made my text and images three different colors, just for variety.
Step 3: Weed away excess vinyl and cut out each letter separately.
Step 4: I stick all of my designs to the wall in the order that I want them in. This helps keep me organized when pressing them onto the banner flags.
Step 5: Set your EasyPress 2 to 315 degrees Fahrenheit and 30 seconds*. Preheat your first flag by pressing for 5 seconds.
Step 6: Place your first design on the flag, then press for 30 seconds.
Step 7: Flip flag over and press the opposite side.
Step 8: Let cool. Peel off clear film carefully. If it doesn’t come off easily, re-press and let cool again first.
Step 9: Cover design with a Teflon sheet and press again for 30 seconds.
Repeat for each design. Once finished, hang your banner!
*Make sure to double check your settings for your EasyPress and fabric choice. The temperature and timing recommendations can change from time to time.
Please share and pin this post! You can also post your project and tag the DIYDanielle team on Instagram @doityourselfdanielle!