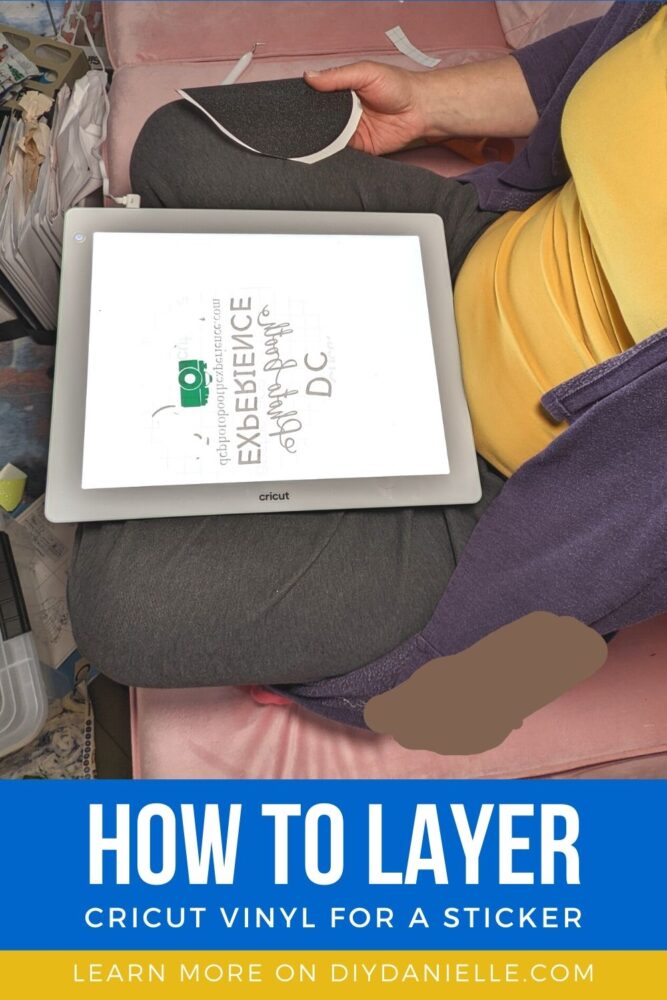
How to layer vinyl to create a business sticker. This is a sticker that I made for my friend’s business. I used Cricut permanent vinyl.
A friend of mine asked me to make her a sticker for her photo booth business, DC Photo Booth Experience. To create the sticker, I needed to layer Cricut vinyl, then send her the complete sticker WITH transfer tape so she could apply it to her photo booth. This was pretty easy (besides the time to weed and transfer it all). Here’s how to make your own!
This post may contain affiliate links which may earn me commissions should you click through them and take certain actions. As an affiliate for Amazon, Cricut, xTool, Home Depot, and other sites, I earn from qualifying purchases. Please DIY carefully. View my full legal disclosures here.
The majority of my content is generated by me, as are 99% of the photos and videos, but I utilize technology for titles, descriptions, video editing out all of my ums, and occasionally for text overlay on images.
Please read the whole post so you don’t miss any important information!
How to Layer Vinyl
Supplies
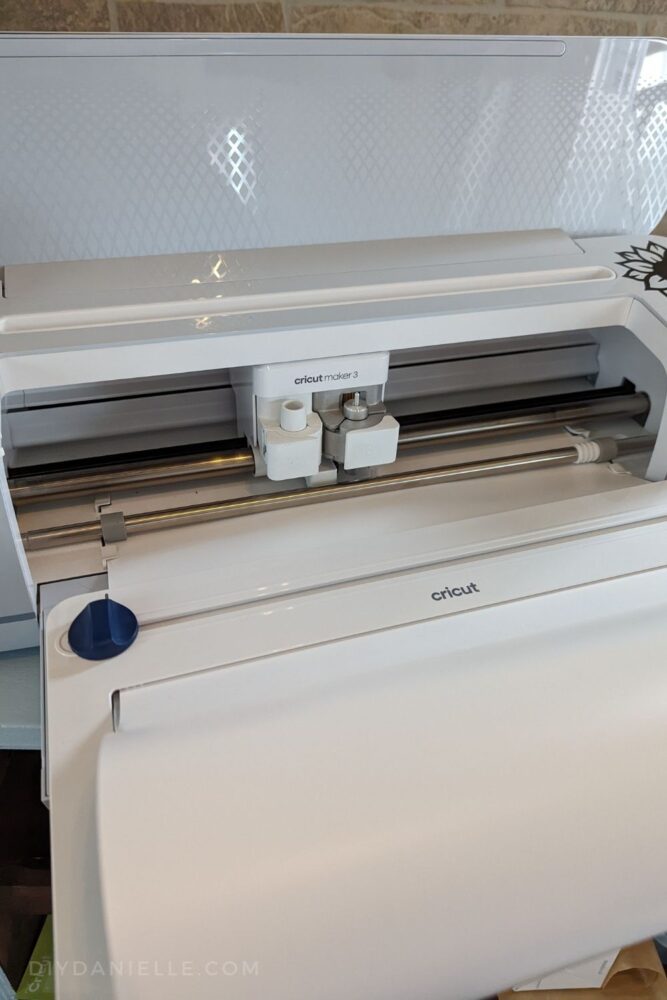
- Cricut Maker 3
- Cricut Bright Pad
- Cricut Roll Holder
- Transfer Tape
- Cricut Smart Vinyl, Permanent or Removable: If you purchase permanent vinyl, it will NOT come off as easily. This may be an issue, depending on how you plan to use the sticker. I would NOT place permanent vinyl on drywall, for example. Removing it might take off some of the drywall and you would have a tough job patching it after. For a slick plastic surface, I personally prefer permanent vinyl so it WON’T come off. If I need to get it off, it’s a bit more work, but I add a tiny bit of heat to help peel it off.
Use the Discount Code DIYDANIELLE on cricut.com for 10% off any cutting machine or heatpress (no minimum). Excludes: materials/accessories/mystery boxes/etc. Applies to US/CA only, code expires 12/31/23.
Tutorial
This is not a hard project, but it requires planning ahead. The tricky part is figuring out what colors to use and what order to layer everything in.
Step 1: Cut your vinyl.
I cut the following:
- Text in white permanent vinyl
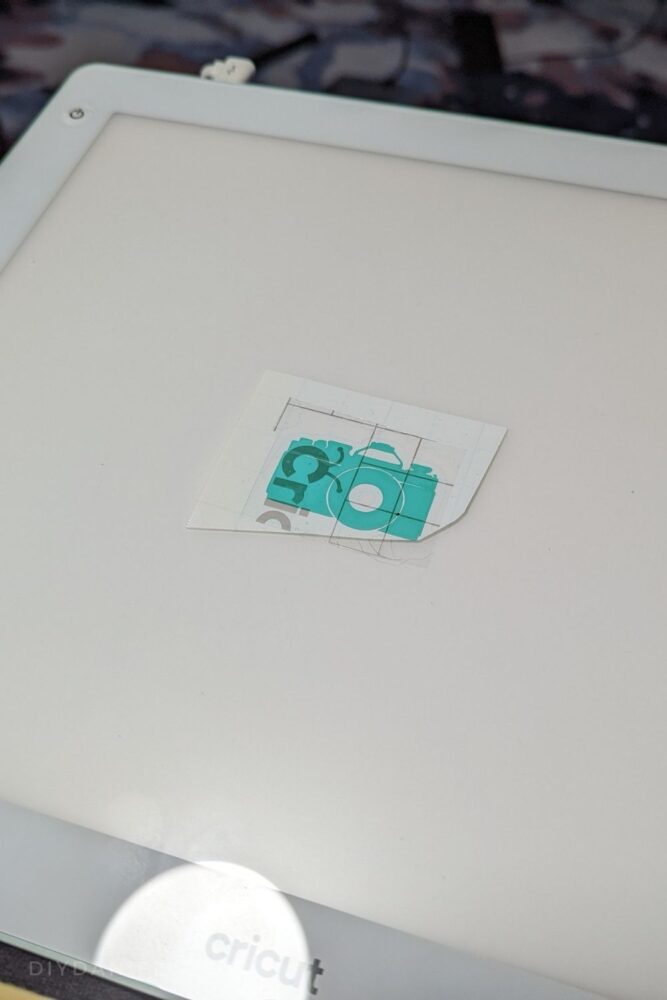
- Teal camera
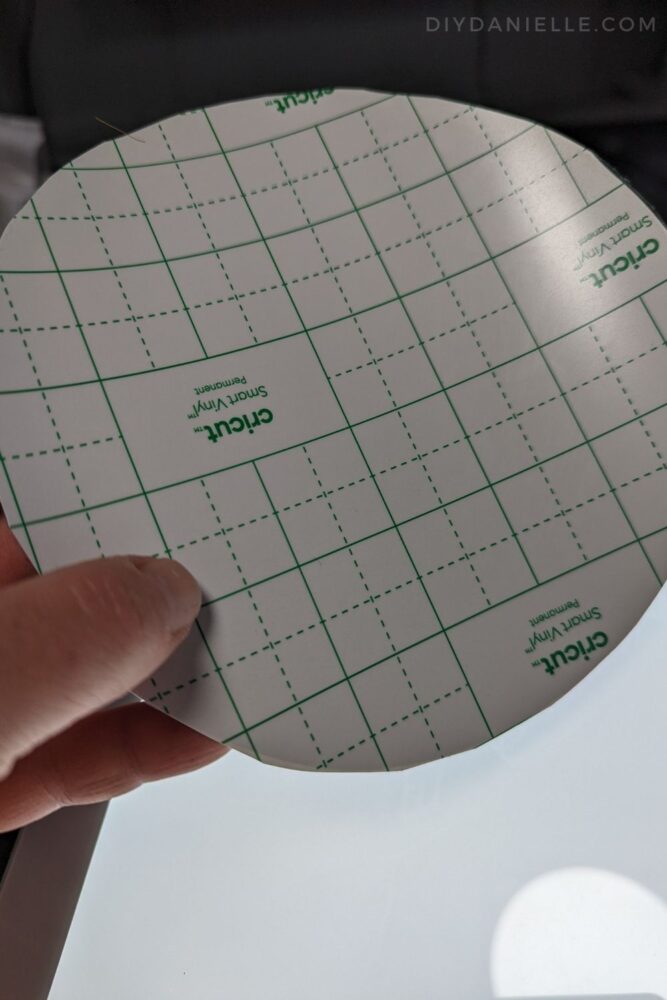
- Black sparkly vinyl for the larger circle.
The black circle is important because that’s the base for the sticker. It is also the LAST piece we apply.
Step 2: Weed your vinyl.
“Weeding” is the act of pulling away any of the vinyl that isn’t part of the design. You have to be careful about weeding any of your small bits and pieces, like the dots on your i’s.
Using the Brightpad makes this job easier because the light underneath the design helps IMMENSELY when weeding.
Step 3: Layering vinyl.
Again, this is going to be ENTIRELY dependent on how you plan your design out. The most complicated image to transfer on my design was the white text. As a result, I cut a tiny piece of transfer tape, applied it to the tiny camera logo, and removed the camera’s backing.
After, I placed the camera/transfer tape onto the backing for the white text.
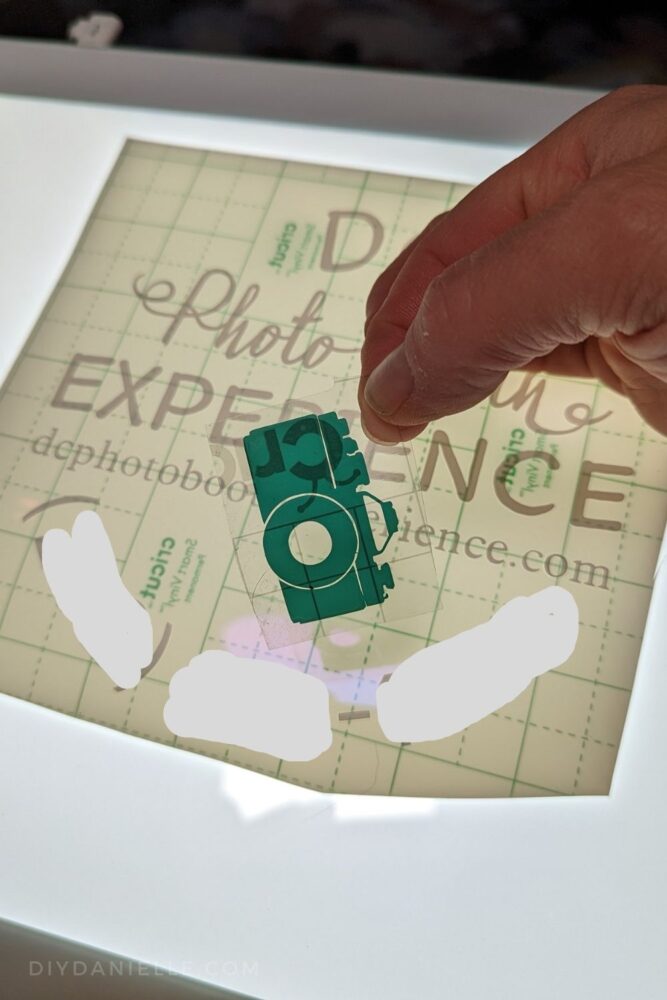
I peeled the transfer tape off.
Then I cut a piece of transfer tape that was as large as my black circle. I peeled the backing off the transfer tape, and applied it to the white text and camera.
At this point, it looks like this…
Step 4: Add your backing.
I consider the black circle to be my sticker backing.
I took the transfer tape with the white text and teal camera on it, centered it over the black circle, and stuck the transfer tape to the black circle. Make sure it sticks on good! As you can see in the photo below, the transfer tape is still stuck on the front… this is NORMALLY how we’d leave it.
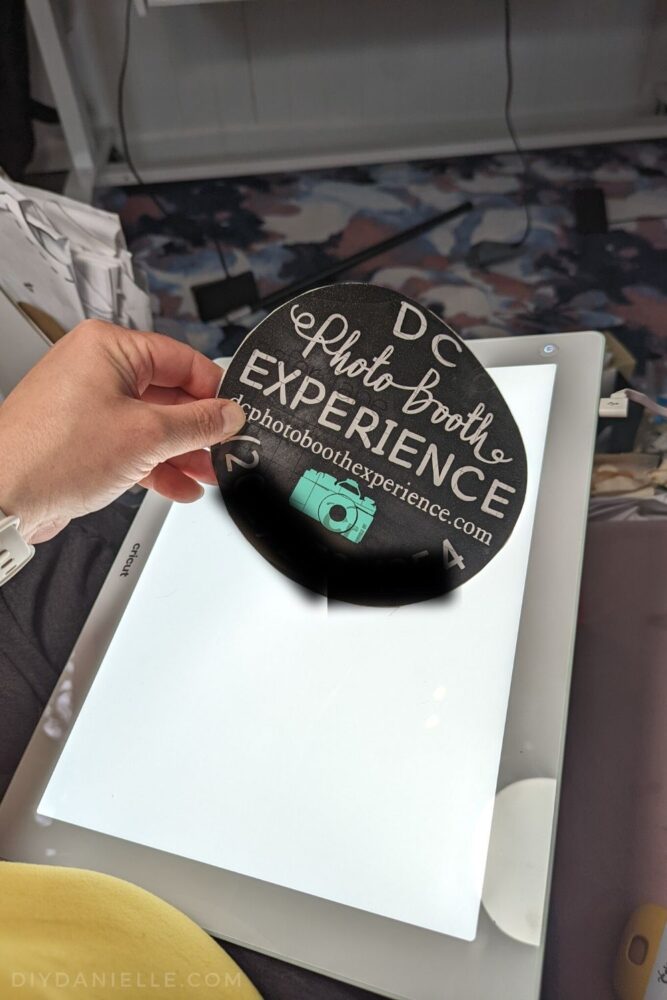
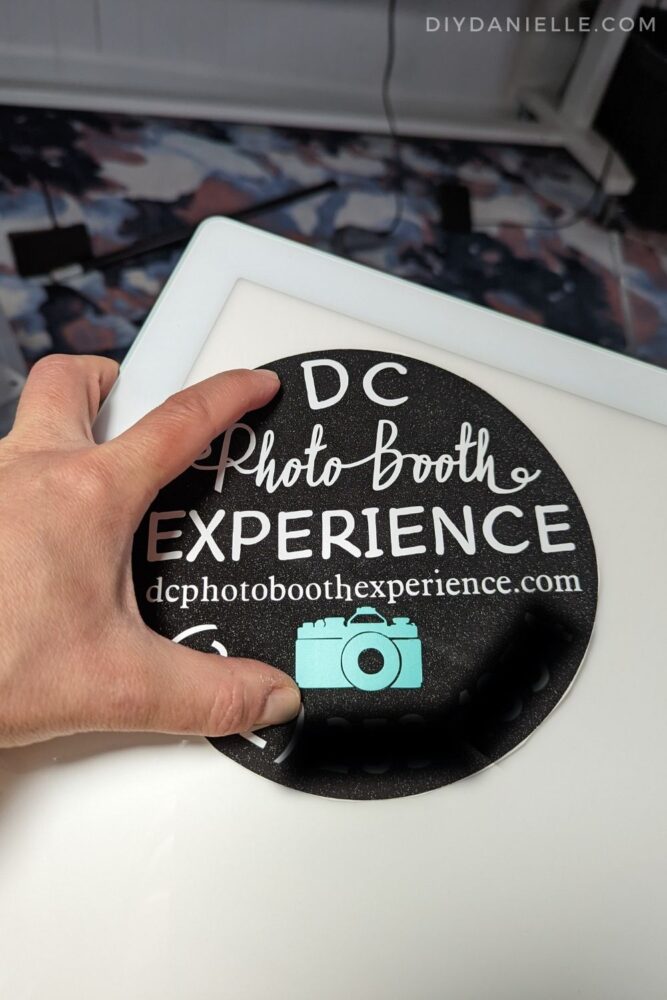
However… the large circle works pretty well for transferring the whole image. I CAREFULLY removed the transfer tape from the front of the design, making sure not to miss any tiny pieces.
Step 5: Give your friend instructions for applying the sticker to their machine/etc!
I gave my friend instructions for applying the sticker. When they were ready to apply it to the machine, they just needed to peel the back off the black circle and pop it on their photo booth.
If I’d left the transfer tape on, they would have needed to remove the transfer tape afterwards as well.
Please share and pin this post! You can also post your project and tag the DIYDanielle team on Instagram @doityourselfdanielle!