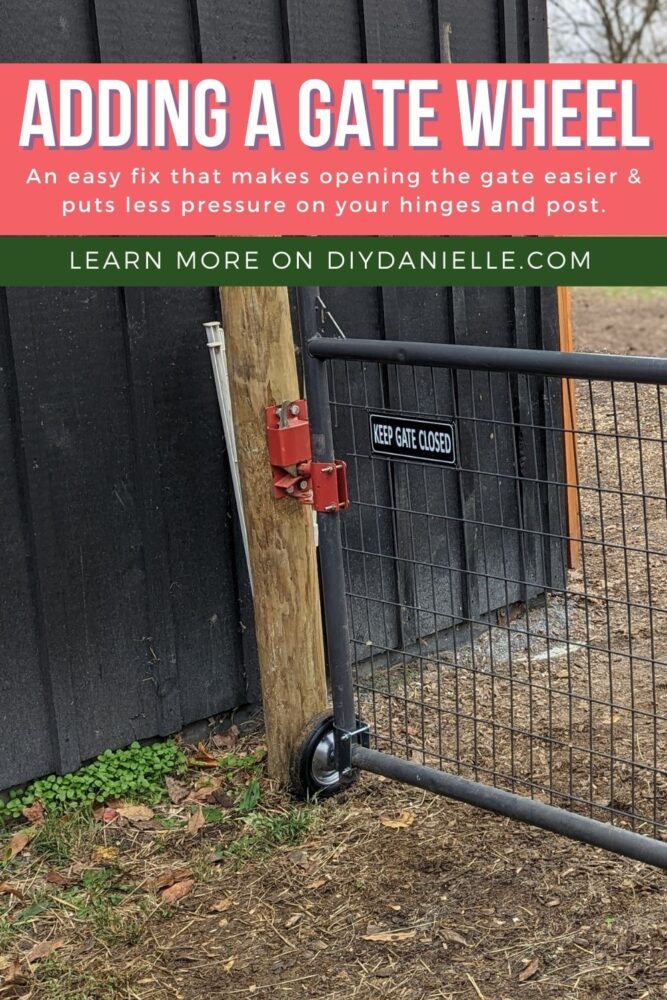
Installation process for a heavy duty gate wheel. Adding a gate wheel is an easy way to support a large gate for your field.
We went for months without gate wheels on any of our farm gates, but when I bought a 16′ gate, I knew I needed to add one. I ended up adding wheels to ALL of our gates. This was super easy and a great way to lessen the pressure on the hinges and fence post.
This post may contain affiliate links which may earn me commissions should you click through them and take certain actions. As an affiliate for Amazon, Cricut, xTool, Home Depot, and other sites, I earn from qualifying purchases. Please DIY carefully. View my full legal disclosures here.
The majority of my content is generated by me, as are 99% of the photos and videos, but I utilize technology for titles, descriptions, video editing out all of my ums, and occasionally for text overlay on images.
Please read the whole post so you don’t miss any important information!
Installing a Heavy Duty Gate Wheel
Why Use a Gate Wheel?
- Lessen pressure on hinges
- Easier to open and close
- Lessen pressure/weight on the fence post
Supplies
- Patriot Gate Wheel: We purchased ours through our local farm store, but you can find similar products such as this gate wheel on Amazon.
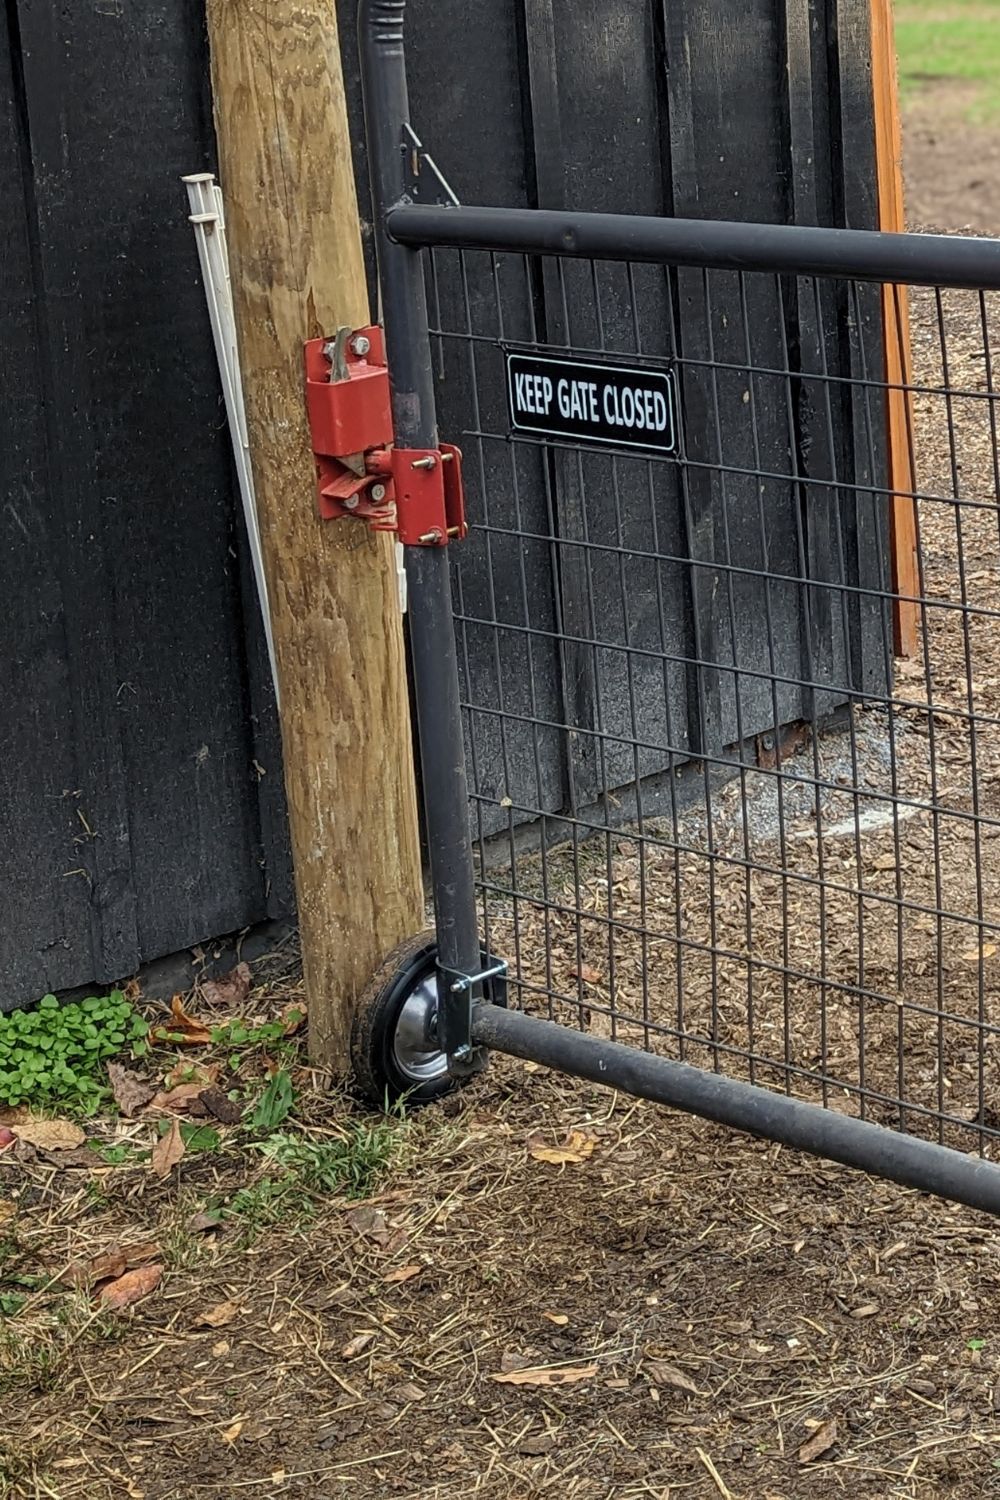
Installing Process
This is pretty simple, but here’s the quick run through.
Step 1: Slip wheel attachment onto the gate. Add shims inside if needed.
Step 2: Attach screw through the metal brackets. Use socket to tighten.
Step 3: Adjust your gate if needed.
Please share and pin this post! You can also post your project and tag the DIYDanielle team on Instagram @doityourselfdanielle!