
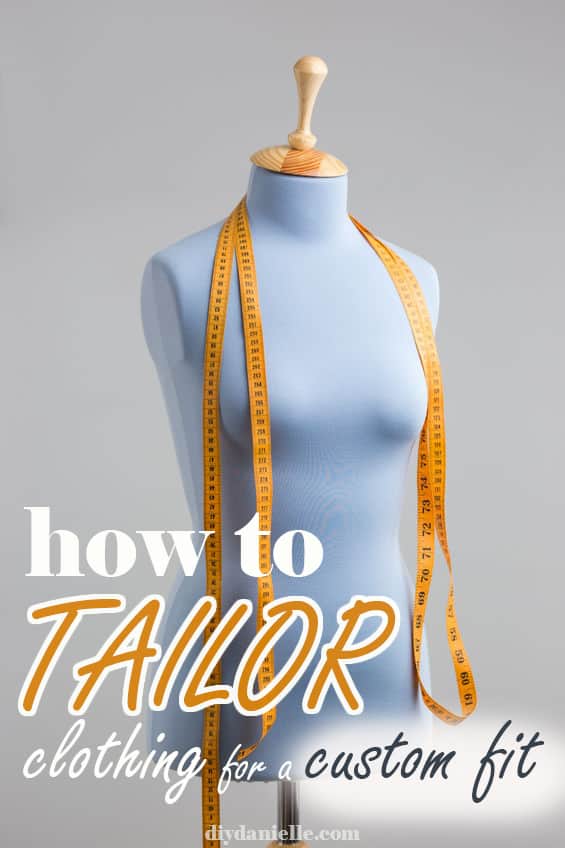
Tips on how to tailor your own clothes so they fit comfortably and look good.
This post may contain affiliate links which may earn me commissions should you click through them and take certain actions. As an affiliate for Amazon, Cricut, xTool, Home Depot, and other sites, I earn from qualifying purchases. Please DIY carefully. View my full legal disclosures here.
Please read the whole post so you don’t miss any important information!
We all know that feeling of being blinded by an awesome top or pair of pants and telling ourselves it’s okay it doesn’t fit perfectly, or of not noticing that the sleeves of a top are too long, or of gaining or losing weight and having clothes not fit.
The truth is, off-the-rack clothes don’t fit most people correctly, even if they buy the right size, because bodies come in more shapes than clothes do.
Custom-made clothes are out of reach for most budgets, and even tailoring can get expensive fast. Luckily, there are some things you can do yourself at home to make your clothes fit you better.
Table of contents
Before jumping into specific changes you can make to clothes, let’s talk about general tips.
General Tailoring Tips
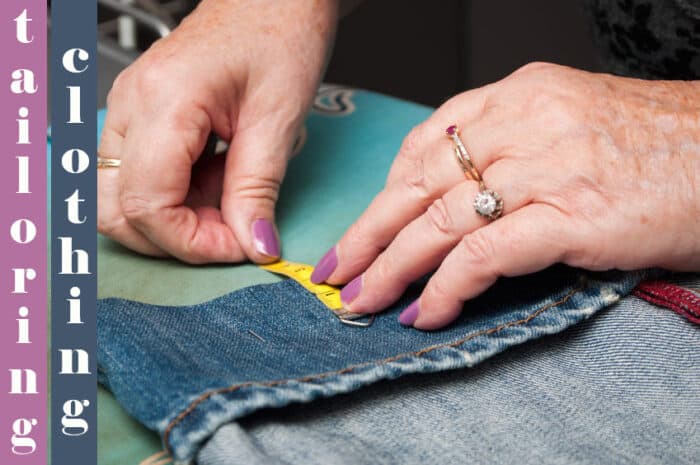
First and foremost, mark the changes you are making (you can use tailor’s chalk, or basically any chalk) and pin, pin, pin.
Try the garment on with the pins. Move around in it. Walk down the hall, sit in a chair, and come back to the mirror and make sure it still looks and feels right.
Put your hands up like you are reaching for something on a high shelf and then return your hands to your sides.
Does the garment still sit correctly and feel right?
Use safety pins if you have to so you don’t poke yourself.
You could also baste the new seam or hem (use the longest stitch on your sewing machine) if you don’t want to use pins; basting stitches are easier to remove than regular, short stitches.
If you’re changing the hem on pants or a skirt, get someone to help you pin it.
Whatever you do, don’t cut off any excess fabric until you are SURE you have it how you want it because as I’m sure you know, once you cut that fabric off, you can’t reattach it.
Helpful Supplies when Tailoring Clothes
Some of these supplies are helpful, but some are necessary. I’ll denote the necessary items with an asterisk.
- *Tailoring Scissors (just a good quality pair of sharpened scissors)
- *Pins
- *Soft measuring tape
- *Seam ripper
- Safety pins
- Dress form that can be adjusted to your size
Tips for Making Clothing Bigger or Smaller
It is much harder to make a garment bigger or longer than it is to make a garment smaller or shorter.
If you want to make something bigger, look at the seam allowances inside the garment. You need at least 3/8” to make a seam, so if there is more than 3/8”, you can let it out a little bit. Same with making things longer.
Check to see how much extra fabric is folded to the inside of the hem and that is approximately how much you can lengthen the pants or skirt. Note also that it’s really hard to make things smaller if they are more than two sizes too big. If a garment is too big, it takes a decent amount of reconstruction to make it fit correctly.
If you have a garment that doesn’t fit you anymore and you can’t adjust it for your current size, consider turning it into clothing for your children! Many people turn old men’s dress shirts into dresses for their children, or turn a women’s dress into child size pants, etc. There are lots of fun opportunities to create something new by upcycling the fabric!
Here are some tips for upcycling clothing!
Changing the Length of Pants and Sleeves
Changing the length of pants and sleeves is one of the easier things you can do yourself, especially if you are shortening the length.
Just rip out the stitches for the hem that already exists, pin it to the length you want, and try it on.
If you’re not happy with how it looks, try again.
If you are happy with how it looks, sew the new hem and then try it on again before cutting off the excess fabric.
A couple notes, though: depending on the type of cuff on the pants or sleeves, you may lose the cuff when you shorten, or you may have to recreate the cuff yourself. This shouldn’t be hard; just take photos of the cuff and how it’s folded as you rip the stitches out, and make good friends with your iron as you’ll want to press carefully and well before you sew.
Make sure you use the correct needle and thread for your project. Here are three ways to hem your pants if you want a detailed photo tutorial for the process.
Tapering Pants and Sleeves
Maybe you have a shirt that used to be your mom’s back in the 1960’s and it has big bell sleeves and you love it except for the sleeves. Or make you have a pair of dress pants that you just wish were tapered more below the knee. These are also relatively easy changes to make.
Start by unpicking the hem on the sleeves or the pants. Then lay the garment out flat, inside out, and use a piece of chalk to mark where you think you’d like your new seam to be.
It can be very helpful to trace another garment that has the shape sleeve of leg you like.
Then pin along your chalk marks and try your garment on to see how it looks. Repeat until you get the look you want, sew the new seam, and try on again.
Once you’re sure you like what you see, cut off the excess fabric, then re-pin and re-sew the hem.
Keep in mind that jeans may be harder to taper. This is because most jeans have a flat felled seam on the inner leg that is more complicated than just sewing two pieces together with one line of stitches.
To taper the inside of the leg of a pair of jeans, you should completely open up the inside of the jeans and then chalk, pin, try on, etc.
When you figure out what shape you want, you should add extra seam allowance before you cut if you want to recreate the flat felled seam. You can also just sew it with one line of stitching like other pants if you don’t care about re-creating the same flat felled seam.
Bringing in the Sides of Dresses and Shirts
The same concept that is applied to tapering pants and sleeves can be applied to bringing in the side seams of dresses and shirts for a more fitted look. Lay it flat, draw your new side seam, pin, try on, and so on.
Sewing Pockets Shut
Another easy change is to sew pockets on pants and skirts shut. I know you’re thinking, why would I want to do this?! I love pockets!!! Me too!
But I have found that sometimes pockets gape open and make your hips look wider, or sometimes the fabric of the pants is so thin you can see the outline of the pocket bag through the pants. In these cases, you can stitch the pocket shut and cut out the pocket bag from the inside.
Just lay the garment flat and pin the pocket opening shut. Then sew along the edge of the pocket opening. You can do this with a machine or hand sew it, depending on whether you want a visible line of stitching here or not.
Then, if you want to remove the pocket bag, just flip the pants or skirt inside out and cut the pocket bag, being careful not to cut the pants themselves.
A Final Note on Tailoring Clothing
Garments with linings are much harder to tailor, even if you’re just shortening, as you’d need to tailor the lining also and then sew the outer back to the lining.
Unless you are very comfortable with sewing and the construction of lined garments, it may be better to leave the tailoring of lined clothing to the professionals.
Please share and pin this post! If you make this project, share it in our Stuff Mama Makes Facebook Group. We have regular giveaways for gift cards to craft stores. You can also tag me on Instagram @doityourselfdanielle; I love seeing everything you make!
Guest written by Becky Wilkinson.