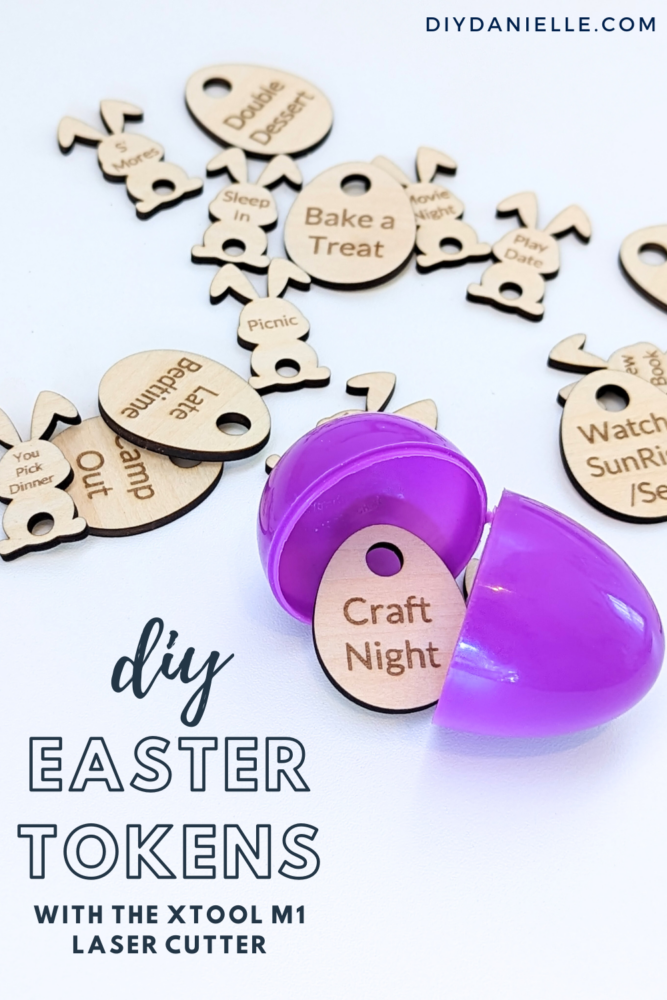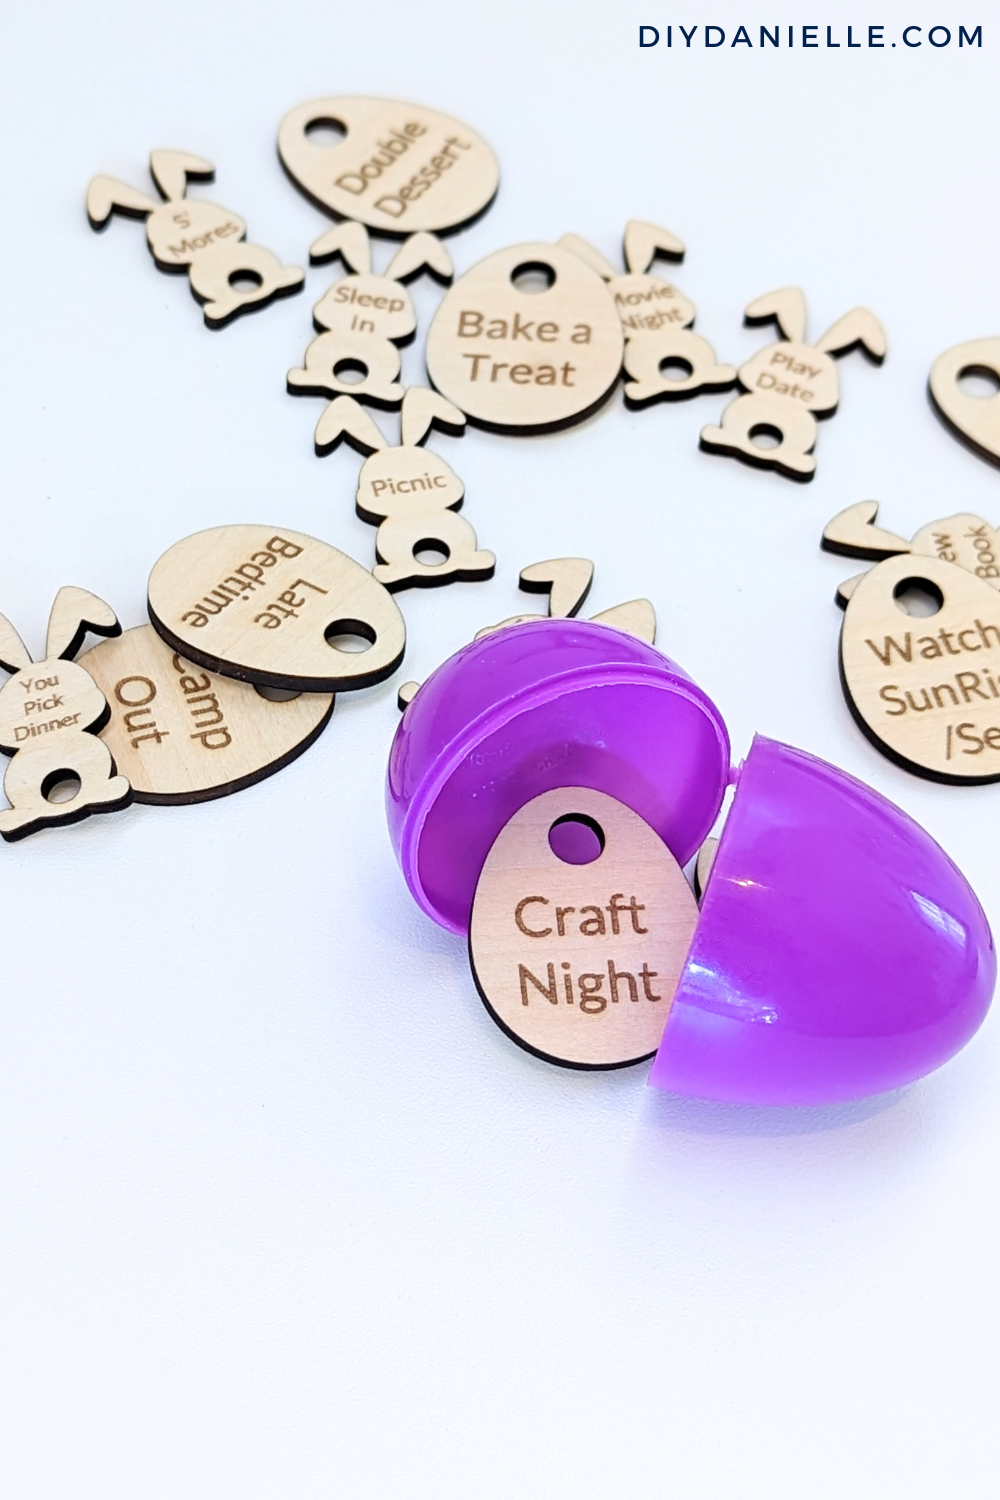
Create your own personalized Easter tokens with a laser cutter! These fun and unique non-candy fillers are perfect for Easter egg hunts.
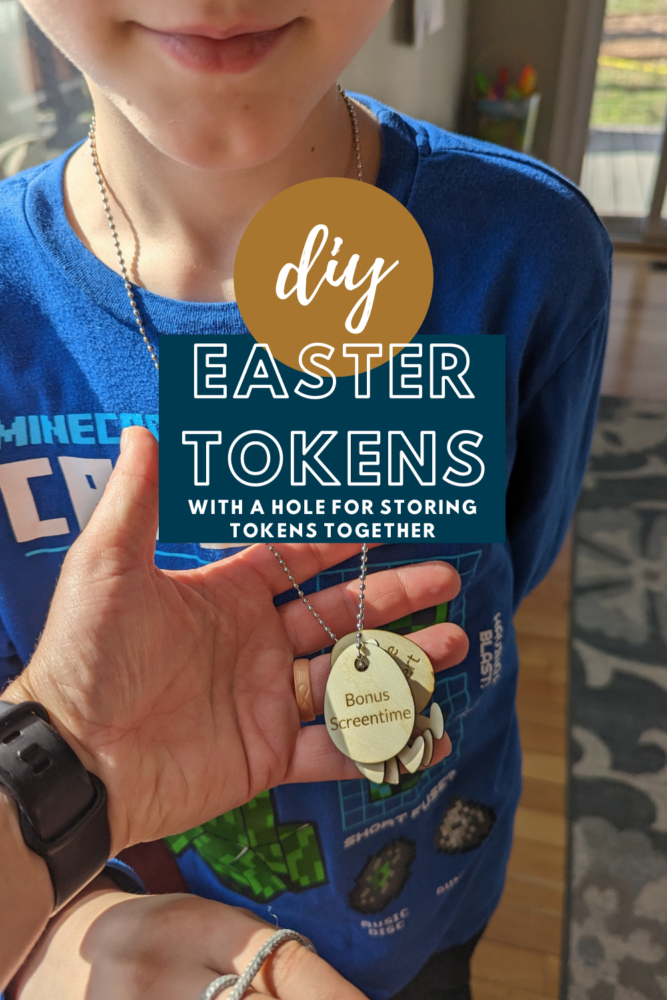
A year or two ago, I was searching for ideas for non-candy Easter egg fillers and discovered Easter tokens! They were SO cute so I bought a set. But naturally, at least one child lost his. He eventually found them (in February, haha). I decided to make a bunch of these for my friend’s annual Easter egg hunt. In order to keep them from getting lost, I added a hole to string a necklace through the tokens to (hopefully) prevent them from being lost. We’re hoping to collect and reuse them year after year. I LOVE how these came out. The nice part about using your laser cutter to make them yourself is that you can write WHATEVER you want on the tokens!
This post may contain affiliate links which may earn me commissions should you click through them and take certain actions. As an affiliate for Amazon, Cricut, xTool, Home Depot, and other sites, I earn from qualifying purchases. Please DIY carefully. View my full legal disclosures here.
The majority of my content is generated by me, as are 99% of the photos and videos, but I utilize technology for titles, descriptions, video editing out all of my ums, and occasionally for text overlay on images.
Please read the whole post so you don’t miss any important information!
DIY Easter Tokens with the xTool M1 Laser Cutter
Supplies
- xTool M1 Laser Cutter: http://shrsl.com/3v9vq
- Honeycomb Riser http://shrsl.com/3yxwg
- Air Assist: http://shrsl.com/3yxv6
- Balsawood 3mm: http://shrsl.com/40aun
Tutorial
Step 1: Place your 3mm Balsawood on the mat. I’m using Air Assist and the Honeycomb Riser. To hold my wood in place, I use the black magnetic clips.
Step 2: Create and layout your designs. My egg and bunny designs are 1.5-1.75″ tall max to fit inside the eggs. The egg or bunny shape should be set to cut and the words should be set to engrave.
Step 3: Click “Process.” Frame your project to ensure that everything is lined up correctly.
Step 4: Once framed, click “start” and press the button on your machine. The machine will engrave your design first.
Step 5: When the engraving process is complete, the M1 Laser Cutter begins to cut the tokens out.
Step 6:
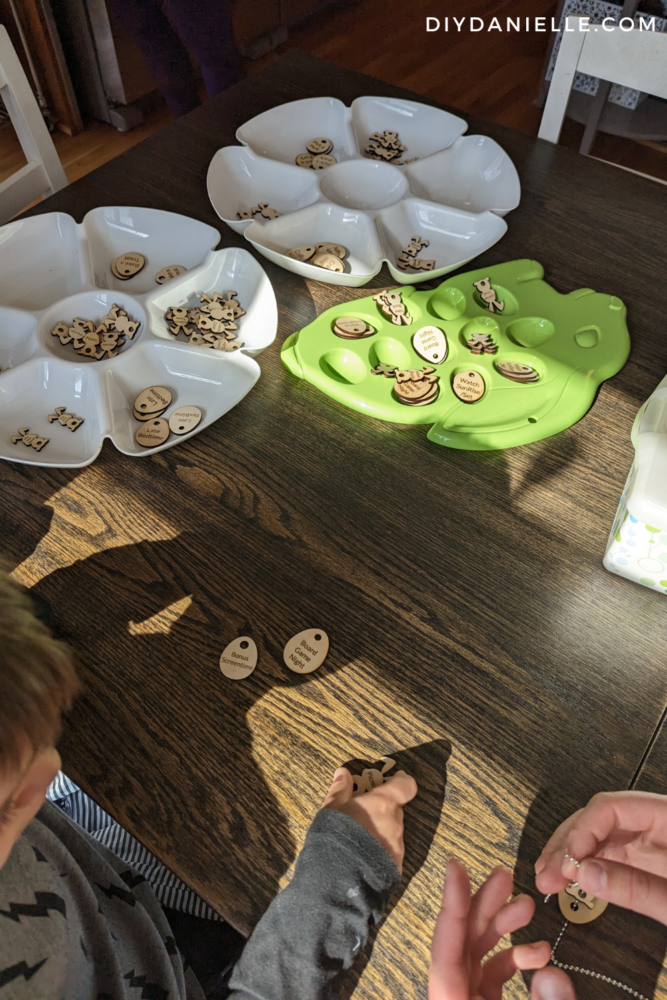
Remove tokens, sort (if desired), and place in your Easter eggs! I made five sets for our annual Easter Egg hunt with 20 kids.
You can put these inside Easter eggs. This year we didn’t have time to stuff them in eggs though so we let the kids each pick 5 tokens and put them on their own necklace for storage. This was to prevent kids losing the tokens (this happened last year with my s
Look how well the necklaces work!
Please share and pin this post! You can also post your project and tag the DIYDanielle team on Instagram @doityourselfdanielle!