

Want to laser cut heat transfer vinyl using the xTool M1 Laser Cutter? Get step-by-step instructions plus specs on settings and materials
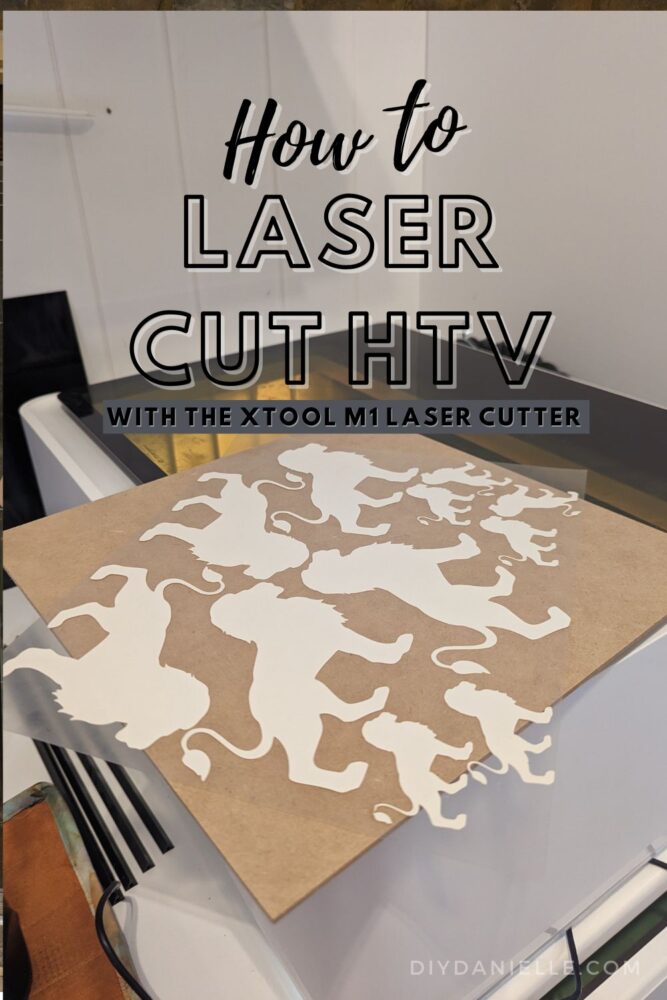
My son’s school group needed custom shirts AND a wood/cardboard lion cut so I decided to give the blade on my xTool M1 Laser Cutter a try. It was an EASY way to cut heat transfer vinyl without also pulling out my other cutting machine. I was able to cut the wood lions for their cardboard shields first, then use the SAME DESIGN for my heat transfer vinyl! Here’s a tutorial on how to do this.
This post may contain affiliate links which may earn me commissions should you click through them and take certain actions. As an affiliate for Amazon, Cricut, xTool, Home Depot, and other sites, I earn from qualifying purchases. Please DIY carefully. View my full legal disclosures here.
The majority of my content is generated by me, as are 99% of the photos and videos, but I utilize technology for titles, descriptions, video editing out all of my ums, and occasionally for text overlay on images.
Please read the whole post so you don’t miss any important information!
How to Laser Cut Heat Transfer Vinyl
The one thing to understand is that your xTool M1 laser cutter is a laser cutter- but it also has a blade that you can insert for cutting materials such as heat transfer vinyl. This gives it two different functions, but you need to be sure to use the correct one for the project you’re working on.
You CANNOT truly cut heat transfer vinyl with the laser itself (I imagine it would melt or potentially send off toxic gasses or start a fire— whatever it does, you don’t want that).
Supplies
- xTool M1 Laser Cutter: http://shrsl.com/3v9vq
- PU Heat Transfer Vinyl: http://shrsl.com/4098a
Tutorial
Step 1: Place your blade in the blade housing. Place the housing into the machine. Make sure Air Assist is disconnected, if applicable.
Step 2: Create your design. Move design to fit with least waste.
Step 3: Mirror the image by clicking “reflect horizontally.”
Step 4: Remove film from the front and back of the blue mat. Stick the mat to the base of your M1 Laser Cutter.
Step 5: Place heat transfer vinyl ‘pretty side’ down on mat. Smooth out any wrinkles.
Step 6: Choose Blade Cut and PU Heat Transfer Vinyl in xTool Creative Space.
Step 7: Click “Process”. You can frame the project first and it will show you the area it will cut. To do this, press the blue button when prompted.
Step 8: If you’re happy with the placement, click “Start” and press the blue button again. Let the M1 cut your vinyl.
Step 9: When finished, remove heat transfer vinyl from mat. Remove blue mat and replace the protective film on both sides.
Step 10: Begin to Weed Heat Transfer Vinyl. Use weeding tool to pull away any vinyl that isn’t part of the design. You’ll be left with your design, stuck to a clear plastic sheet.
Step 11: Now you can use an iron or heat press to press your vinyl onto a shirt or other item. Use the correct temperature for your vinyl and fabric type.
Please share and pin this post! You can also post your project and tag the DIYDanielle team on Instagram @doityourselfdanielle!
Check out my web story: How to laser cut HTV
So the title is 100% misleading, and you never once cut htv with a laser, you are using a cutter blade just like with a cricut or silhouette.. what a waste of time even clicking on this article. You should have the title more like, How to use the xTool cutter blade for cutting HTV” at least it wouldn’t be lies and click bait…