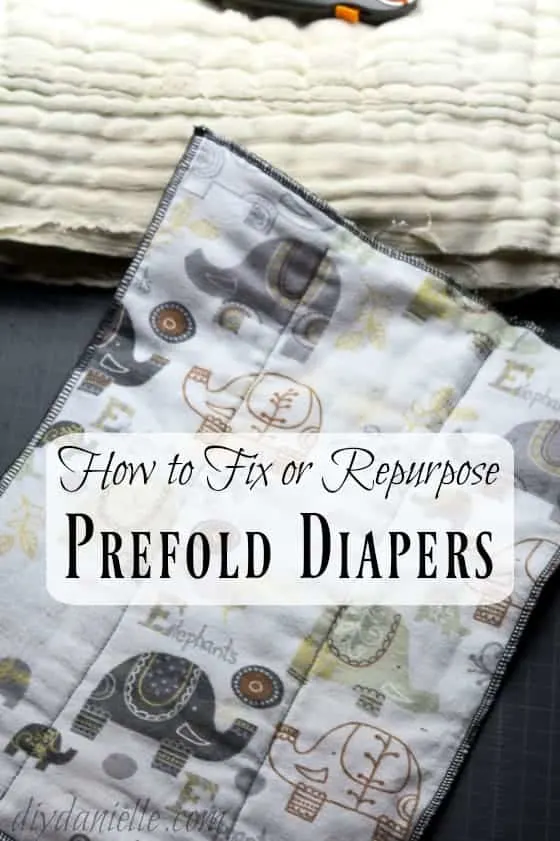
Several ideas for how to fix prefold diapers. These old prefolds can be used again as baby diapers, used for burp cloths. cloth diaper inserts, cleaning rags or unpaper towels, and more! They are so absorbent when they’re well used and they’re easy to fix!
I love prefold diapers. They’re somewhat difficult to use with an older baby who wiggles on the changing table, but they’re fabulous at soaking up lots of wet… whether that wet is from your baby or from cleaning. And the best thing about prefolds is that they get better with age.
So when you see some old prefolds that have seen better days, it’s hard to toss them. They are, after all, at their ultimate in absorbency. And they’re good for everything! And while they’re affordable to buy new, it takes forever to get them to max absorbency and I loathe prepping them.
I decided to save some of these for burp clothes, others will be unpaper towels, some can be inserts, and some will be newborn prefolds for the baby. I already made a couple of diaper covers for his early stages so I need some prefolds for diapering. I just wanted these to not have any strings to get caught on his areas.
Supplies
- Serger: I love my Brother 1034D
- Sewing Machine
- Scrap fabric, bias tape
Prepping the Prefolds for Repair
First, you want to bleach your prefolds if you acquired them from someone else or if you are concerned about germs (ie. if you’ve used them for cleaning like I did.
I used these to cleanup after our ducks and I want to make sure to bleach because poultry can carry some diseases to humans. It’s a lot easier to bleach them before I fix them. Also, I want to work with really clean products (in fairness, these have been laundered too).
I went by the instructions from FluffLove University on Bleaching Cloth Diapers. Using my bathtub, I filled it half full with cold water, 1/2 cup of bleach, and added my inserts. I soaked for 30-45 minutes, then I rinsed using the quick wash setting on hot in my front loader. Then I ran a regular hot cycle with cloth diaper detergent. My machine has a steam clean setting so I opted to use that.
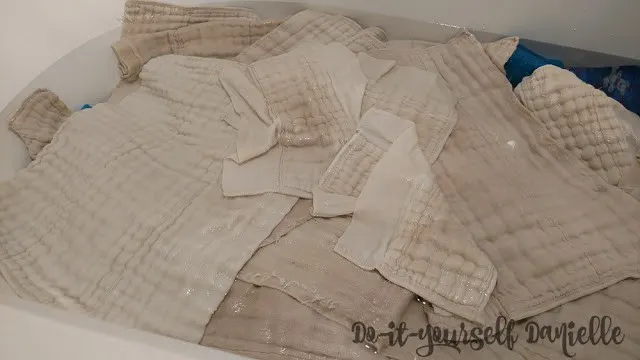
If you have any stains still, you can line dry them in the bright sunlight. Sun does an amazing job of getting rid of old stains. Once dry, you want to inspect all of your prefolds and separate them out. I made a pile for ones that needed their edges repaired or that could use a touch up on the edges. I also made a pile that needed something covering them.
Repairing Prefolds with Frayed Edges
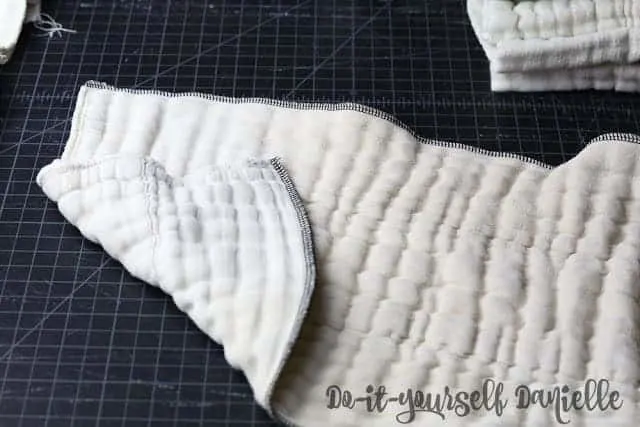
Option 1: Serging the Edges to Fix Frayed Edges on Prefolds
In this case, my long edges were frayed and the short edges were not frayed at all. I think this has a lot to do with how prefolds are made. The short ends are sewn together really well and you can tell because there is more thickness to the stitching along those edges.
Now… the problem is that those edges are really hard to serge over. You will want to skip serging those sides unless they need it. I went over those edges when I covered the prefold completely and I was concerned I would break my machine’s needles or blade. You could cut off the very edges though and then serge.
What I did was just serge the long edges. You could use a different type of stitch with this (such as a rolled hem), but I just used my normal serging stitch. I don’t know enough about my serger to mess with it much. I think this will work just fine for now.
Option 2: Using a Sewing Machine to Add Bias Tape or Trim to Cover Frayed Prefold Edges
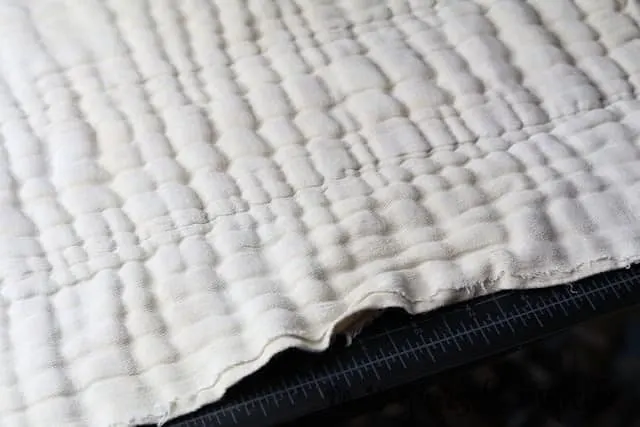
If you don’t own a serger, you can use bias tape or some type of fabric trim to cover the frayed areas. Again, if you do this then you’re going to be going over the short ends so you may want to trim the hard edges off (as pictured below) unless you have a machine that can tolerate the thick fabric.
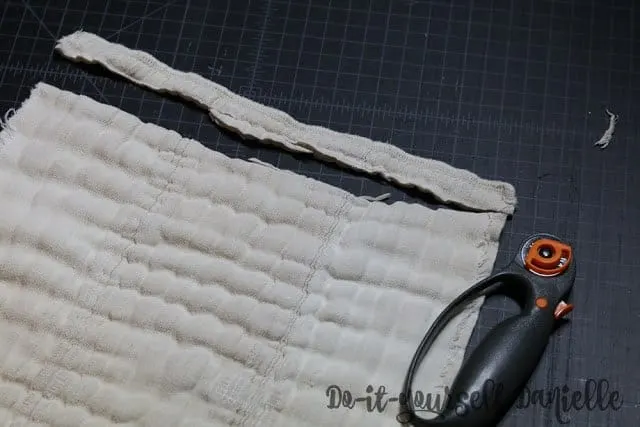
I didn’t end up doing this because the serger method was easier for me and I was concerned about bias tape being too rough. If I had the time and patience, I’d use some bias tape maker to make my own from soft fabric.
Fixing Prefolds that are Frayed All Over
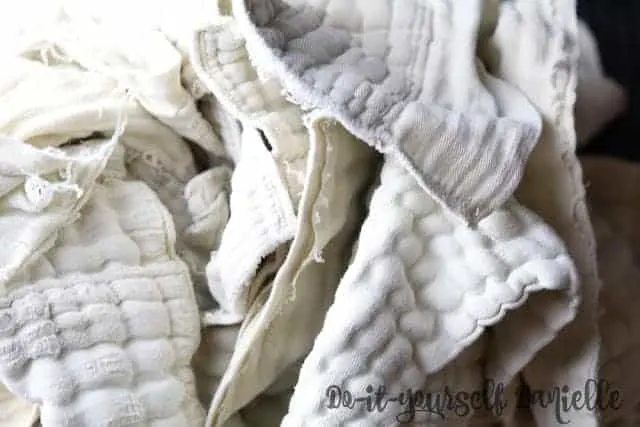
Your main priority when fixing prefolds that are frayed all over is to cover up all the loose strings. You don’t want baby getting caught up in the strings… although if you’re using these for cleaning or non baby uses, then it might not be a big deal.
As you can see below, the top and bottom of the prefold was frayed a lot. I wouldn’t want that up against a baby, for fear their itty bitty parts might get caught up in loose strings.
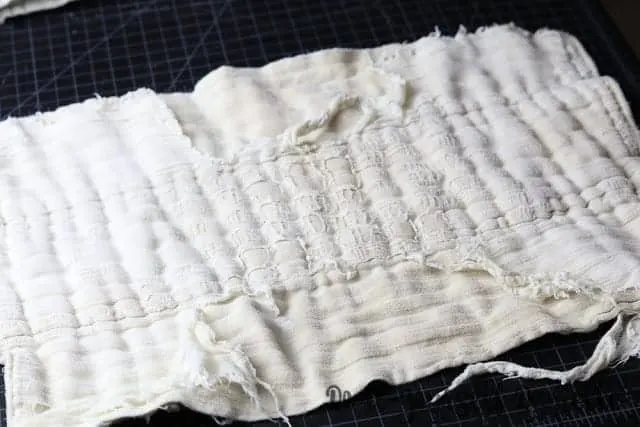
Repairing them for use with a baby will require using some fabric. You could use a stay dry fabric to cover it for use as an insert (or just to keep baby from feeling wet. Just make sure to use one that’s safe for your baby’s bum if it will be in direct contact with tush. You could also use an absorbent fabric such as flannel or even another type of fabric used for inserts that is new. I decided to use flannel and cover the prefold completely. This could be used as a burp cloth or as a diaper or for other uses.
To begin, I cut my flannel fabric slightly larger than the prefold diaper. I cut two cuts, one for the top and one for the bottom.
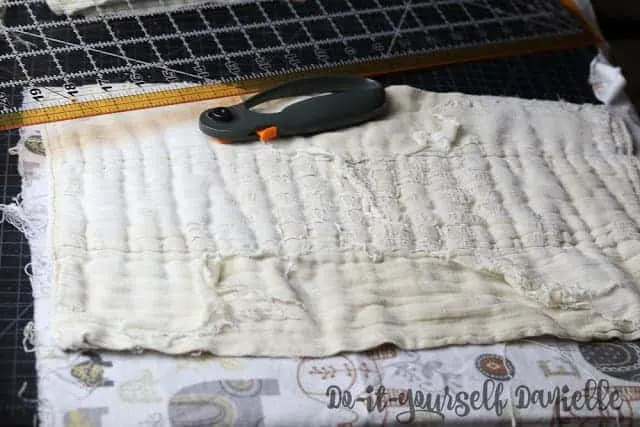
I pinned a piece of fabric to each side of the prefold. Then I stitched a couple of straight lines up the center of the prefold to hold the exterior fabrics in place.
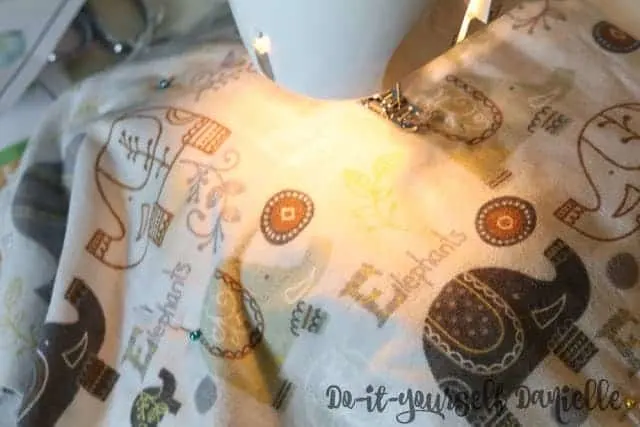
See the stitching?
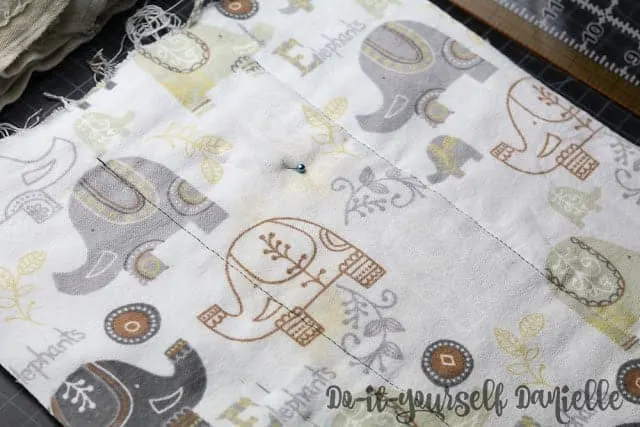
Now I was able to finish the edges with my serger.
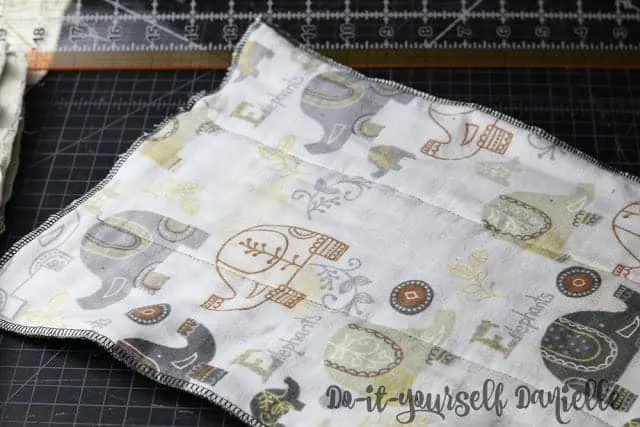
If you don’t have a serger, you would want to place your top flannel piece on top of the prefold, stitch your two straight lines. Then you’d want to place your bottom flannel piece right sides down on your top flannel piece. You could then stitch around the edges of the whole thing, leaving an area to turn and topstitch your whole prefold with a flannel exterior.
Click here to learn other methods for how to make burp cloths from prefold diapers.
Please share and pin this post!
