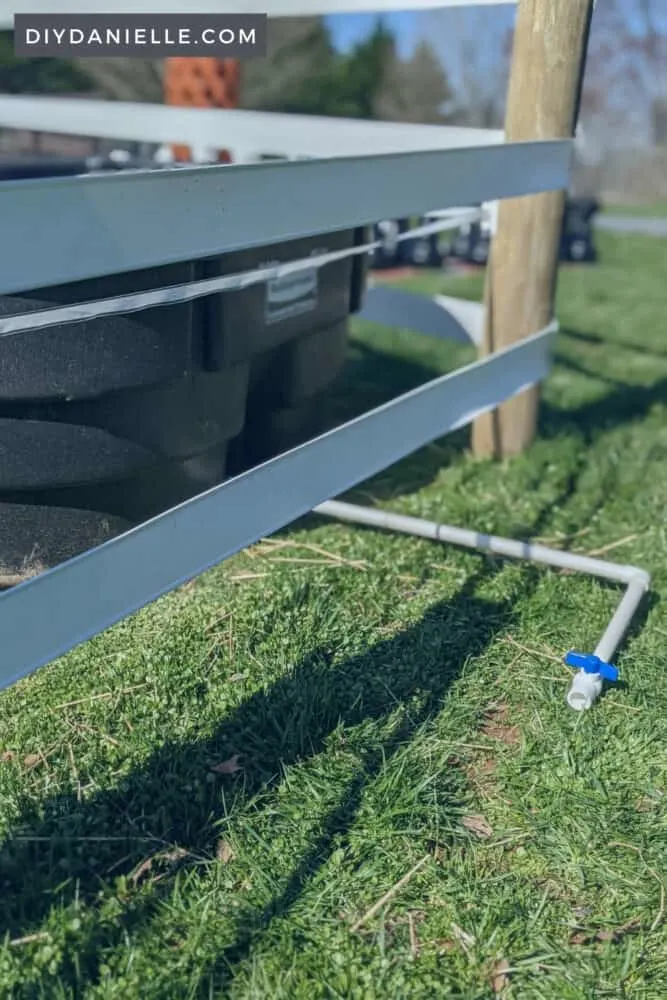
Tired of muddy horse fields, particularly near your water trough? Extend your drain outside of the field to reduce how much mud you have.
Over the winter, we had a heater in our big Rubbermaid trough to keep the water from freezing. It inserts through the drain hole so there was no easy way to empty it. While I normally have all sorts of clever tricks to keeping my trough clean, that heater messed EVERYTHING up. The heat increased algae growth and the fish seem to prefer freezing to the heated water. It was SO gross and I don’t have water run to my fields. Ever water change, I needed to haul out a hose and hope the day was warm enough for the water to push through my hose.
I was so happy when we finally saw the last of the freezing nights. Now that the weather is improved, I wanted to make it easier to do water changes in the trough. This is my first Spring with a horse and I’ve discovered that water + a heavy horse results in a lot of mud. When you empty your trough with the drain, you end up with drainage issues in that area.
Many farms will use stone dust, stone, or mud control mats to decrease the mud near their troughs. This was not in the budget though so we rigged this easy drain extension for our trough. There’s an on/off switch and it diverts the water away from the horse field. I’m really excited to see how this works!
Let’s get into the tutorial for how to setup your own trough drain.
This post may contain affiliate links which may earn me commissions should you click through them and take certain actions. As an affiliate for Amazon, Cricut, xTool, Home Depot, and other sites, I earn from qualifying purchases. Please DIY carefully. View my full legal disclosures here.
Please read the whole post so you don’t miss any important information!
Horse Paddock Mud Control with a Few PVC Pipes
When you’re doing this project, remember that not all trough drains are the same. You can probably make this method work for any trough, but you may need different pieces than what we used.
Here’s a video of the process. For the photos and breakdown, keep scrolling.
Why add a drain? Honestly, you don’t have to. Unfortunately horses tend to make a lot of mud around their watering area particularly during wet seasons, and emptying the trough in that location makes it a lot muddier. You can add mud control mats under the ground to help cut down on mud, or install a stone pad. These options are all fairly expensive, however. The benefit to a drain is that you can redirect the water being emptied from the trough so it doesn’t all get dumped in one zone. You could even run the drain into a small flower bed.
The nicest part about the drain is that you can empty most of it without doing the heavy work of tipping the trough. Unfortunately there’s always a tiny bit of water left below the drain so you may still need to tip the very last bit. It’s a lot lighter at that point though.
How to Add an Extended Drain to Your Trough
- Remove the drain plug. This is a Rubbermaid trough.
2. Screw in the pieces for the drain plug. These parts came with your trough.
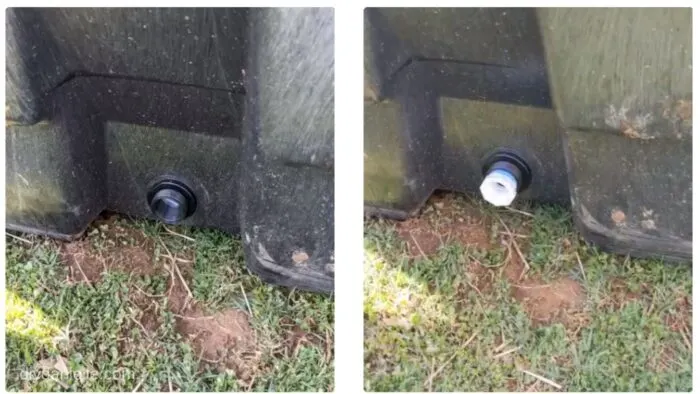
3. PVC fitting with teflon tape screws into the trough drain area.
Plumbers tape helps prevent leaks and gets a better seal.
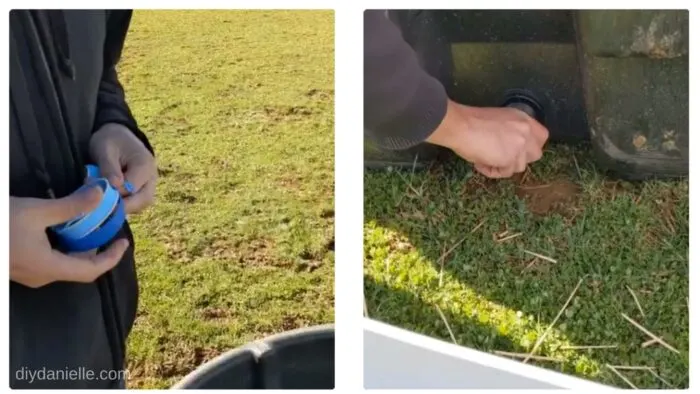
4. We added another pvc fitting to get down to a size that will fit our regular PVC (we used 3/4″).
5. Long PVC attaches to the trough. Gently hammer in place.
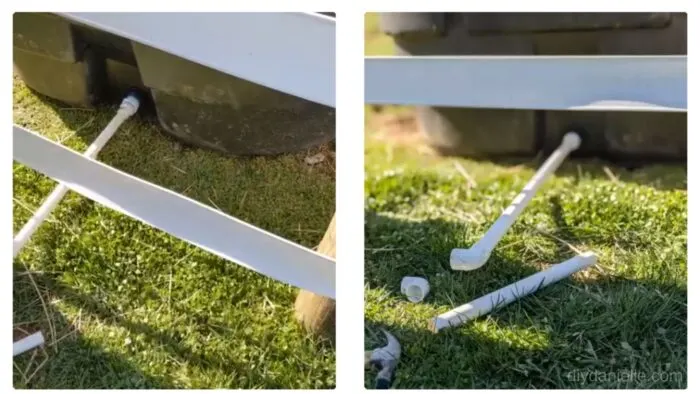
Elbow added to direct draining water downhill.
6. The last piece has already been connected to the PVC slip x slip ball valve.
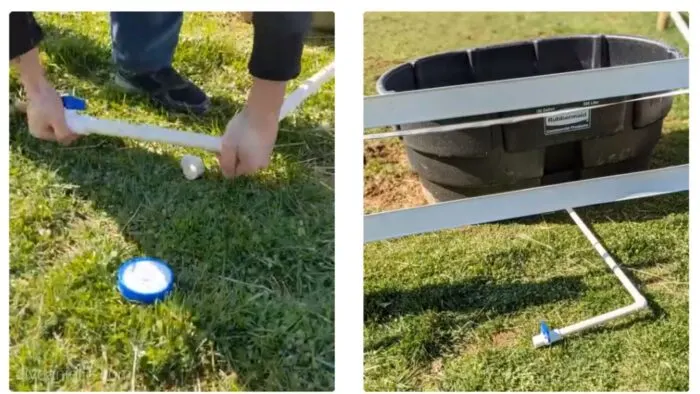
Here’s a photo of it setup.
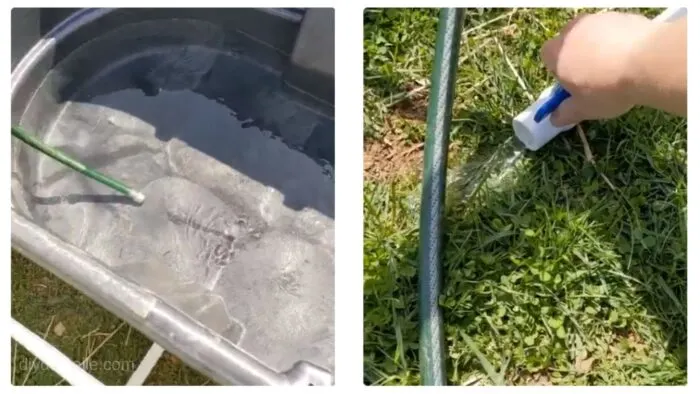
Filling the trough.
How to drain the trough using the valve.
Here are some more homestead projects for your list!
Please share and pin this post! If you make this project, share it in our Stuff Mama Makes Facebook Group. We have regular giveaways for gift cards to craft stores. You can also tag me on Instagram @doityourselfdanielle; I love seeing everything you make!
