
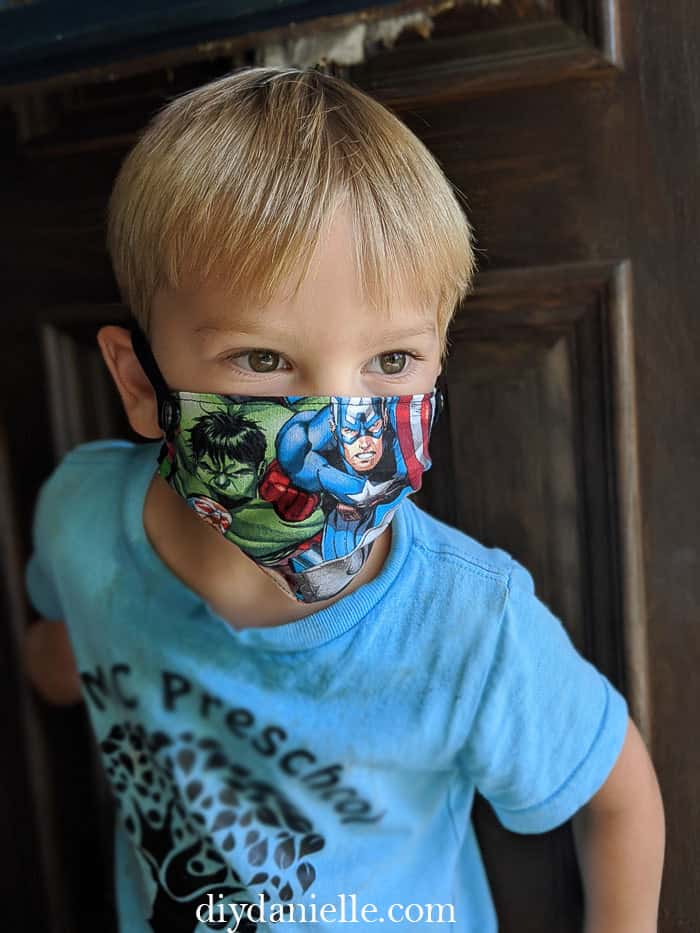
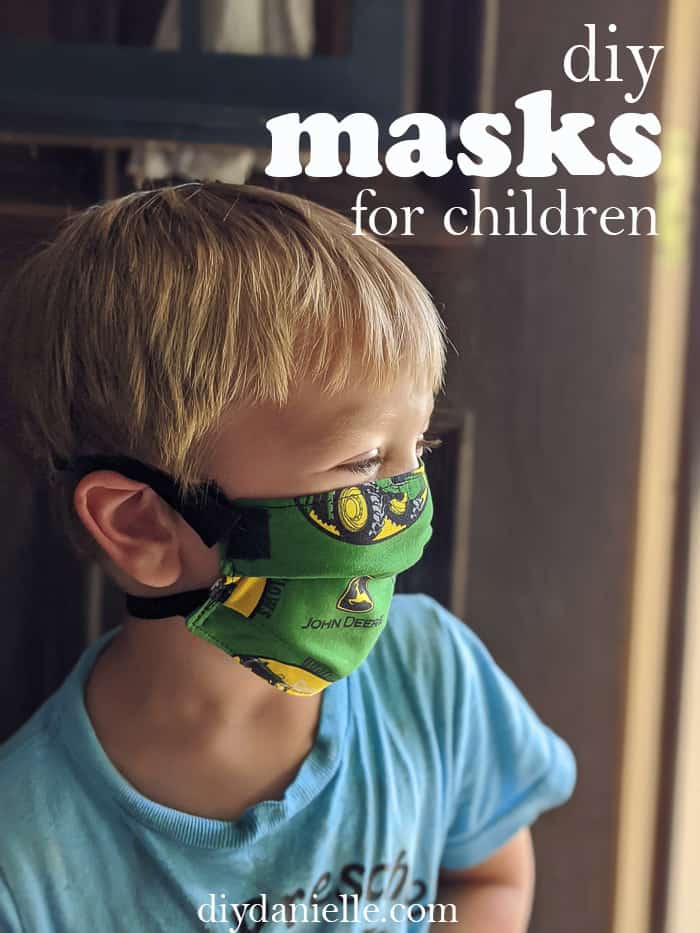
How to make children’s sized masks with breakaway straps that go around their head and neck. DIY kids mask tutorial.
This post may contain affiliate links which may earn me commissions should you click through them and take certain actions. As an affiliate for Amazon, Cricut, xTool, Home Depot, and other sites, I earn from qualifying purchases. Please DIY carefully. View my full legal disclosures here.
Please read the whole post so you don’t miss any important information!
My older two sons’ school decided to go 100% online learning for the Fall semester so we won’t need masks for school. My 3 year old may be in preschool this Fall, assuming it doesn’t close. Regardless, we occasionally needed masks for short outings. I try to keep the kids out of public spaces, but we occasionally go out and we will have their yearly doctor’s appointments in the Fall.
Originally I made several different types of masks for the kids and myself. I wanted to experiment to see what worked best, what was easiest to wear and easiest to make, and what was most comfortable.
My experience was that the masks that go around the ears were hard to stay on my 2 year old’s tiny ears. My oldest son, 8, wanted one to go around his ears though. I liked the masks that went around the back of their head and neck. Initially I used bias tape which worked, but required tying the masks on. Those were fine for the adults, but it was difficult to put them on all three kids for outings.
When making kids masks, you need to take a couple of things into consideration:
- Comfort
- Breathability
- Wide range of sizes
- Breakaway straps to prevent choking
- Small ear size
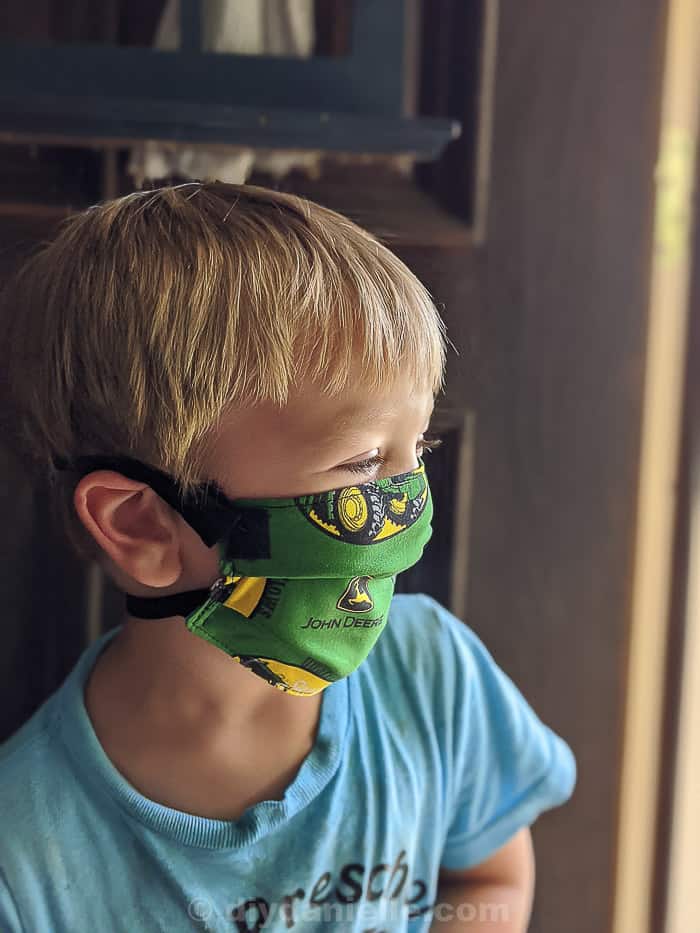
Ultimately, my favorite mask type ended up being made with fold over elastic that goes around the head and neck. It’s easier to get on and off, you can let it hang from your neck when it’s not in use, and it’s stretchy.
My tutorial will explain how to sew one of these masks. Can’t sew? Here’s a no sew option for making kids’ masks! You would just need to make your rectangle then add a strap using stick on Velcro tabs. I would suggest using strong fabric adhesive to hold the Velcro tabs on, however.
Table of Contents
What Age Should a Child Wear a Mask?
Children under the age of 2 should not wear a mask because they aren’t able to regulate their breathing well enough at this age. By 2-3 years old, kids are better able to wear a mask safely, but it may be difficult to keep one on them. You also need to make sure masks aren’t a choking hazard. Ideally the straps should be able to breakaway from around their neck or head if pulled too tight.
How to Make Children’s Mask
I went with two layers of cotton fabric for the children’s masks. For my DIY adult masks, I often use three layers. My understanding is the benefit of an additional layer of fabric, however, is minimal while the breathability goes down quite a bit between two and three layers. As a result, it makes more sense to use two layers for good protection with good breathability. This is particularly true for children because we want to ensure they will keep the mask on.
Supplies
- Velcro/Hook and Loop or Snaps
- (2) 5 x 7.5 pieces of cotton fabric
- Fold Over Elastic (FOE): Thinner is better
While many people like the fitted masks that you can sew in different sizes, I’ve found that the pleated rectangular masks fit the best. I used 5×7.5″ and the mask size seems to work for my three children. If you prefer a fitted mask pattern, just skip to the section on adding breakaway straps!
Child Size Face Mask Dimensions
For these child sized masks, I use fabric that is 7.5″ wide by 5″ tall. You can adjust this rectangle to be smaller or larger, but I find that the pleated style is forgiving for different face sizes.
How to Make a Pleated Children’s Mask
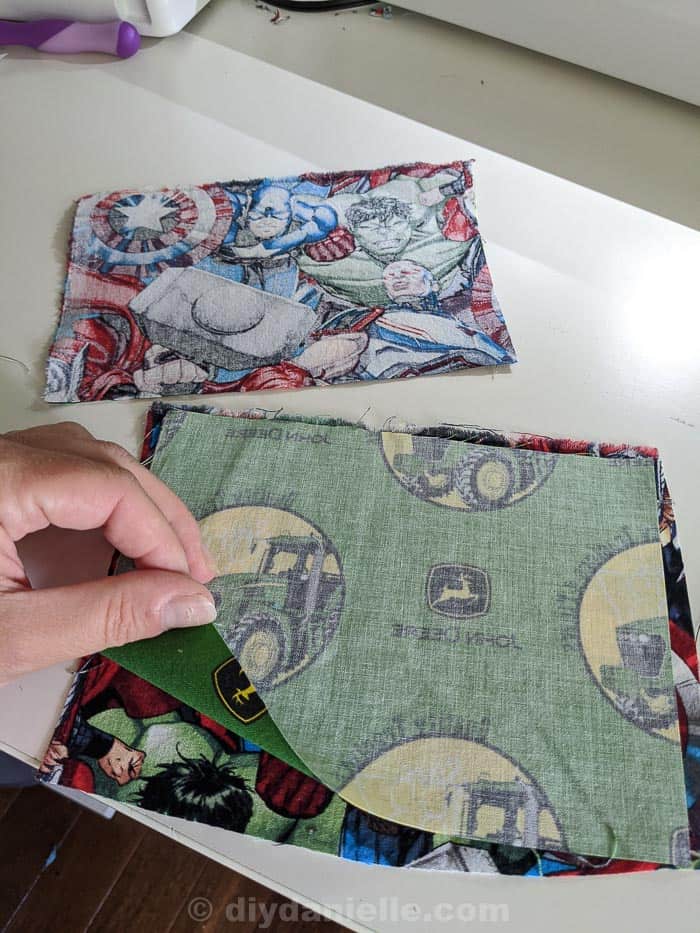
Start by cutting your two pieces of 7.5″ W x 5″ T woven cotton fabric. Place the pieces right sides together.
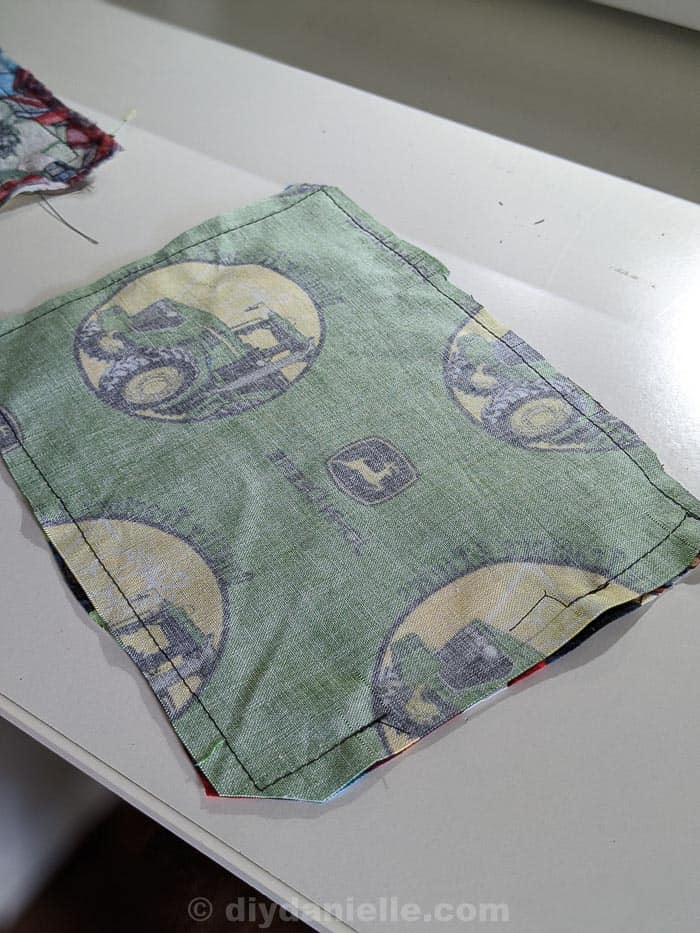
Sew around the rectangle, leaving a small gap on one of the short sides to turn right sides out.
Clip your corners, making sure not to cut the stitching.
Tip: the diagonal corner cut helps the corners look a little nicer/pointier when you’re finished.
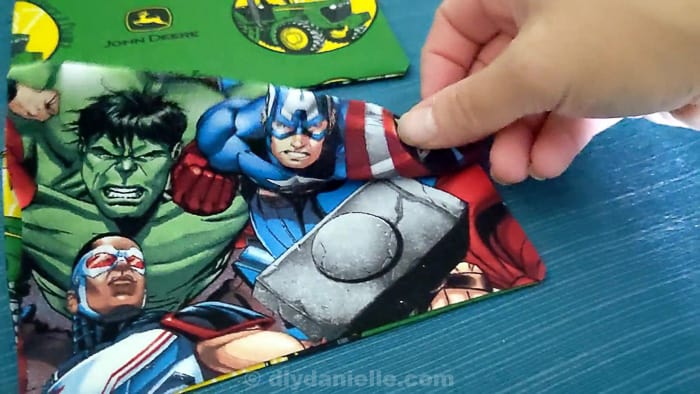
Turn right sides out. I usually use a chopstick to poke the corners out fully… it’s a nice option because they’re dull.
Press (iron).
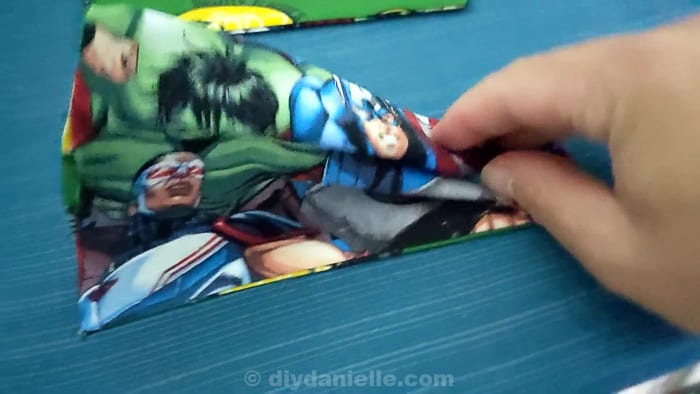
You need to create two pleats now. To make a pleat, you simply pinch the top down so it folds over. You need to do this on both sides, but I was working one handed in the photo below.
Here’s a photo of me holding down both the pleats. Sorry it’s blurry… I forgot to take a picture during the process so I had to snag this one off the video.
Press the pleats and pin them.
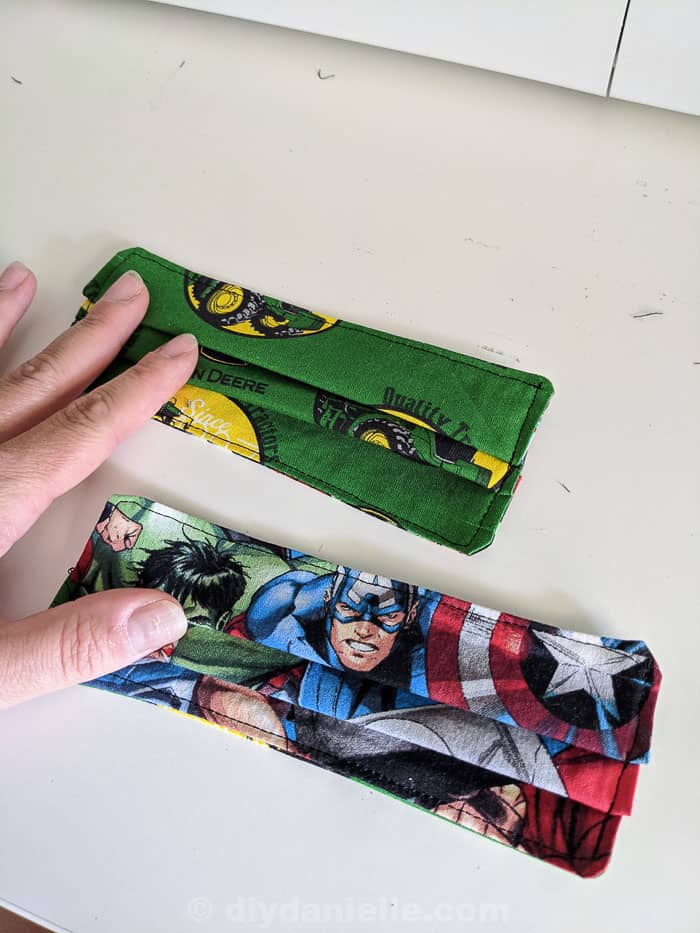
Top stitch around. This will hold the pleats in place on the sides.
How to Add Breakaway Straps to a Kid’s Mask
For my mask straps, I love using a thin FOE, or fold over elastic. It’s not prone to fraying like bias tape, and it’s stretchy which means you can get a nice tight fit without needing to retie the mask every time you put it on. In fact, you don’t need to untie it to take it off.
The downfall of sewing the FOE on or with using tied bias tape straps, is that your mask could become a choking hazard if you caught it on something. For adults, this might be less of an issue but with kids going to school with masks on, I’d worry that they’d get it hooked on something on the playground and hurt themselves. So I decided to make a breakaway mask.
Start by cutting two straps, one for the head and one for around the neck. You can measure your child and decide on the length of your FOE straps based on those numbers. I measured from where the side of the mask would be, around the head (above the ears) to the other side of the mask. That’s your top strap. Then I measured from the side of the mask around the neck (under the ears) for the neck strap.
FOE is an elastic and you want it to be a little tight when worn. Not uncomfortably tight, but tight enough to stay on snug. This will take some experimenting because elastic can vary in how stretchy it is. I would say that you’re safe to take the head and neck measurements and just add the seam allowance to the length. The seam allowance will be the length that is folded over to sew it down or to add the Velcro/snap.
For example, my son’s neck measurement was 9″ and if I fold over each end of the strap 1″ (2″ total), then 9 + 2 = 11.”
Don’t go over the 11″ because then it will be too loose and fall off. You want to make sure you’re probably a tiny bit under the 11″ because the elastic is able to stretch.
You have two options: Snaps or Velcro (hook and loop is the non brand name). In my opinion, Velcro will break away more easily. This is a tutorial on how to sew on Velcro.
I was thinking that you might be able to use stick on Velcro tabs for this… I’m not sure the tabs would stay on for long, but that might be a good thing because they DEFINITELY would breakaway in an emergency.
As I don’t own any stick on Velcro tabs, I sewed all of my Velcro on. I sewed a straight stitch around the square, then an X through the middle of the Velcro.
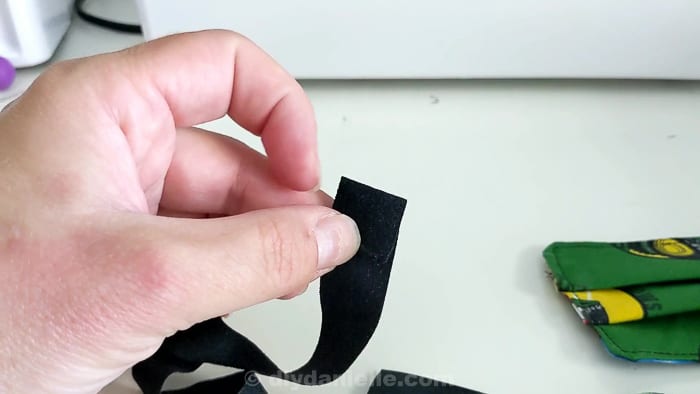
For the straps, you want to fold over the ends by 1″ so your Velcro tab is sewn onto TWO layers of FOE. It’s really hard to sew with the black Velcro on black FOE below, but I hope you get the general idea.
I sewed the other side of the strap down to the opposite side. If you prefer, you could add Velcro on both sides.
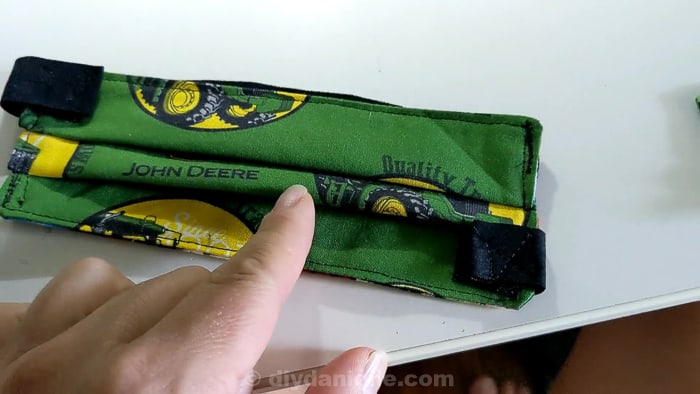
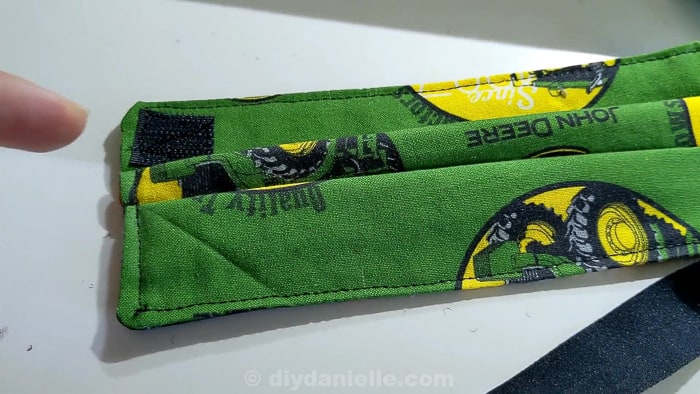
In the photo below, you can see the side of the mask… I made these straps too tight so I’ll need to fix this later. They work for now, but it’d be better if it wasn’t quite so tight.
Snaps are SUPER easy. Instead of sewing one side of my mask straps down, I just added snaps to both sides. So I folded over each end of the strap, added a snap, then added the corresponding snap to the mask.
Folding over the FOE before putting the snap on is really important because it reinforces the “fabric” of the elastic. The snap has the potential to rip through one layer. Usually when adding snaps to anything, you try to add an extra bit of fabric or stabilizer to prevent this.
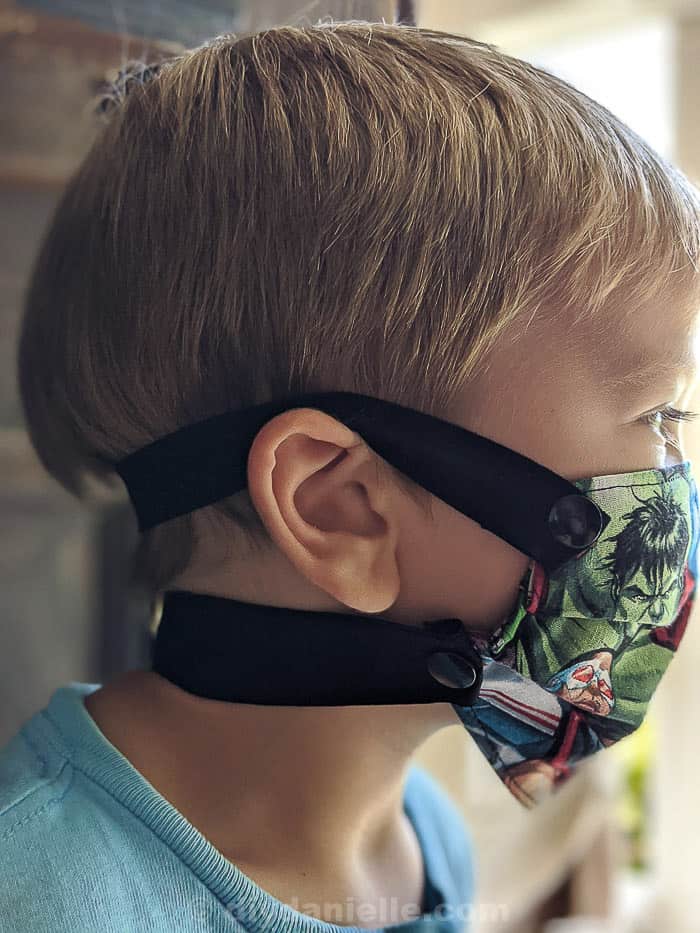
Snaps are pretty sturdy so they might be less prone to break away if the mask gets caught on something. Here’s a tutorial on how to use snaps and snap pliers.
I am hoping these will make our lives a bit easier for any outings we have!
Video Tutorial
Please share and pin this post! If you make this project, share it in our Stuff Mama Makes Facebook Group. We have regular giveaways for gift cards to craft stores. You can also tag me on Instagram @doityourselfdanielle; I love seeing everything you make!
Scarlet
Monday 24th of August 2020
What a great idea. This DIY kids mask is super cute and having break away straps is super smart!