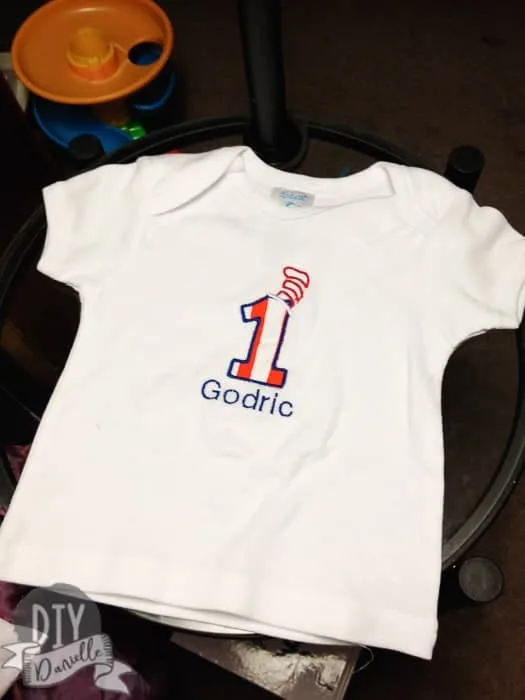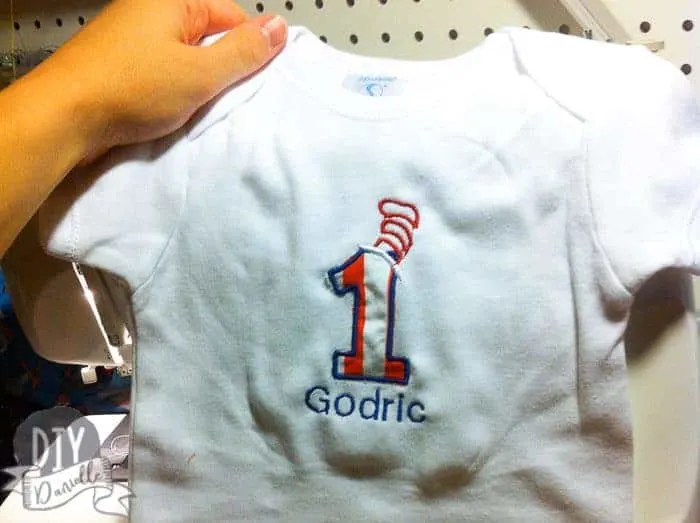
How to make a DIY Dr. Seuss shirt for a kid’s Seuss themed birthday party or for a school event.
I had a bunch of 18 month onesies that I considered using, but I’ve had pretty poor luck with the brand (Gerber I think) because they’re thinner, super stretchy, and my embroidery machine likes to eat them. It could be user error or the type of stabilizer that I used, but my friend mentioned also having a similar problem with certain types of onesies. I imagine they’re great shirts for other crafty purposes, such as tie-dye, but I’ll save them to worry over another day.
In the meantime, I bought this 3-pack of teeshirts off Amazon.com in hopes they’d be easier to work with.
I used stripped cotton fabric for the applique. The applique design was something I purchased on Etsy and that was compatible with my embroidery machine. Unfortunately, it doesn’t look like it’s available anymore.
Not going to give a full tutorial on the applique because I’m still not confident I’m doing it right, but here’s some pictures of my process. I think you could easily sketch out a number on a shirt, then use a sewing machine to replicate the process. You would just use a zig zag stitch.
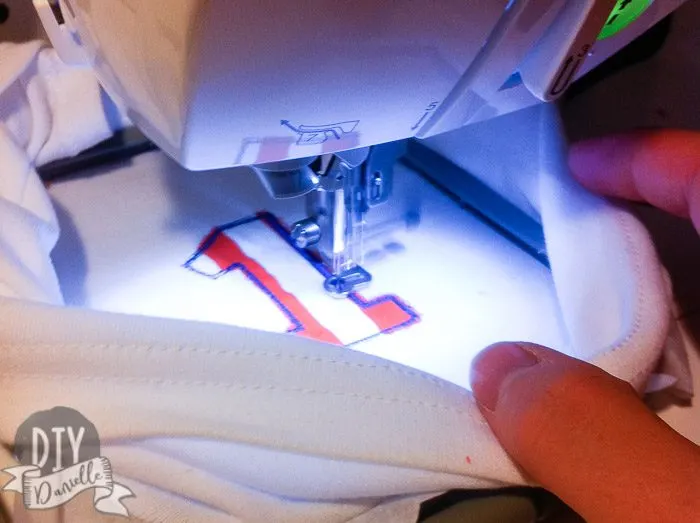
The main thing is that you need a good stabilizer (and the correct stabilizer) under your applique. Mine would be under the shirt. The embroidery machine stitches out the “1.”
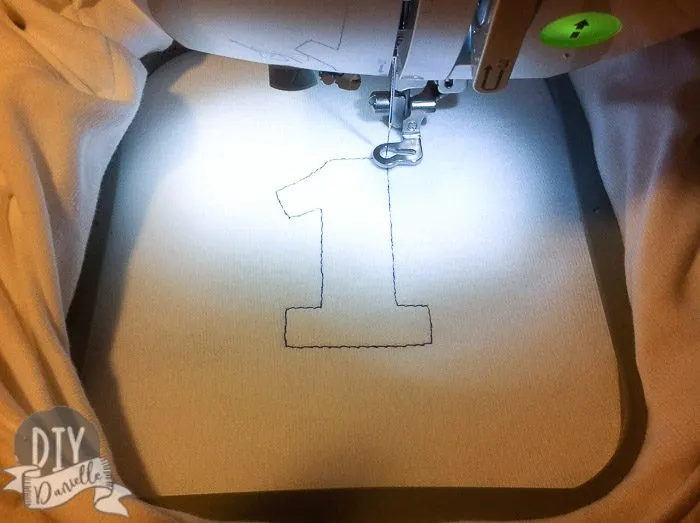
Then I add my applique fabric on top of the 1. It starts to stitch the one over the fabric.
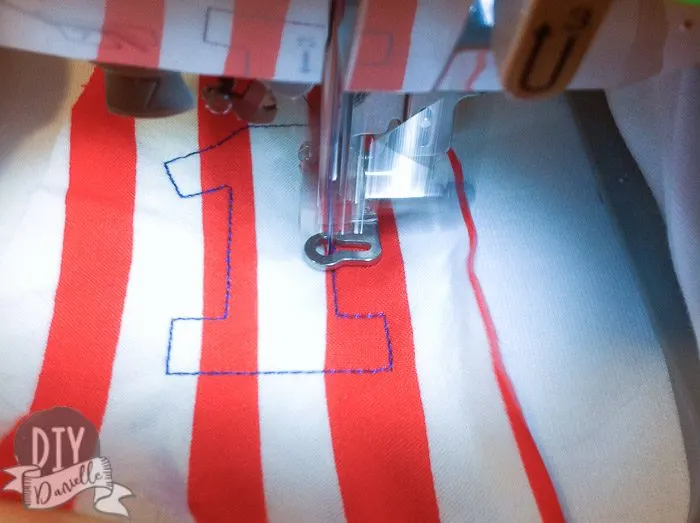
Once this is done, I can cut away my excess fabric.
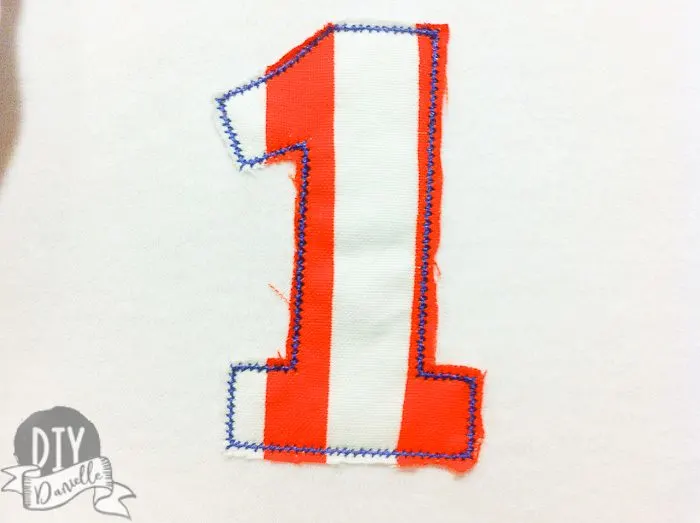
I still need to put it back in the machine though to add the extra details like the Cat in the Hat Hat.
Posts and projects that are Dr. Seuss or Cat in the Hat themed: Dr. Seuss Birthday Party | Dr. Seuss Romper | DIY Dr. Seuss Shirt | Cat in the Hat Hat DIY | Dr. Seuss Pants DIY | Fabric Birthday Banner in Red and White
This is the finished product. It matches perfectly with the pants that I made to go with the outfit.
Please share and pin this post!
