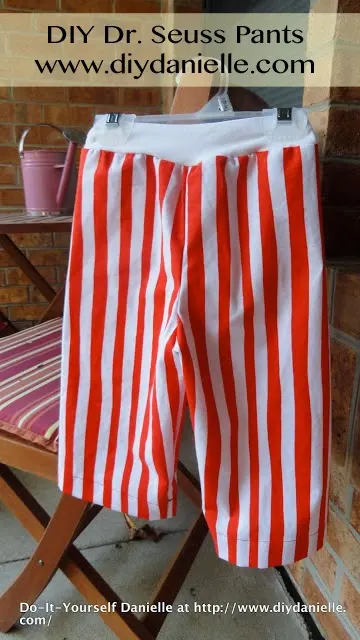
How to make easy pants to coordinate for a Dr. Seuss themed birthday outfit.
This post may contain affiliate links which may earn me commissions should you click through them and take certain actions. As an affiliate for Amazon, Cricut, xTool, Home Depot, and other sites, I earn from qualifying purchases. Please DIY carefully. View my full legal disclosures here.
Please read the whole post so you don’t miss any important information!
I had to decided to make Baby G a super awesome birthday outfit for his Dr. Seuss Cat in the Hat party. We all know I could have bought this cheaper, but hey. Where’s the fun in that?
Today we’re going to be making some cute striped pants. I bought striped Dr. Seuss fabric to use for them, as my plan is to applique a white teeshirt or onesie for Baby G’s top.
I recently bought a pattern/tutorial for making pants or shorts so I opted to use the same pattern instead of doing something different. This pattern isn’t available anymore, but I think the free PJ pants pattern from Patterns for Pirates might make a decent substitute.
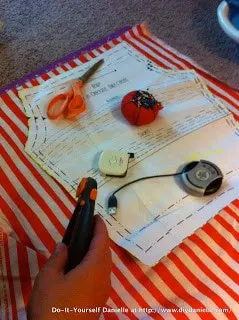
Cut out your fabric. When you cut out your fabric, make sure that you’re cutting all of your stripes in the correct direction. I laid my pattern out, held it down with all the fun stuff I had laying around my sewing room, and used my rotary cutter to cut out each layer, one at a time. For the second layer, remember that you need to cut it out with the pattern flipped over.
I decided that I wanted to make my pants fan out more at the bottoms (more bell bottom/boot cut style) so I just made the pant legs bigger as I cut out my pattern. As someone with huge feet, I hate wearing anything even close to skinny jeans after an embarrassing episode as a teen where the sales associate in a store had to help me get some jeans off over my big feet! I figure my son will have the same problem so there’s no need to add to the struggle of dressing and undressing a child, I might as well make the pant legs bigger.
So first, I cut out the first piece, doing it that way. For the second piece, I needed it to be similarly sized to the first, but the piece needed to be opposite the first (per the instructions). Instead of flipping the pattern over, I flipped the fabric over and used the other piece I cut out as a pattern for this piece. You lay the cut piece right side UP on the fabric you’re cutting (which is faced right sides down). I hope that makes sense.
Also, when you cut your waistband make sure you cut it so it stretches the long way… I made that mistake and had to redo it. I used an old tshirt for my waistband because my stripped fabric wasn’t stretchy enough for the waistband (or I didn’t think it would be). The pattern suggests using a stretchy knit.
Pretty much just follow the instructions in the tutorial for the pattern. I zigzagged the raw edges to prevent any fraying (serge if you have a serger, of course).
I used a folding template from Scientific Seamstress to do the
hems for the pants… according to the pattern, there’s a 2″ allowance for the hem. I love using these as my hems come out so much nicer this way.
Also, when you cut your waistband make sure you cut it so it stretches the long way… I made that mistake and had to redo it. I used an old tshirt for my waistband because my stripped fabric wasn’t stretchy enough for the waistband (or I didn’t think it would be). The pattern suggests using a stretchy knit.
Pretty much just follow the instructions in the tutorial for the pattern. I zigzagged the raw edges to prevent any fraying (serge if you have a serger, of course).
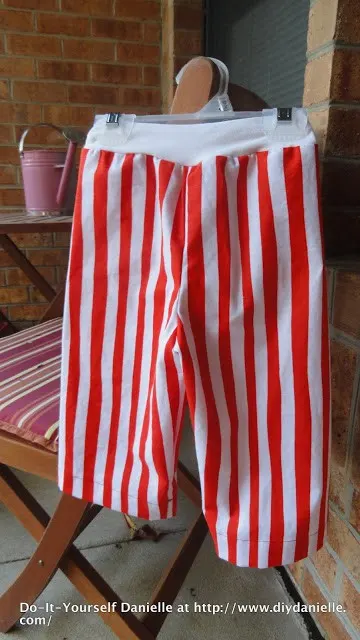
Final Product
Okay so it might look like the pant legs aren’t the same length here, but I’m pretty sure they are. Haha.
Posts and projects that are Dr. Seuss or Cat in the Hat themed: Dr. Seuss Birthday Party | Dr. Seuss Romper | DIY Dr. Seuss Shirt | Cat in the Hat Hat DIY | Dr. Seuss Pants DIY | Fabric Birthday Banner in Red and White


