
How to make a chore chart using a pocket chart. This is a great way to customize and organize chores and allowance.
I have three kids and a small farm which means life can be pretty chaotic. While my sons have routine chores, I also like to give them other tasks that they can do if they want to earn money or extra video game time. My middle son will sell his soul for some extra game time and my oldest loves to earn money. I decided to create an easy to use DIY chore chart to help track the “extra credit” chores they can do each week. This was easy to make and really satisfying! Here’s how to make your own chart.
DIY Chore Chart
If you’re new to my blog, I have a lot of routine chores for the kids including helping put away clean dishes in the kitchen, cleaning up after their personal pets (I consider my farm animals to be my responsibility), and helping put away their clean laundry. They started doing chores as young toddlers. For a while I was paying them an allowance for routine chores, but I decided to switch to offering extra money for the “extra credit chores” only. I wanted them to focus on earning and saving money up, not on scaping by with enough money for candy at the Dollar Tree. Honestly I’m still trying to find the right balance and I’ve been experimenting. Each kid seems to have something different that works for them. That’s the reason I opted for the point system- I could transfer points into money OR video game time, giving each kid something they’d be motivated to work towards.
This post may contain affiliate links which may earn me commissions should you click through them and take certain actions. As an affiliate for Amazon, Cricut, xTool, Home Depot, and other sites, I earn from qualifying purchases. Please DIY carefully. View my full legal disclosures here.
The majority of my content is generated by me, as are 99% of the photos and videos, but I utilize technology for titles, descriptions, video editing out all of my ums, and occasionally for text overlay on images.
Please read the whole post so you don’t miss any important information!
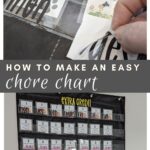
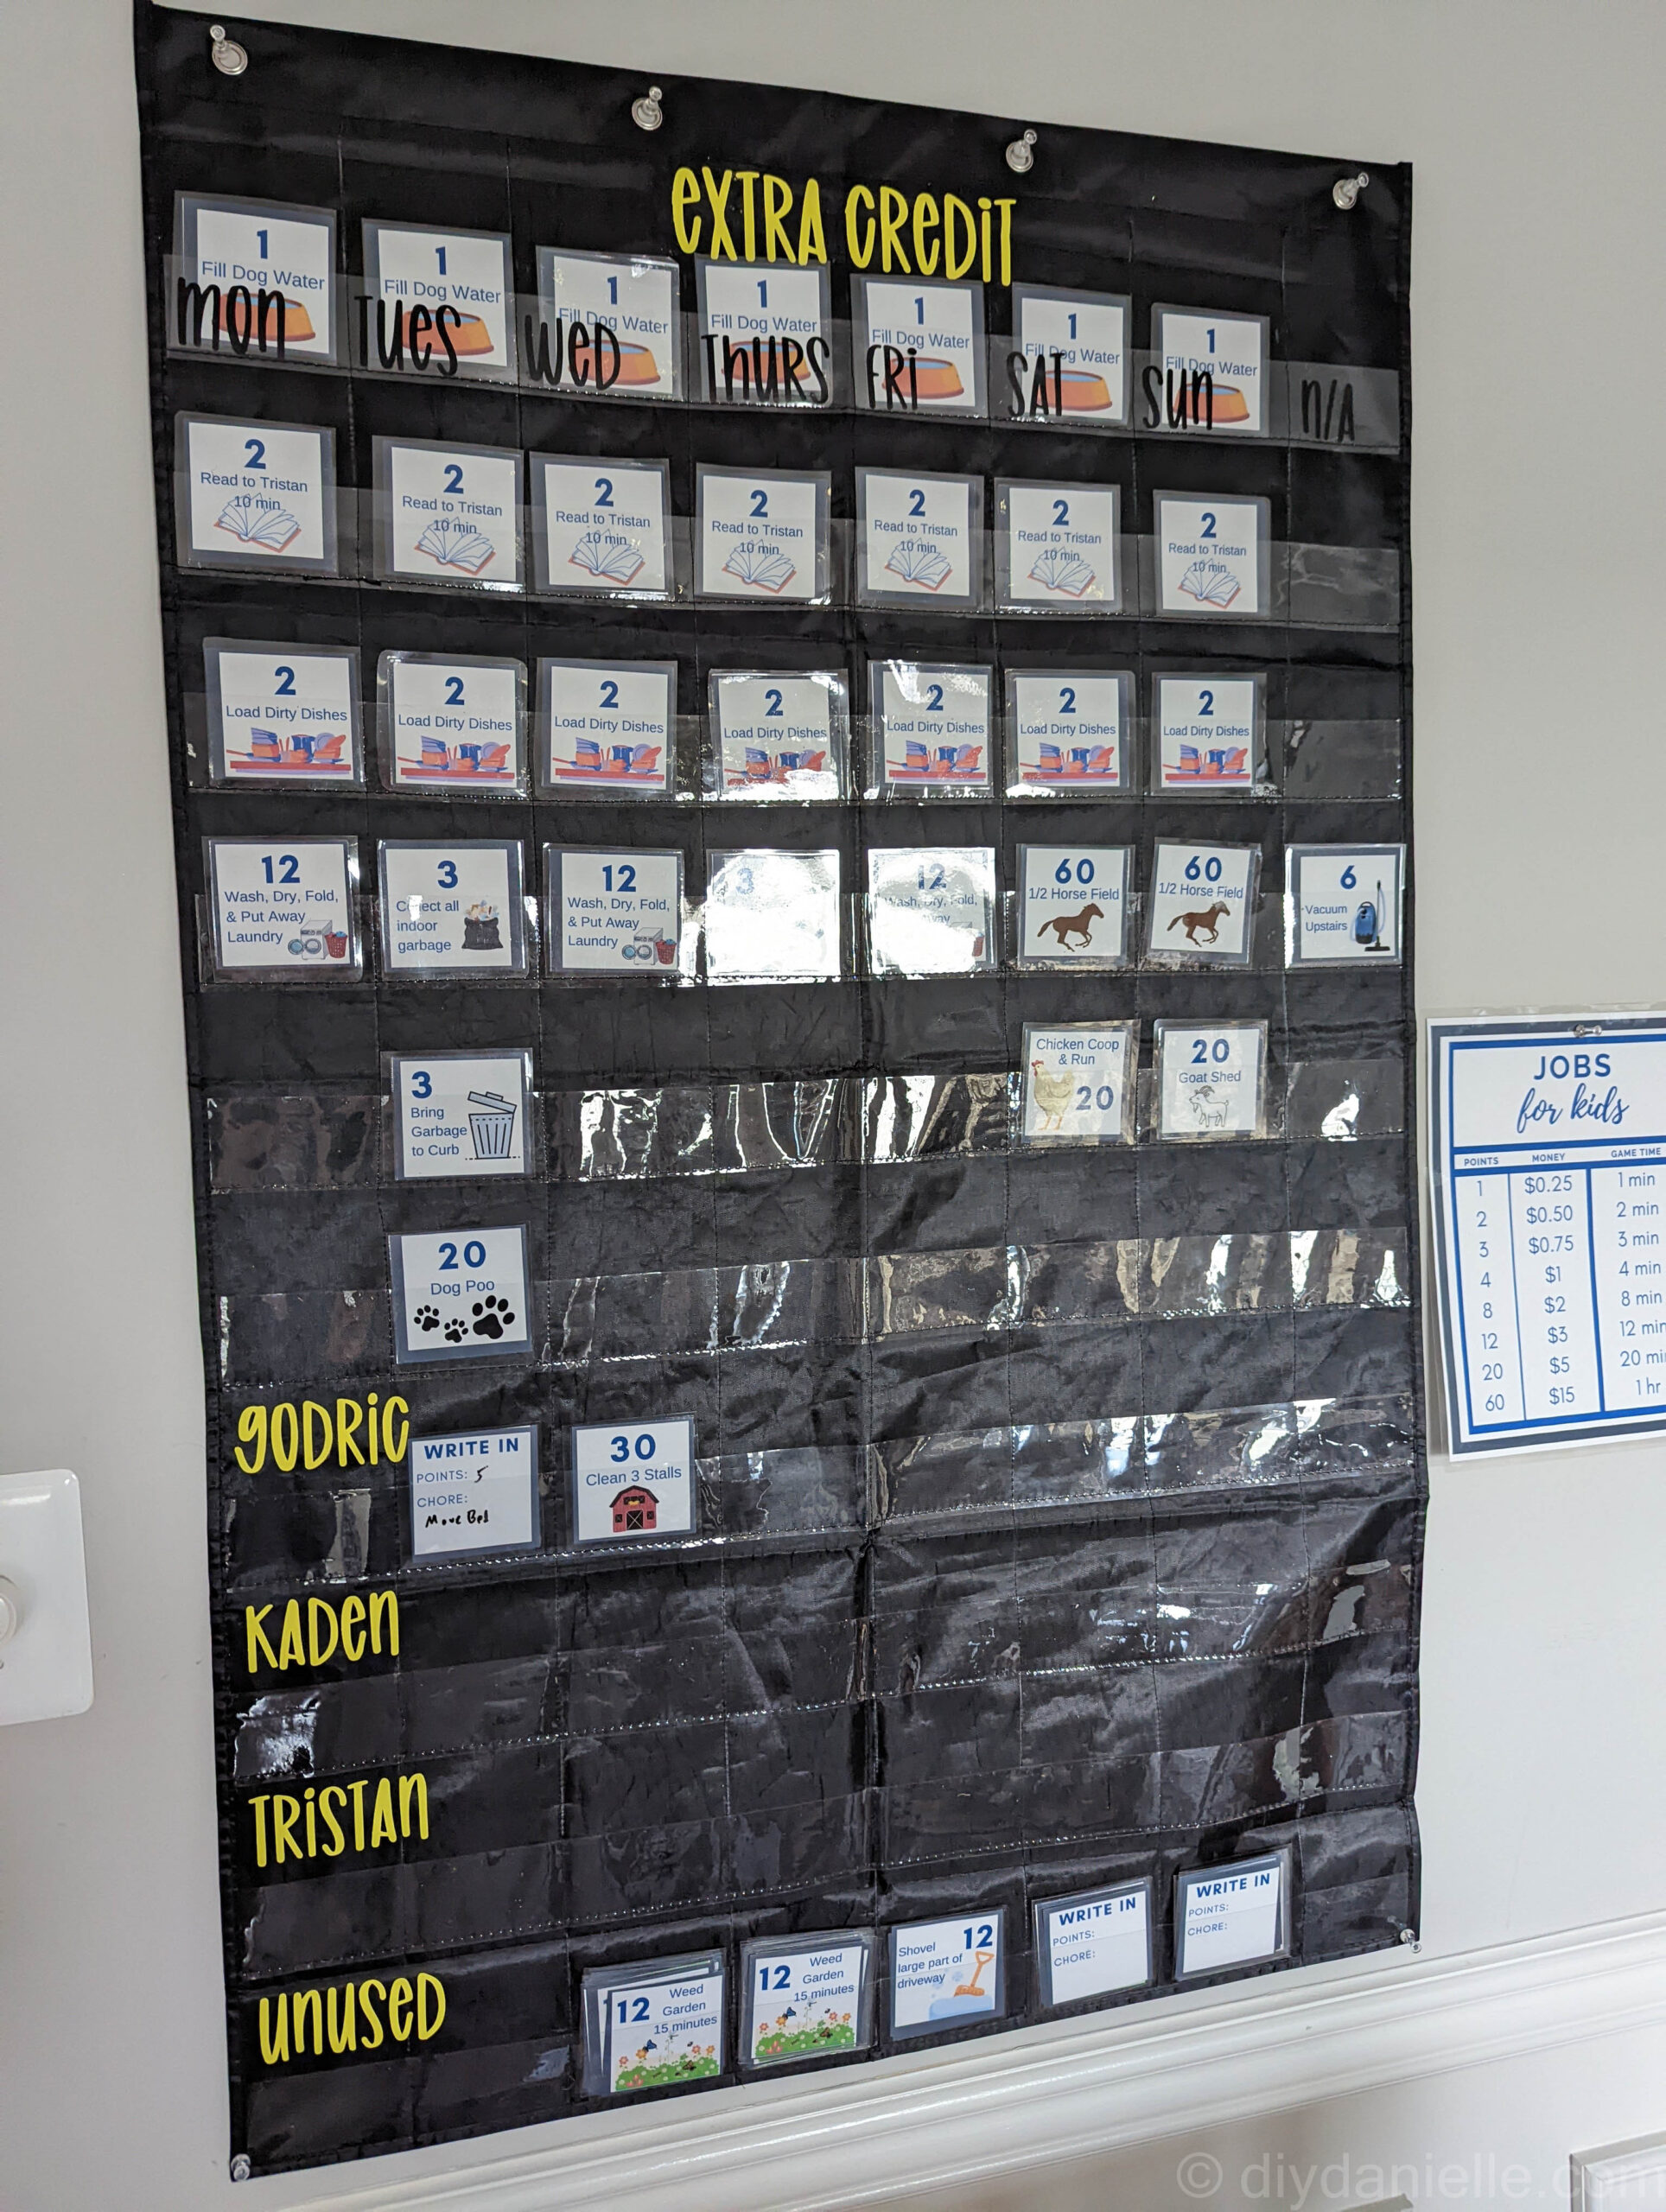
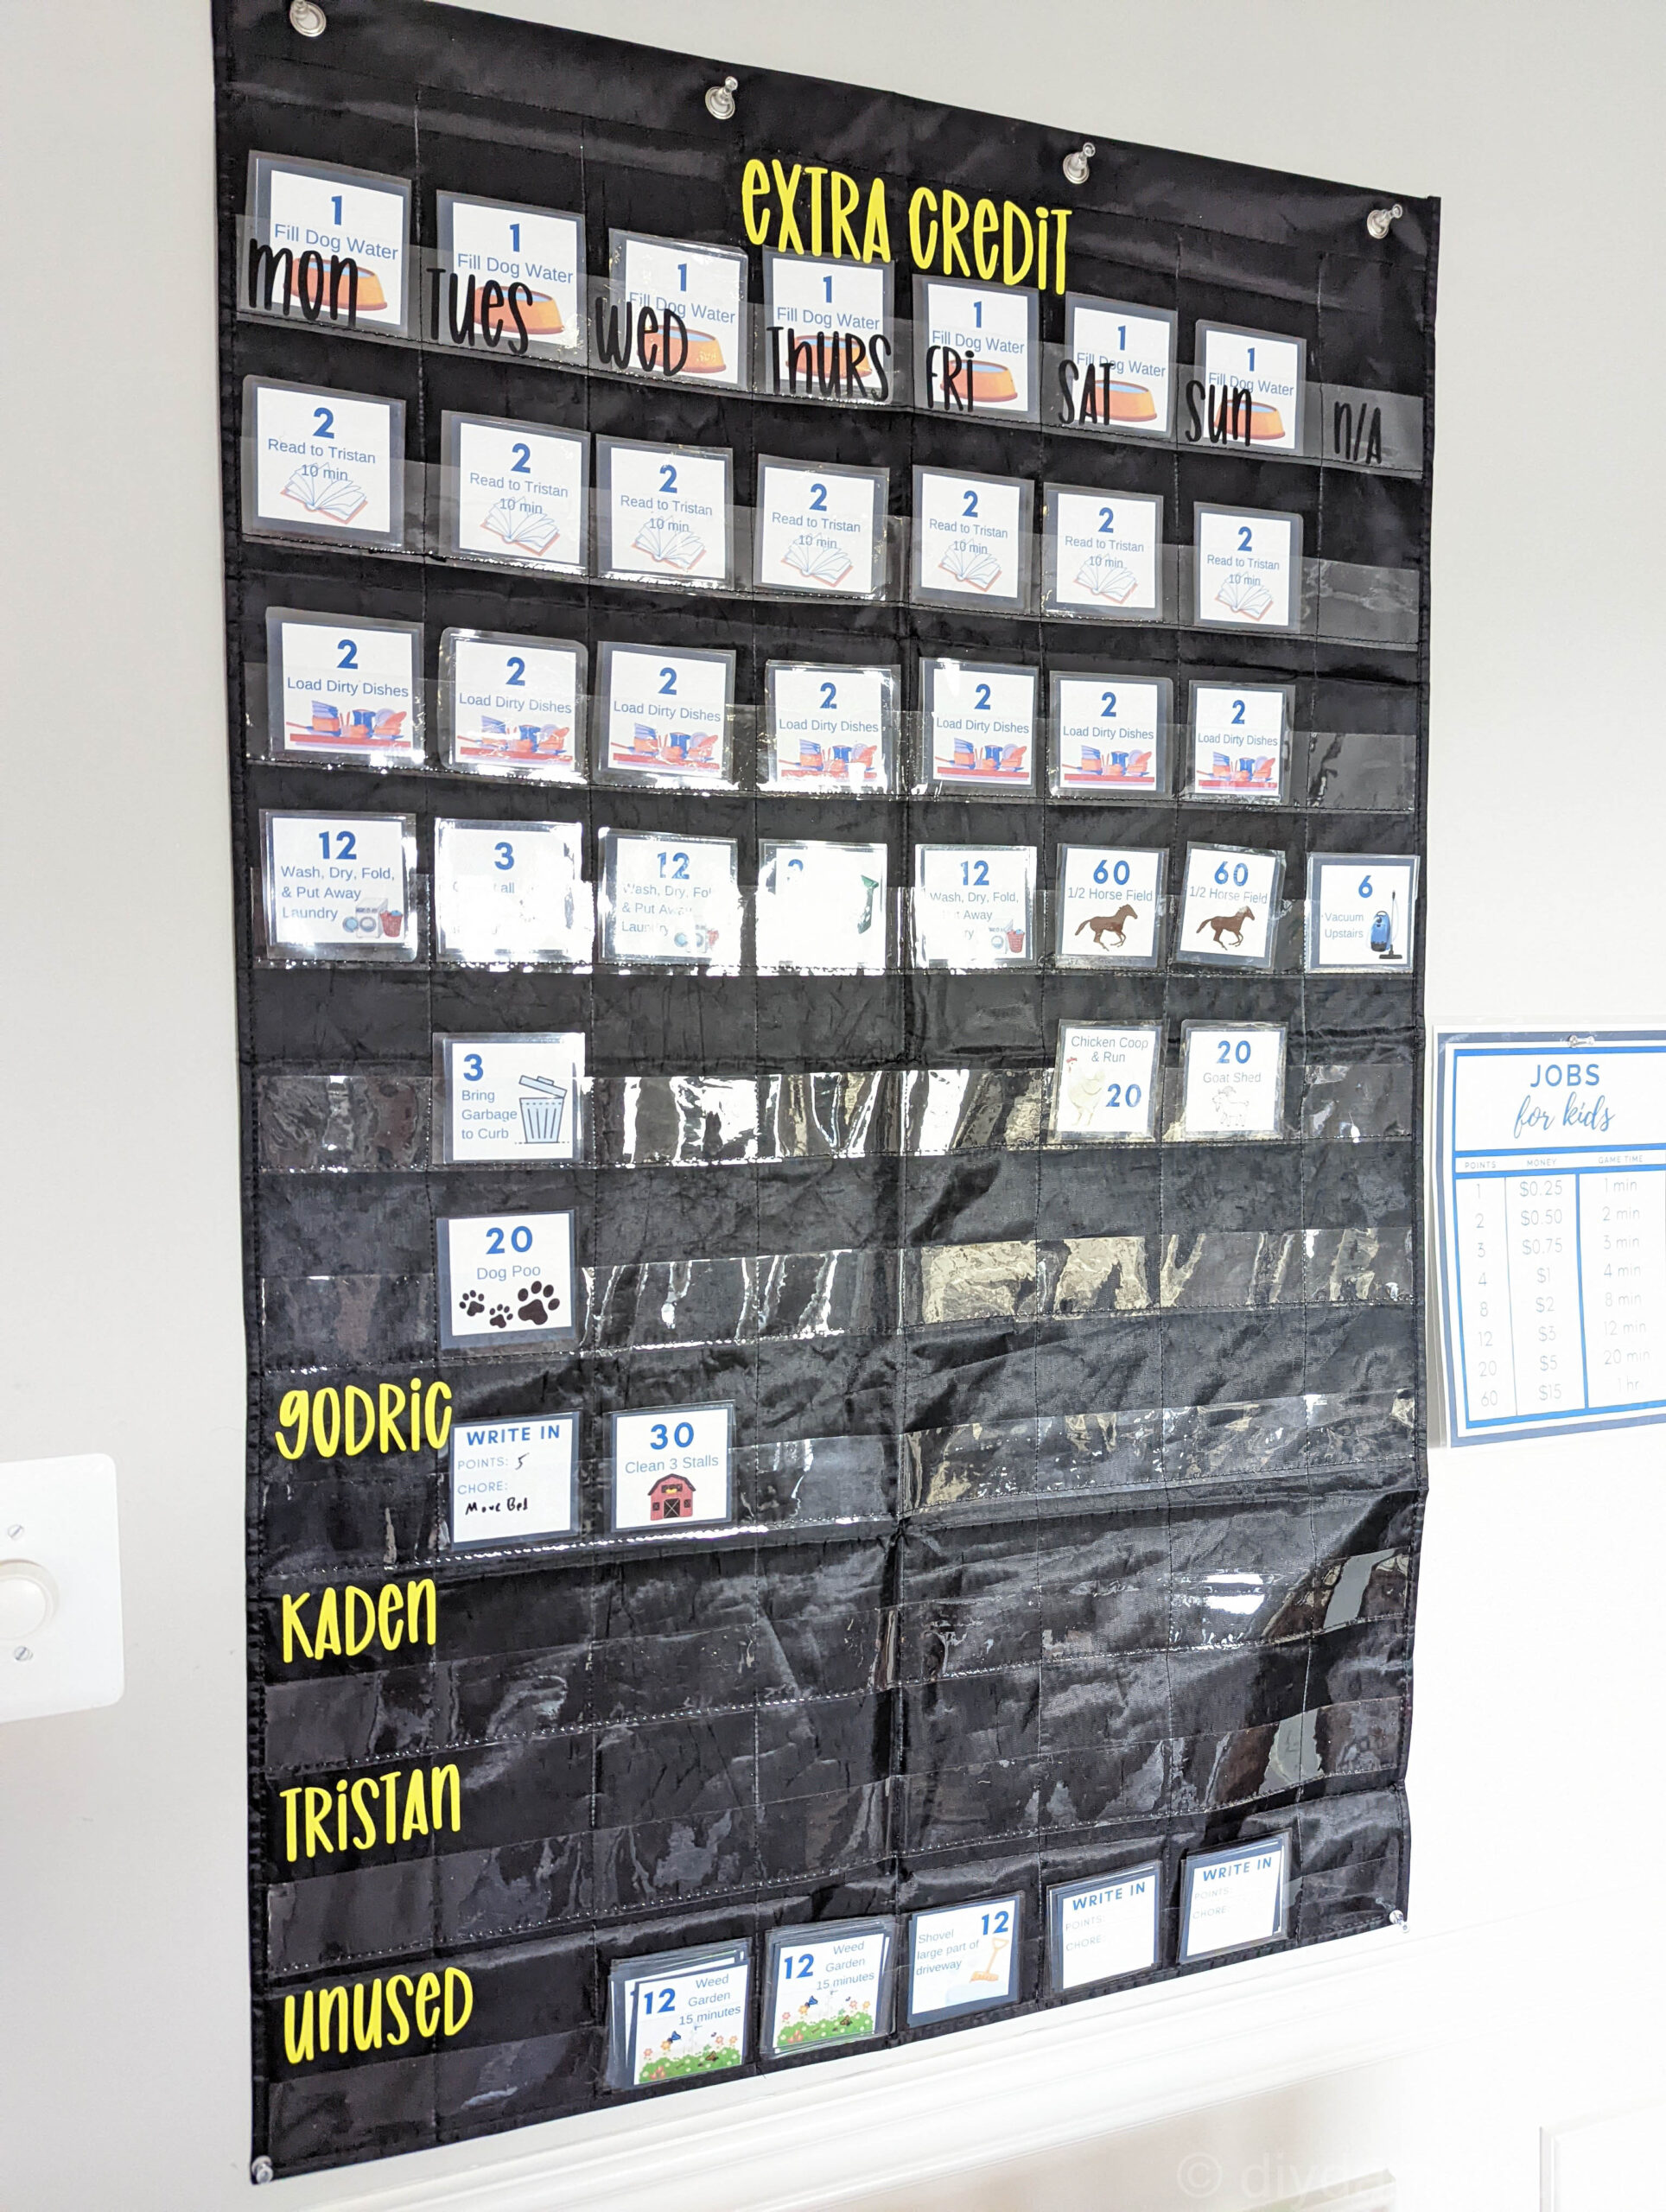
With this “Extra Credit” chore chart, they have chores that can earn them points each day. They can select a job from the job board, complete the task, then put the chore tag under their name. On Sundays, I calculate what they earned and ask them if they want to get money or extra video game time. If they want money, I use the Greenlight Chore App to transfer the money right from my bank account into theirs. It works really well.
Supplies
- A blank pocket chart
- Permanent Vinyl (for anything you put on the front of the pockets)
- Iron On Vinyl (for anything you want to attach to the fabric): I used glow in the dark iron on vinyl.
- Heat press: The baby Easy Press or a small press like the Clover mini press work best. You don’t want to touch the plastic pockets with the heat or you could melt them.
- Sewing machine & supplies
- Laminator and laminating sheets
- Tailors chalk
- Free Canva template (this is such a great program to use for editing!)
- Cricut cut file: If you want to use the same font, just change the names
- Printer
- Dry Erase Markers with a Thin Point
Use the Discount Code DIYDANIELLE on cricut.com for 10% off any cutting machine or heatpress (no minimum). Excludes: materials/accessories/mystery boxes/etc. Applies to US/CA only, code expires 12/31/23.
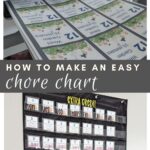
How to Make an Easy Chore Chart
I used permanent vinyl on the fronts of the pockets for the days of the weeks. You could also do these above the pockets and use iron on vinyl (HTV). Likewise, you could choose to use ALL permanent vinyl for your chart too and just place the permanent vinyl on the plastic parts. The downside to using HTV on the fabric is that the cards sometimes cover up the letters. HTV is the best option for the title of the chart, however.
Step 1: Sew your pocket chart so your chore chart is divided into 7-8 columns.
I think it would be easy enough to sew your own pocket chart, but I decided to buy this one and adjust it for my needs. The reviews said that the pockets flopped open easily and I wanted columns anyways so I used my sewing machine to sew 8 columns that are around 3.25″ wide. PLEASE double check the math yourself, particularly if you’re using different cards. Occasionally Amazon sellers change their product slightly, but keep the listing. For my 28×43″ chart, the 3.25″ spacing worked though.
Before sewing, I drew my vertical lines with Tailors chalk to make it easier for me to sew the straight lines. I measured the 3.25″ from the STITCHING so that the pocket would be the right size.
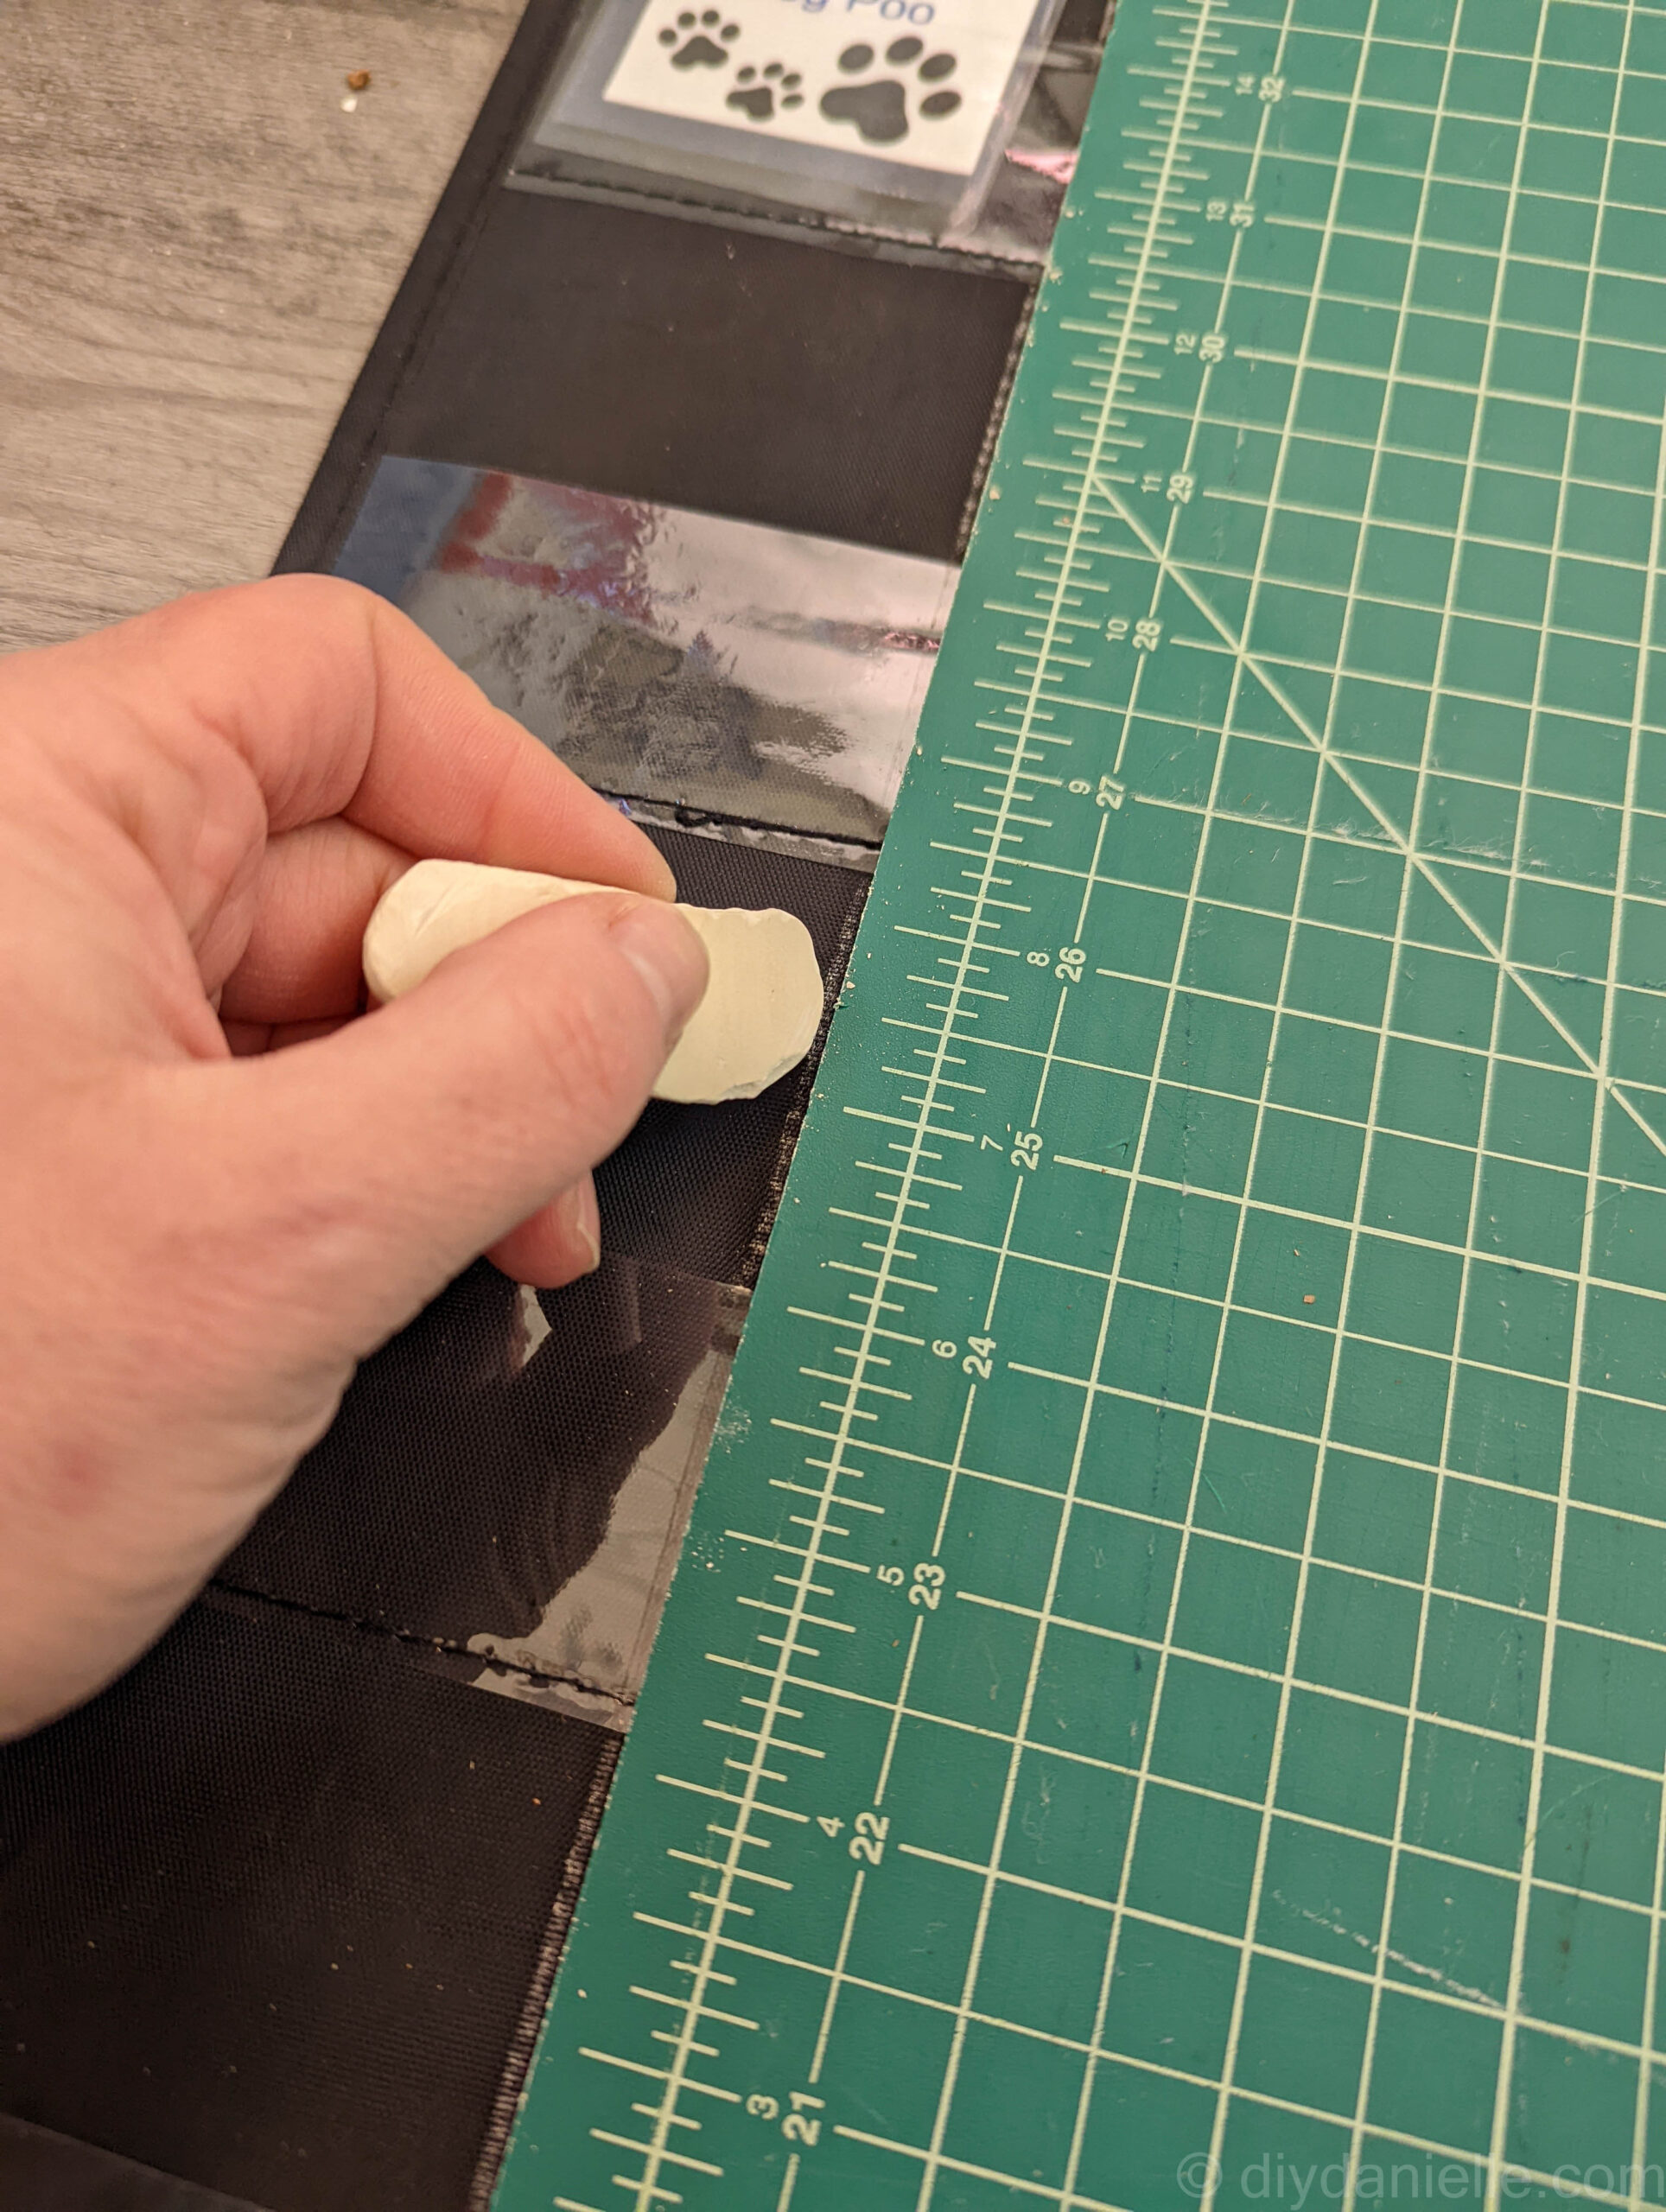
Then I used black thread in my sewing machine and sewed a straight stitch along all 7 lines (7 lines but 8 columns).
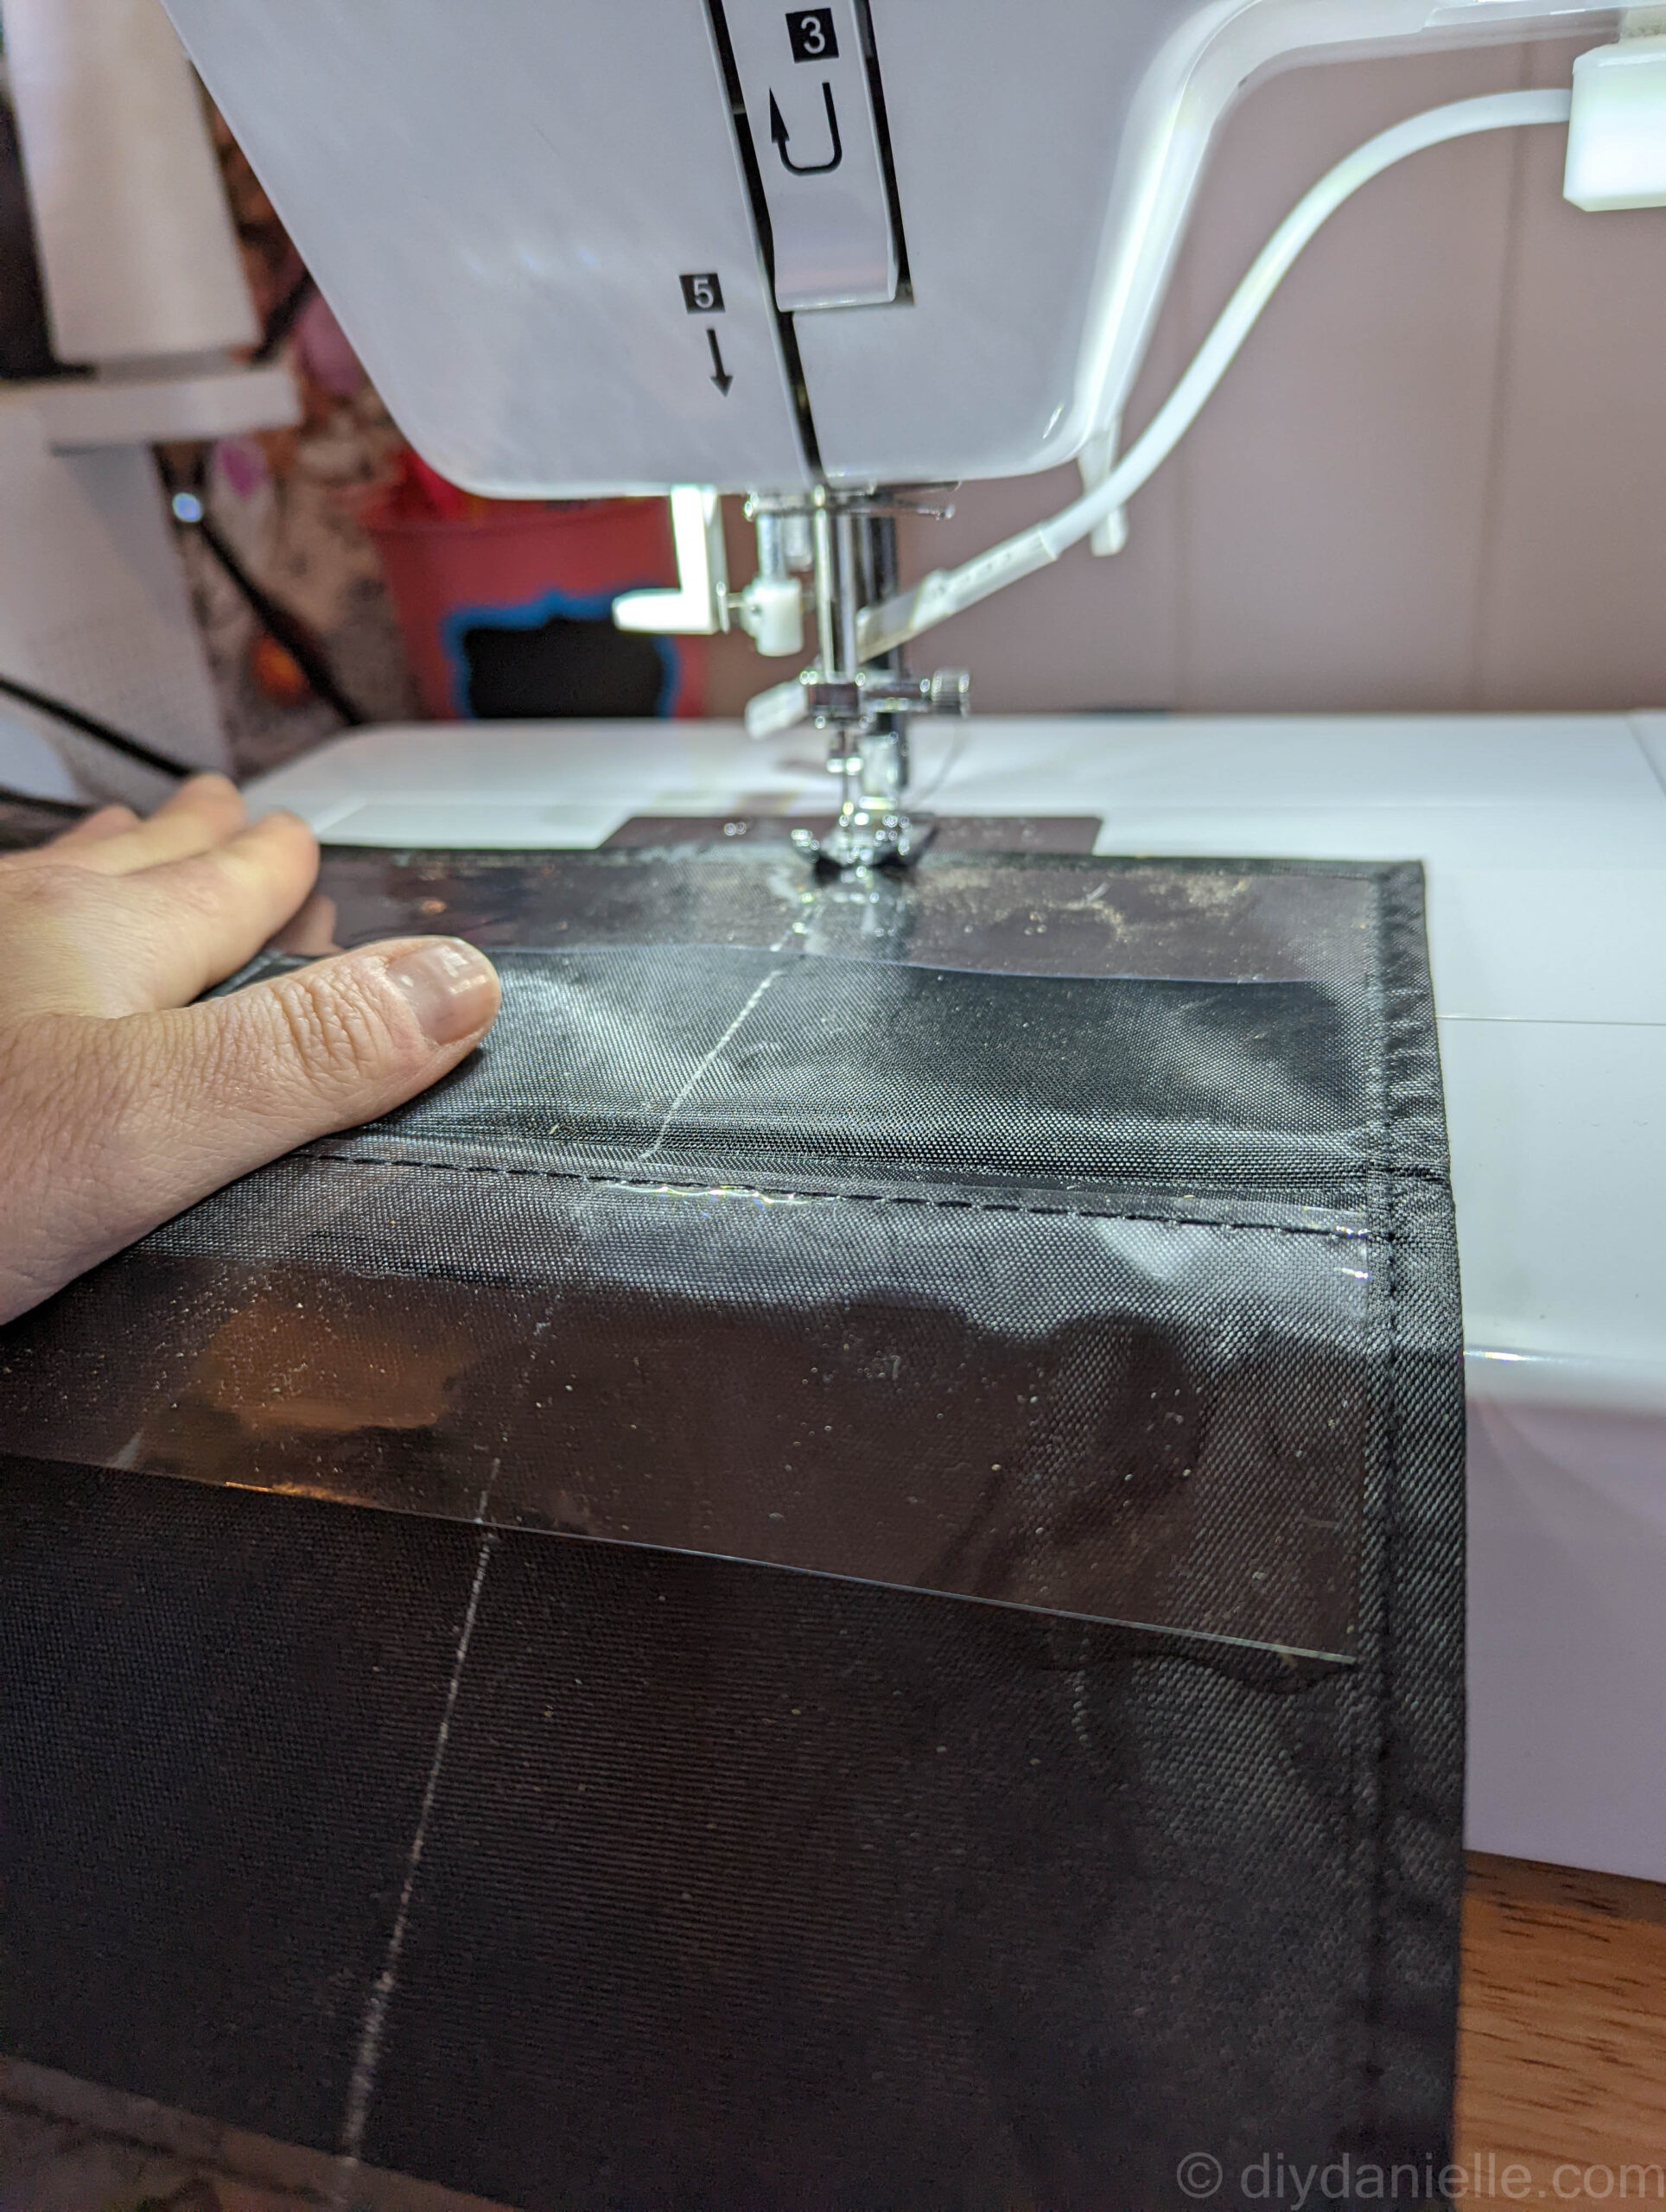
Adding the columns really stabilized the chart quite a bit. You don’t need to sew beyond the top of the highest plastic piece, but you should back stitch over the first and last stitches to reinforce it.
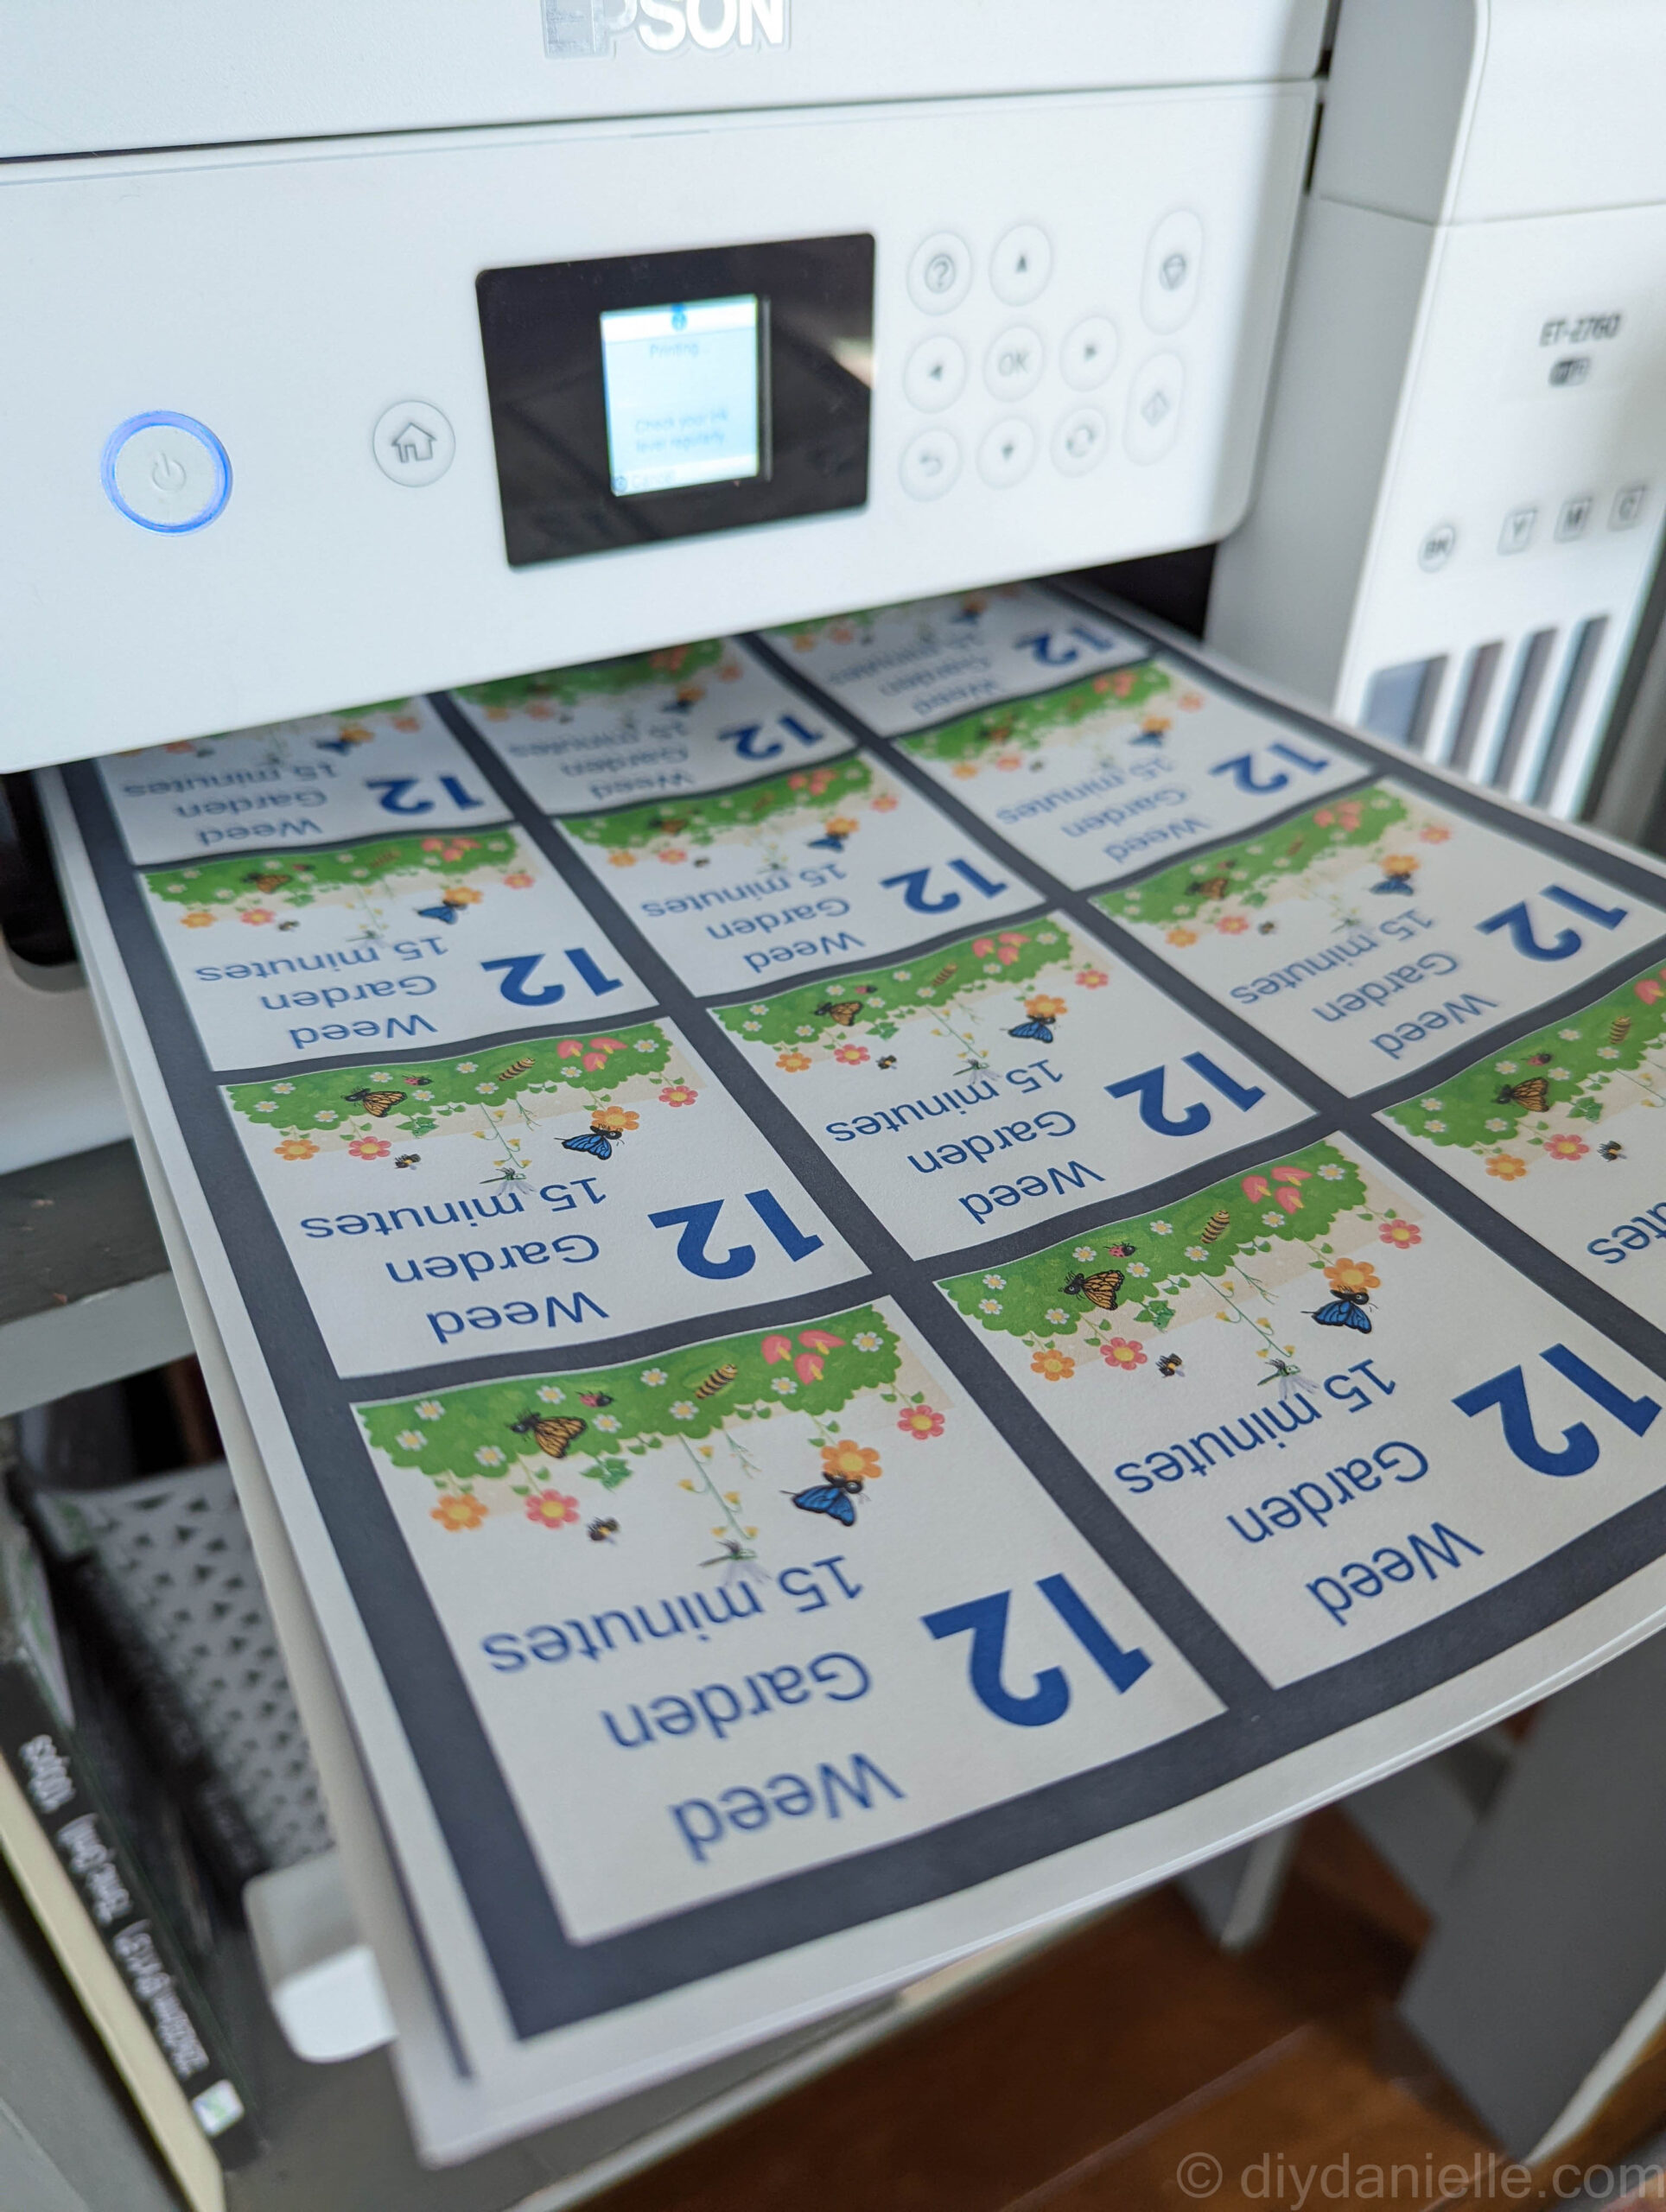
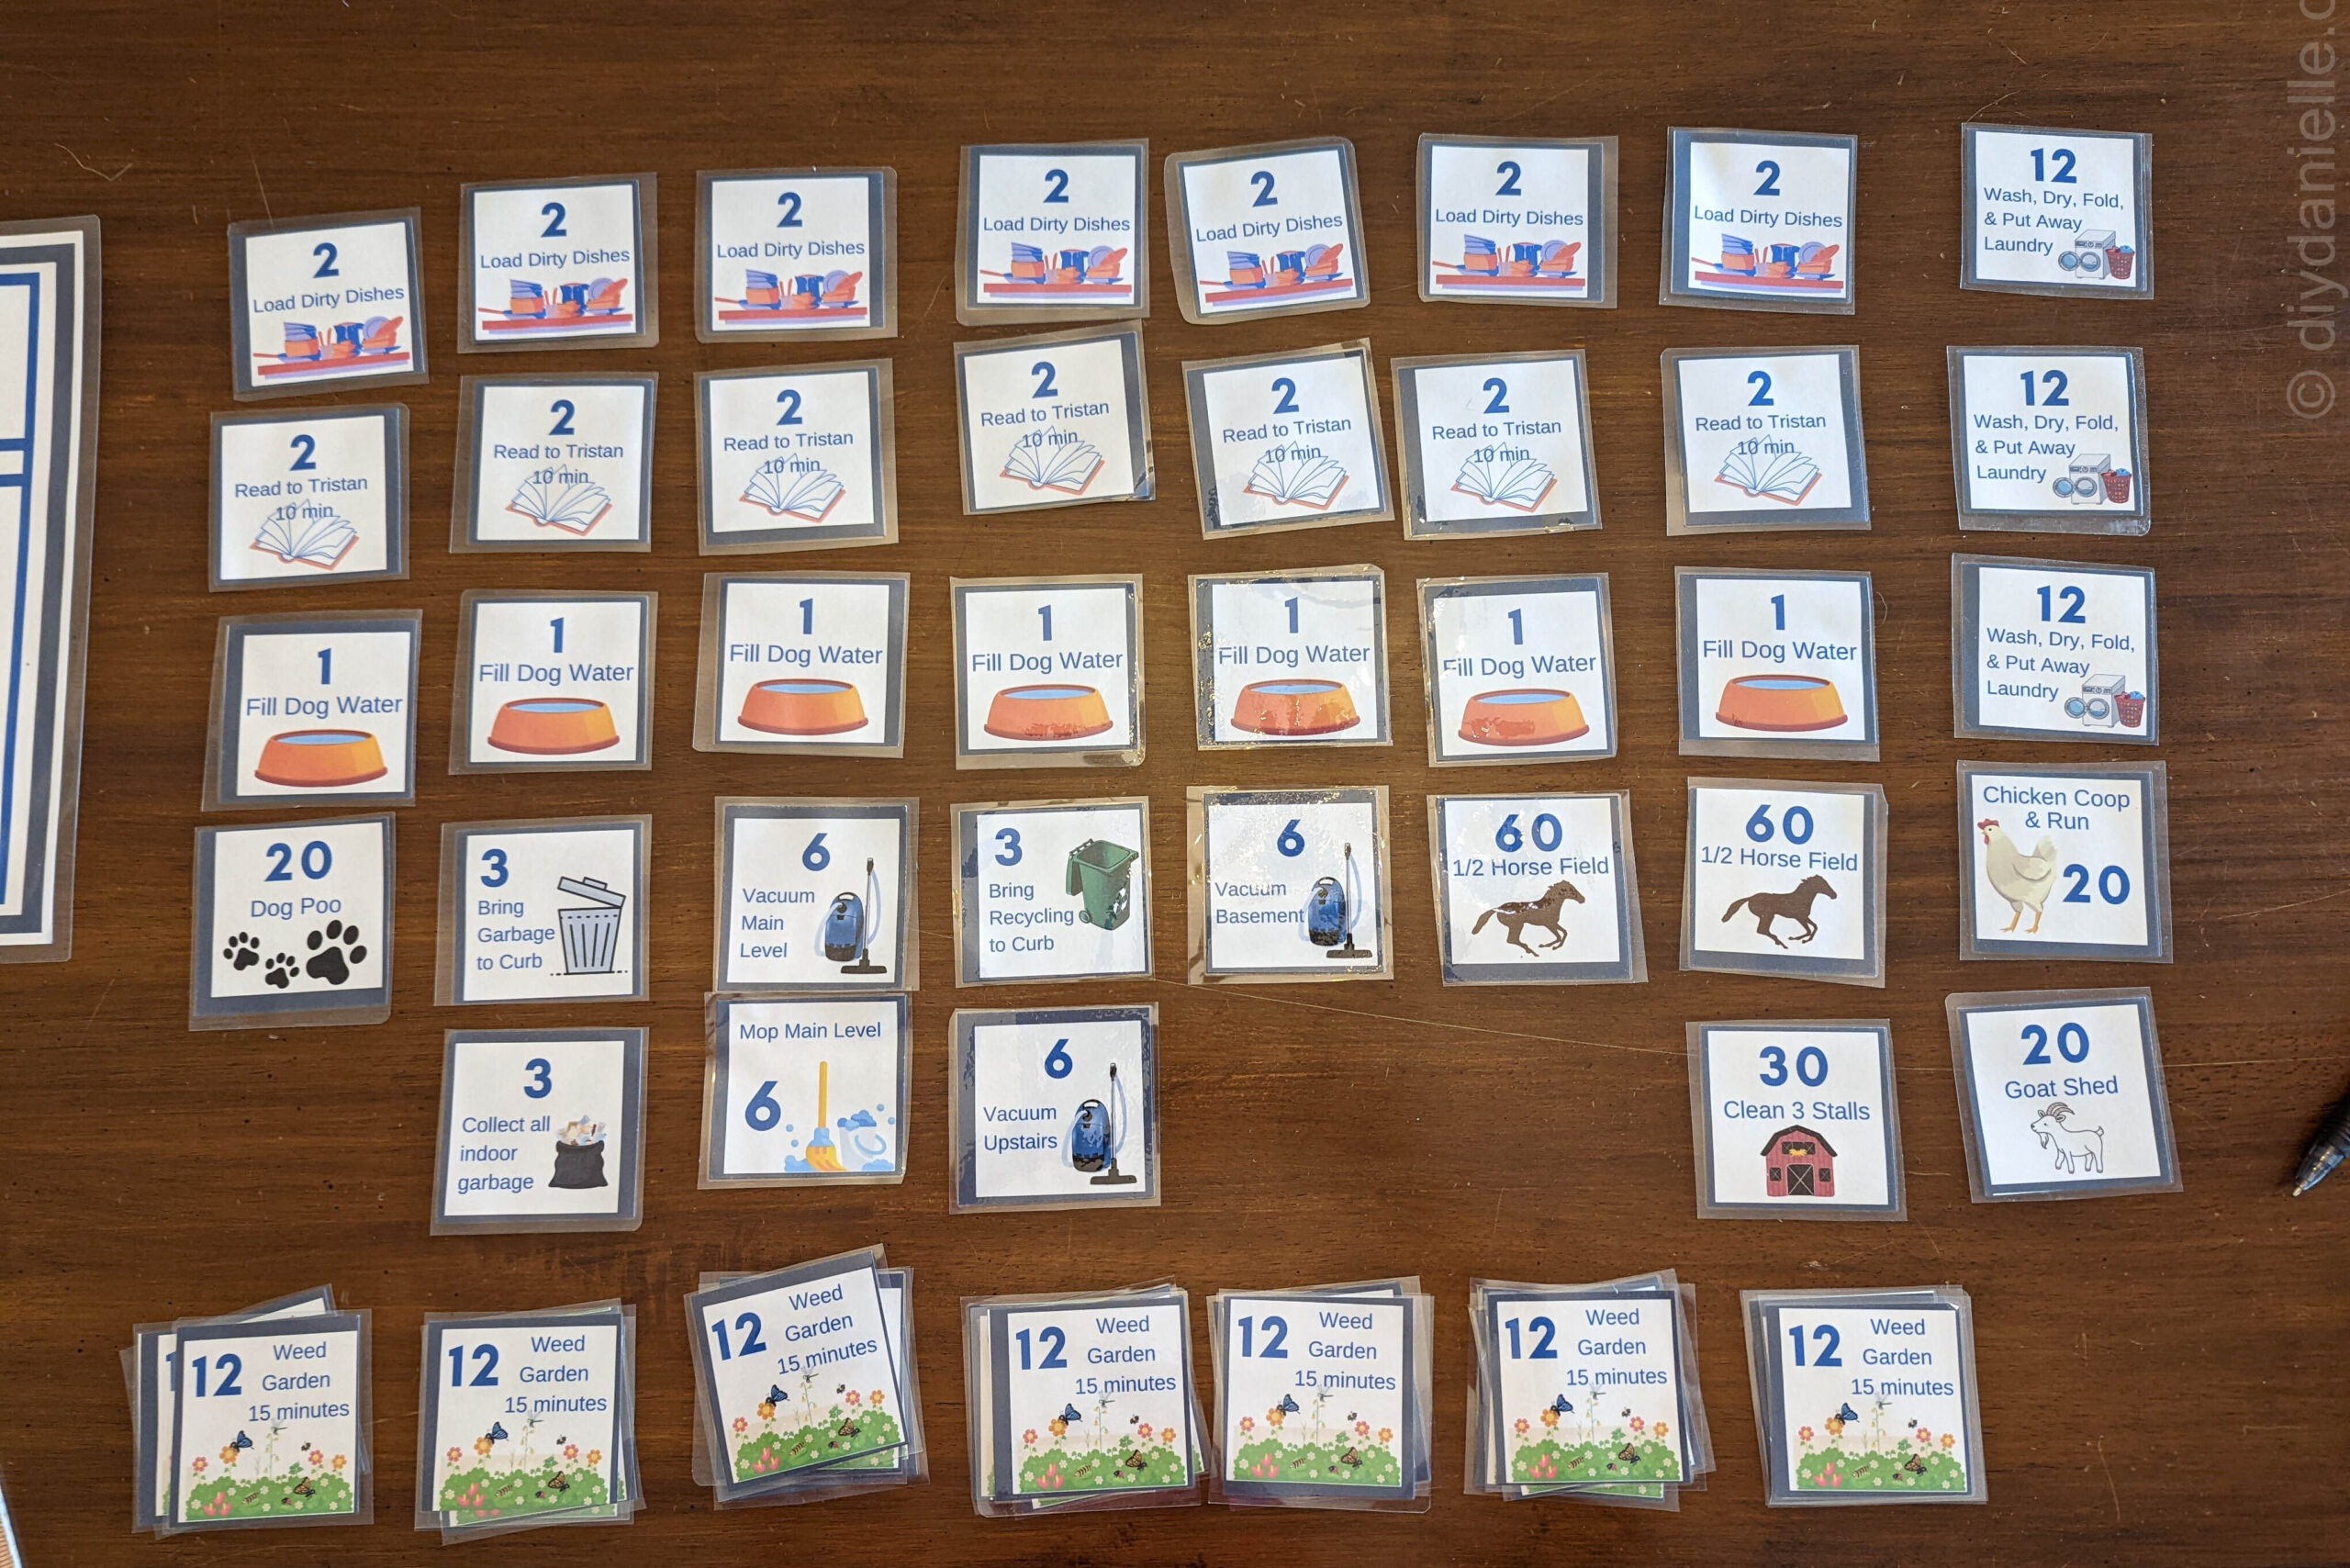
Step 2: Print your cards.
I used Canva, one of my favorite “apps” to make the cards. You can use my cards as a template if you want, but they’re pretty specific to my household. I added the points to each card, the chore name, and a picture about the chore. The picture is for my youngest son who is 4 years old and can’t read. Page 6 has a bunch of write in cards for chores that I think up from time to time.
As I mentioned earlier, Kid #1 and #3 prefer to earn money, but Kid #2 likes to earn extra video game time. So the point system can be printed out on Page 7, but each point is equivalent to either $0.25 or 1 minute of video games. It helps make the math easier.
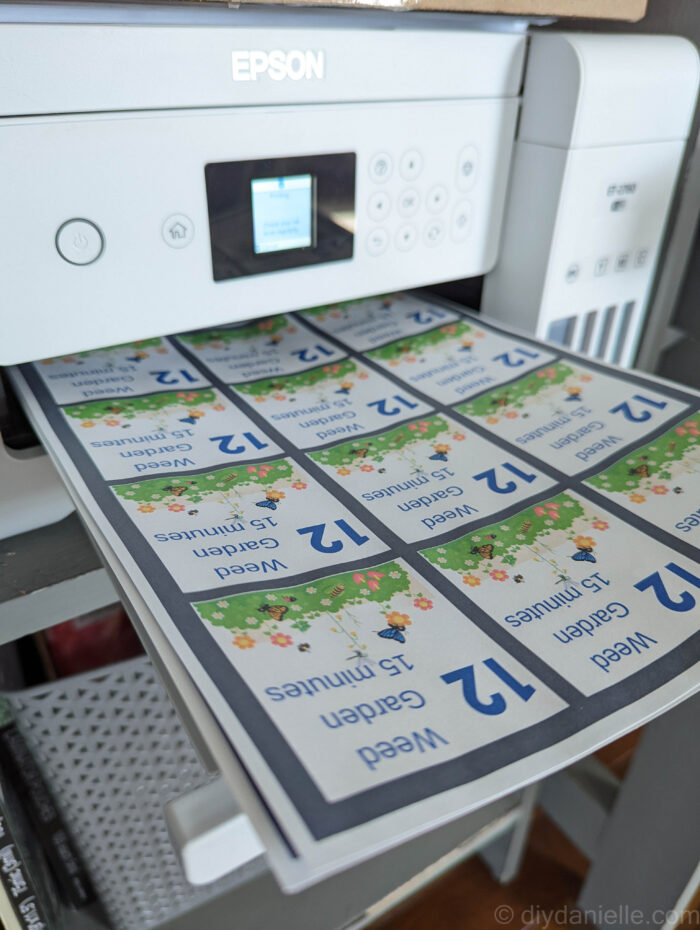
I just bought one of the Epsom Ecotanks and the print quality is SO much better than my last printer.
Cut the cards so they’re just a pile of individual cards.
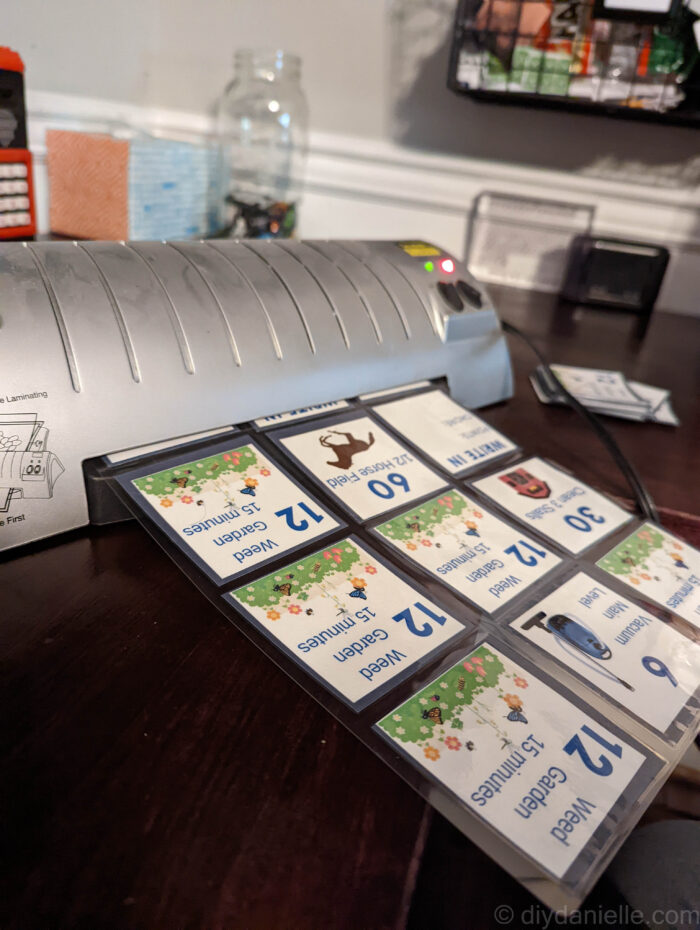
Step 3: Laminate your cards.
You don’t NEED to laminate your cards, but it will help them last longer. It also makes the write in cards easier to use– and reusable if you use Dry Erase Markers with a Thin Point.
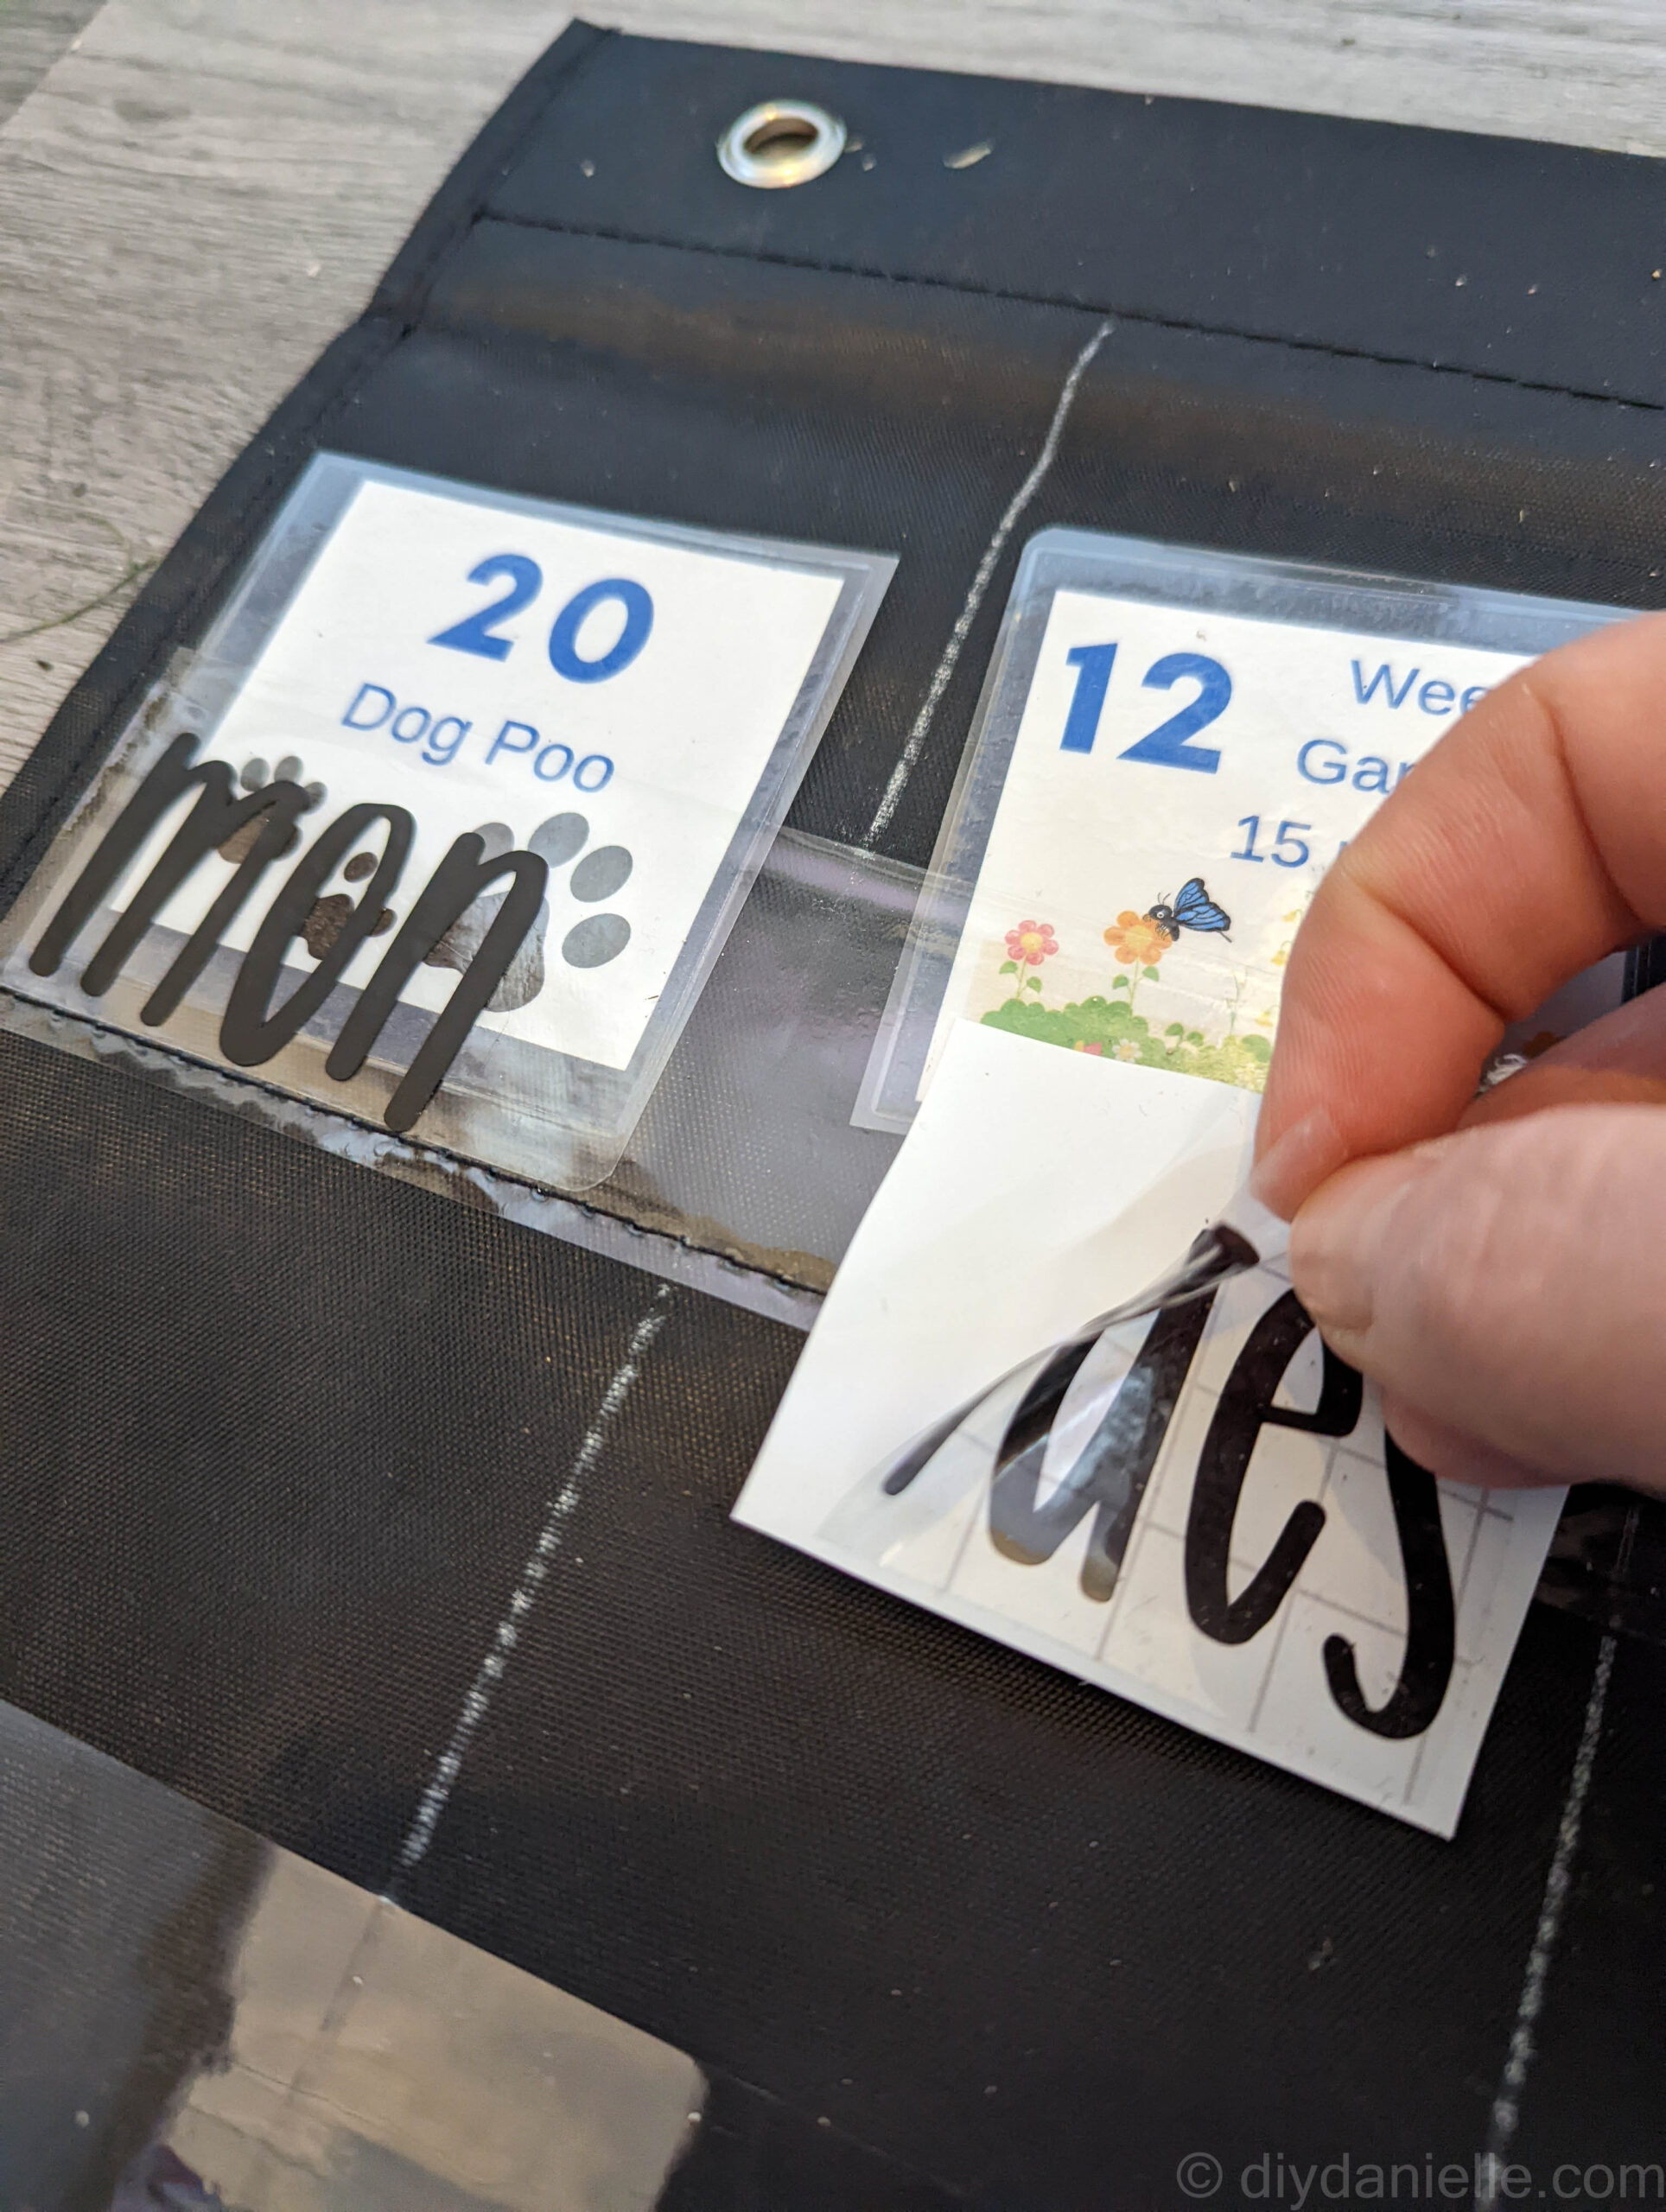
Step 4: Add permanent vinyl, if desired.
For the days of the week, I decided to use permanent vinyl on the top pockets. There’s one day for each column, and then I have an N/A column that I put cards in if the kids don’t do the chores on the day of the week.
I cut the letting for the days of the week with my Cricut on permanent vinyl. The Cricut cuts the design, then I had to weed away the excess pieces that aren’t part of the design. Then I used a transfer sheet to move the designs to the plastic front of the pockets.
Never used permanent vinyl? Check out my guide on How to Use Permanent Vinyl!
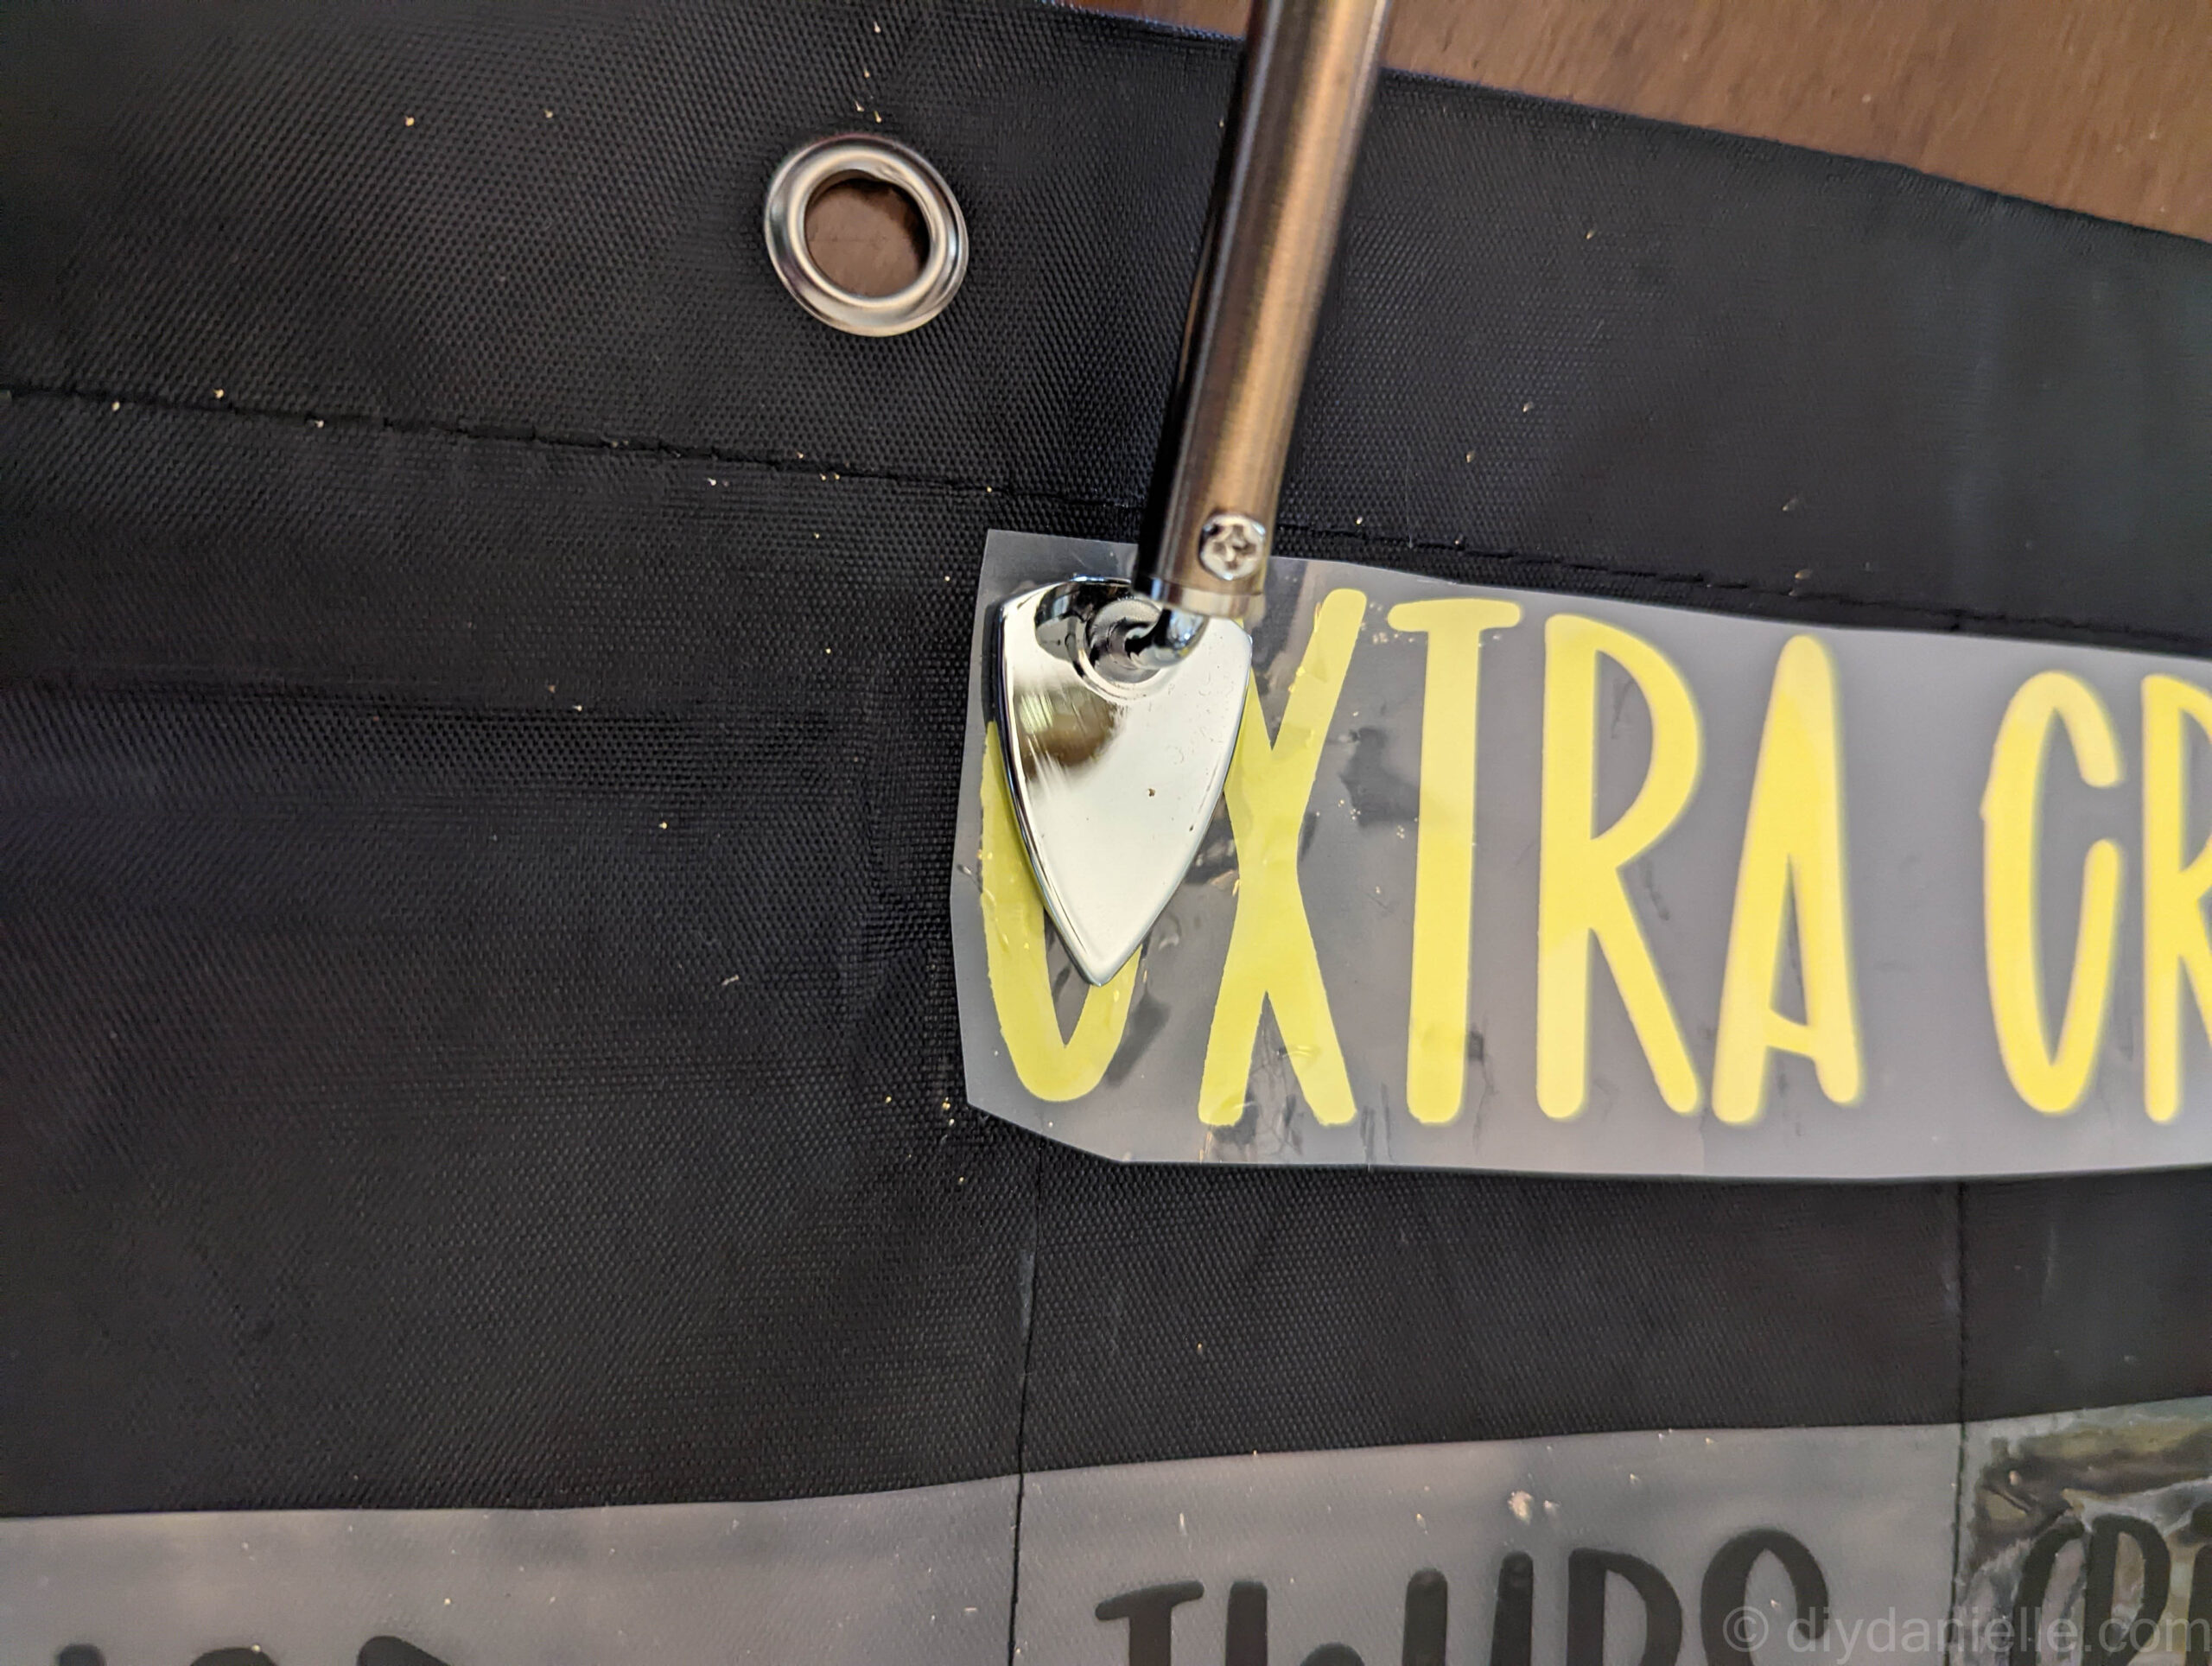
Step 5: Add iron on vinyl, if desired.
Iron on vinyl (HTV) works similarly. You weed away the excess vinyl after the Cricut cuts the design, then you flip it. You place it on your chart, then use a small heat press to melt the vinyl into your fabric. DO NOT USE HTV ON THE PLASTIC and DO NOT accidentally touch the plastic pockets with your press. It may melt the plastic.
Also DO NOT FORGET to mirror your designs for iron on designs.
With the Clover Mini Press, you can’t set the temperature, but I just pressed it into the letters one by one and watched for when the plastic carrier sheet would easily come away from the letter. I started at the “E” in extra credit and worked my way to the right.
New to using iron on vinyl? Check out my guide on how to use iron on vinyl.
With the iron-on, I added the title of the chart (“Extra Credit” as they’re all optional chores), as well as the kids’ names at the bottom. They each have their own row to put cards once they complete a chore. I also have a row at the very bottom for chore cards that we’re not using that week.
Step 6: Organize your cards by day of the week.
I spent some time organizing my cards by the day of the week, in terms of what makes sense. Bigger chores were put on the weekends. Some chores were daily. And some chores, like weeding the garden, are seasonal so they don’t have a spot currently. Those cards go in the unused row at the very bottom.
Step 7: Place your chore cards in the chore chart.
I arranged the chores in a way that made sense for our household. For example, garbage gets taken out on Tuesday night so the dog poo pickup, taking garbage out to the curb, and collecting garbage indoors is all on Tuesday night.
Longer chores, like cleaning the horse stalls, are on the weekend. I like to keep some chores on the same days of the week so they’re cleaned in regular intervals.
Step 8: Calculate earnings and reset the cards every Sunday night.
On Sunday nights, I calculate everyone’s earnings and ask them to tell me if they want money or extra game time. Sometimes they split the earnings up between games/money. I reset the cards and transfer any money earned via the Greenlight Chore App. Easy peasy.
I LOVE how this whole project is allll about manipulatives- it’s easier for the kids (and me) to physically see something move around on the chart vs. trying to remember and do chores on our own. Moving the cards is satisfying in itself. I may make a menu planning calendar with this too.
Please share and pin this post! You can also post your project and tag the DIYDanielle team on Instagram @doityourselfdanielle!
Google Web Story: Weekly Chore Chart for Kids