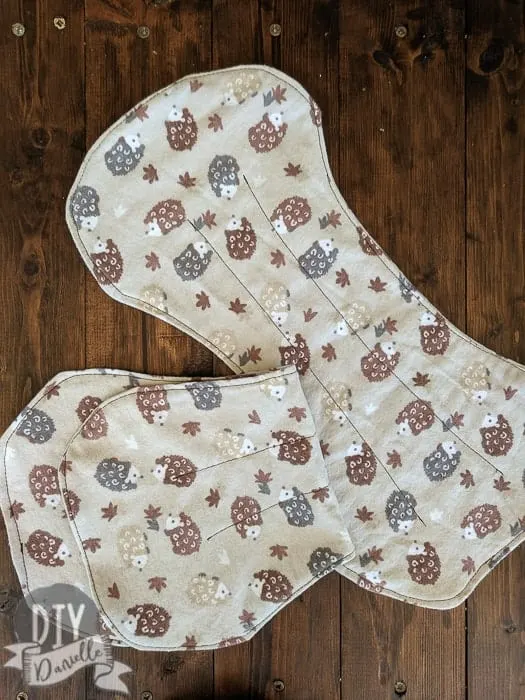
How to make burp cloths from flannel. This free and easy burp cloths pattern is perfect for a beginner sewist.
This post may contain affiliate links which may earn me commissions should you click through them and take certain actions. As an affiliate for Amazon, Cricut, xTool, Home Depot, and other sites, I earn from qualifying purchases. Please DIY carefully. View my full legal disclosures here.
Please read the whole post so you don’t miss any important information!
One of my favorite baby shower gifts is to make burp cloths for the mother-to-be. I’ve made burp cloths from cloth diapers, which are AWESOME. But I also love these burp cloths that I make from two layers of flannel.
Flannel comes in so many cute designs that it’s fun to find something that matches the baby’s nursery theme.
How to Sew Flannel Burp Cloths
Supplies
- Flannel fabric
- Sewing machine, thread, scissors, seam ripper, etc.
- Download my pattern (or make your own!)
Flannel Burp Cloth Tutorial
I made my own pattern for this because I like my burp cloths wider and longer than some of the store bought ones. My kids have all been pukers sooooo… bigger is better.
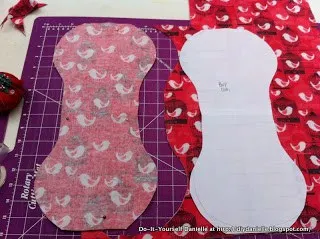
First, cut out two layers of flannel with your pattern.
Here’s the original burp cloths that I made…
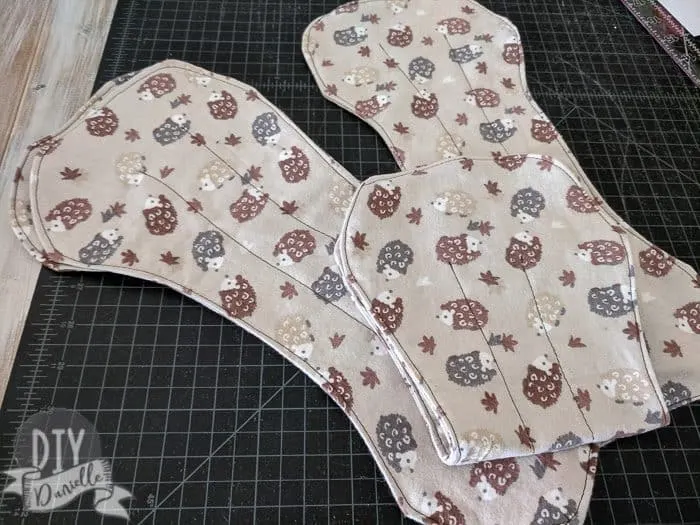
And some new ones when I went to update this post! Note that I folded my flannel fabric right sides together so I can cut two layers at once.
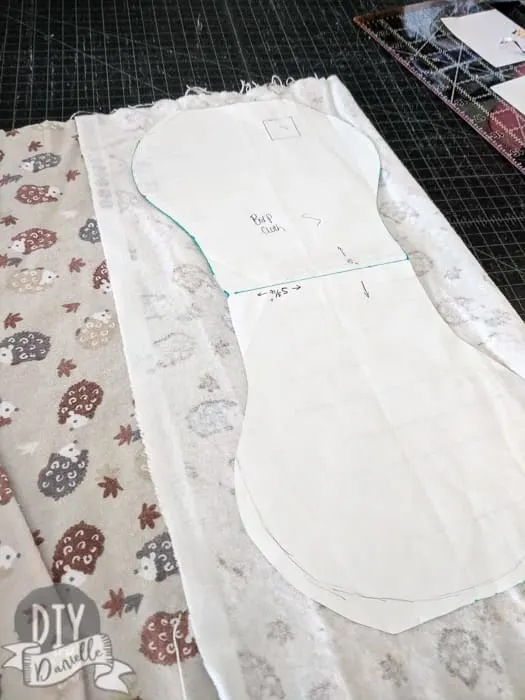
Pin the pieces right sides together. Sew around the burp cloth, leaving a small area to turn the burp cloth right sides out.
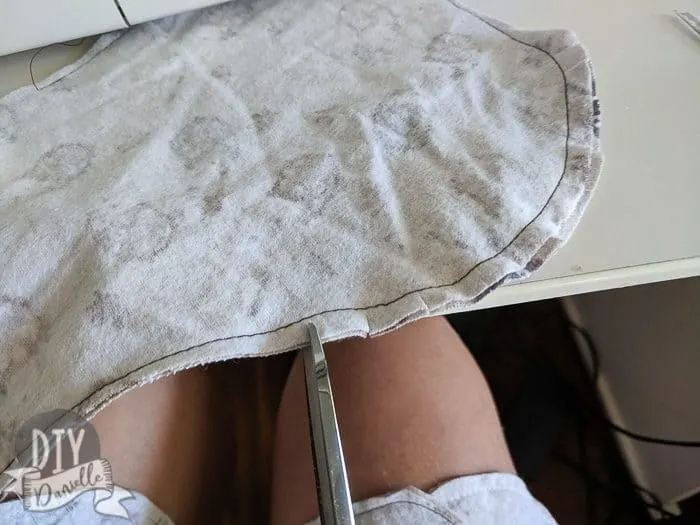
If you want your project to look EXTRA nice, snip little cuts along the curves, making sure not to cut the stitching. When you do this, the
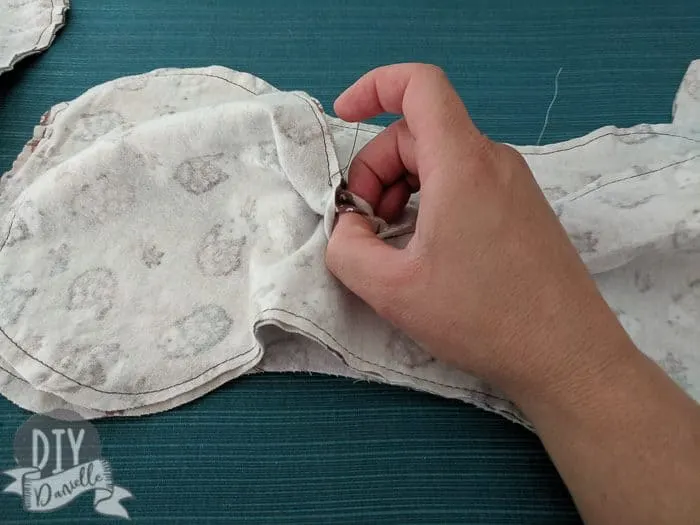
Turn.
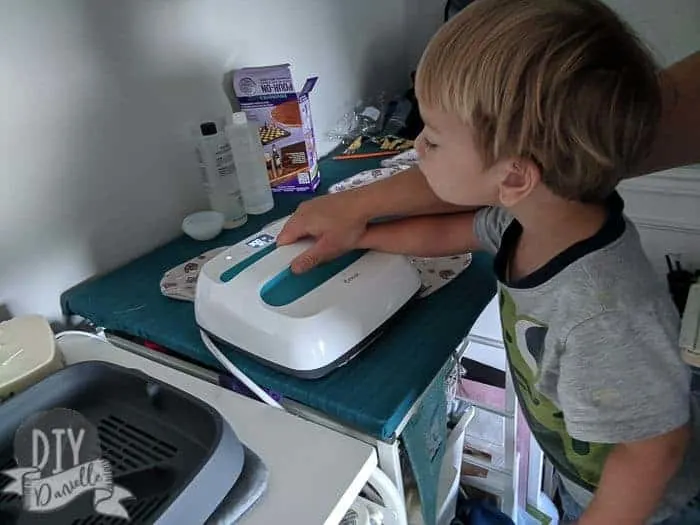
Press.
Top stitch. You can add stitching down the middle like I did, or skip that part.
Please share and pin this post! If you make this project, share it in our Stuff Mama Makes Facebook Group. We have regular giveaways for gift cards to craft stores. You can also tag me on Instagram @doityourselfdanielle; I love seeing everything you make!
