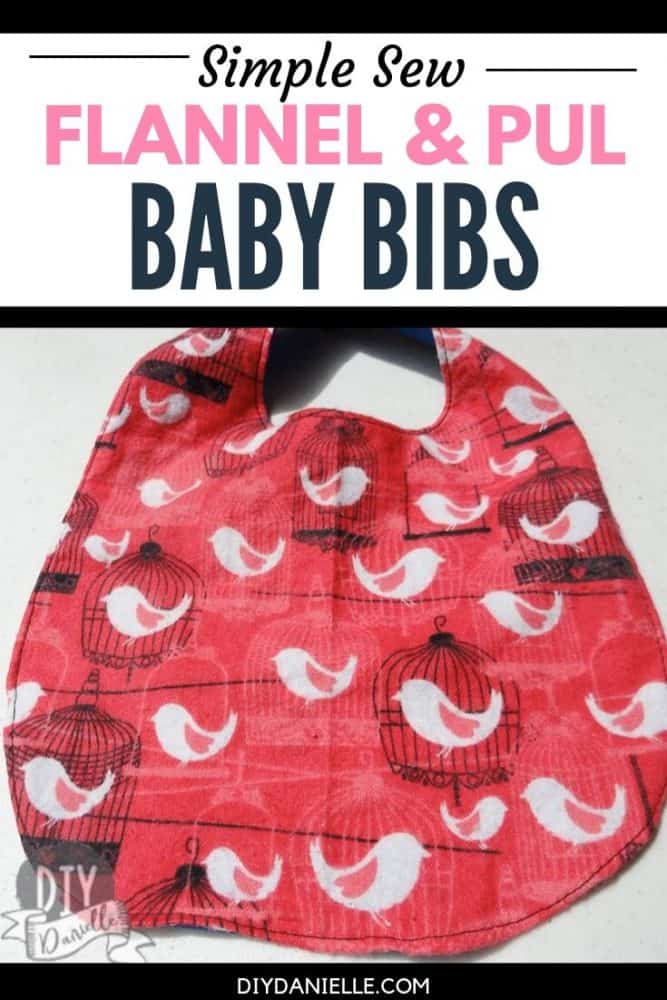
How to sew a simple DIY flannel bib. This easy project makes for a good baby shower gift!
This post may contain affiliate links which may earn me commissions should you click through them and take certain actions. As an affiliate for Amazon, Cricut, xTool, Home Depot, and other sites, I earn from qualifying purchases. Please DIY carefully. View my full legal disclosures here.
The majority of my content is generated by me, as are 99% of the photos and videos, but I utilize technology for titles, descriptions, video editing out all of my ums, and occasionally for text overlay on images.
Please read the whole post so you don’t miss any important information!
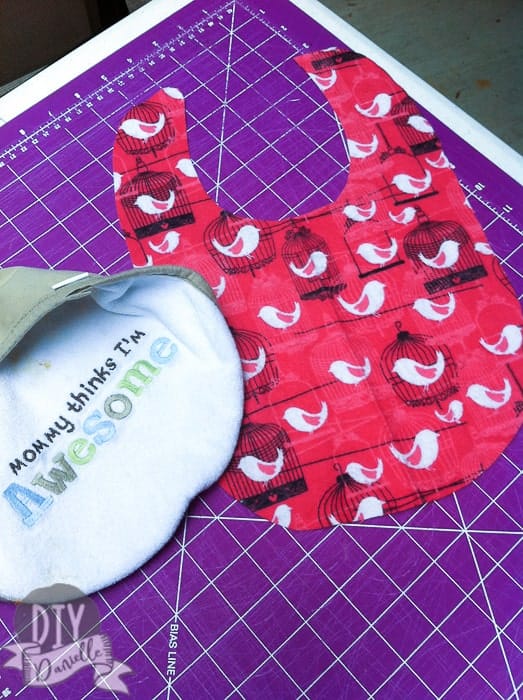
My husband’s cousin was having a baby so I put together a set of matching gifts for her baby shower.
This bib from the A Little Tipsy site is a really great upcycle idea for old shirts. There’s even a bib pattern on there. I didn’t have any girly shirts to upcycle though so I opted to make my bib from the same material that I used for the baby shower gifts.
Supplies
-Flannel material (any absorbant material will work, such as terrycloth)
-Pul for the back (or you can just do a couple layers of flannel)
-Snaps or hook & loop
How to Make a Baby Bib
Create Your Pattern
I traced over a bib that I like because I’ve found it to be just the right size. Make sure you add a seam allowance if you trace a preexisting bib… I forgot, but it worked out okay. If you prefer a slightly longer bib or a wider one, you can always add extra for that! It’s nice to be able to tailor it to your needs.
Personally, I love a large bib. Those tiny infant ones are useless.
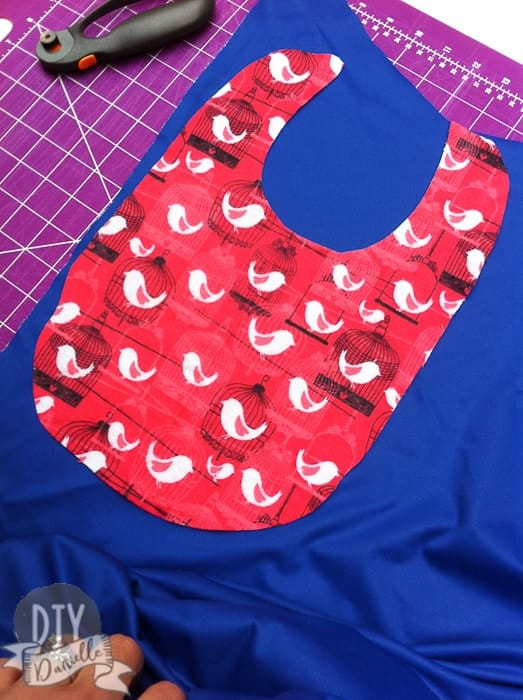
Cut Your Fabric
Cut one front piece from the flannel (or you could use cotton).
Cut your second piece from PUL. This type of fabric is easy to wipe down and will keep wetness from seeping through onto baby’s chest.
I didn’t add any, but you could add a layer of absorbency (flannel or other absorbent fabrics) in the middle if you wanted to soak up extra wetness. The top layer of flannel should soak up some though.
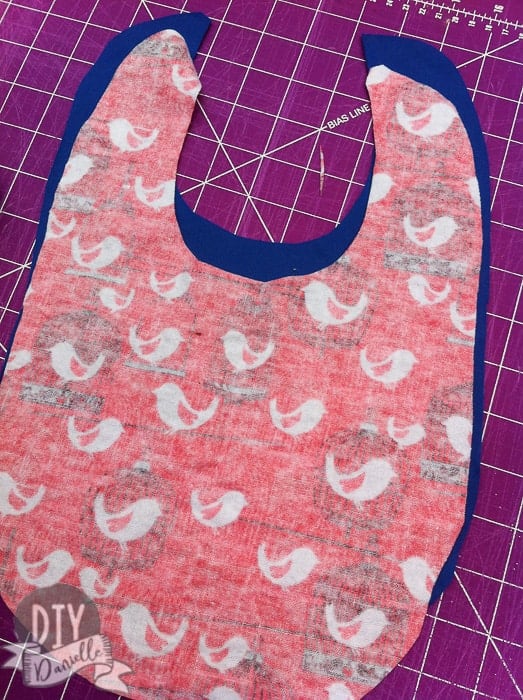
Sewing the Bib
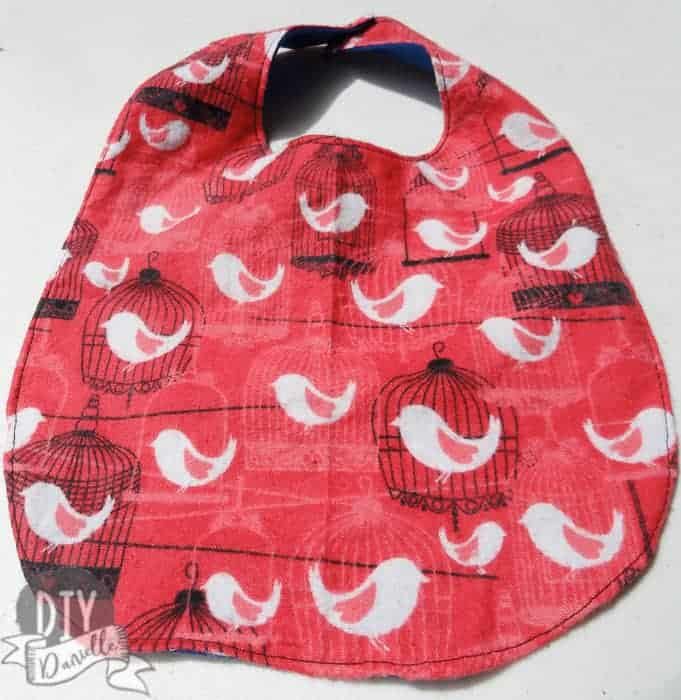
Pin the back and front pieces right sides together. The “right” side of the PUL is the non shiny side. The shiny side is the side you want facing the drool/wet food.
Sew, leaving a small gap to turn the bib right sides out.
Turn right sides out.
Press with your iron (on the flannel side).
Top stitch, closing up the gap.
Add snaps or hook & loop to the bib so it will stay on baby. Snaps are pretty sturdy so you do need to supervise baby closely when a snap-on bib is on… hook and loop is more easily pulled off if the bib gets caught on something.
Please share and pin this post! You can also post your project and tag the DIYDanielle team on Instagram @doityourselfdanielle!