
How to add holes for arms to your car seat poncho. This is an easy update if your child wants to have their hands free.
I need to start off by emphasizing that this car seat poncho is meant to be worn over the car seat and the seat belt should be buckled under it. You shouldn’t have the poncho between the child and the car seat straps. The benefit to having the poncho loose over it all is that it makes the child safer AND the child/you can remove the poncho if the child is too hot.
But the reality is that kids get really irritated if they can’t use their hands, particularly when they’re trying to walk around with the poncho on. So I decided to show how you can add arm holes to your poncho pattern if you desire.
Make sure to get my tutorial and free pattern for a car seat poncho first!
Supplies Needed
- Bias tape: something like this should work, but use whatever width you prefer.
- Pins
- Scissors
- Sewing machine and/or serger
- Snaps and snap pliers (learn how to use snap pliers)
How to Add Arm Holes to a Car Seat Poncho
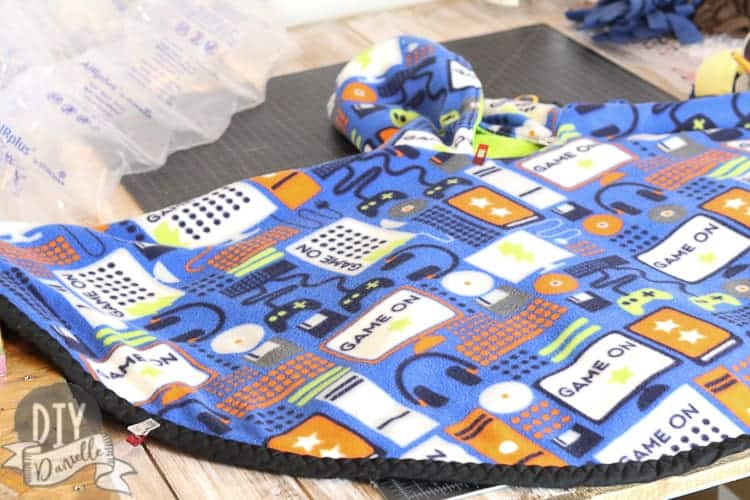
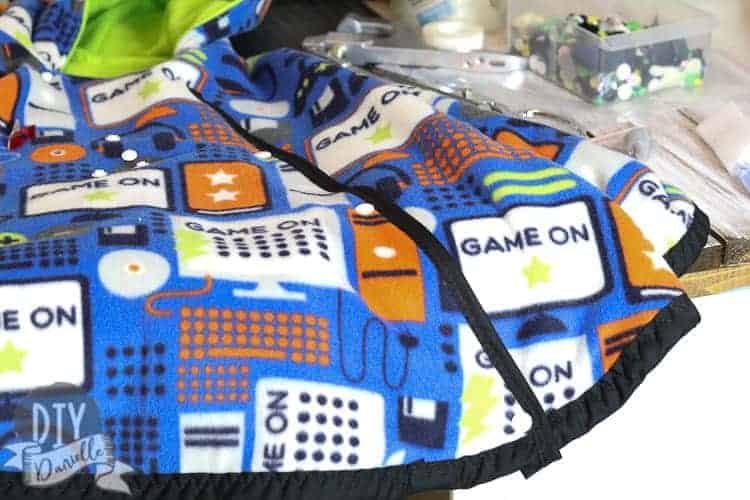
Start by folding your finished car seat poncho in half so the front portion of the poncho is face up. From the top on both the left and right, measure down 13″ and place a pin or clip. Place a pin on either side of the opening for the hood.
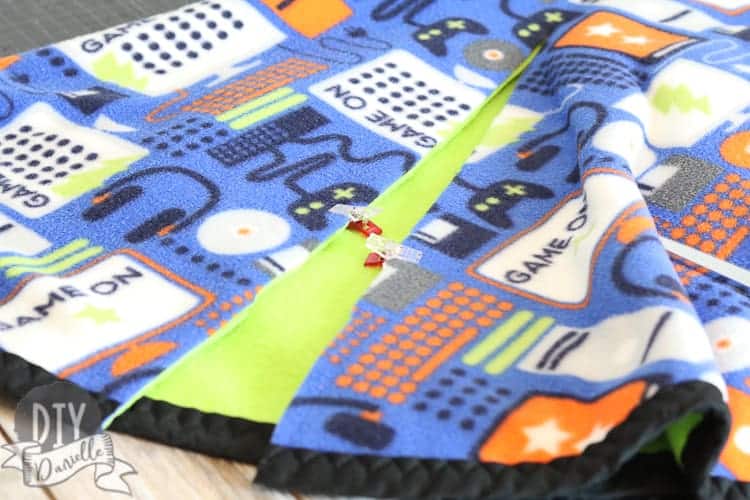
Now you can cut up from your 13″ marks, heading in a straight line towards the pin you place on the side of the hood. I cut about 18″ up.
Make sure to ONLY cut the top pieces of your poncho. Leave the back of the poncho alone.
I used some clips to just hold the two layers together.
Optional: I serged the raw edges to hold the layers together. You could also baste. I like that serging them reduces the bulk along the edge, making adding the binding easier.
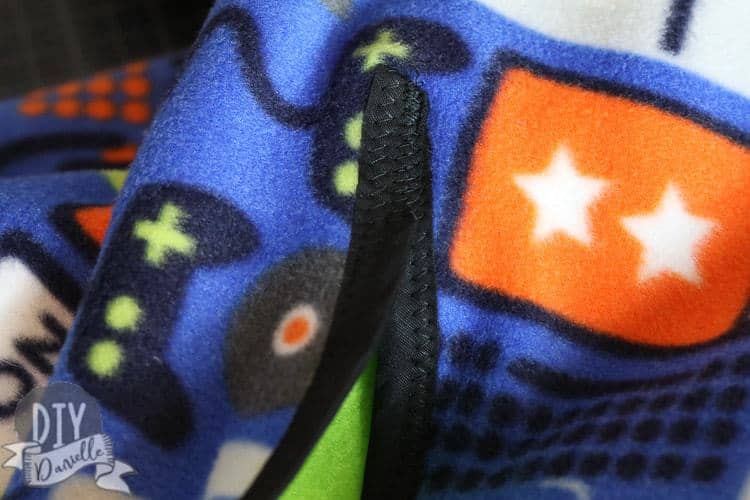
Now you can sew your binding on to cover the raw edges (or your basting/serging) using a zig zag stitch. Below you can see that I just did a U at the corner.
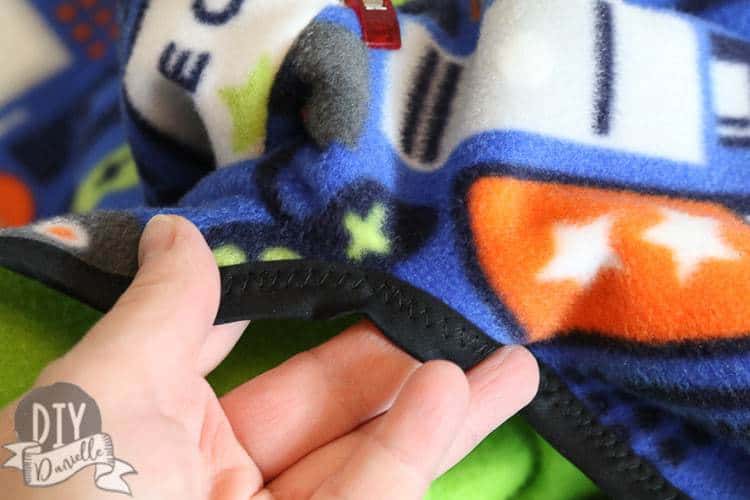
The one thing is that the layers don’t sit right if you leave the U shape so I went to the top of it and folded it a bit so the binding for both pieces of the opening overlap. Then I zig zag stitched it down for about 1″. Now it’s more of a tight V.
Repeat this all with your other arm holes.
Now you can just add some snaps along each arm hole. I did three for the left side and three for the right. Make sure the layers of the poncho overlap.
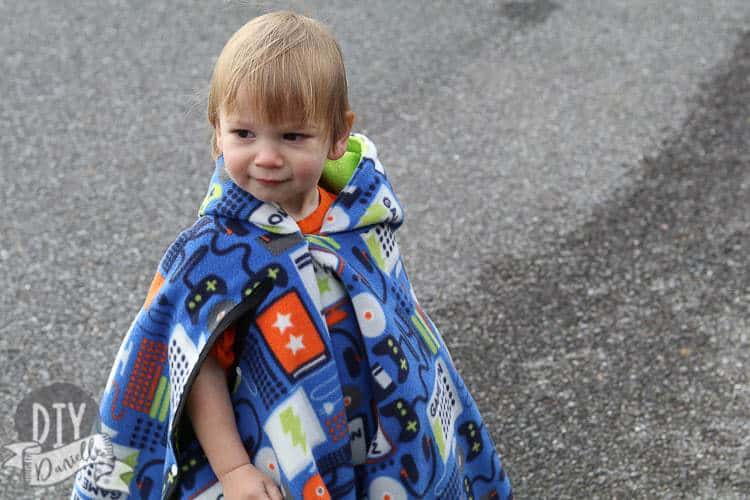
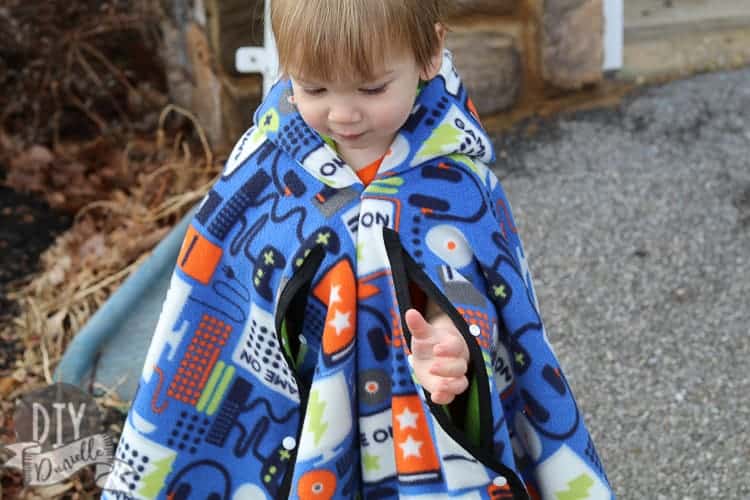
This was just perfect for my youngest son who is 1.5 years old. I unsnapped the top snap when I wanted to give him the option to take his hands out.
The only issue is that he’s used to taking his hands up through the neck hole so he went in that direction first. I’m hoping that I’ll be able to train him to use the arm holes now. The nice thing was that his arms would go right back into the poncho when not in use, keeping him warm- the bad part was that he didn’t always get his hands back out. Again- hopefully he’ll ‘get it’ after a couple uses of the poncho.
Here’s the video of the process:
Thanks for reading! Make sure to pin this post!
